Elevator Internal Structure Assembly (Part 1)
Assembly for some of the elevator internal structure is complete.
While waiting on replacement parts from the airplane factory, we decided to start on the elevator, at least to have some internal assembly underway mainly the main spar and the counterweight bracket.
Main Spar
The main spar of the elevator was assembled and riveted mostly using 1/8” rivets. It also had some anodized hinge brackets to attach it to the horizontal stabilizer. 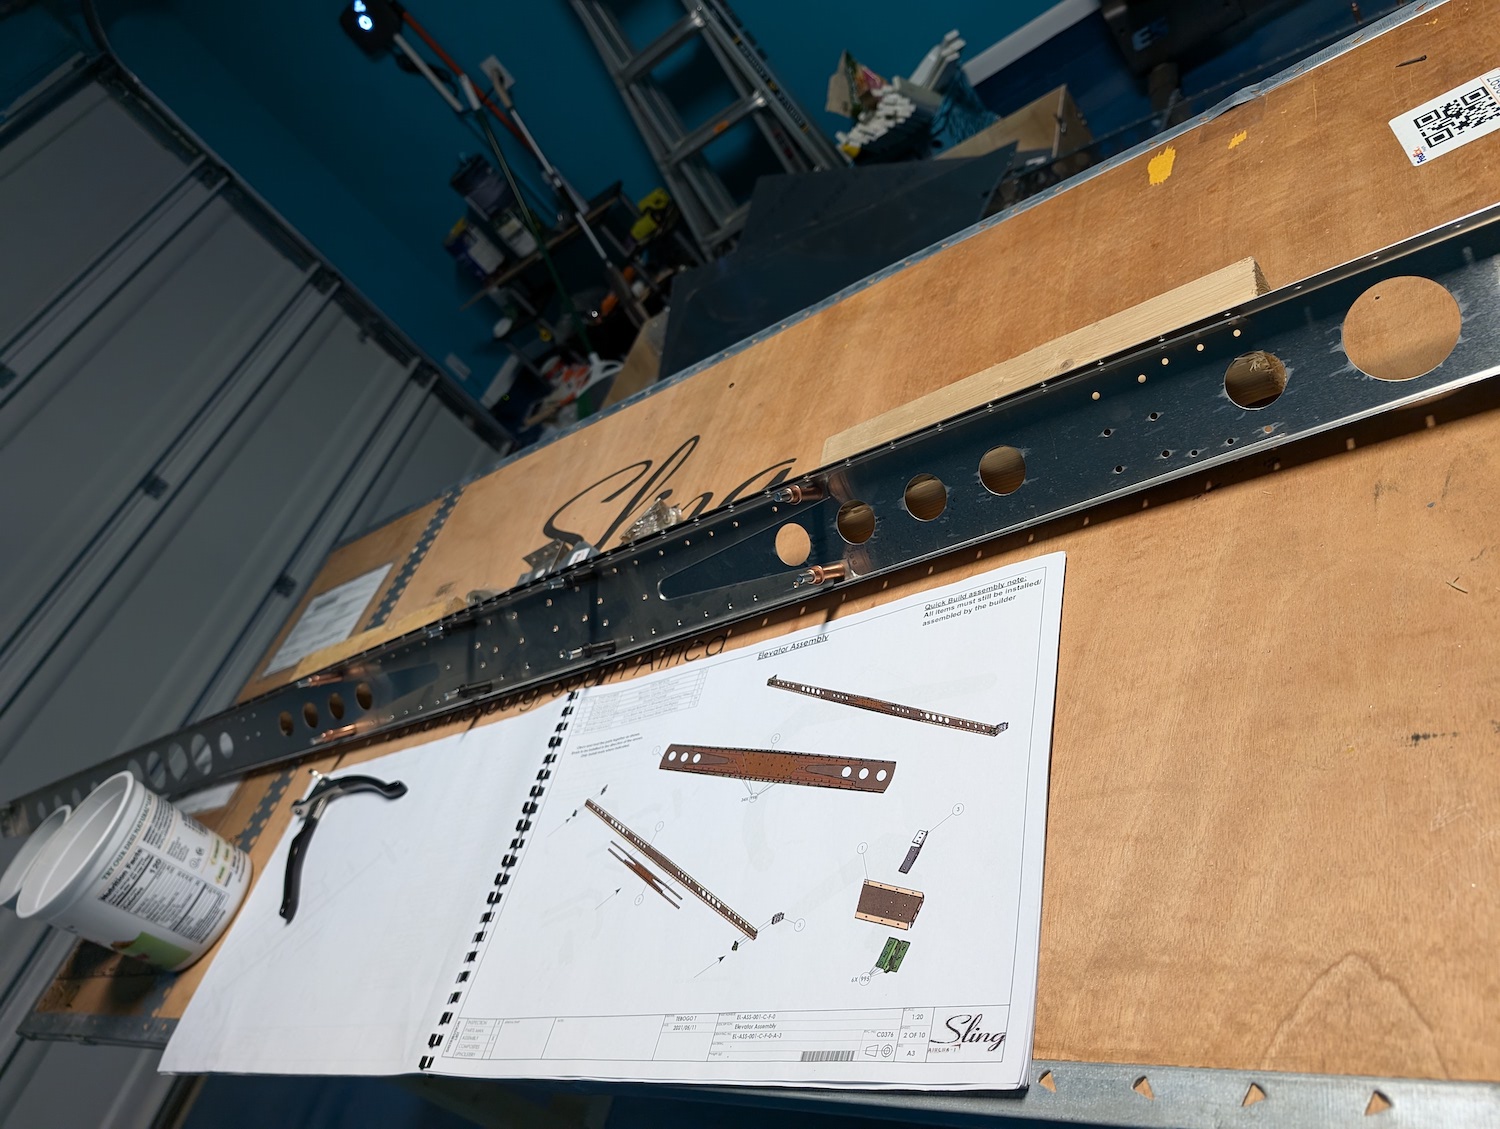 Main spar assembly, using clecos.
 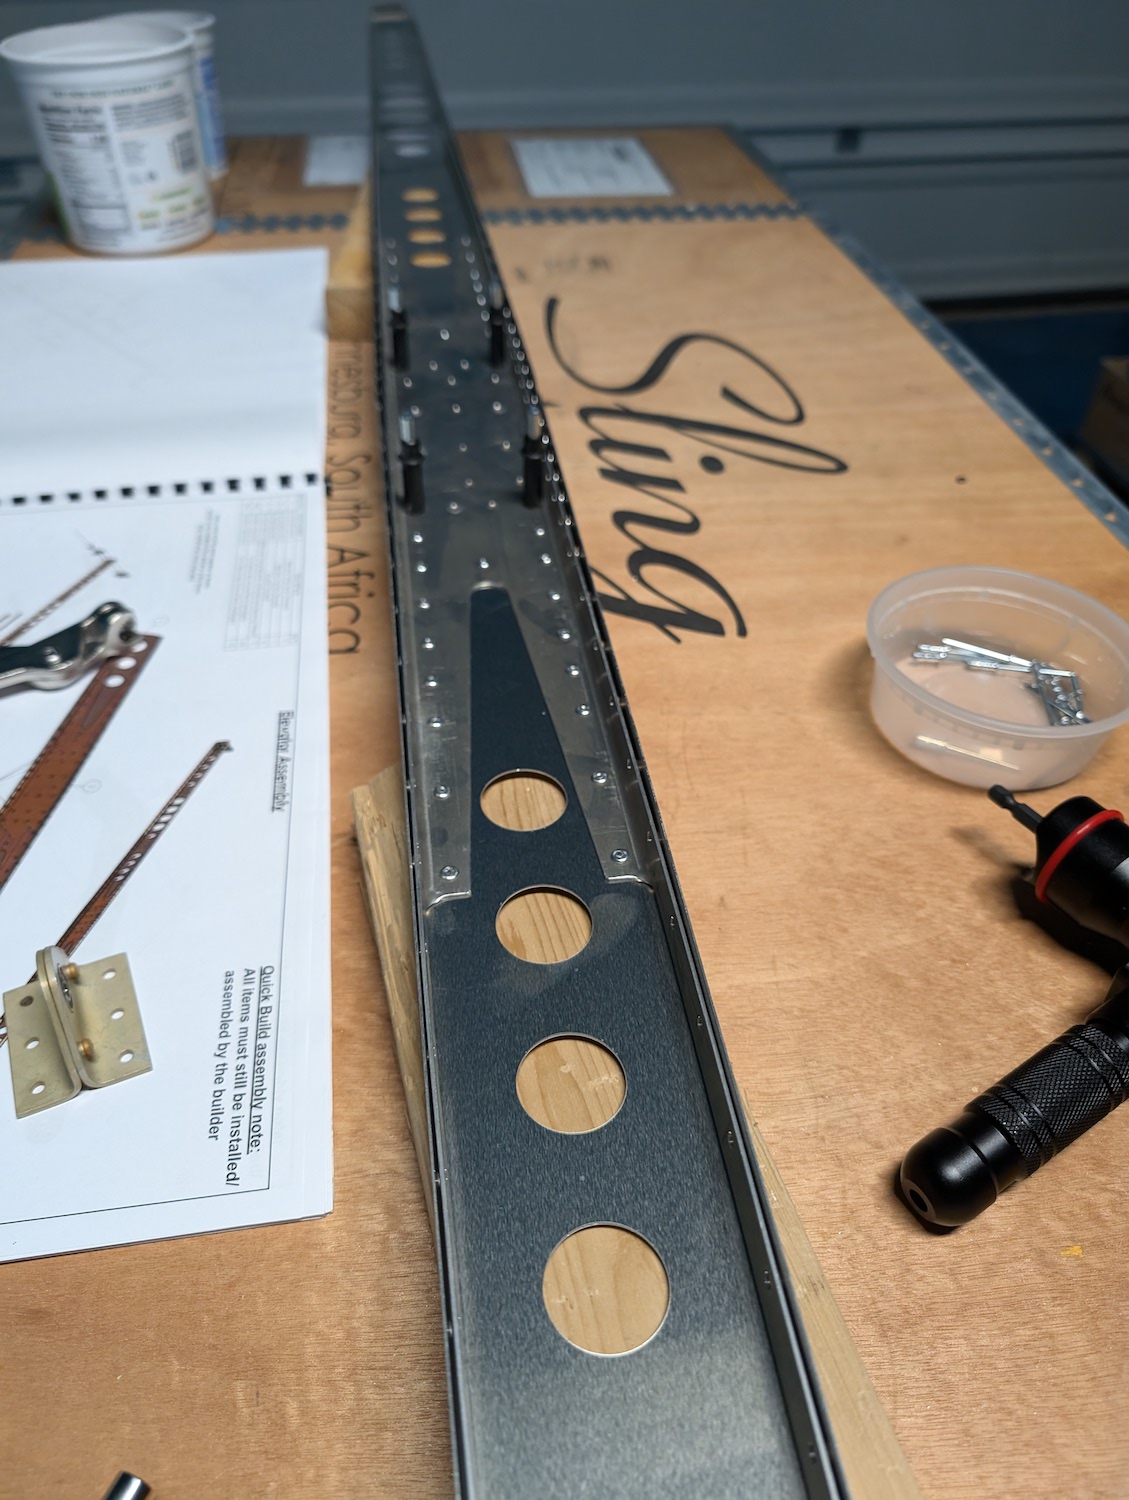 Main spar assembly, using clecos.
 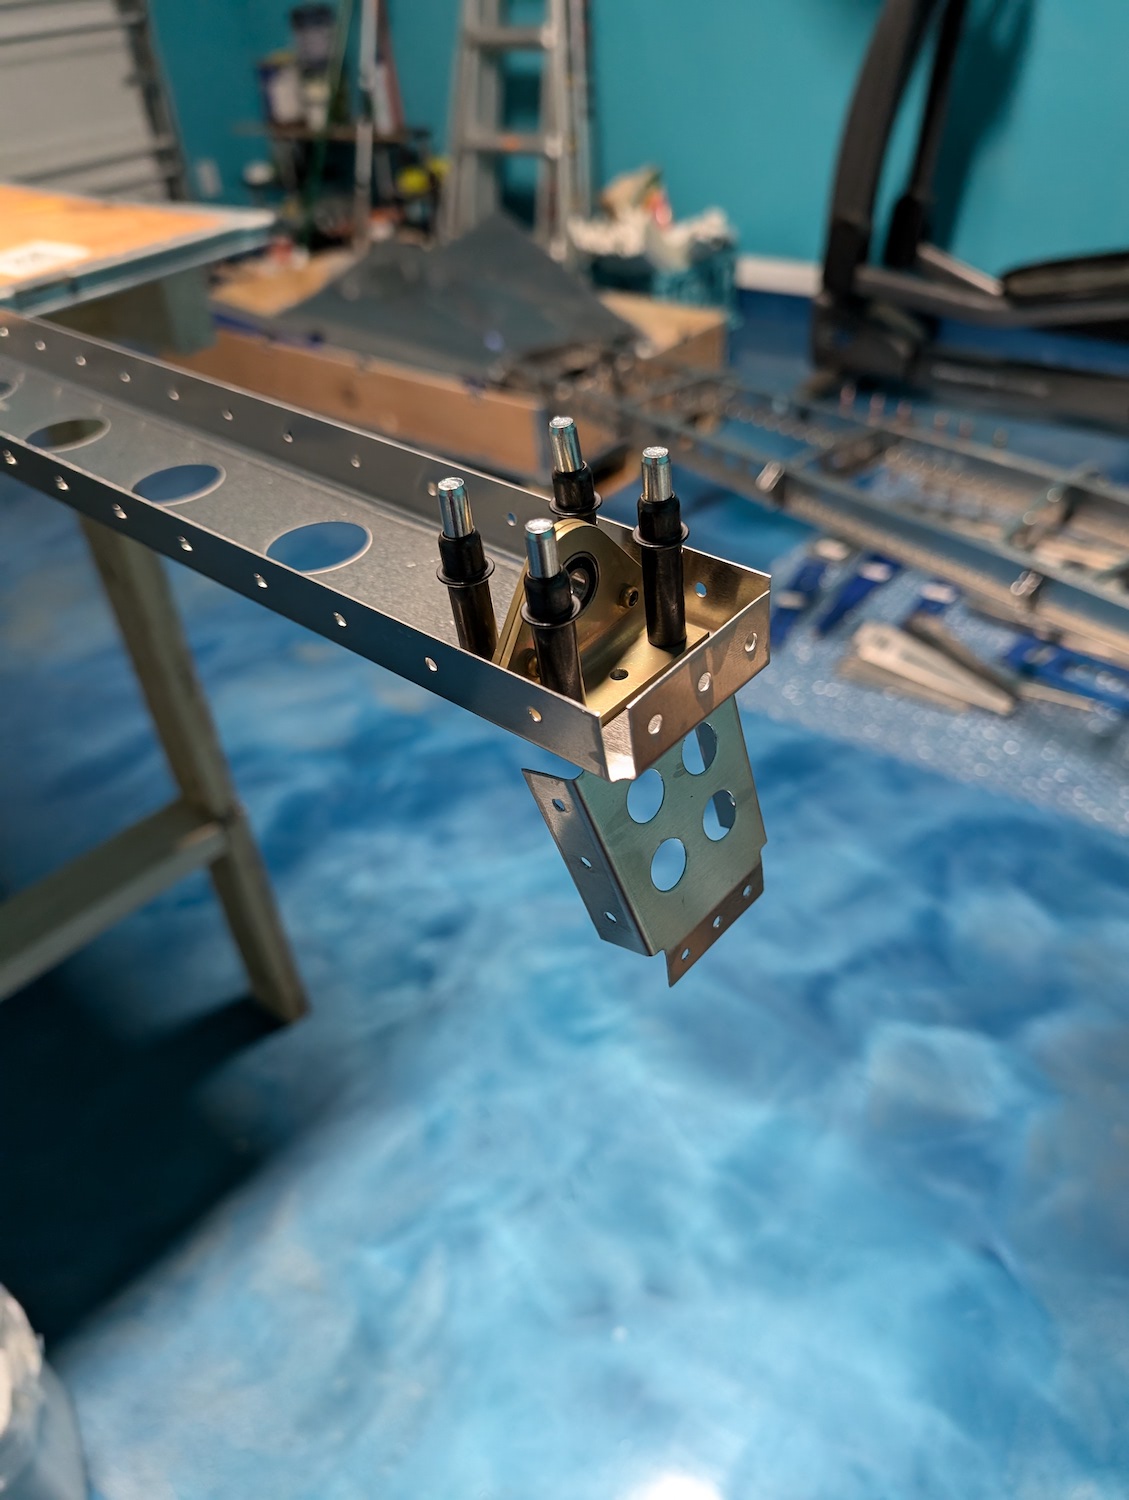 Main spar hinge brackets, using clecos.
 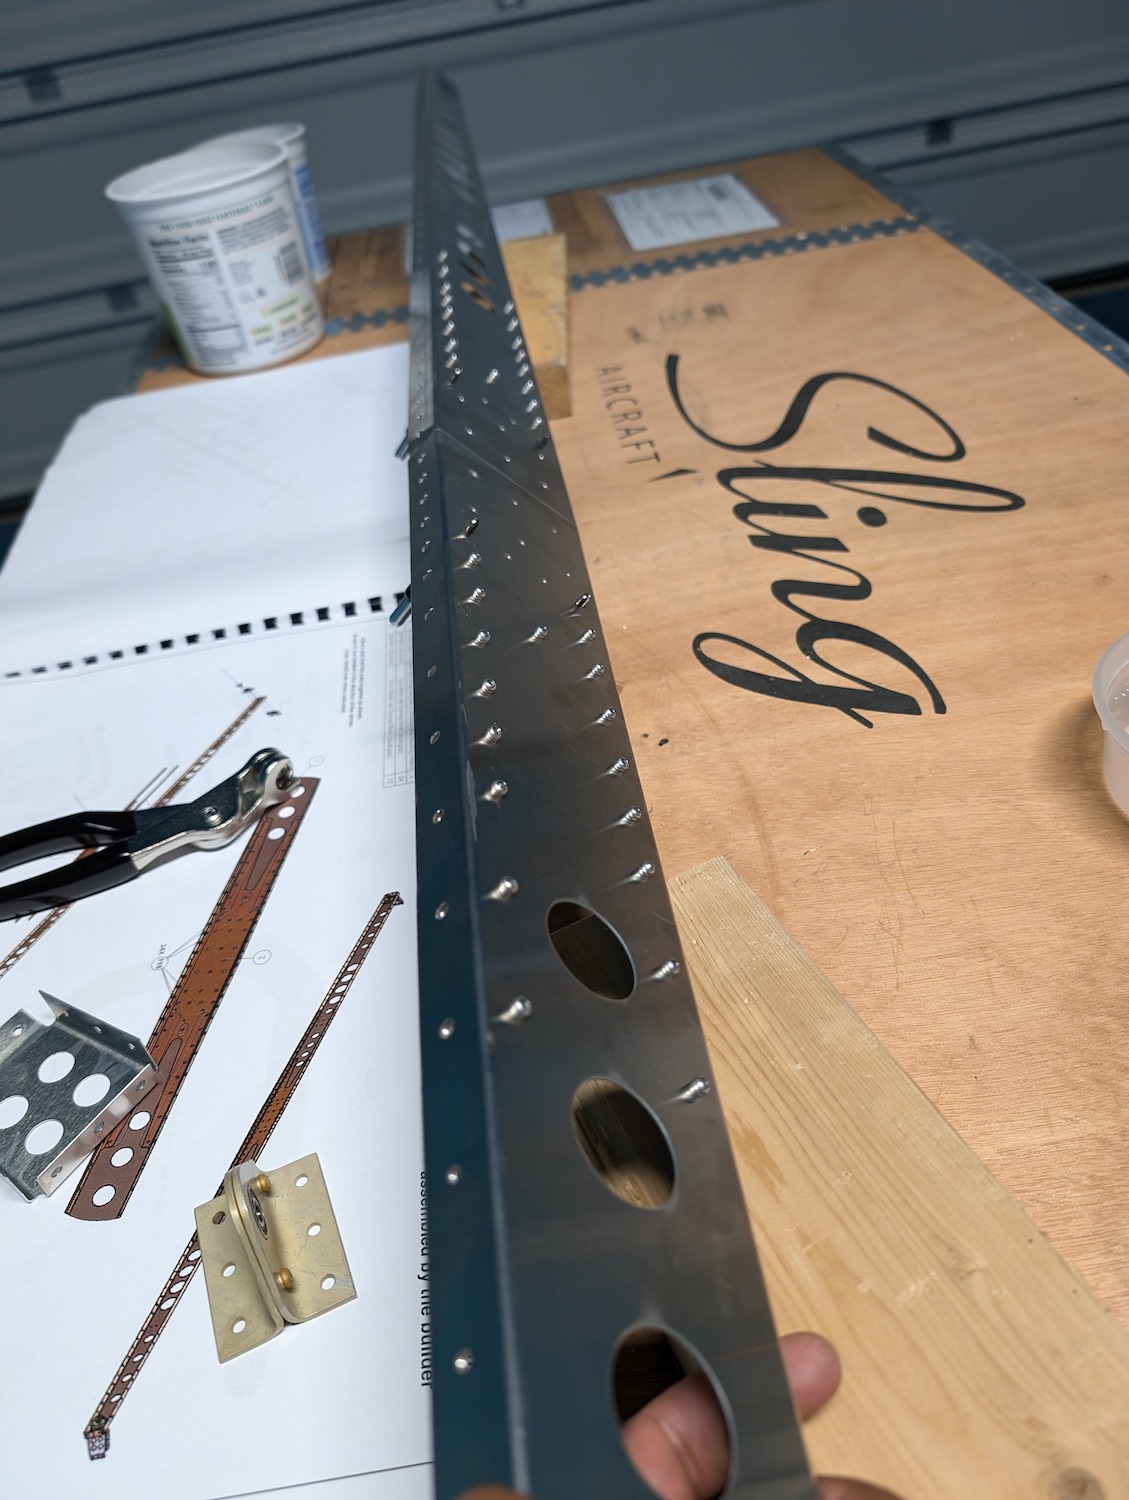 Main spar riveted.
 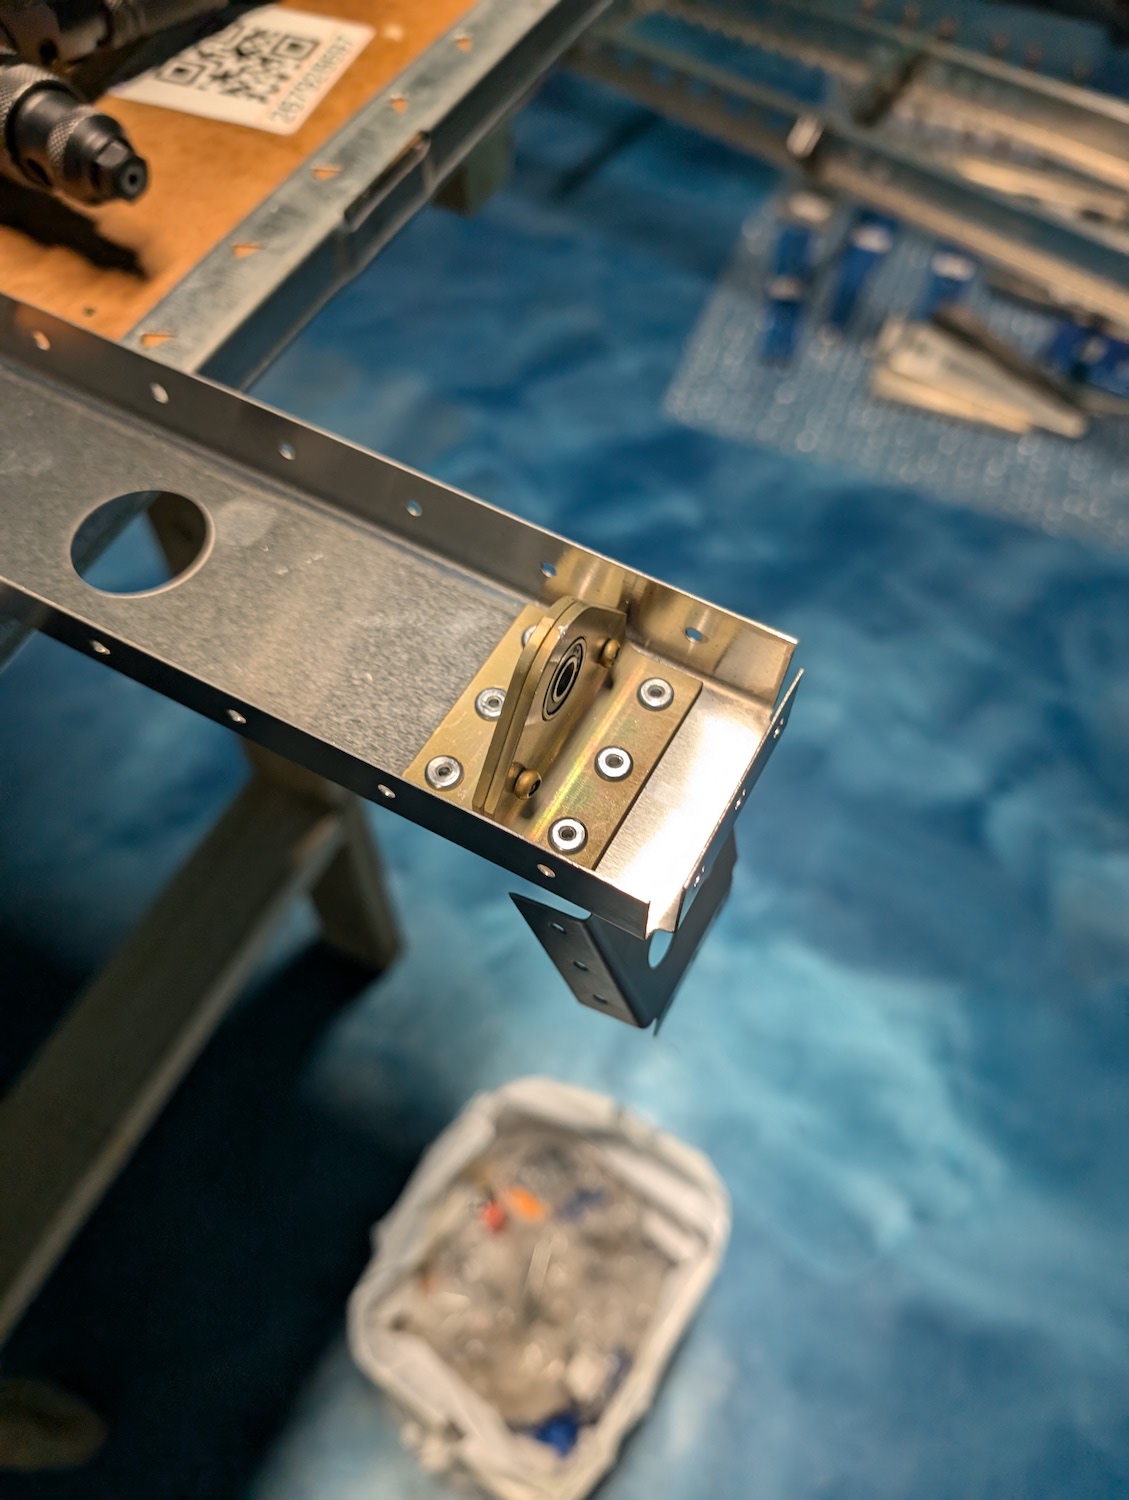 Main spar hinge bracket riveted.
 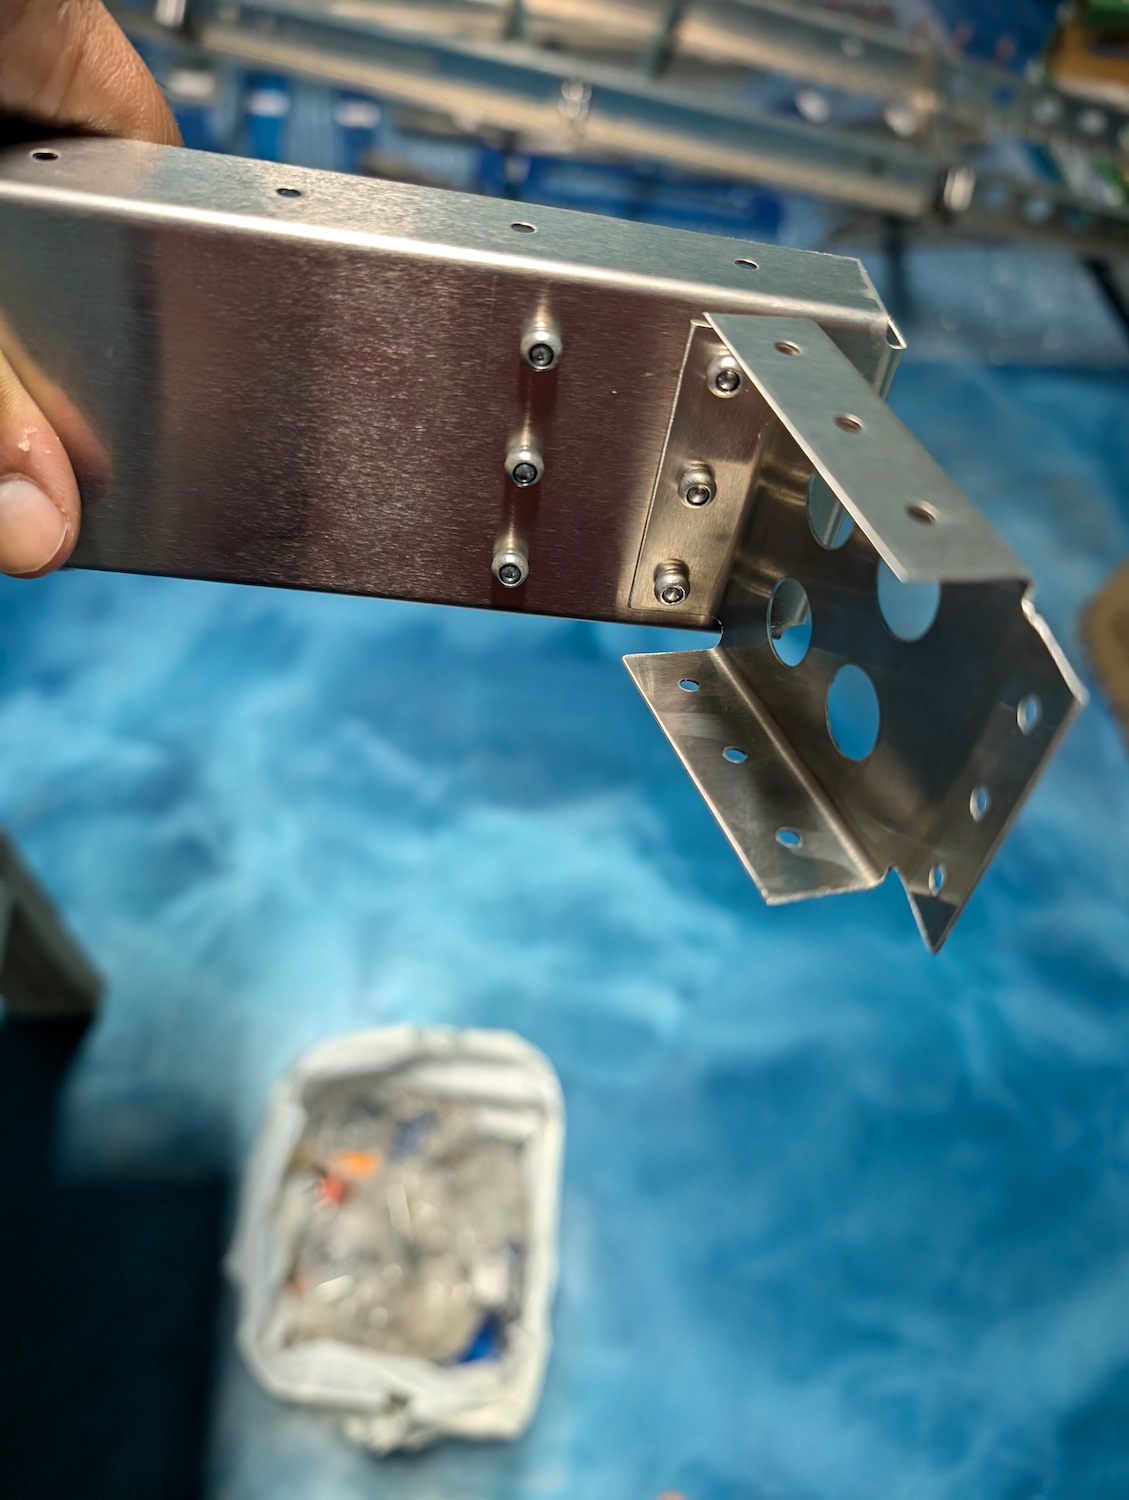 Main spar end ribs riveted.
 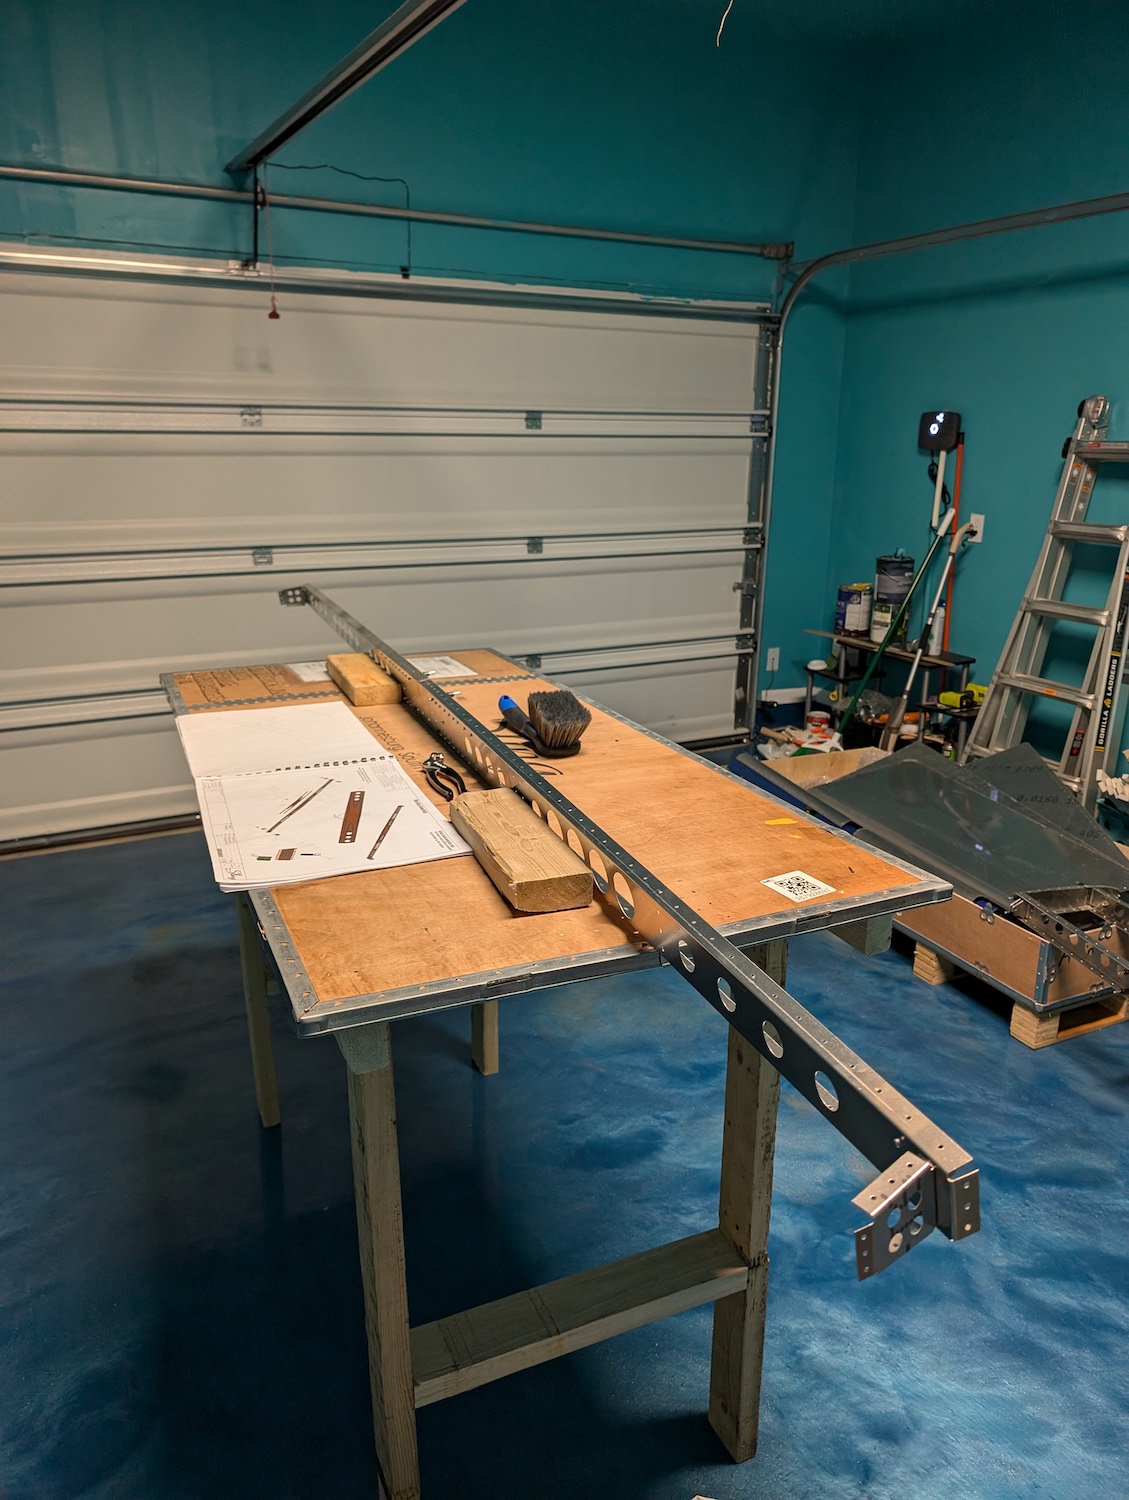 Main spar riveted, birds eye view.
Counterweight Bracket Assembly
The counterweight bracket was assembled and riveted together using mostly 1/8” rivets, there were some slightly larger steel rivets as well for further structural integrity. 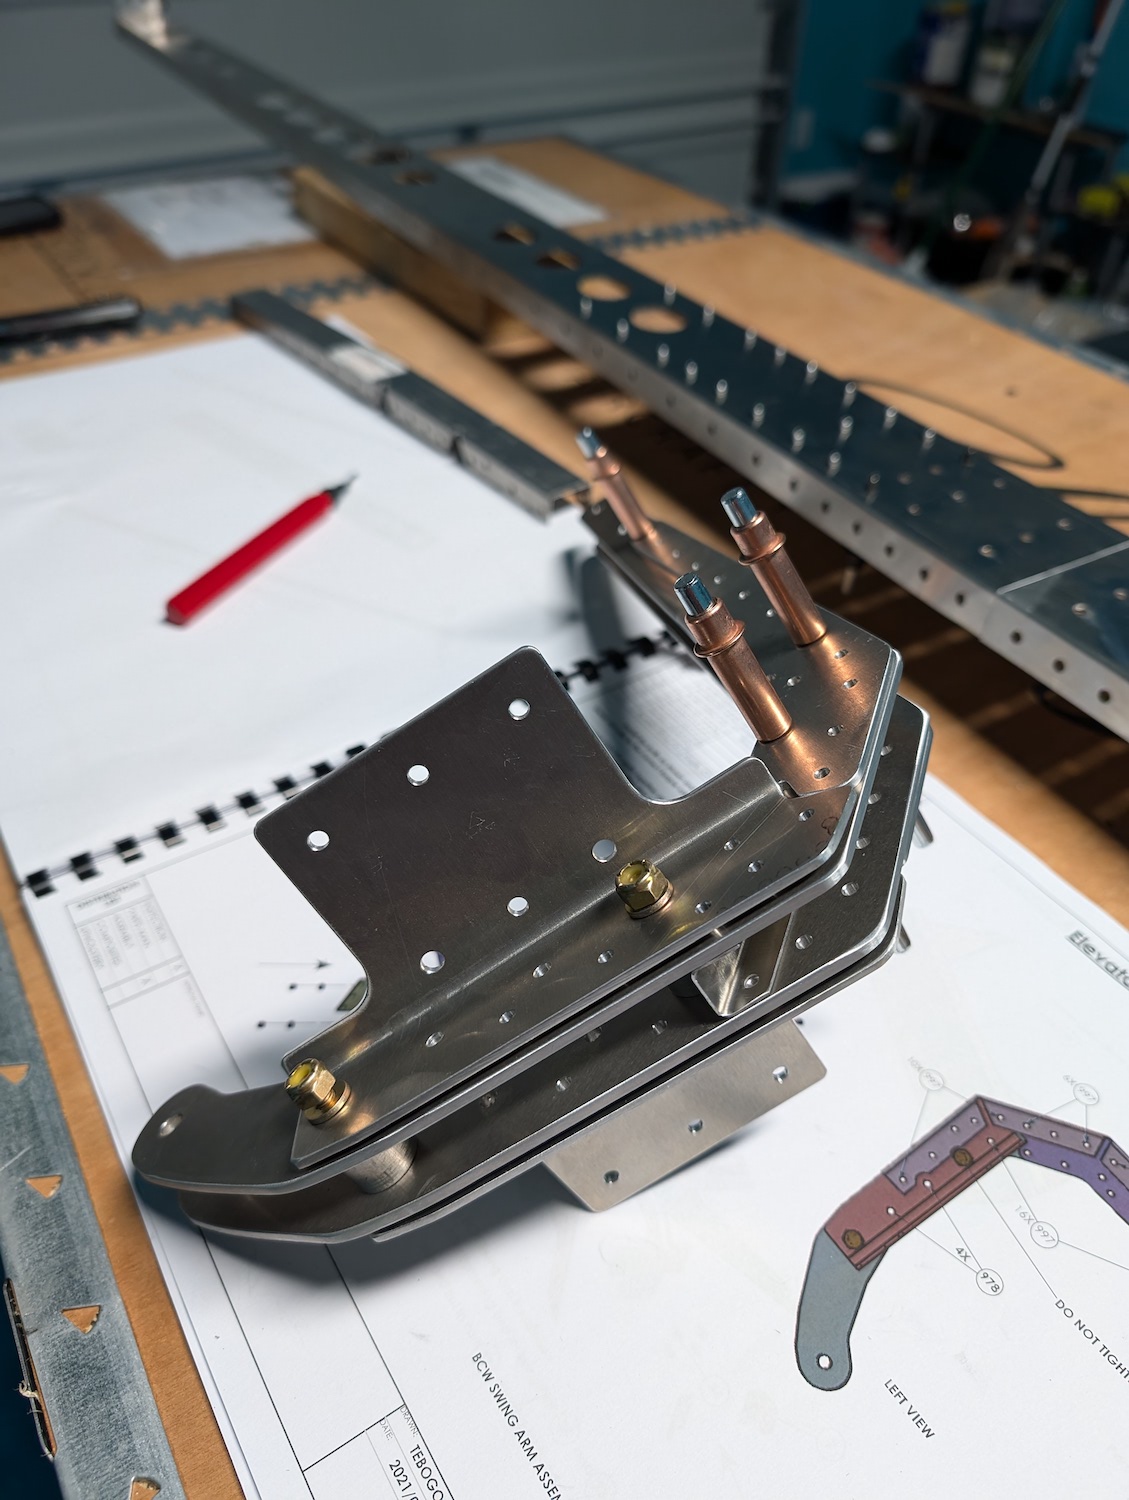 Counterweight bracket assembly.
 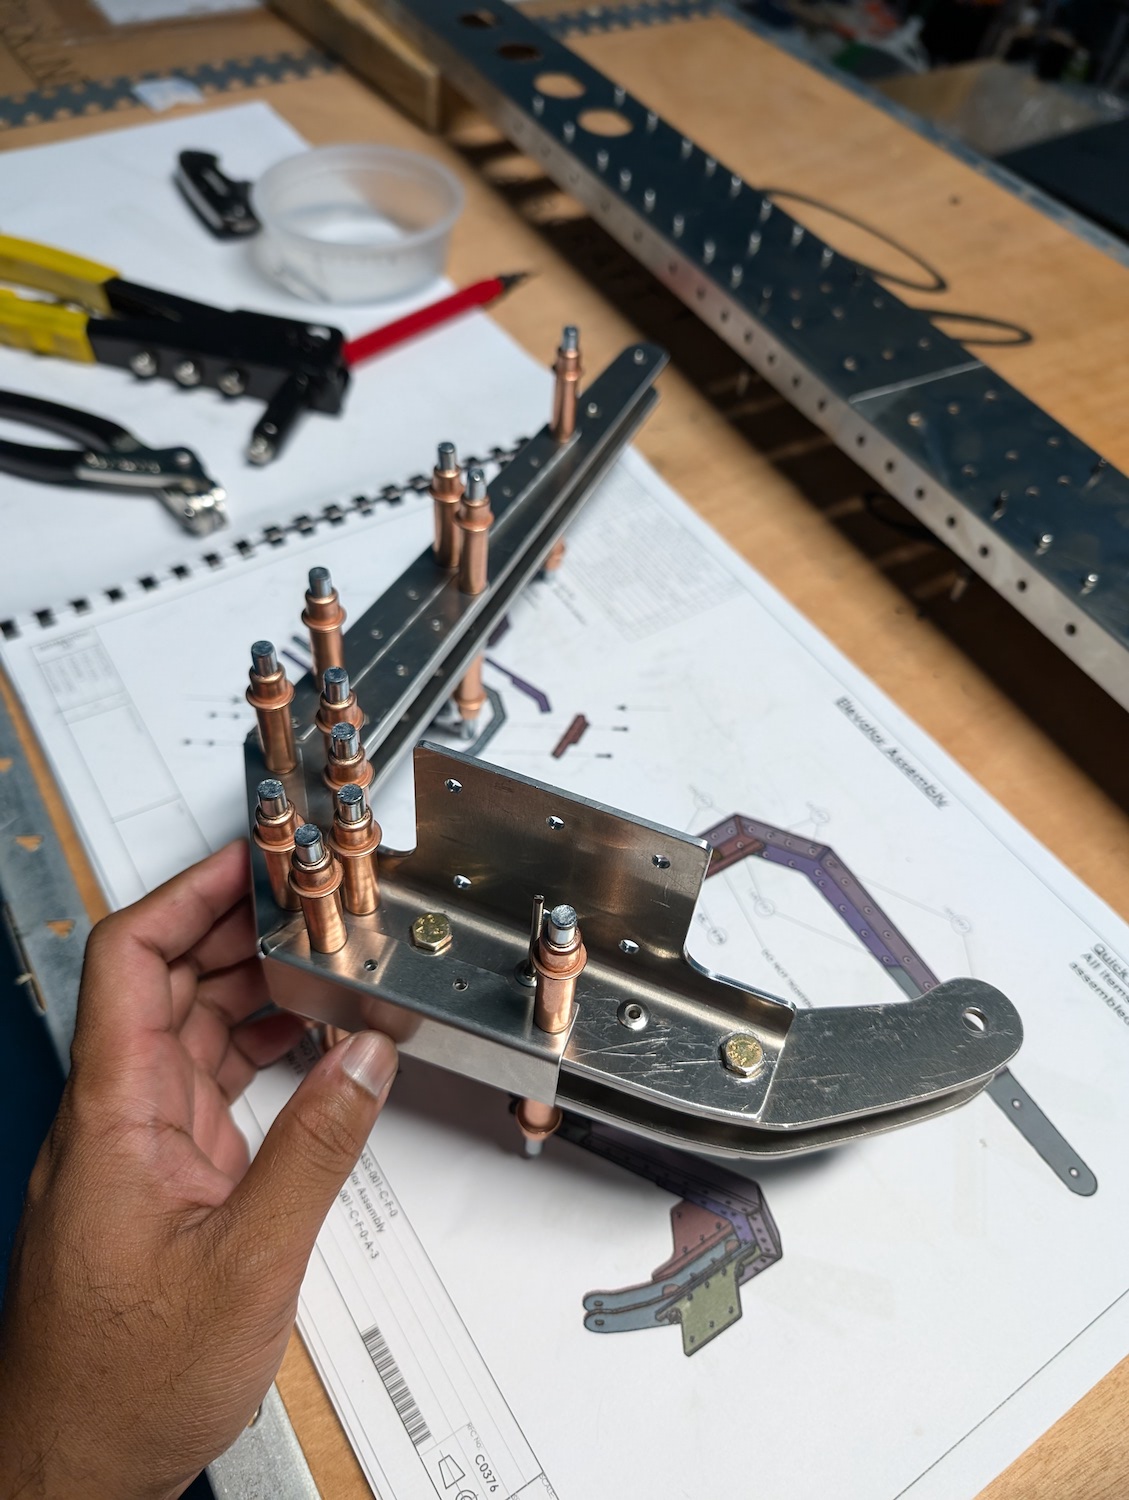 Counterweight bracket assembly.
 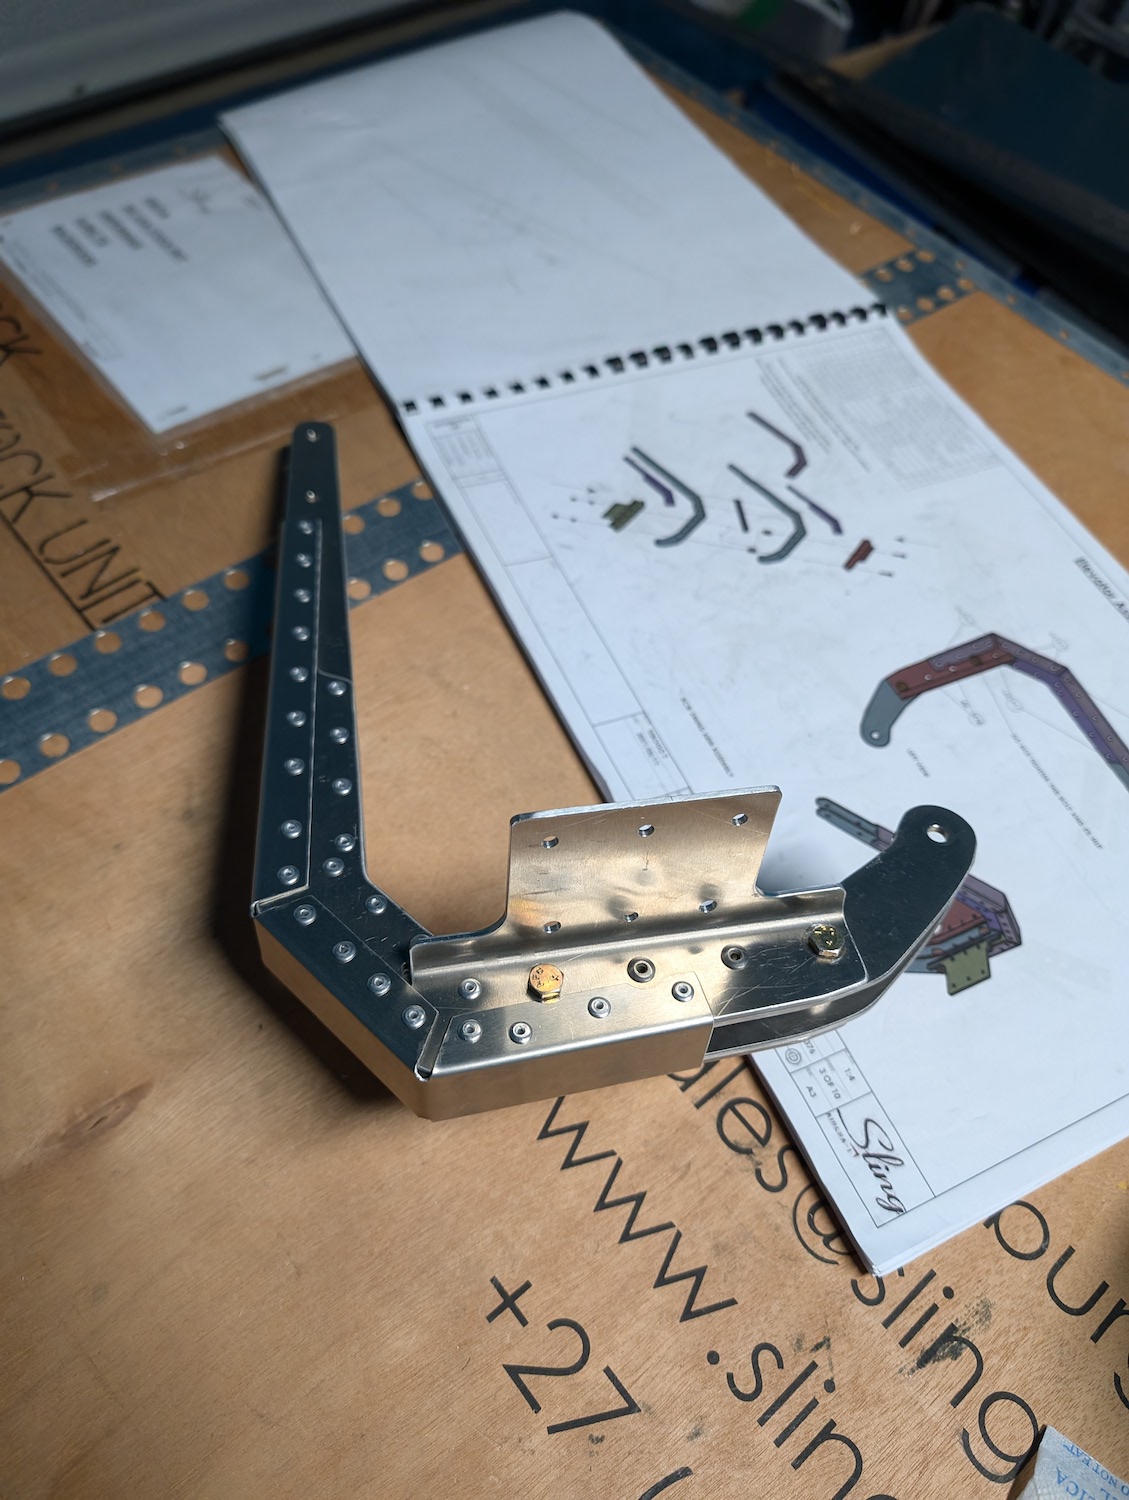 Counterweight bracket riveted.
 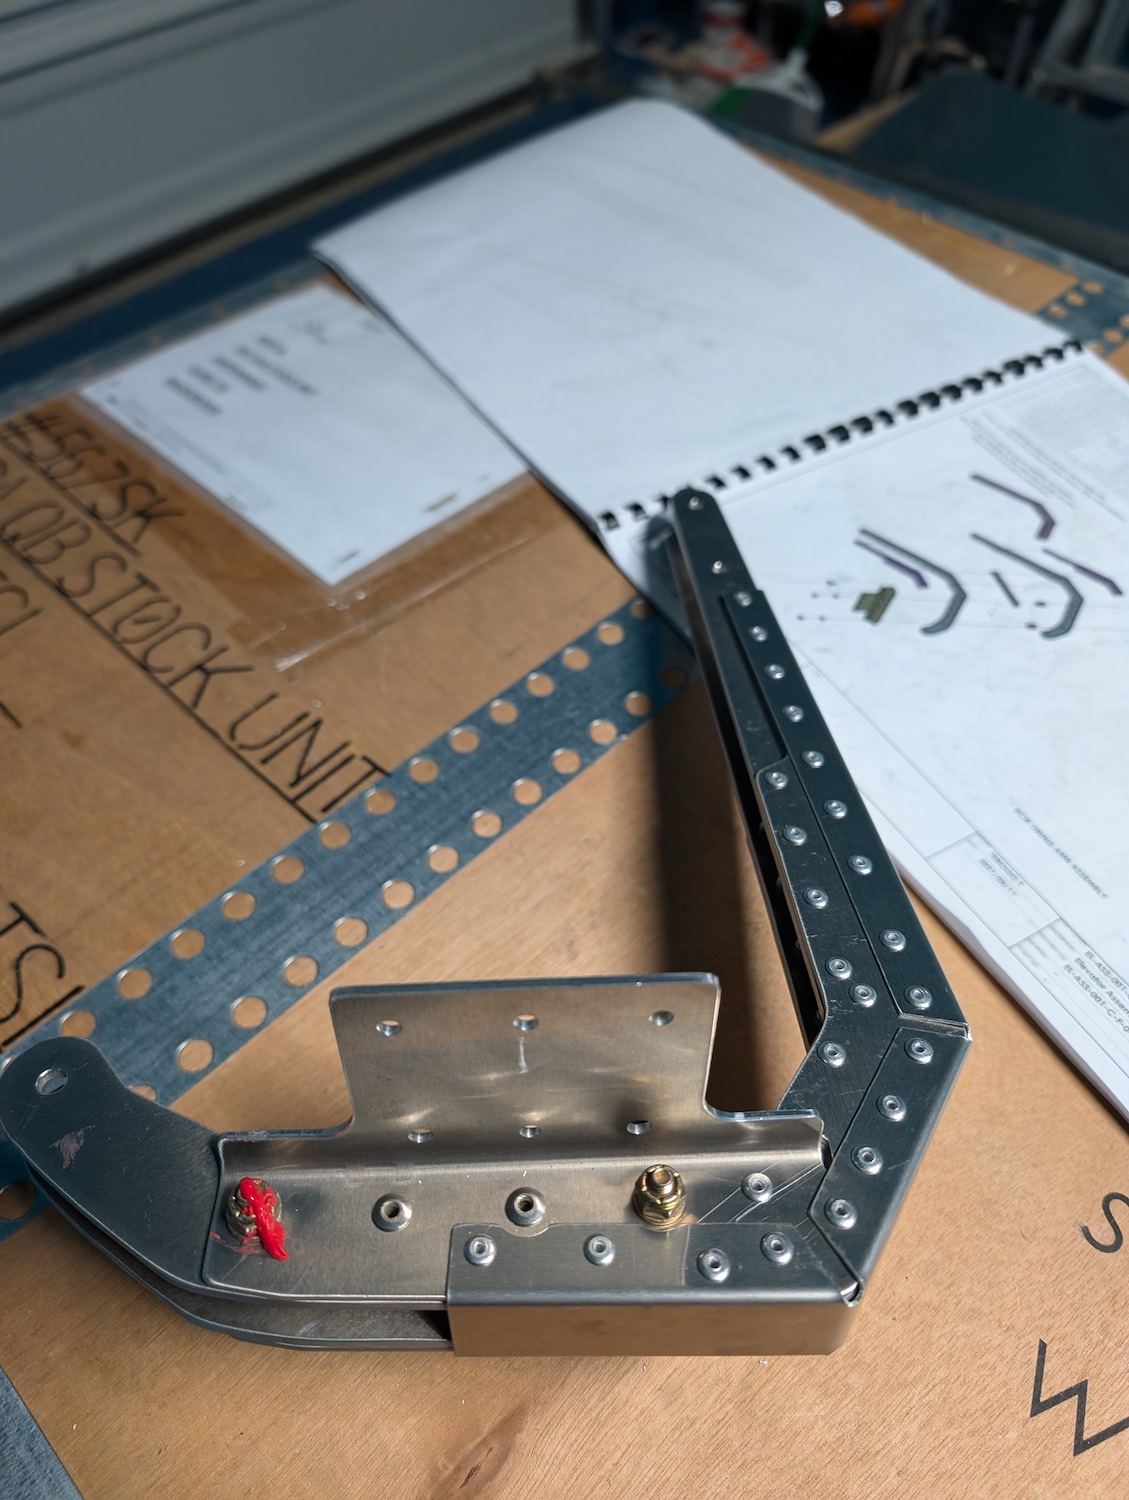 Counterweight bracket riveted.
Angled Rivets
A select few rivets came out angled, at a hard to reach place, even with the hand riveter, which is usually not a big deal, since there is redundancy built into the design, and additionally, the brackets are held together, without any gaps in between. 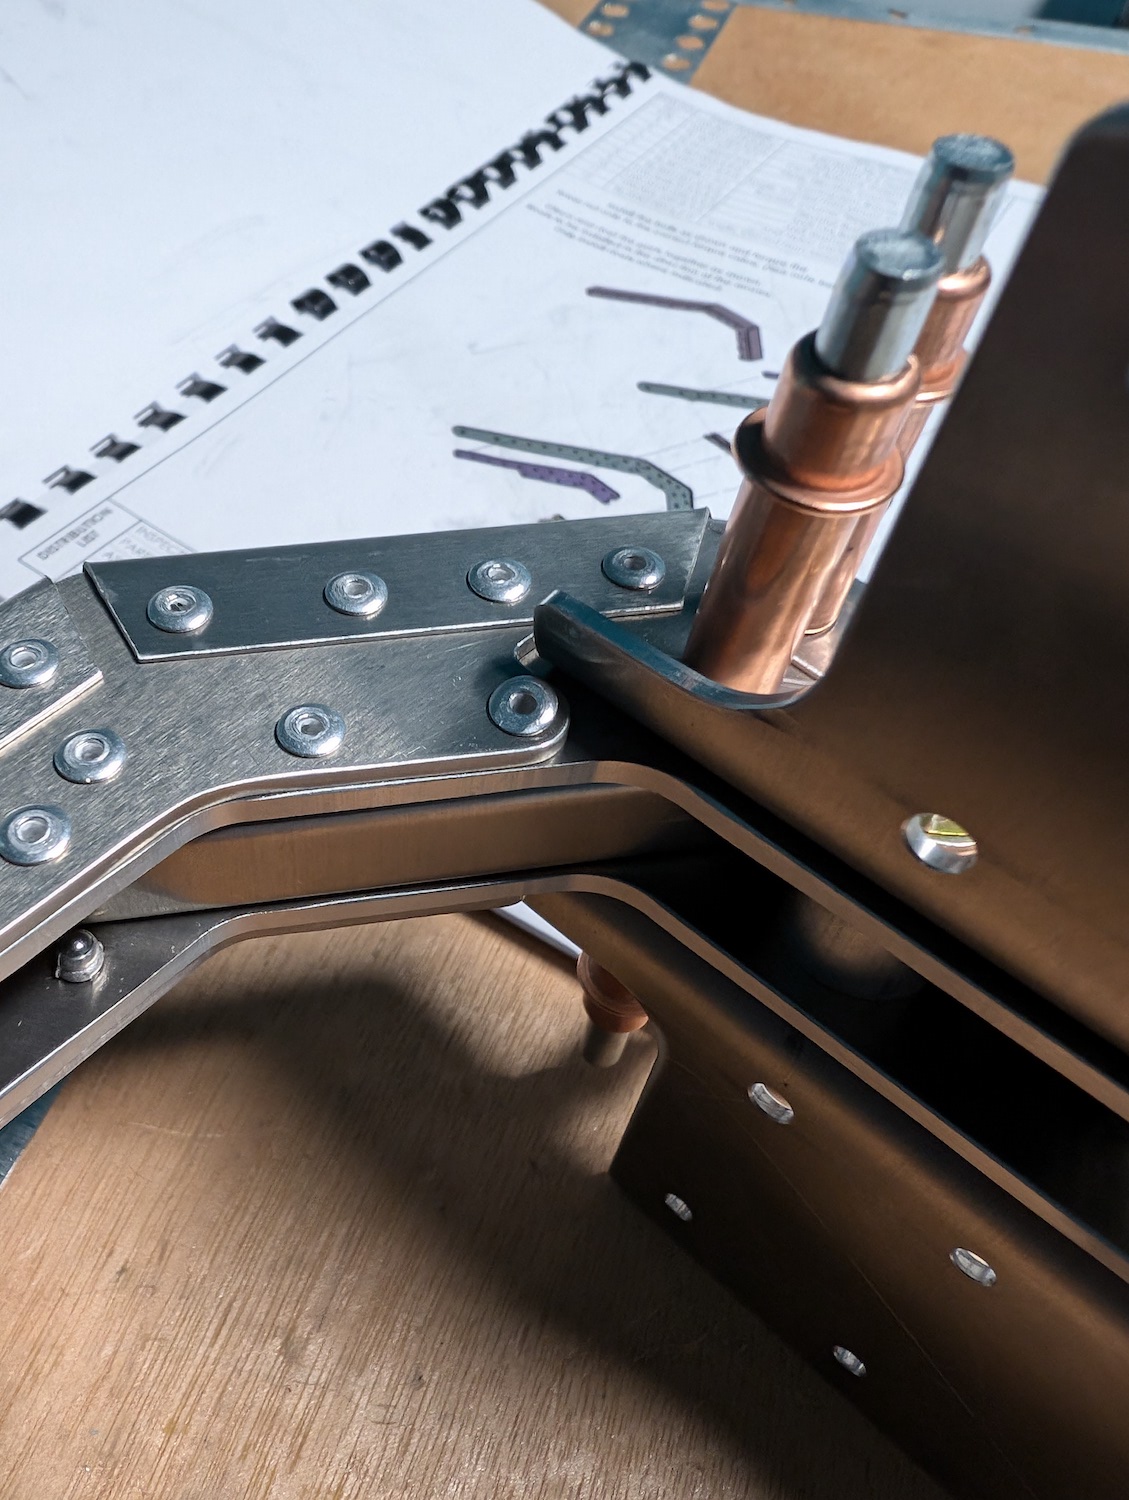 Counterweight bracket angled rivet.
Bolts
One of the bolts had to be tightened to factory specifications during assembly. The other bolt was left un-tightened as per the build manual. The required torque values are in the introduction assembly manual. Once the bolt was tightened, a torque seal was applied for inspection purposes in the future. 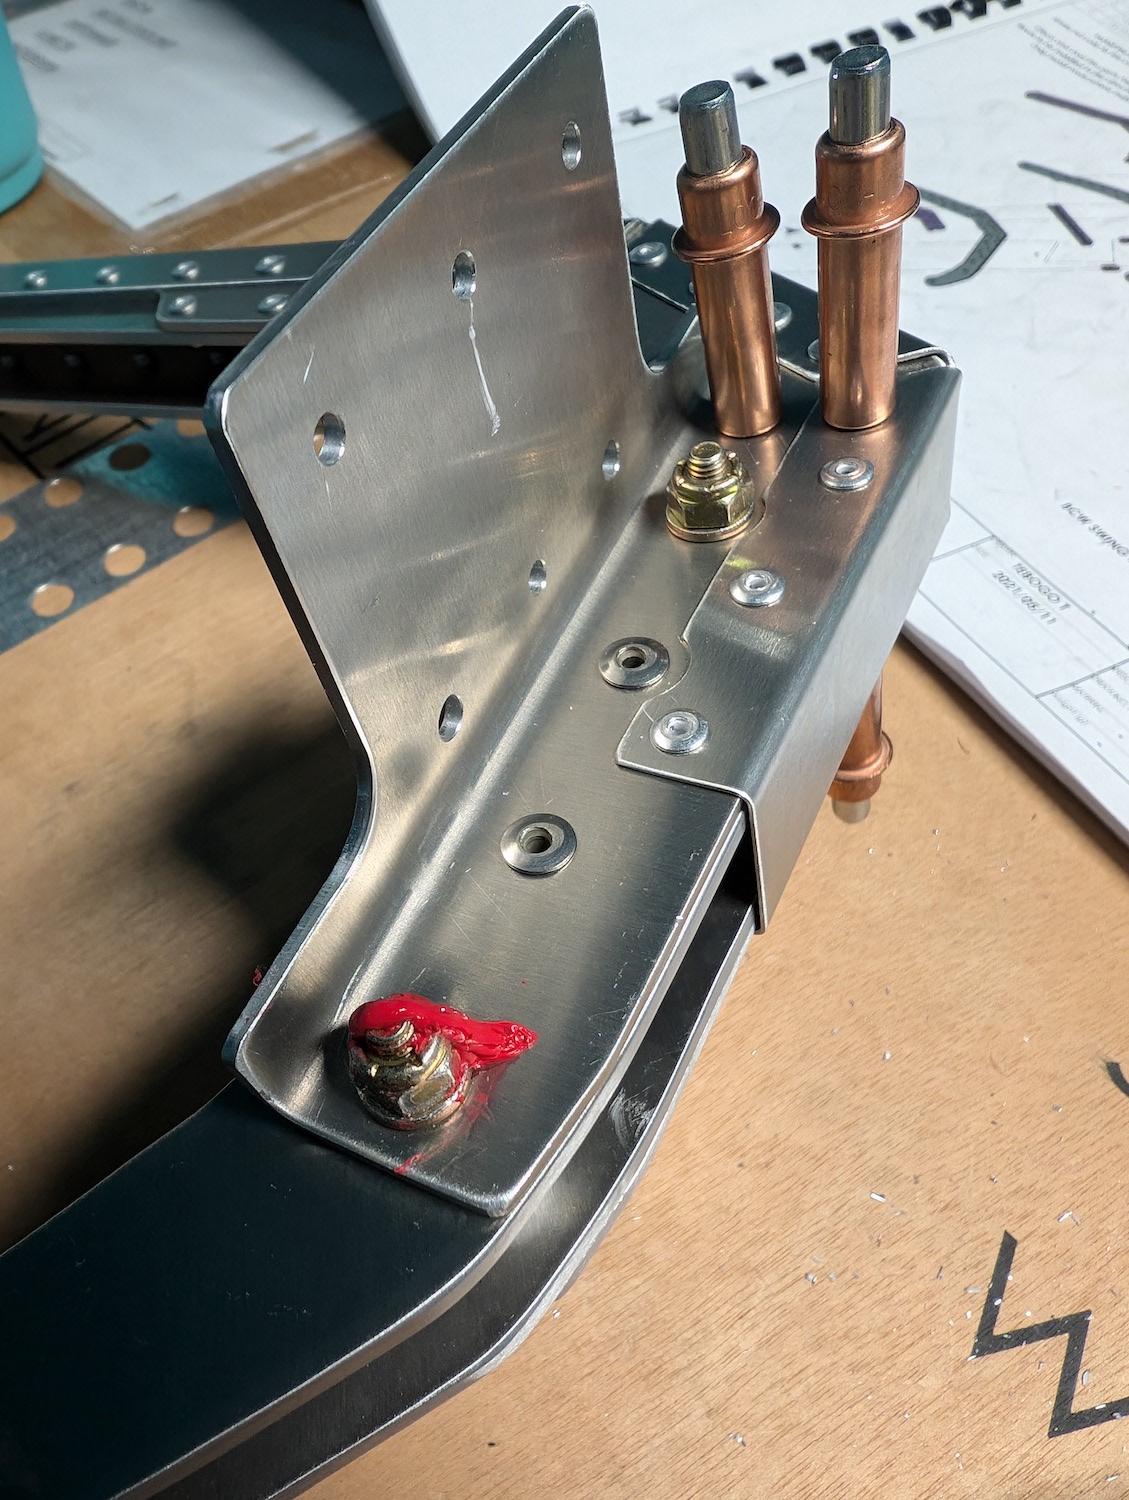 Counterweight bolt tightened in accordance with the required torque values.
Tools
We ordered some new tools such as a torque wrench and a new riveter which is automatic, and allows one hand operation compared to the drill attachment we had earlier, which speeds up the riveting process.
| Name | Description | Link |
|---|---|---|
| Torque Wrench 3/8” | To tighten the bolts to exact specifications as per the construction manual. | https://www.harborfreight.com/38-in-drive-5-80-ft-lb-click-torque-wrench-63880.html |
| Torque Seal Indicator | For inspection in the future of the tightened bolts. | https://www.amazon.com/Viz-Torque-Tamper-Detection-Marker-Red/dp/B07Q84FX6K |
| Automatic Riveter | For one hand operation and automatic mandrill ejection. | https://www.amazon.com/Cordless-Portable-Automatic-Professional-Brushless/dp/B0CYSC1876 |