Elevator Internal Structure Assembly (Part 2)
Assembly for some of the elevator ribs is complete.
Continuing on building the internal structure for the Elevator, today we worked on attaching the counterweight bracket to the main spar along with attaching the center ribs.
Center Ribs and Bracket
Center ribs were riveted to the main spar without any issues. Additionally, the center bracket was clecoed to the main spar, and will be permanently attached in the upcoming steps. 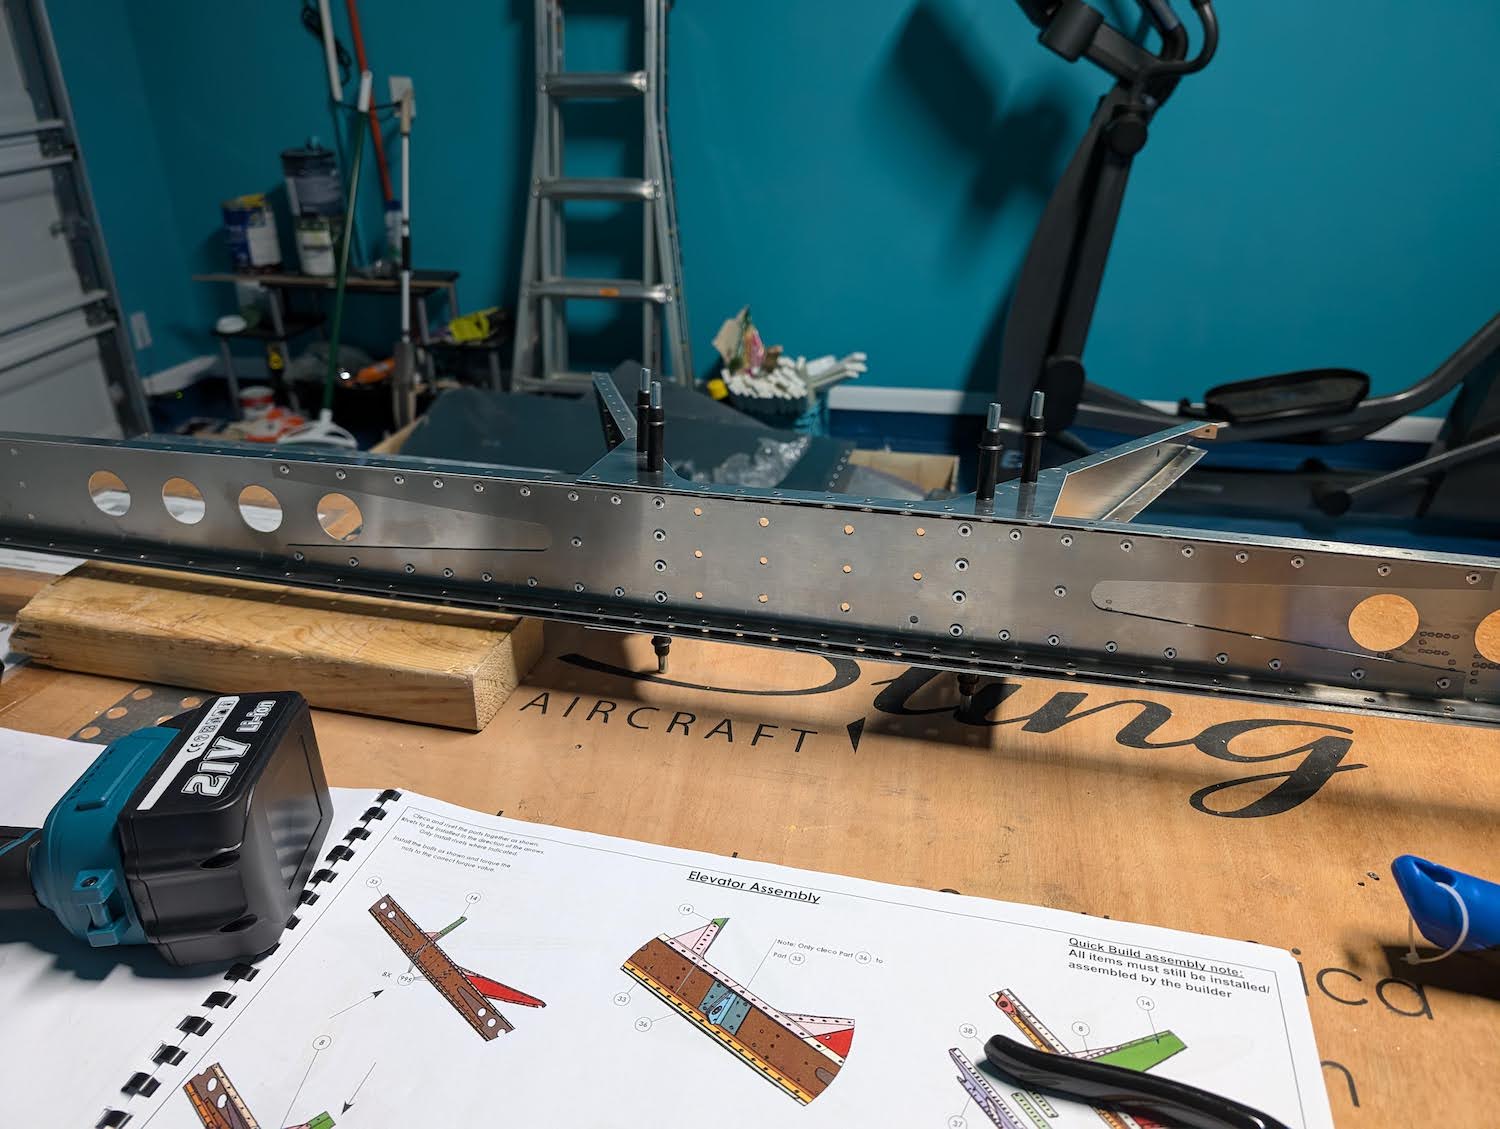 Center ribs riveted to the main spar.
 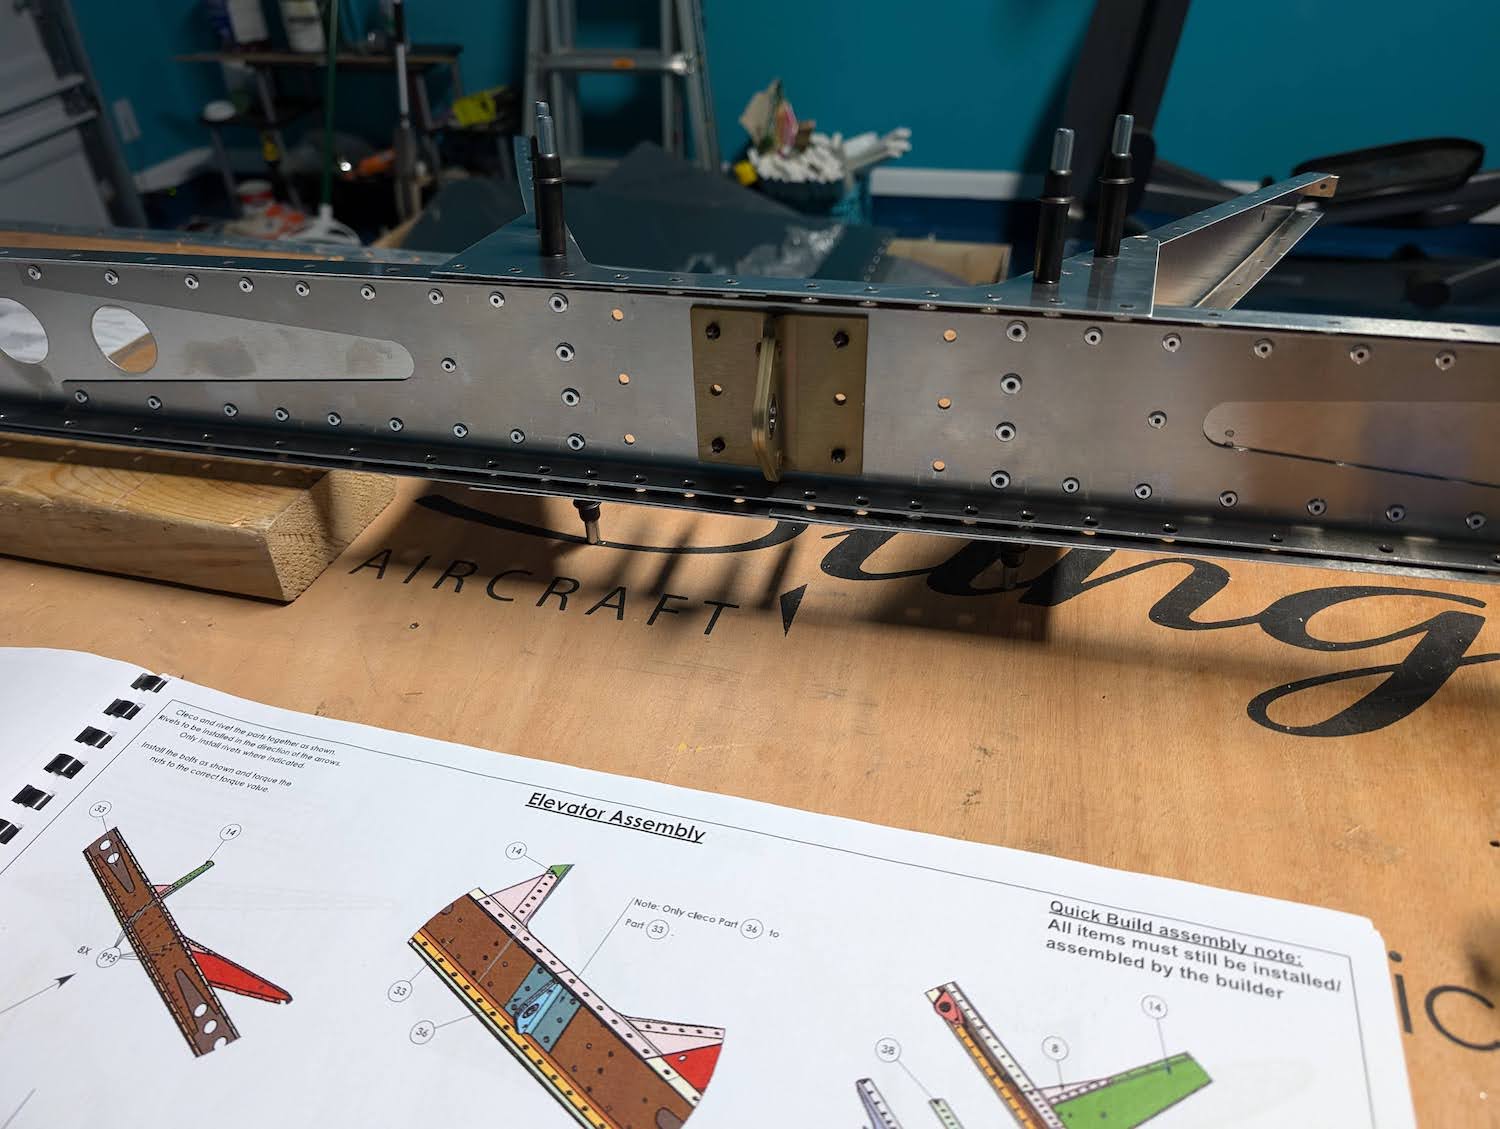 Center bracket clecoed.
Overall assembly
Overall, after the riveting of the center ribs, the main spar was riveted with some additional doublers. The key thing here was to expand the holes slightly before riveting the parts in place. 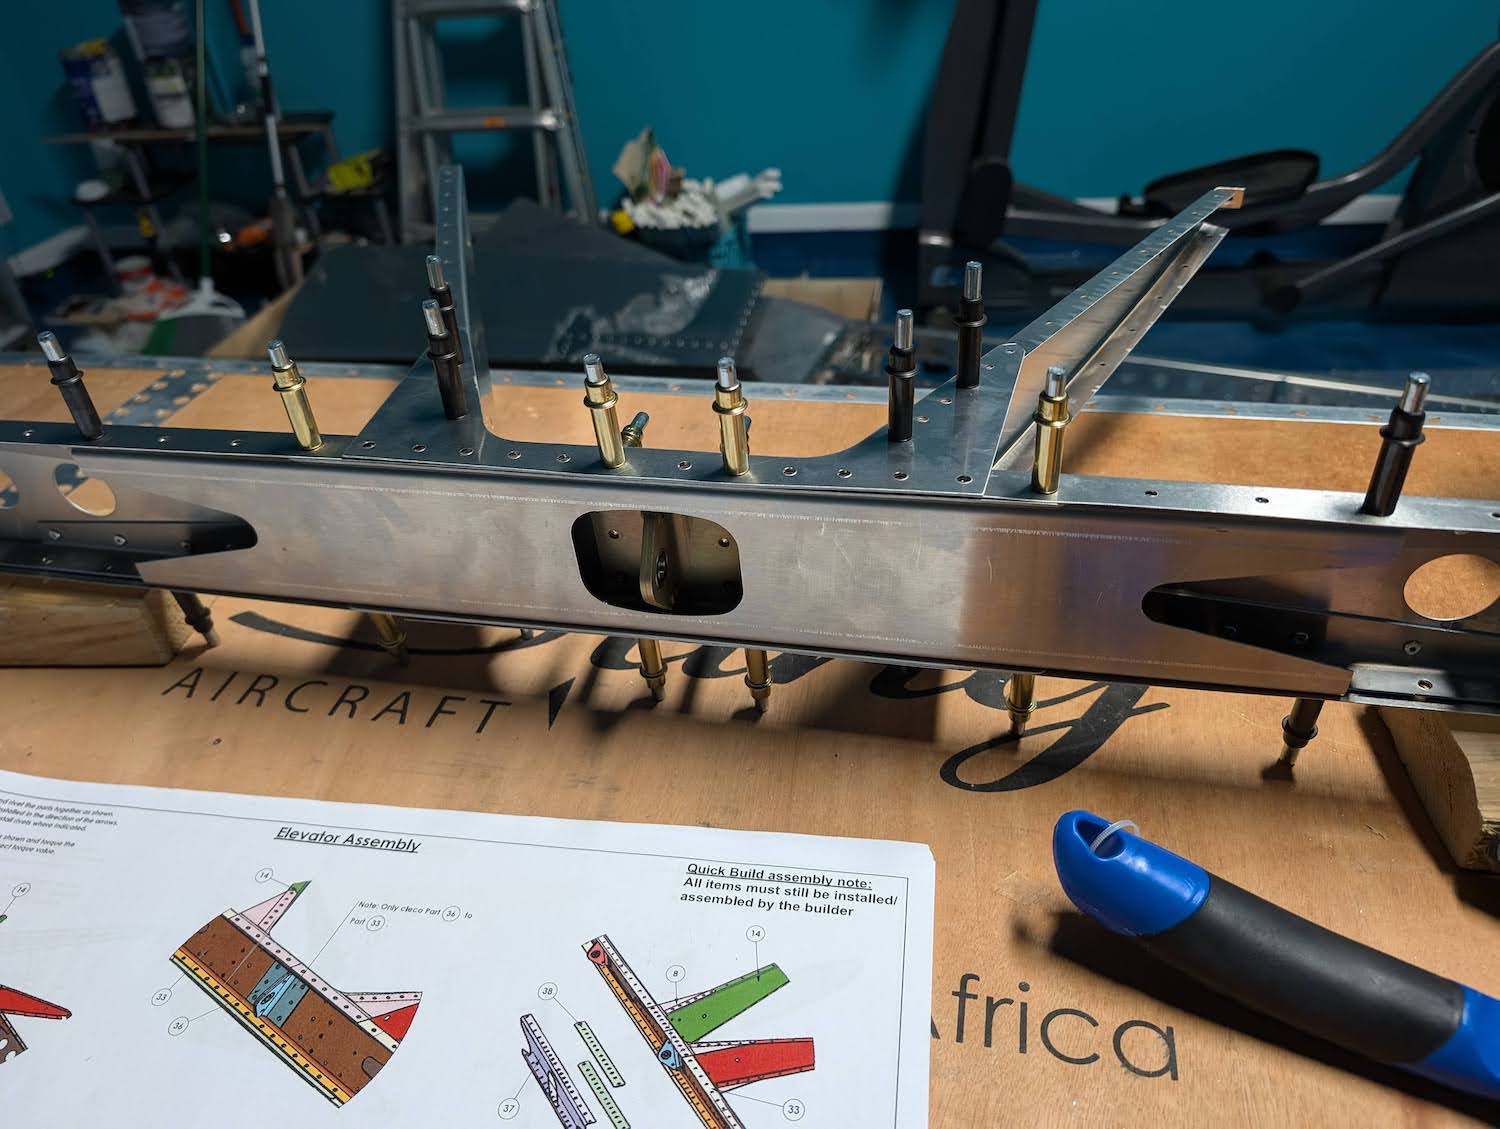 Overall assembly to the main spar.
 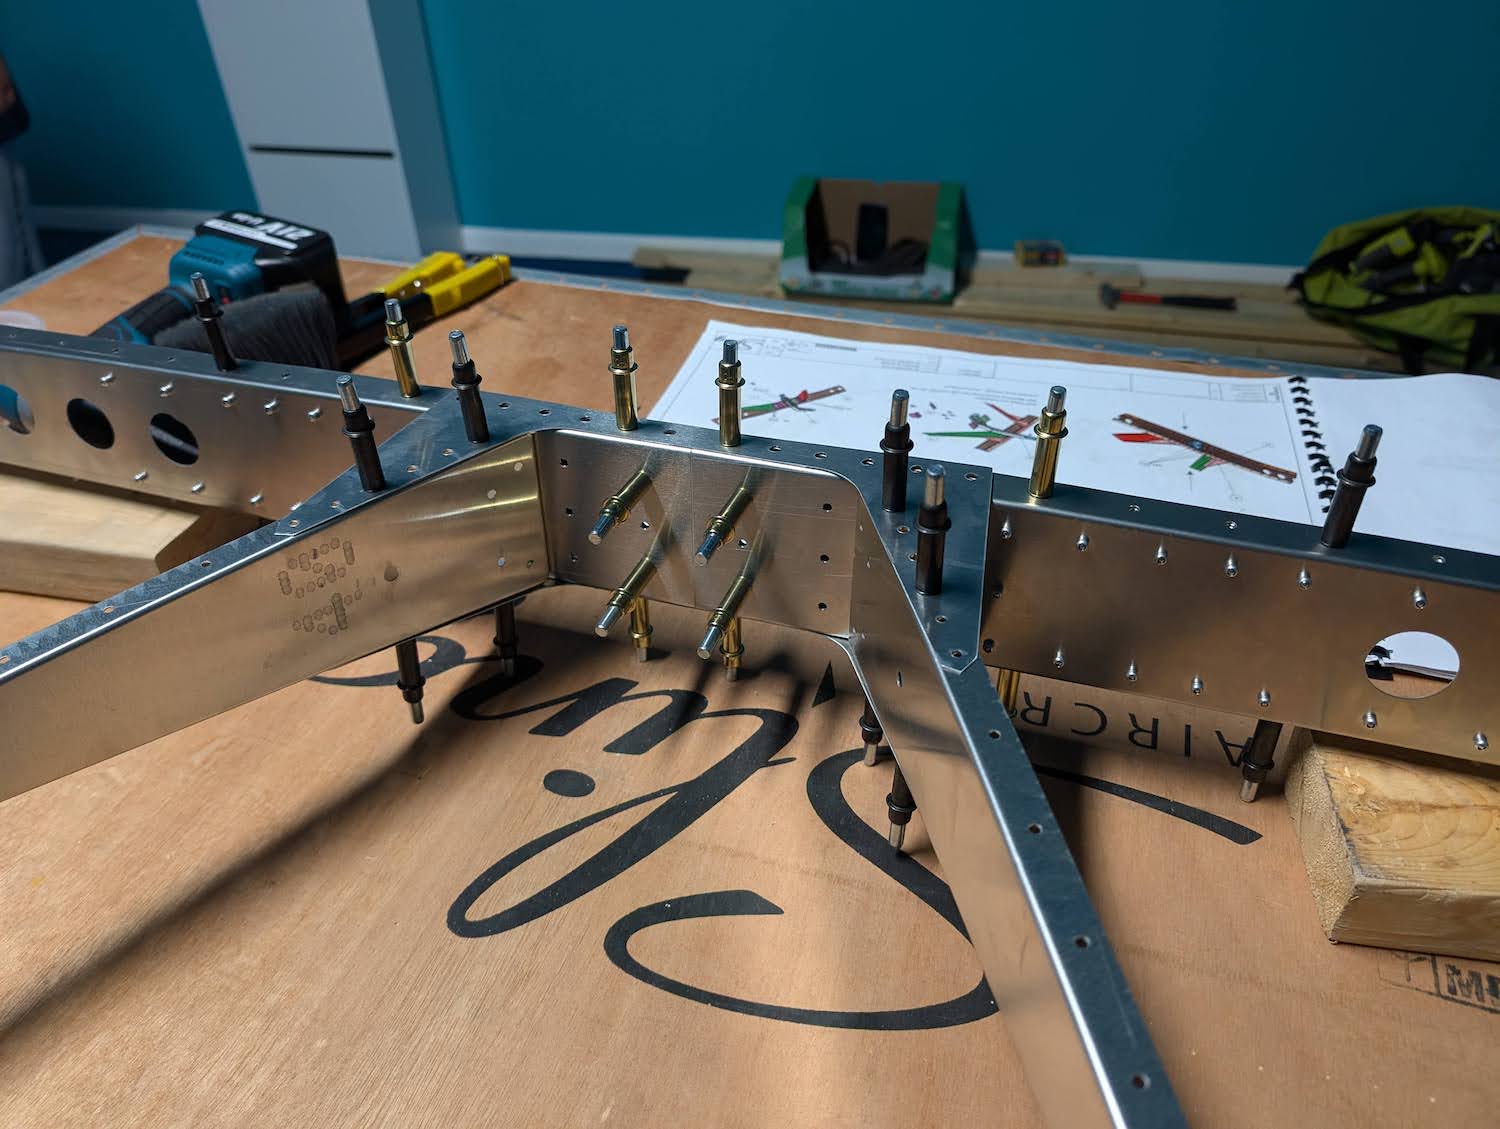 Overall assembly to the main spar.
CounterWeight assembly attachment
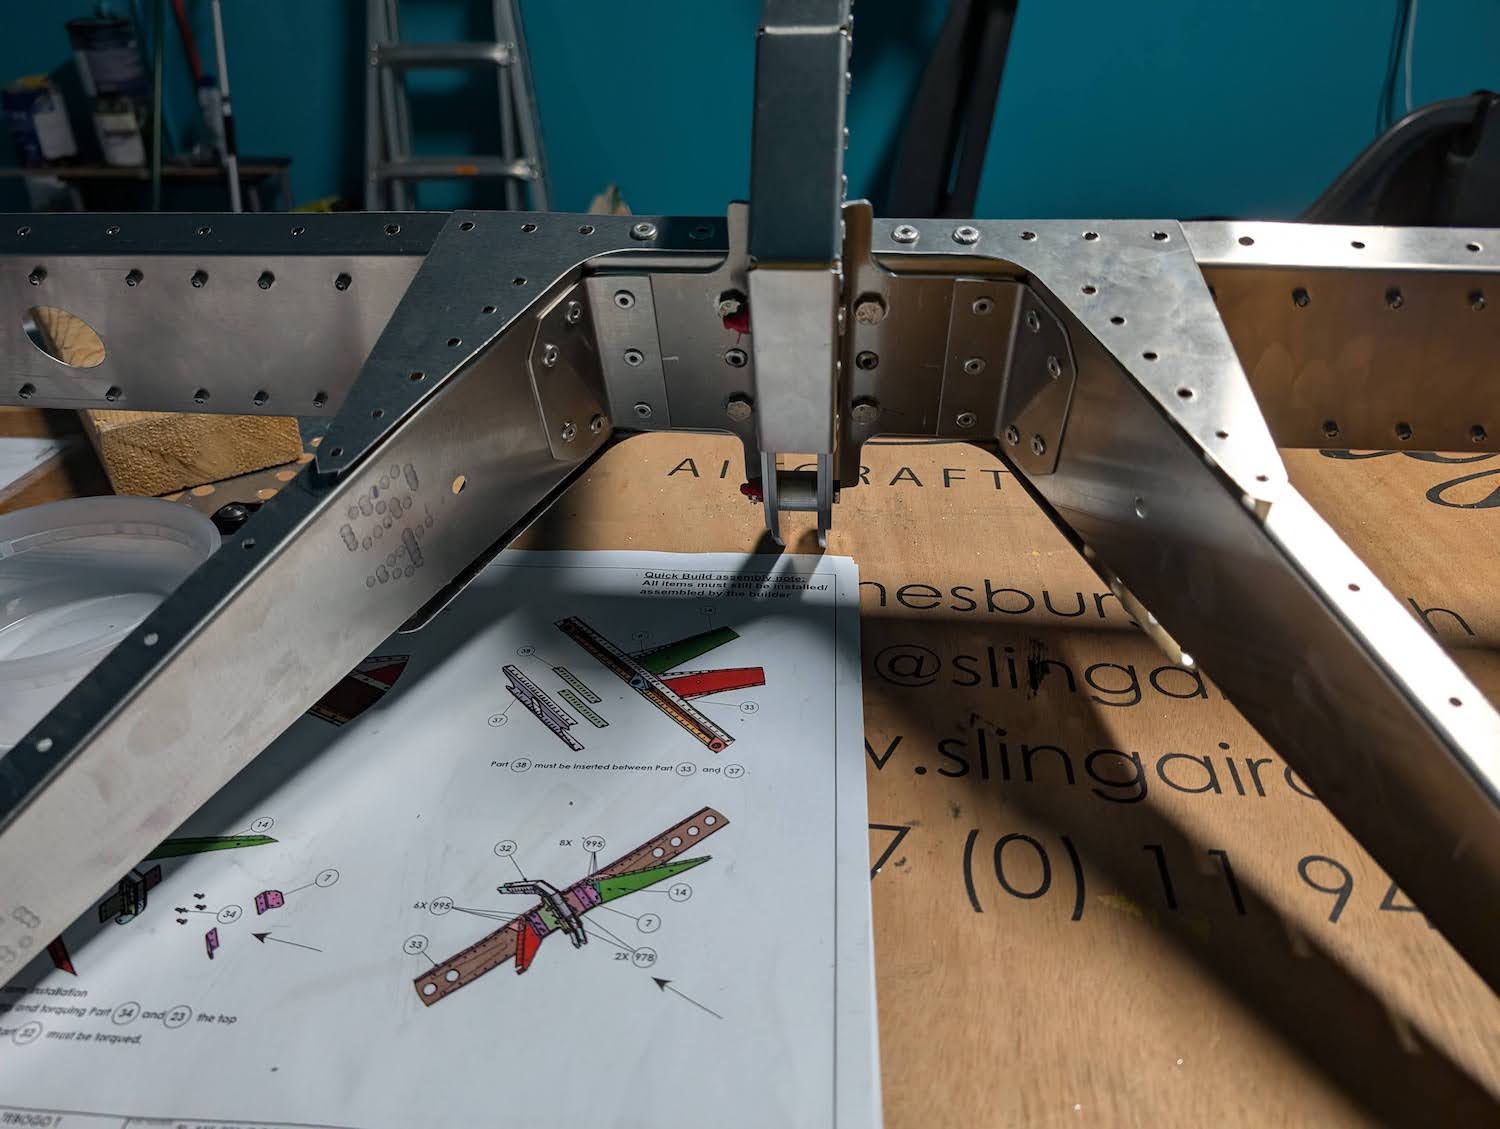
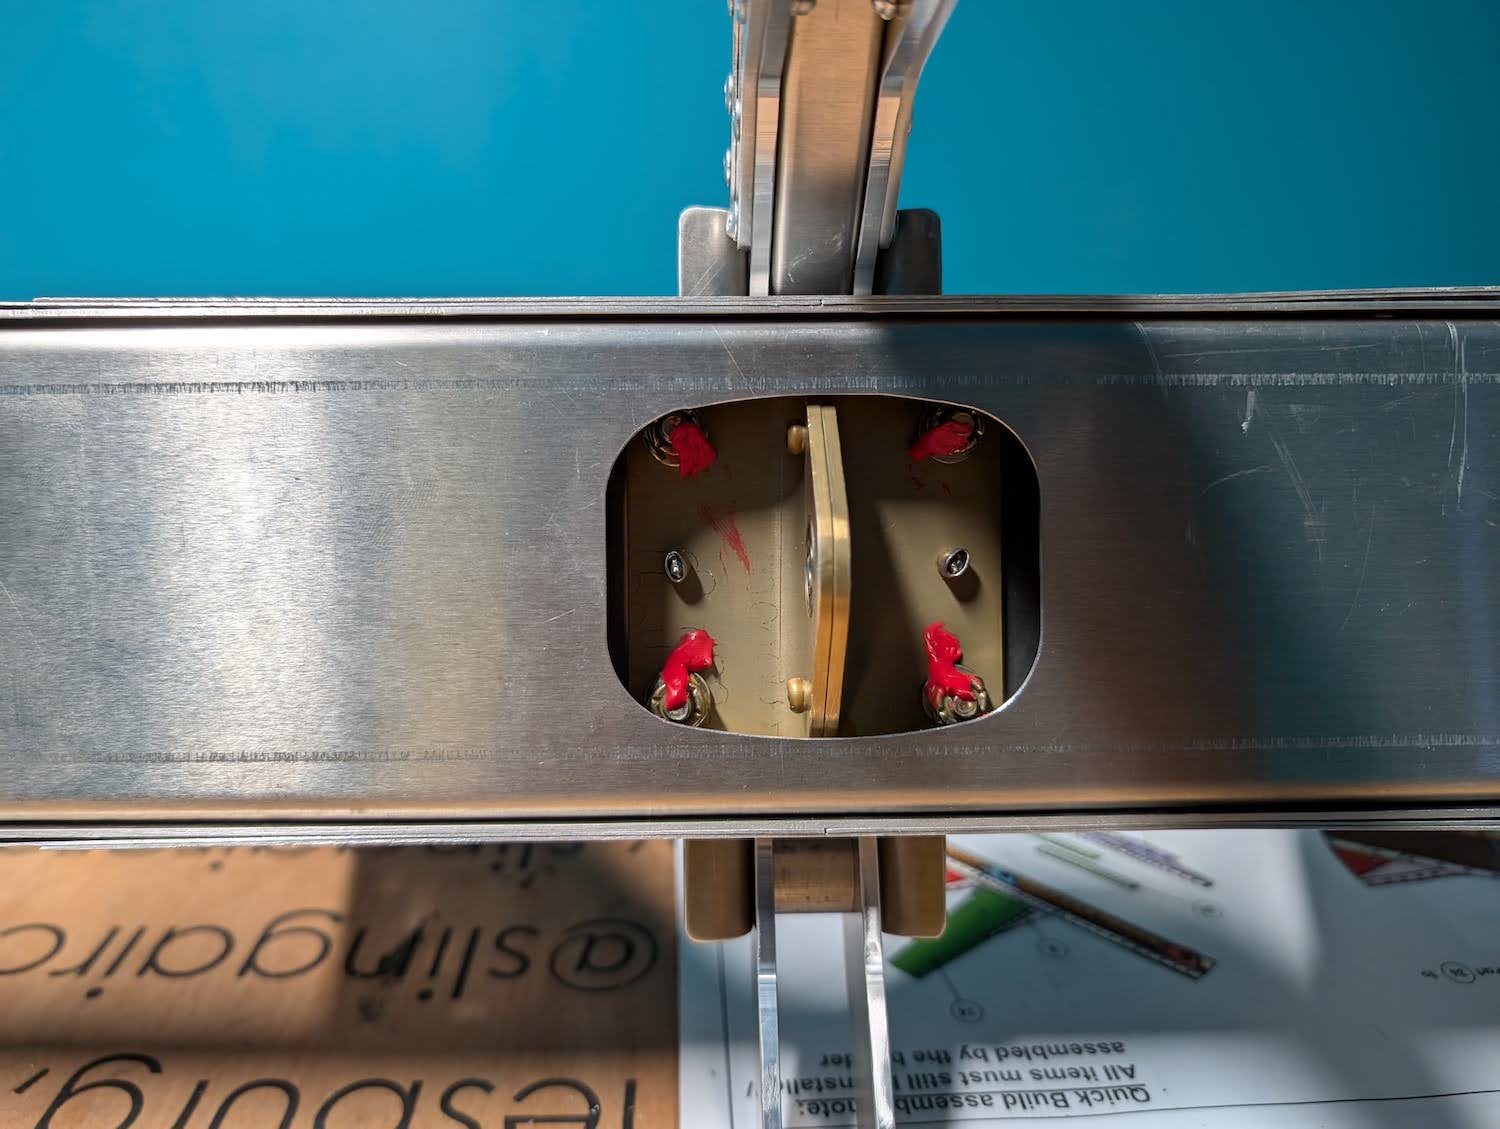
The counterweight assembly was attached to the main spar using the provided AN bolts and torqued to the correct specifications. Additionally, a torque seal was also applied for inspection purposes. 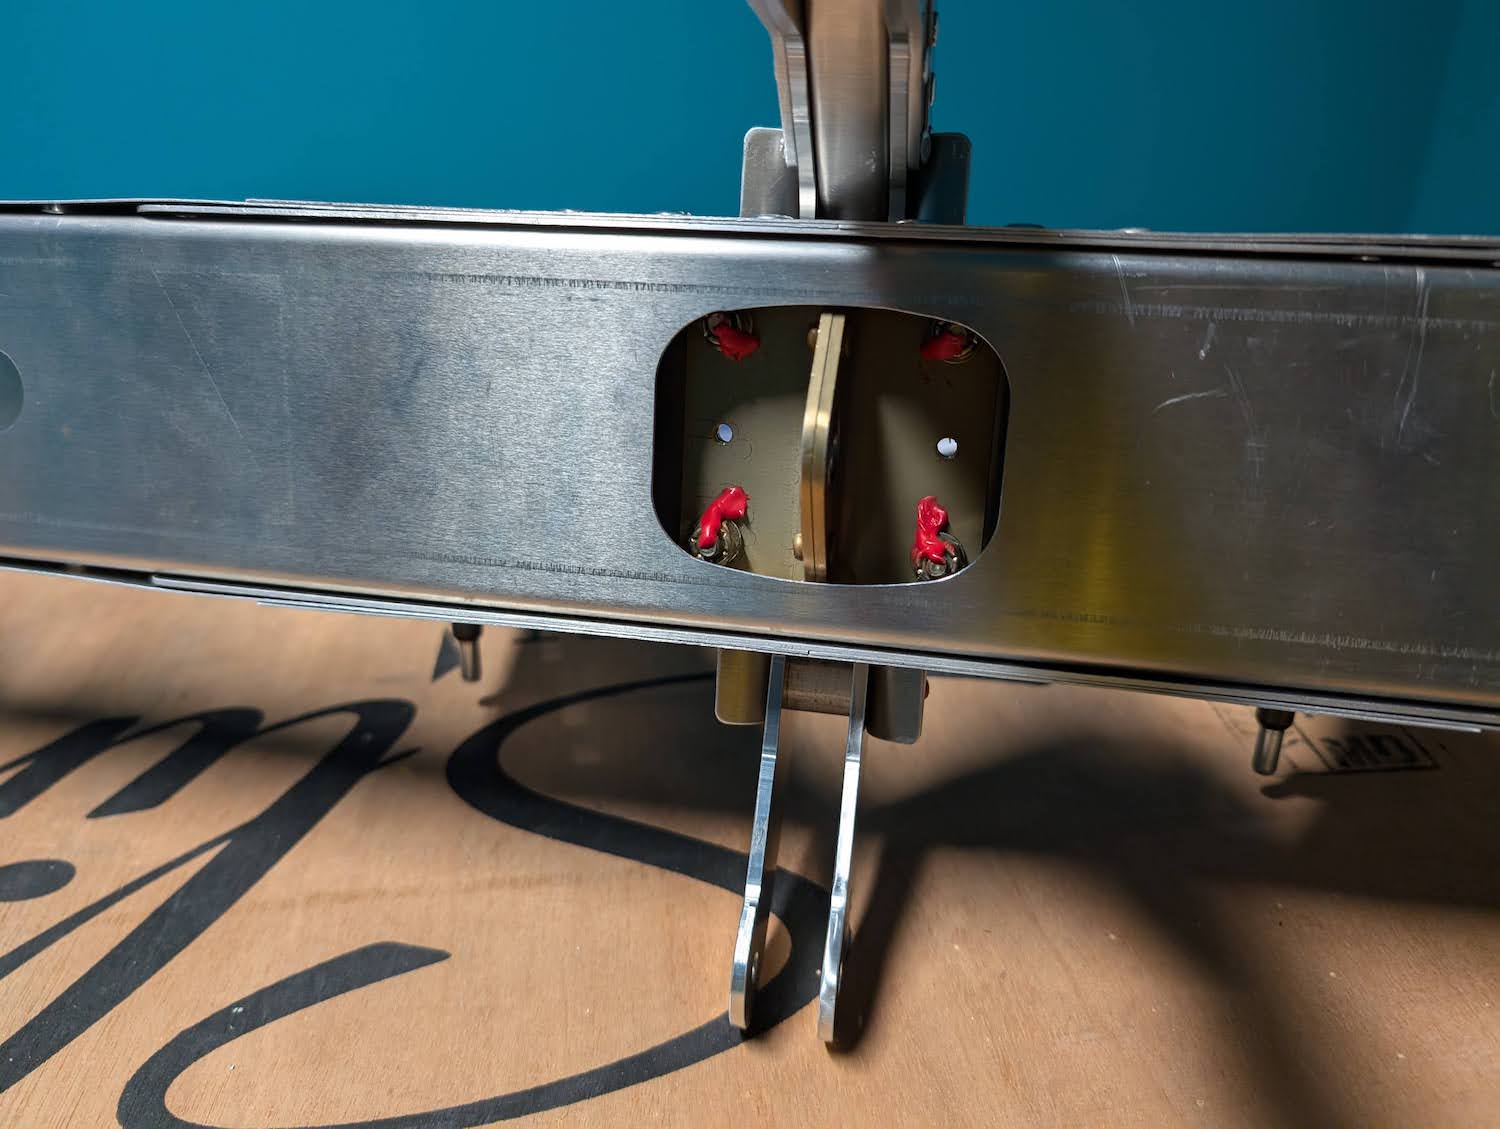 CW assembly bolted to the main spar.
 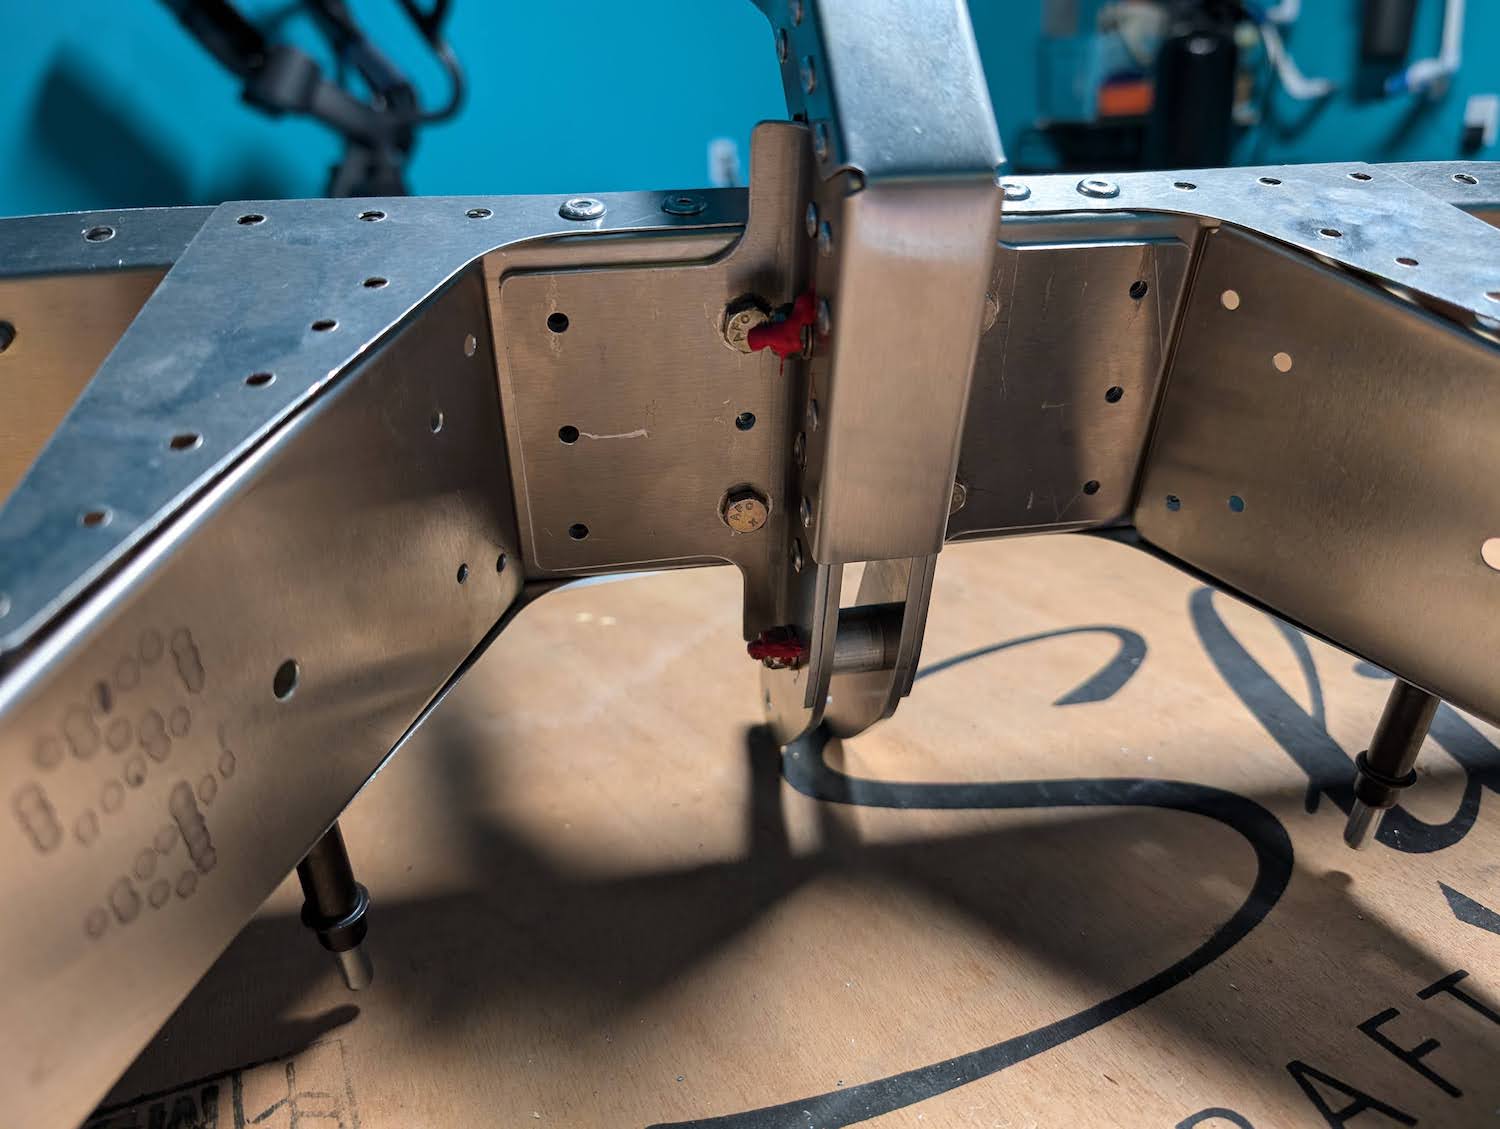 CW assembly bolted to the main spar, forward view.
Overall riveting
Most of the rivets were an easy fit with enough clecos in place, however some rivets need the hole to be expanded slightly before applying the rivets. 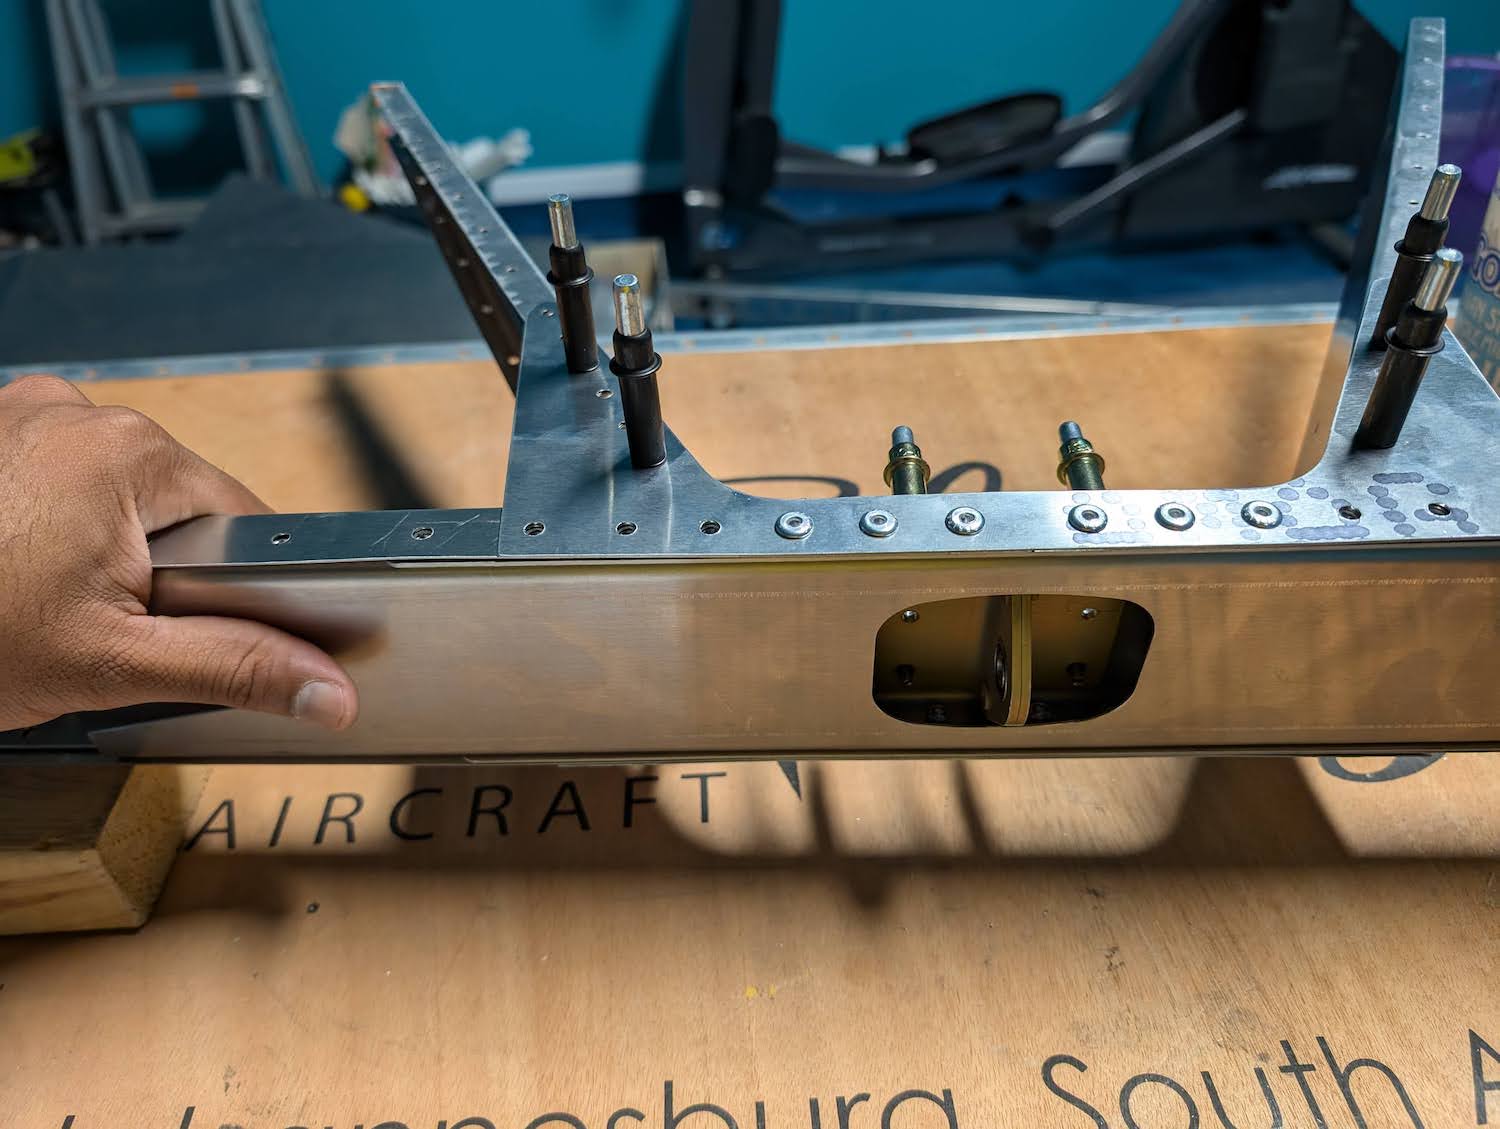 Main spar riveted to doublers.
 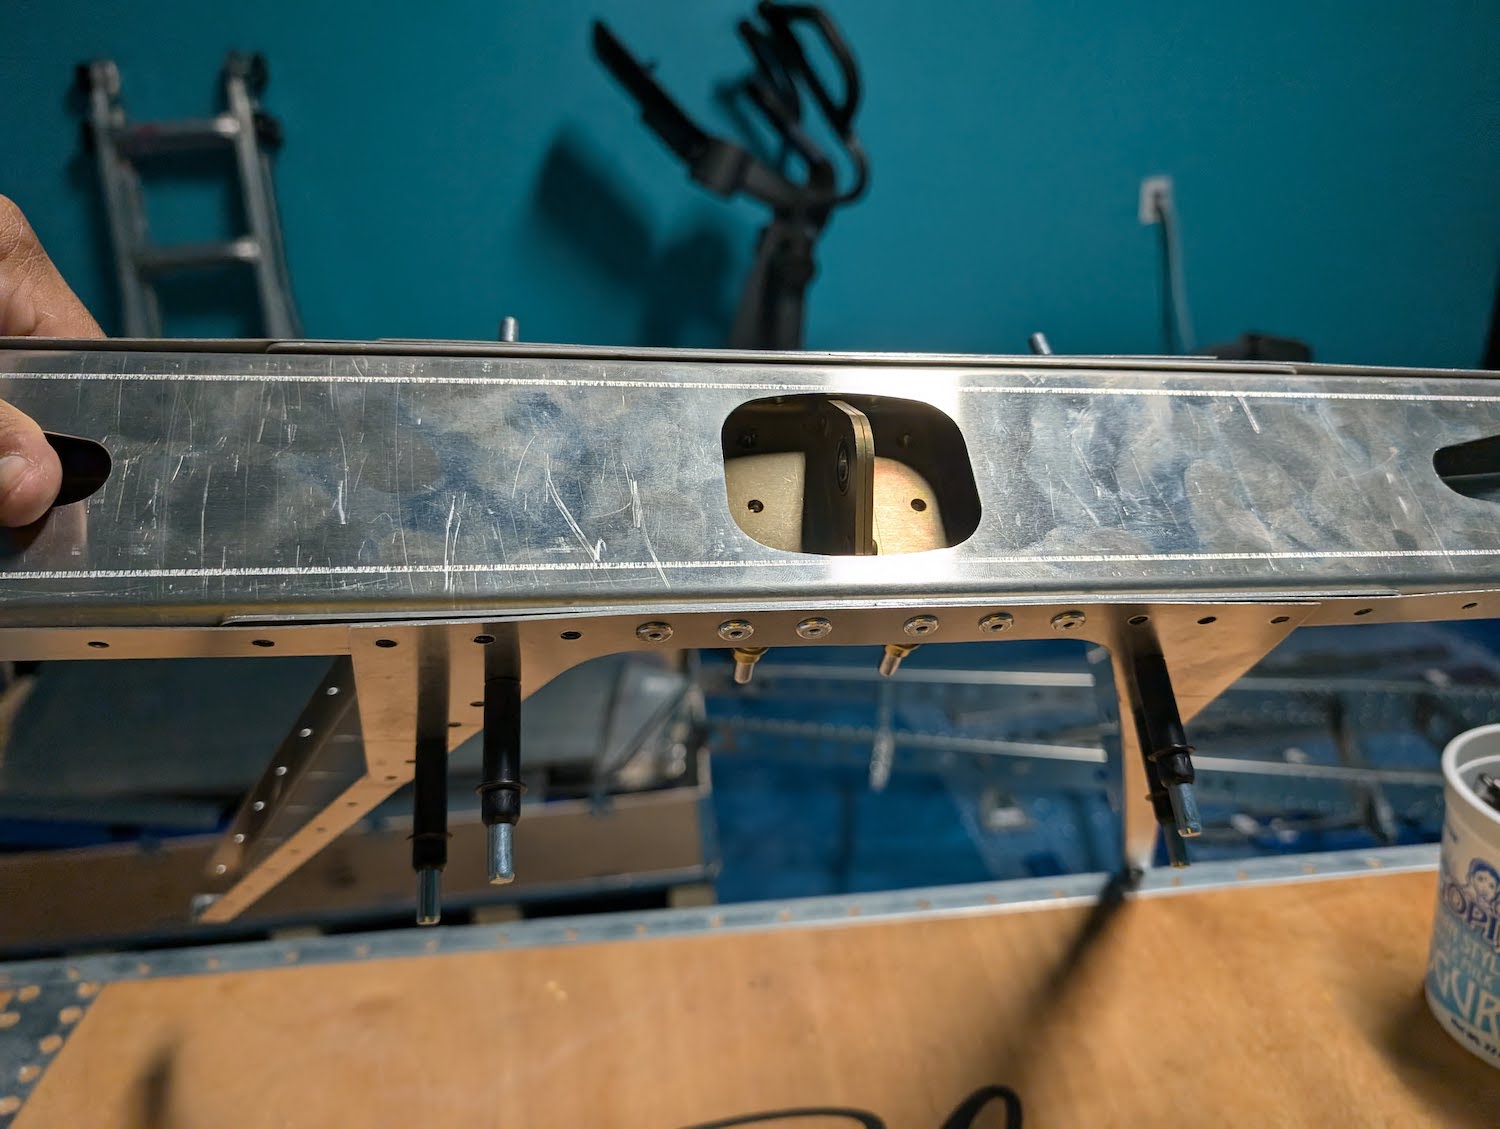 Main spar riveted to doublers.
  Overall riveted internal structure.
  Overall riveted internal structure.
 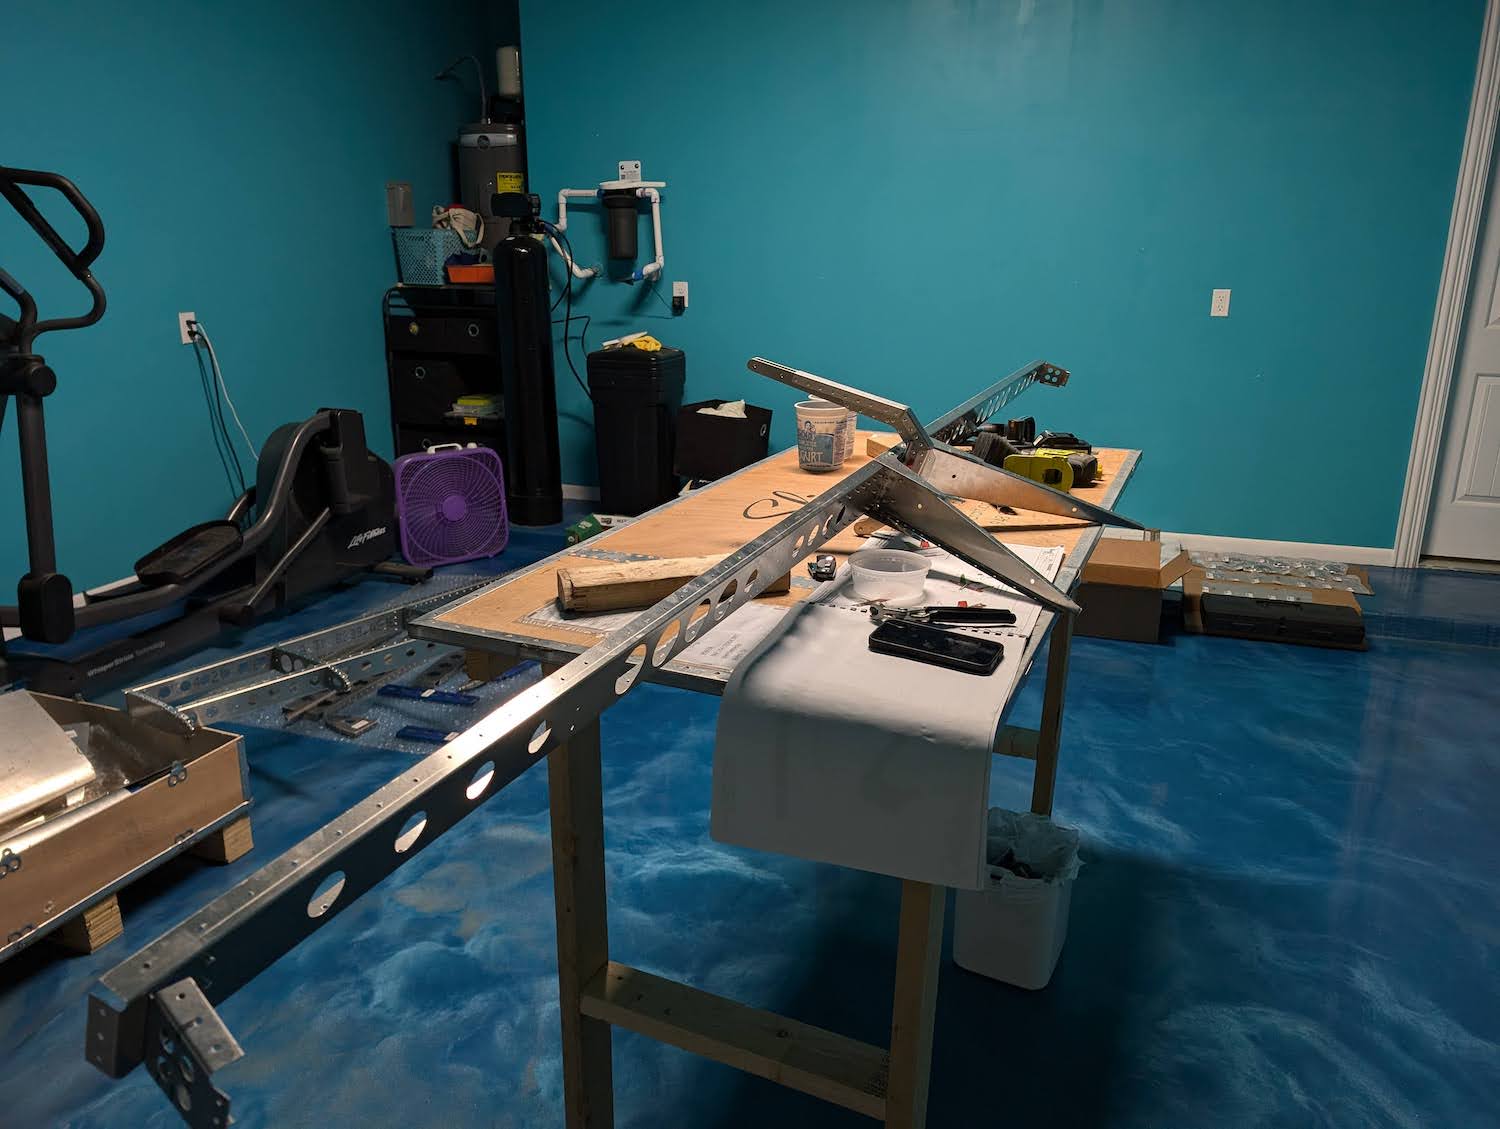 Overall riveted internal structure.