Elevator Skins Assembly
Elevator skins have been assembled tempeorarily using clecos.
The temporary assembly of the elevator skins using clecos is complete, and for the most part ready for riveting. Clecoing the skins was not too difficult provided you follow the sequence of riveting one side first, then flip it over to do the other side, and repeat that sequence for both left and right skin.
Photos
Below are the photos for the skin assembly. Only the inner protective covering was removed, the outer one will be removed right before riveting. Another caveat was a few of the holes for the edge skin were not drilled, so a 3.2mm drill bit was used to drill that hole while holding the parts in place using clecos (critical step). 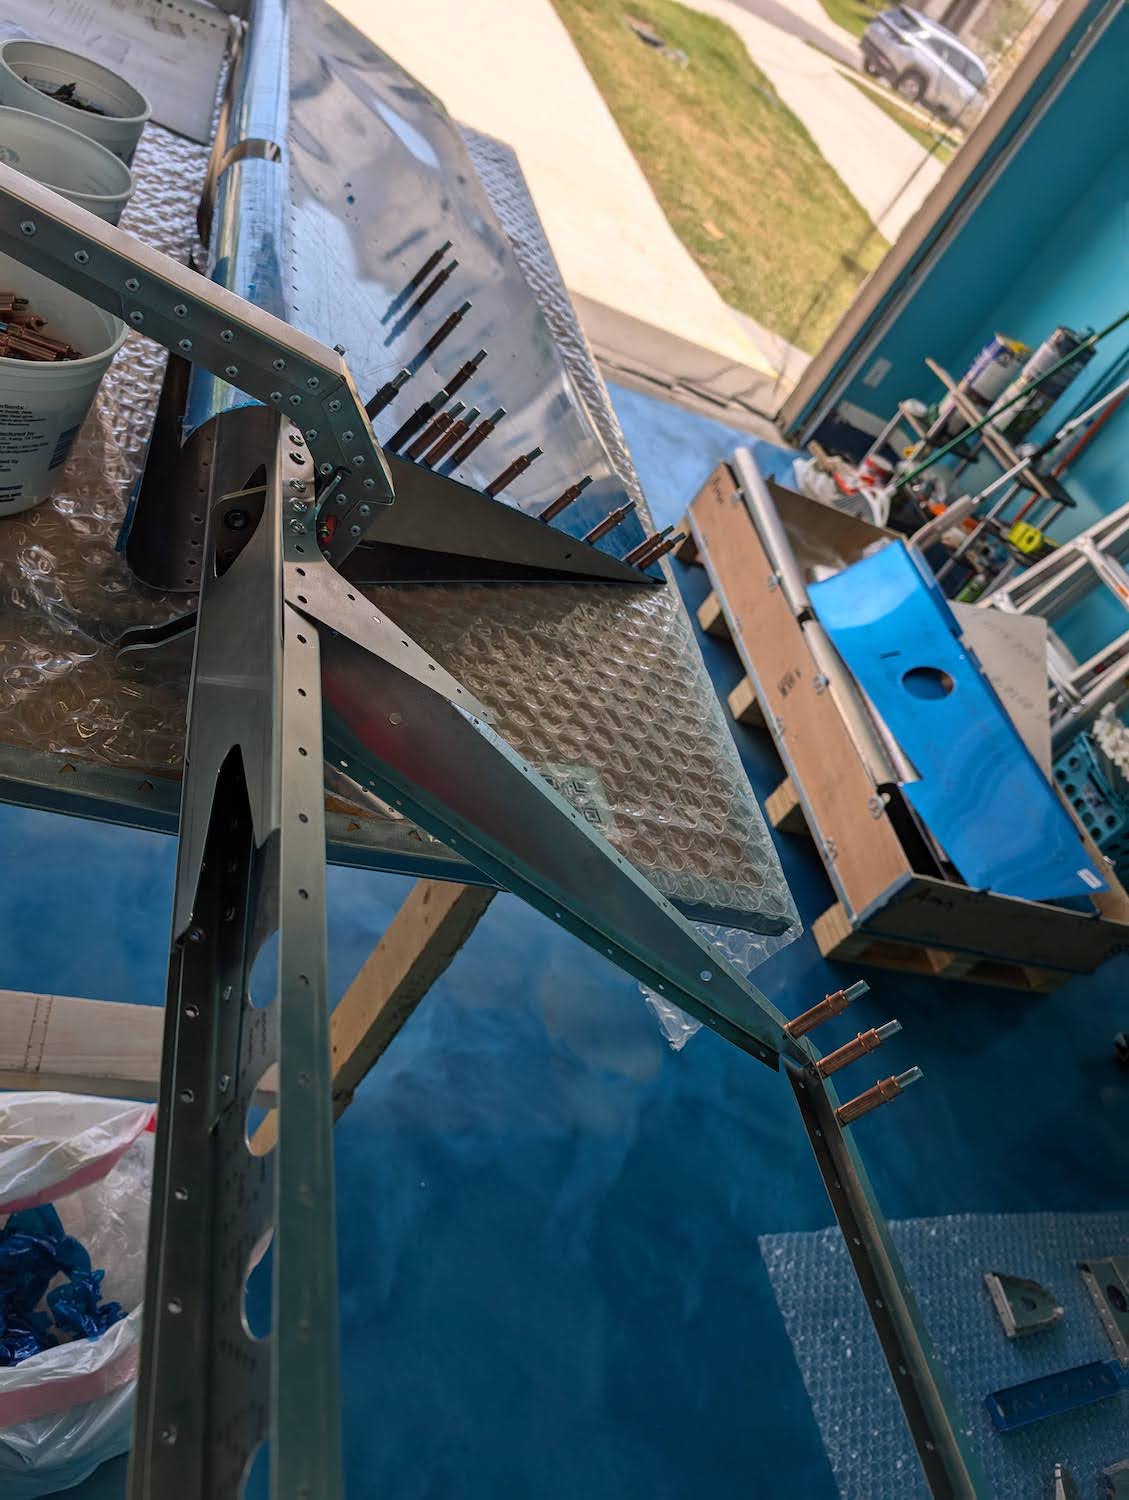 Skins assembly beginning, starting with one side.
 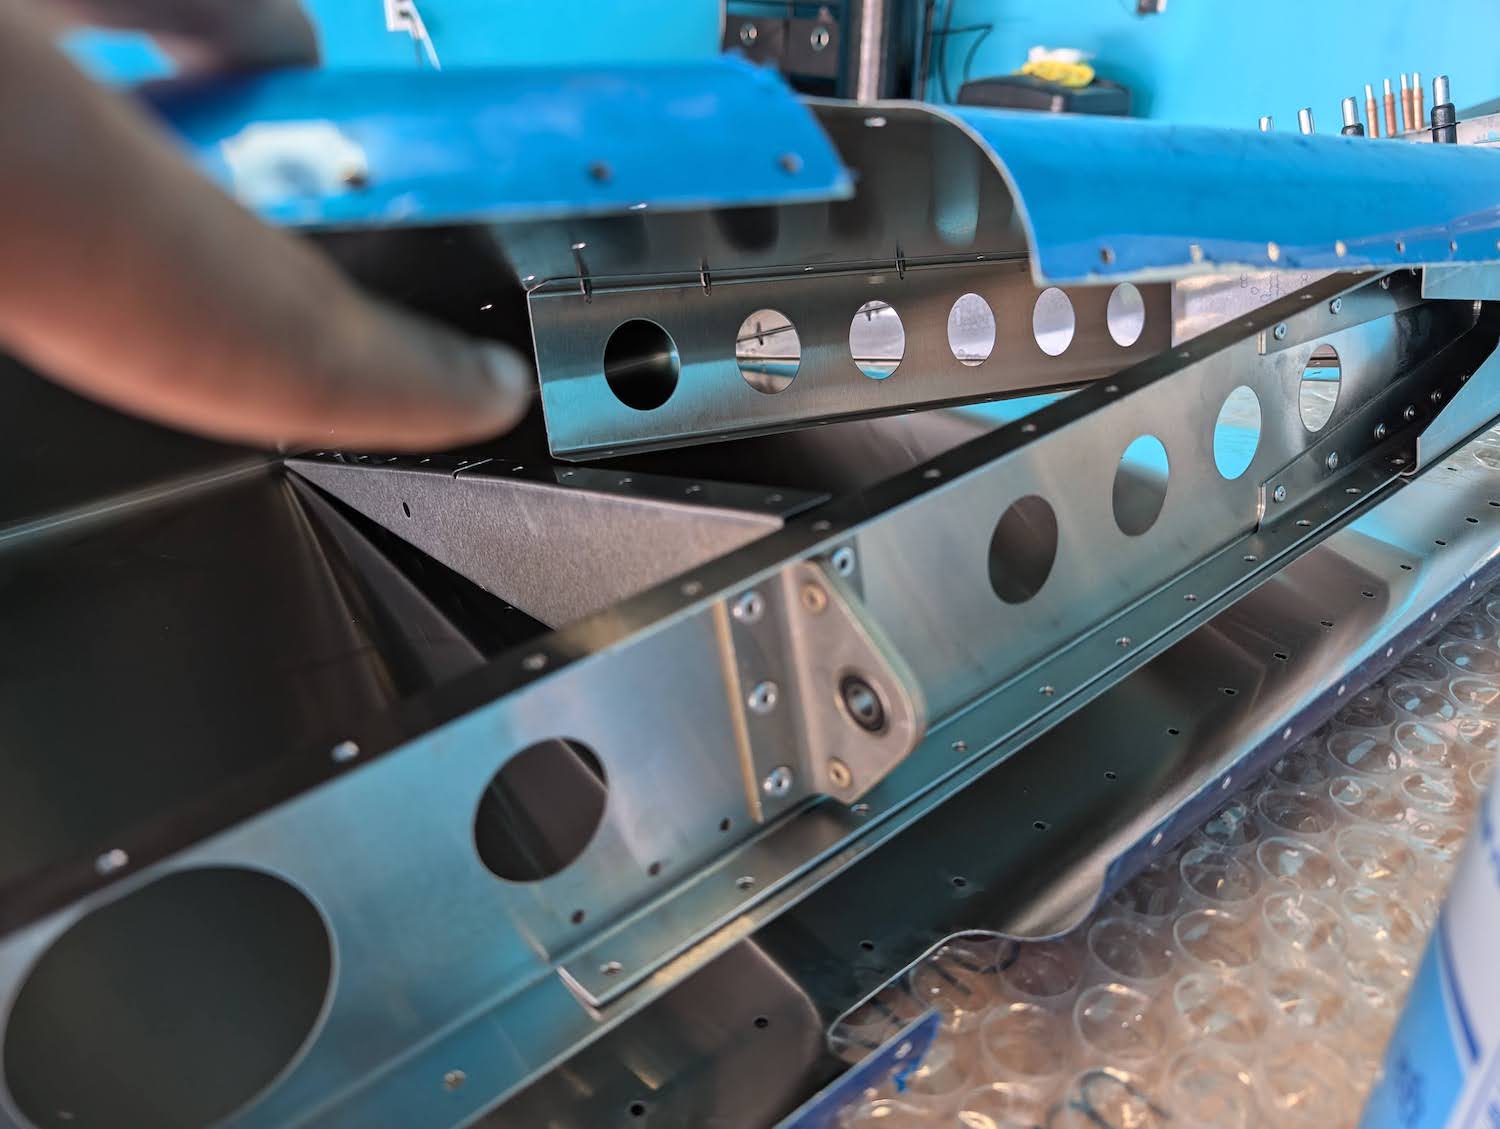 Inner skin spar clecoed to the skin on one side, before moving on to the other.
  Skins temporarily assembled using clecos. Top Side.
 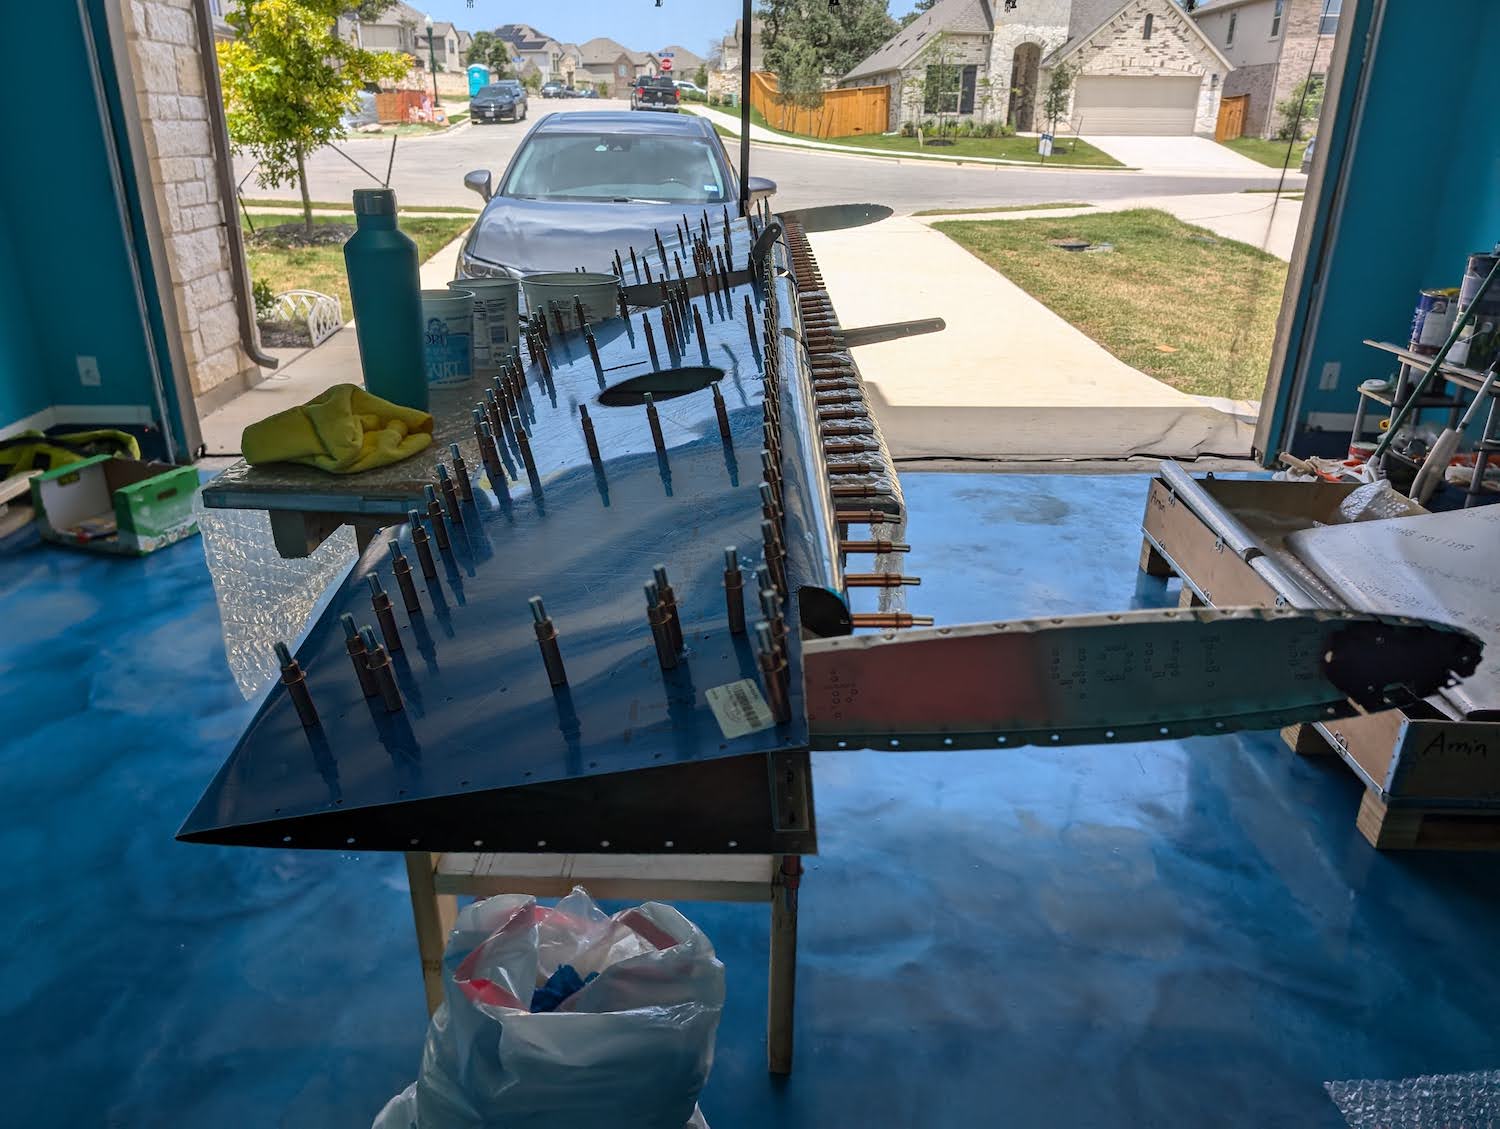 Skins temporarily assembled using clecos. Bottom Side.
 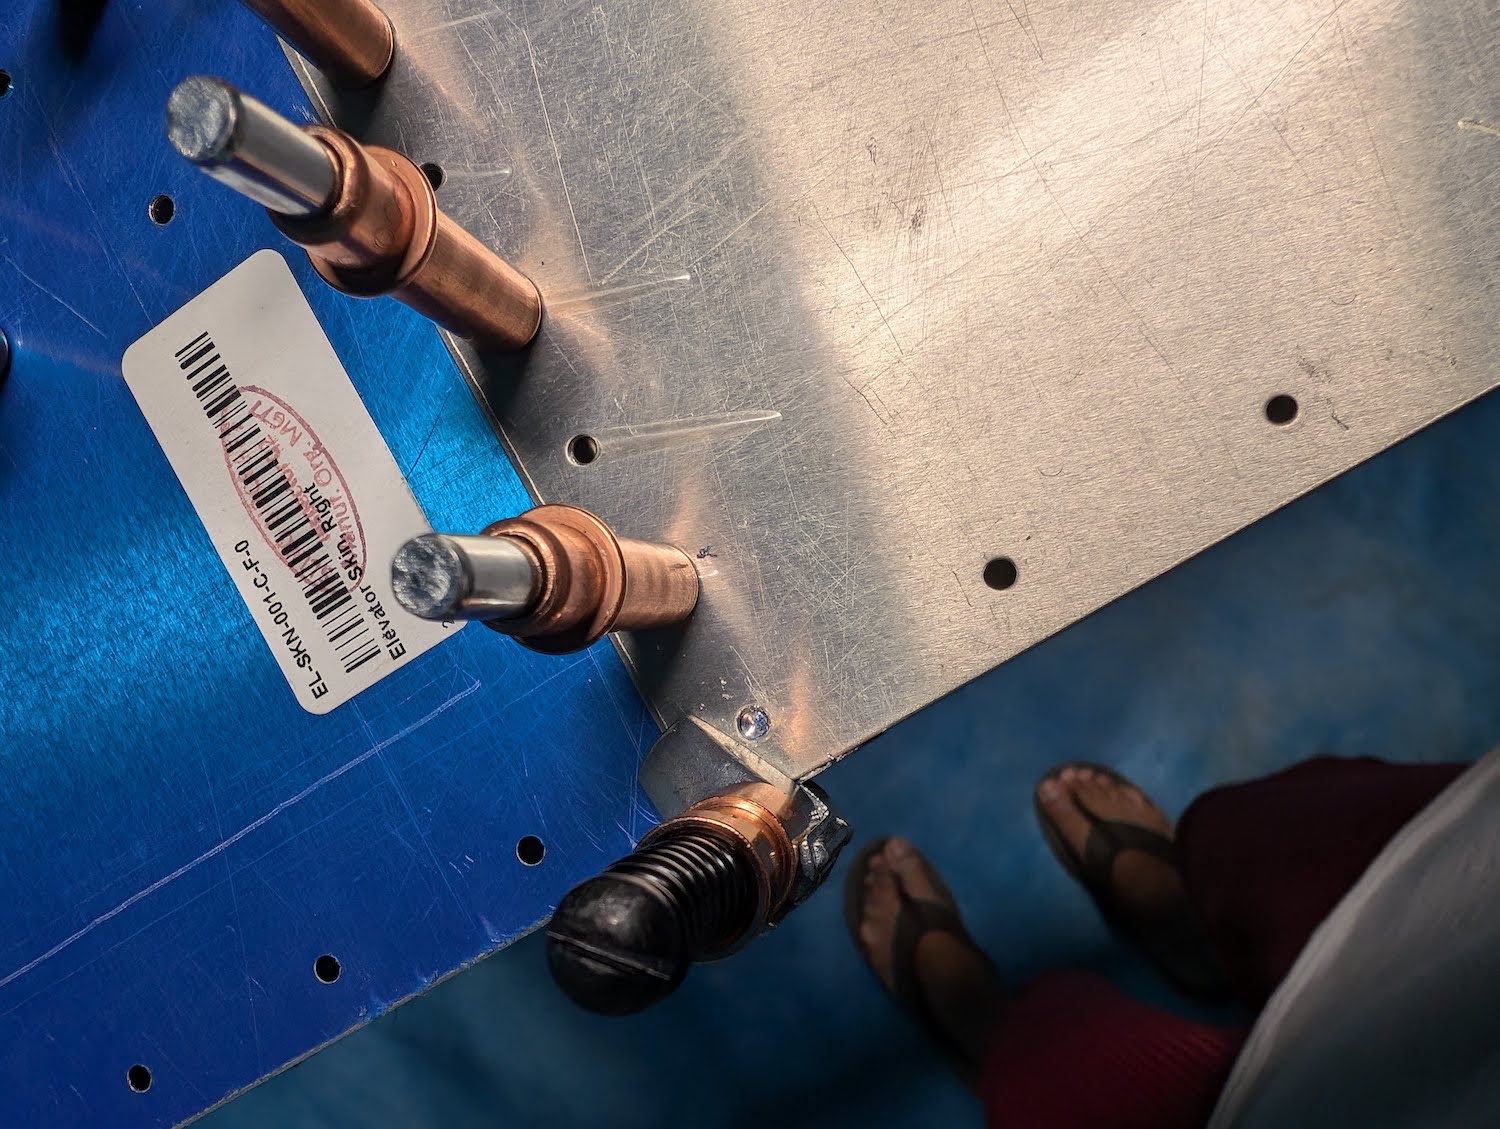 Missing hold drilled, holding with a clamp type cleco was critical.
 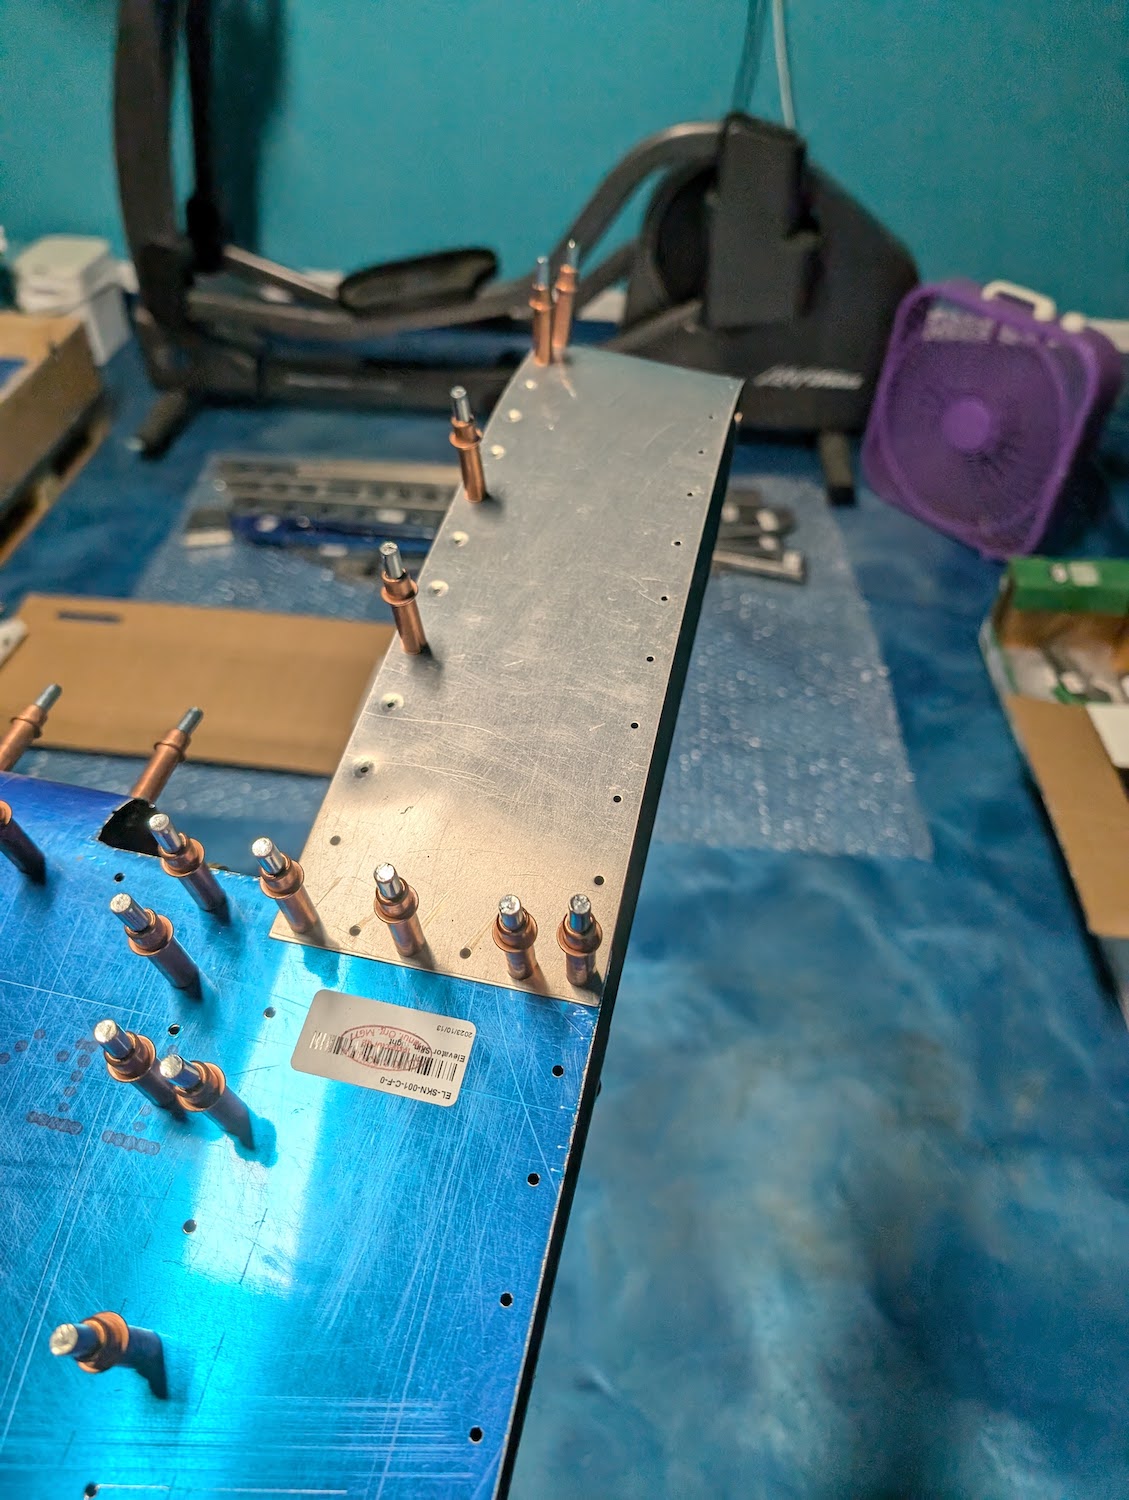 Edge skin clecoed.
 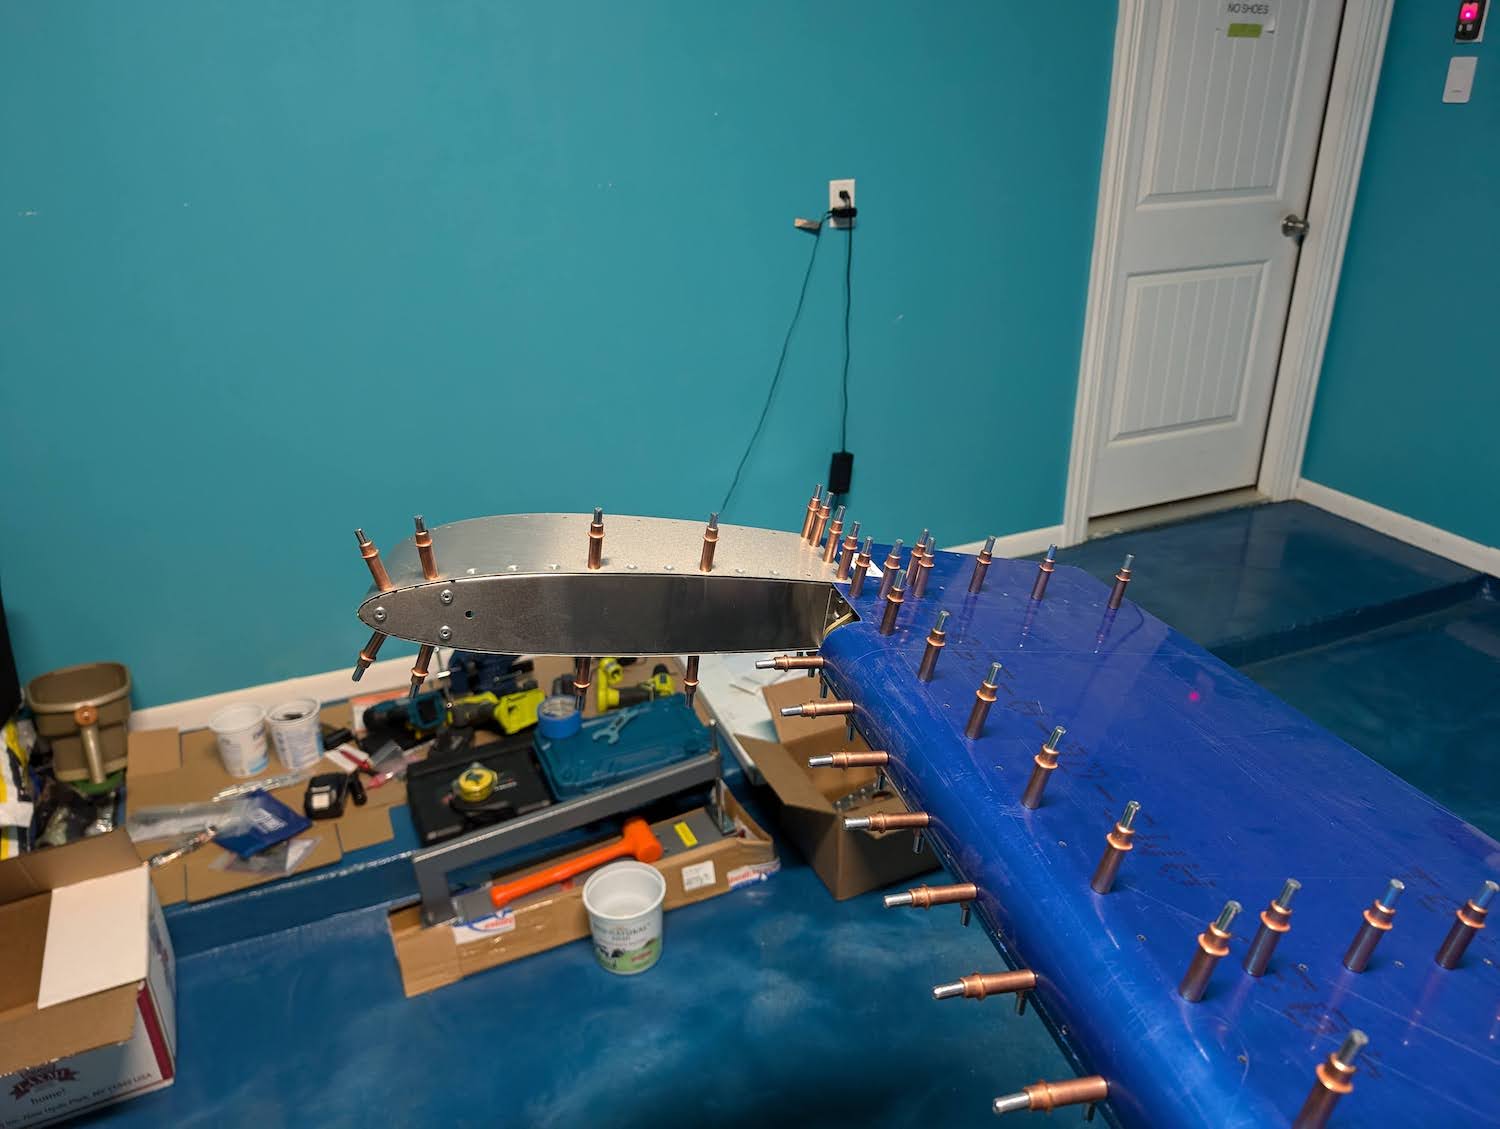 Edge skin clecoed.