Elevator Tip Skins Riveting + Inspection Hatch
Riveting for elevator tip skins is complete, and inspection hatch is also added.
We finished riveting for the elevator tip skins, which involved the fiberglass tips as well. Additionally, inspection hatch was also added to the bottom of the left side skin.
Assembly
Assembly using clecos was pretty straightforward, a good amount of holes needed cleaning with a 3.2mm drill bit. The sequence here was to cleco from rear to front of the skin, and doing one side at a time. Additionally, the fiberglass tips also needed holes to be drilled, along with countersinking the front holes to account for flat finish rivets. 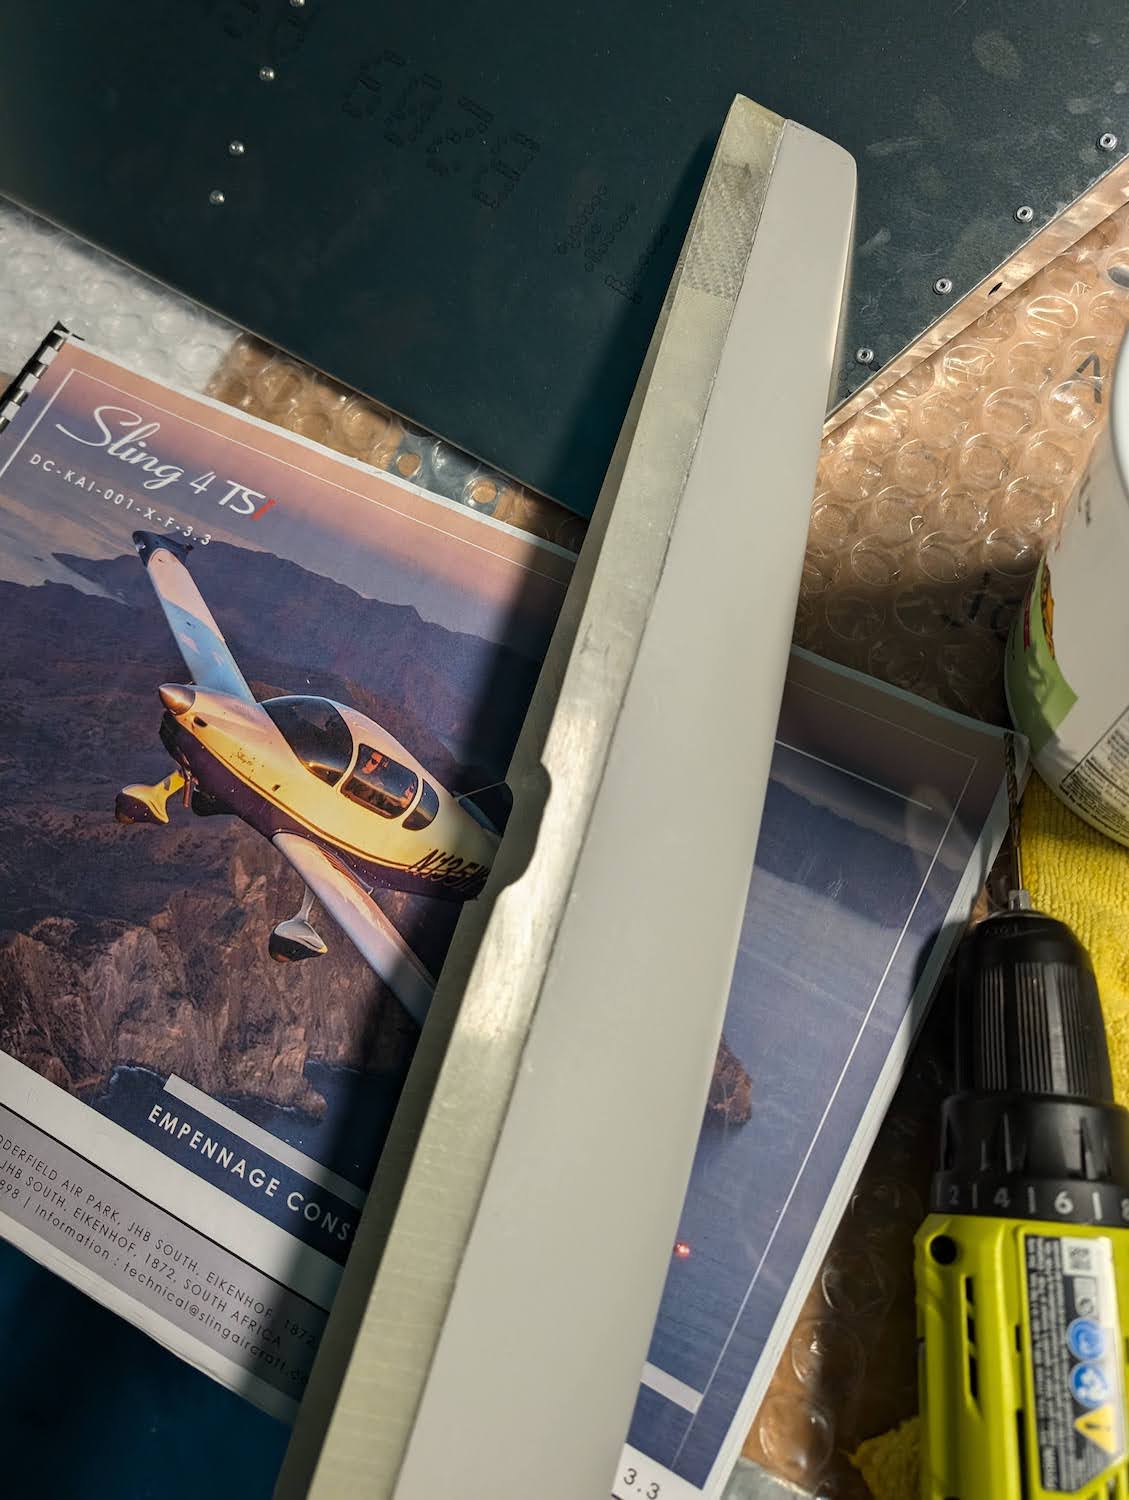 Fiberglass tips with notches sanded in between to fit in place.
 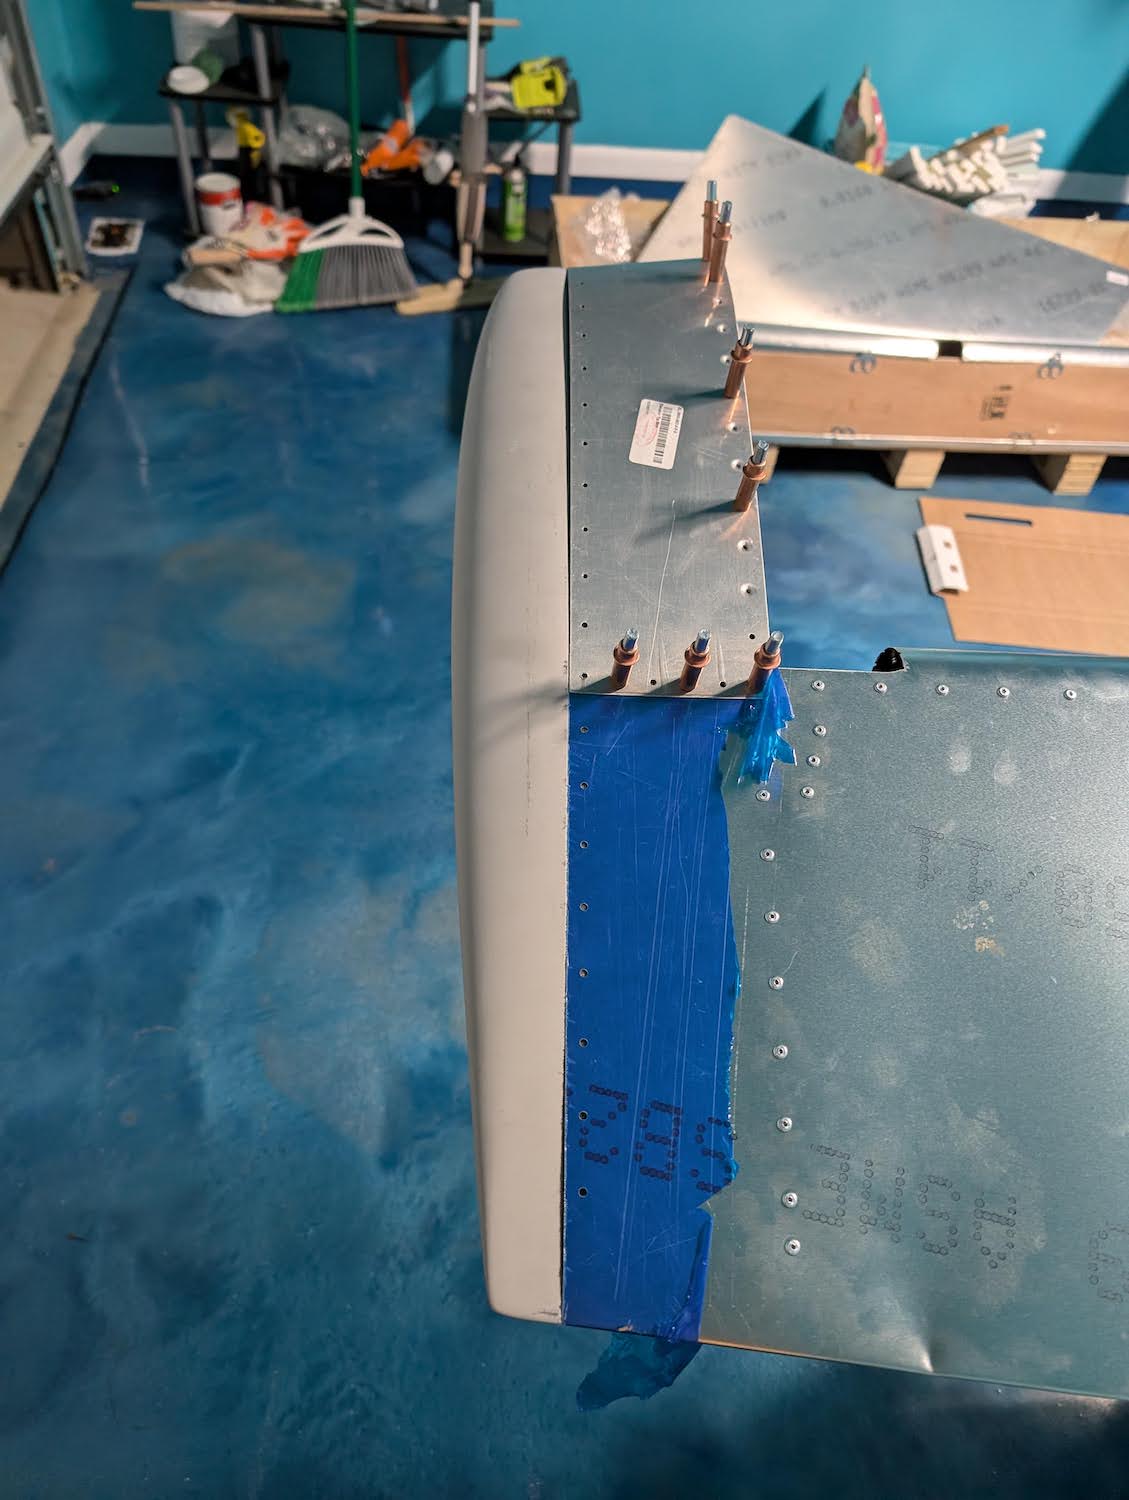 Fiberglass tips in place before drilling mounting holes in them.
 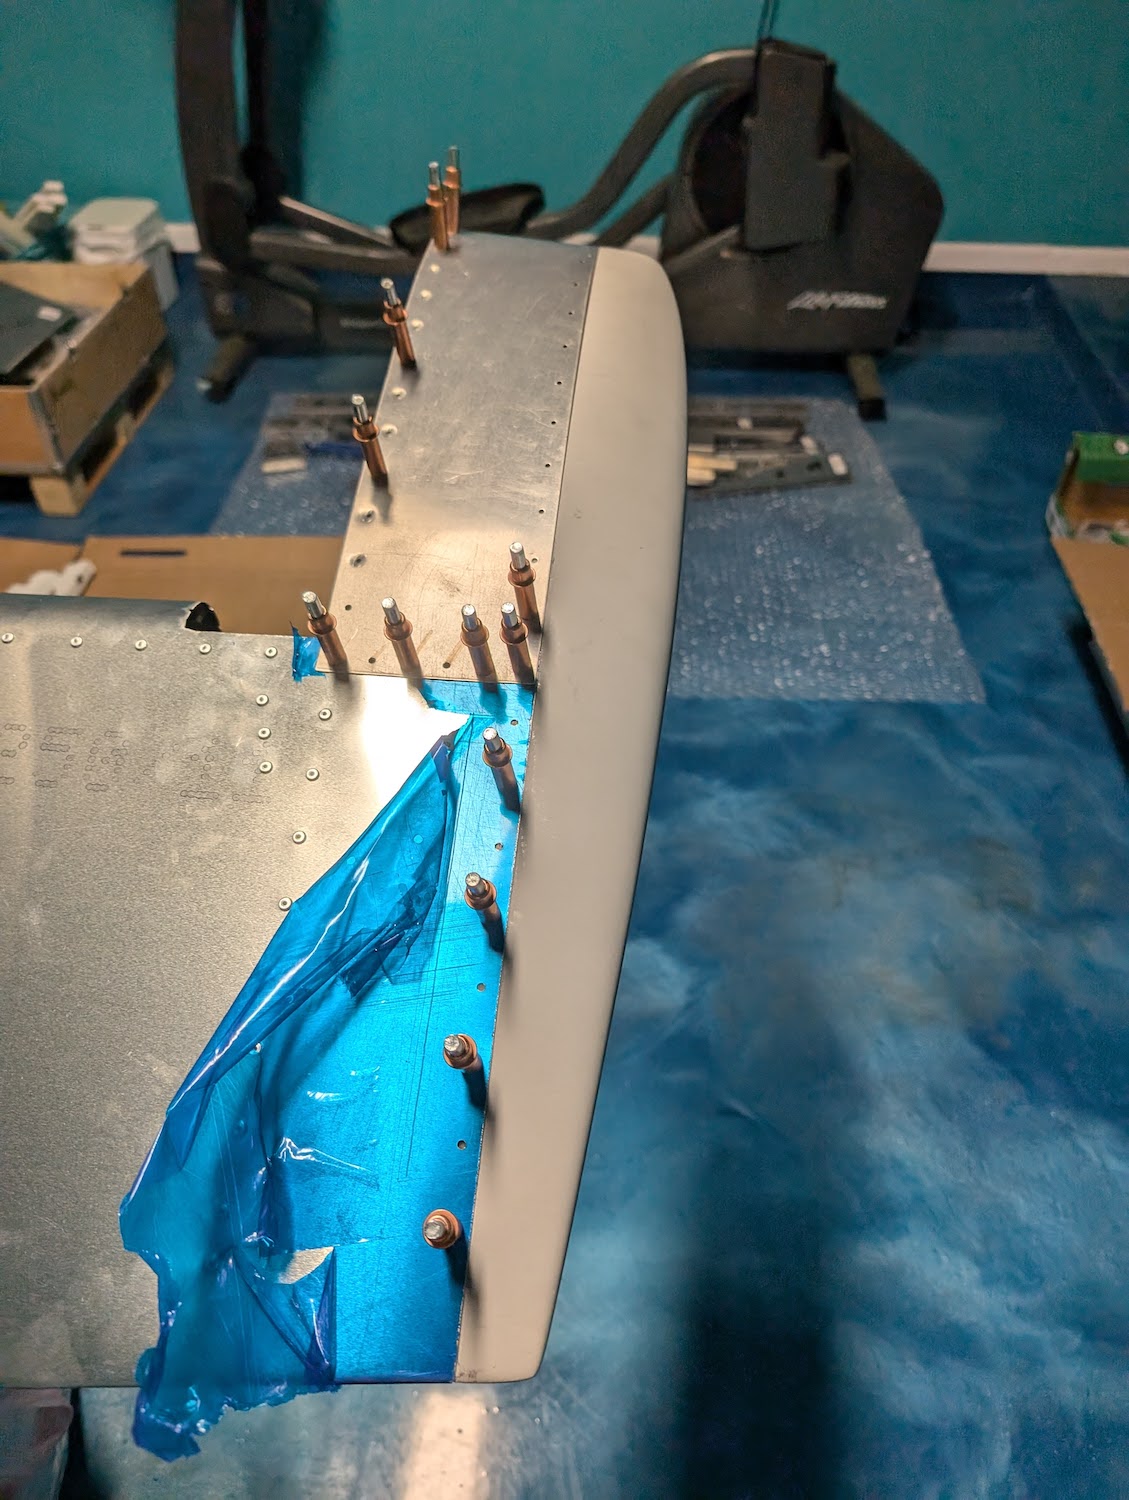 Drilling every other hole in fiberglass, then drilling after in between, starting from rear to front.
 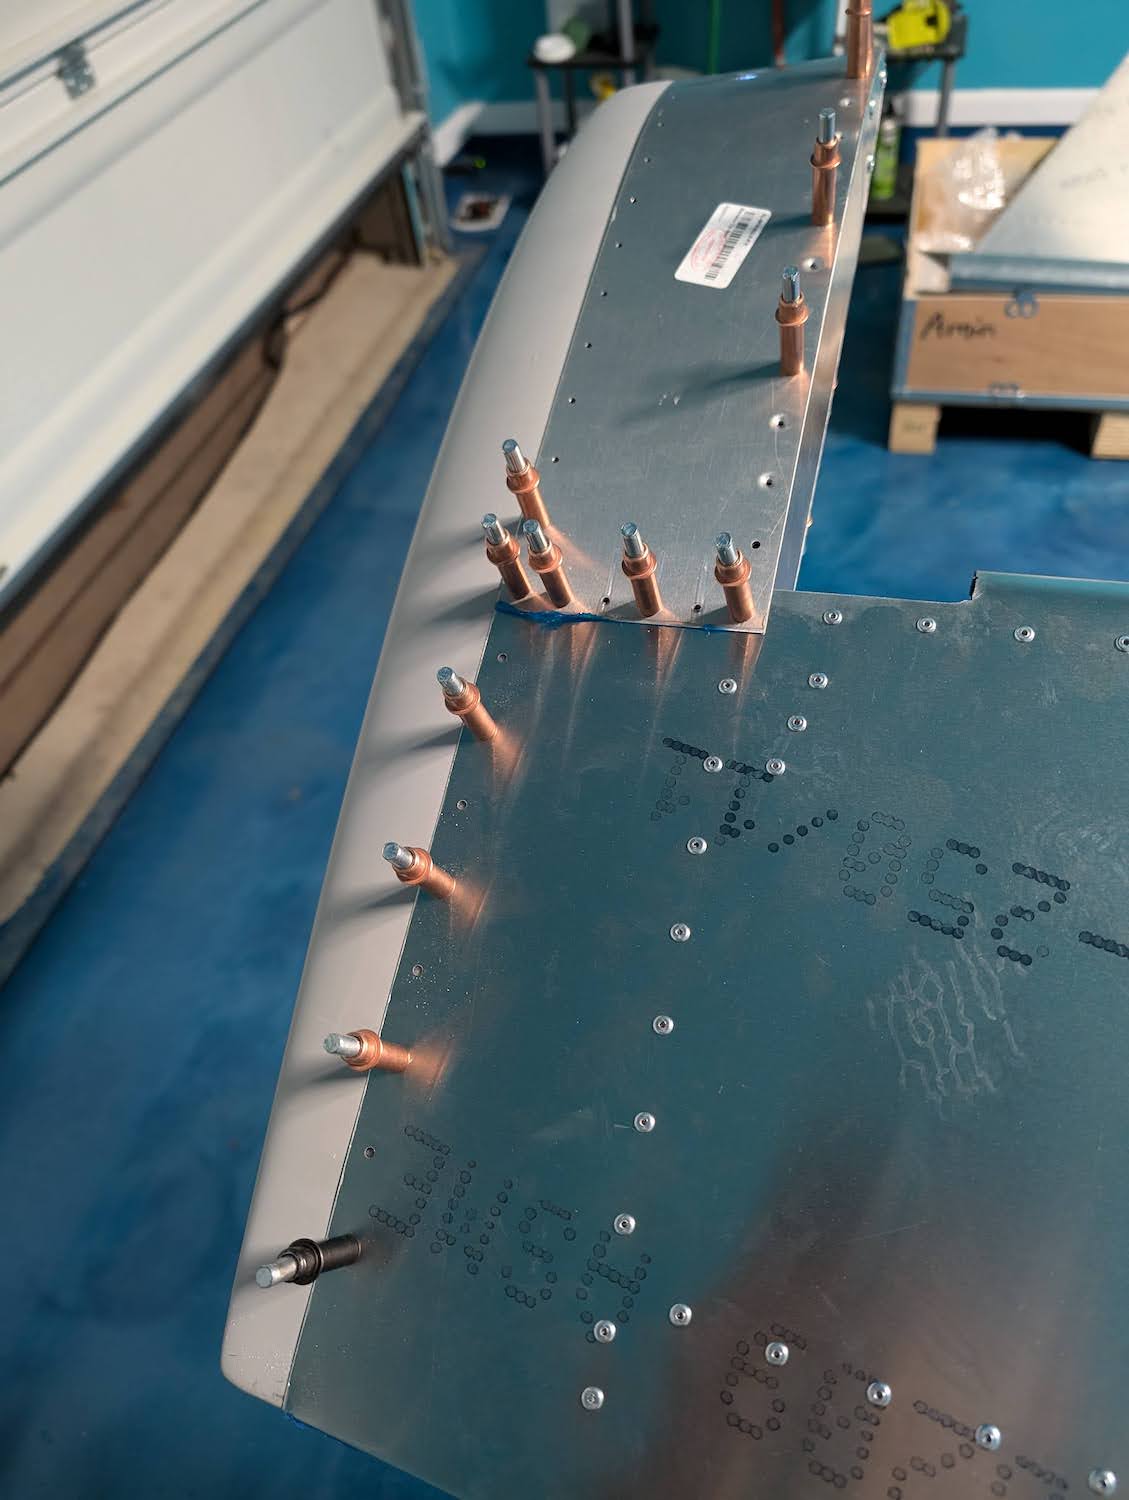 One of the holes got a little enlarged (black cleco), so used a slightly larger rivet in it.
 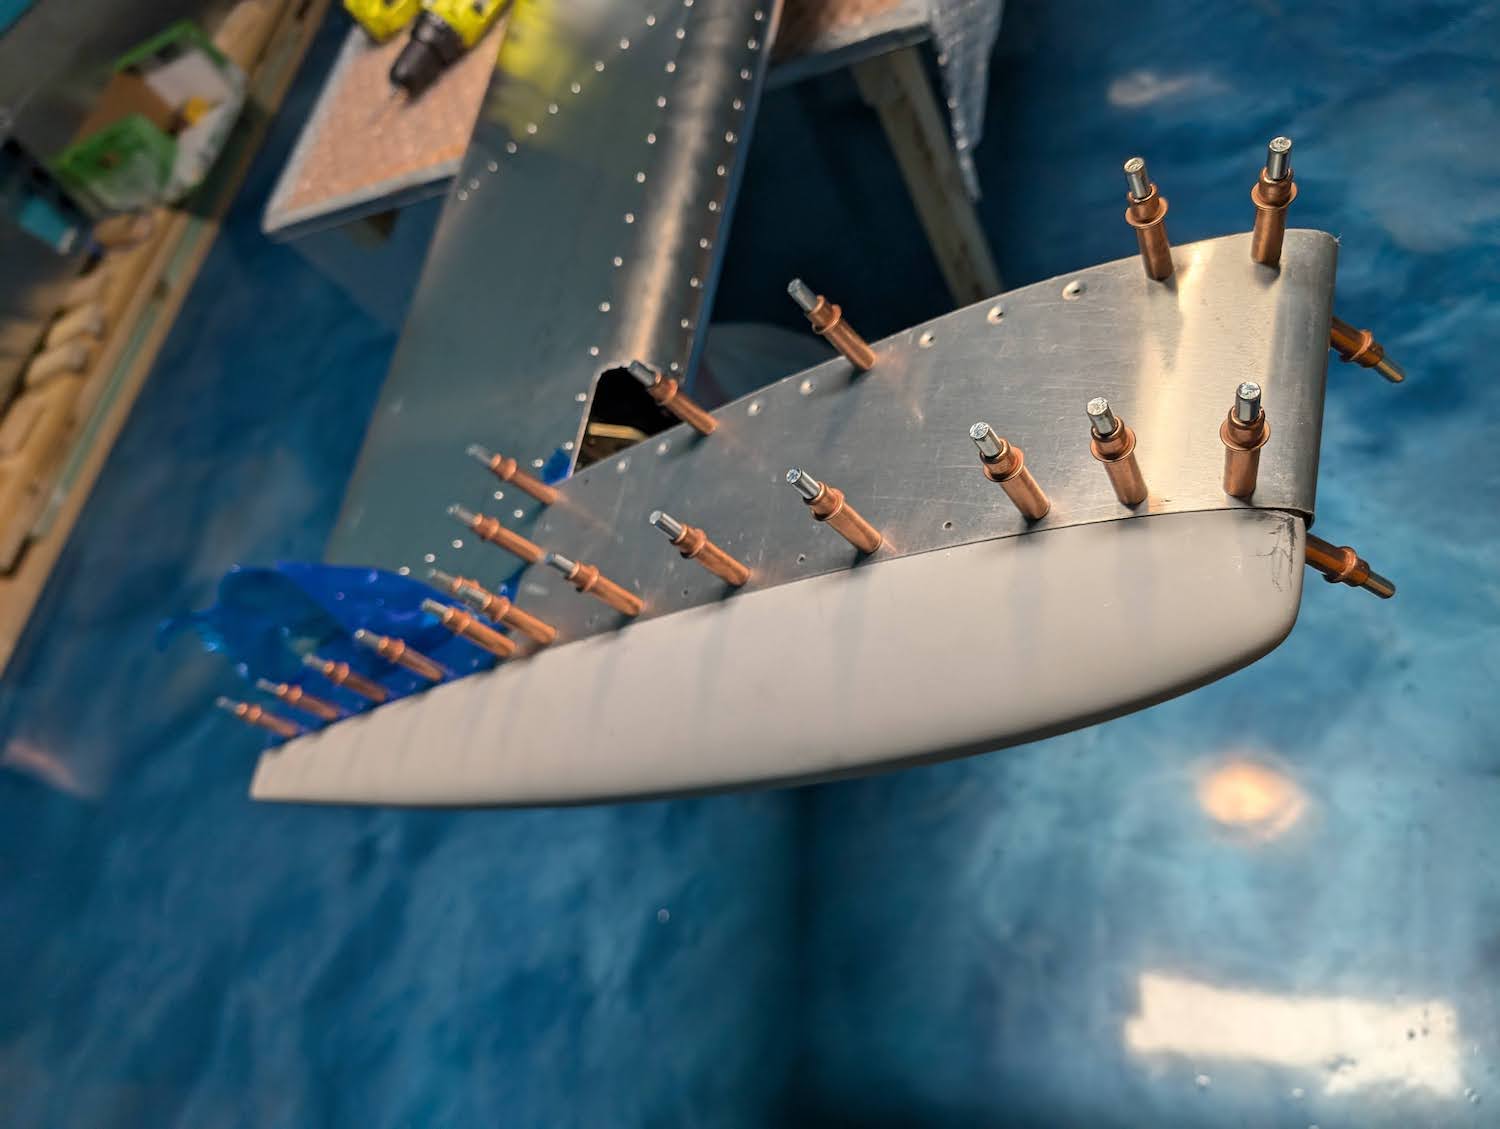 Holes already drilled in the fiberglass tips.
 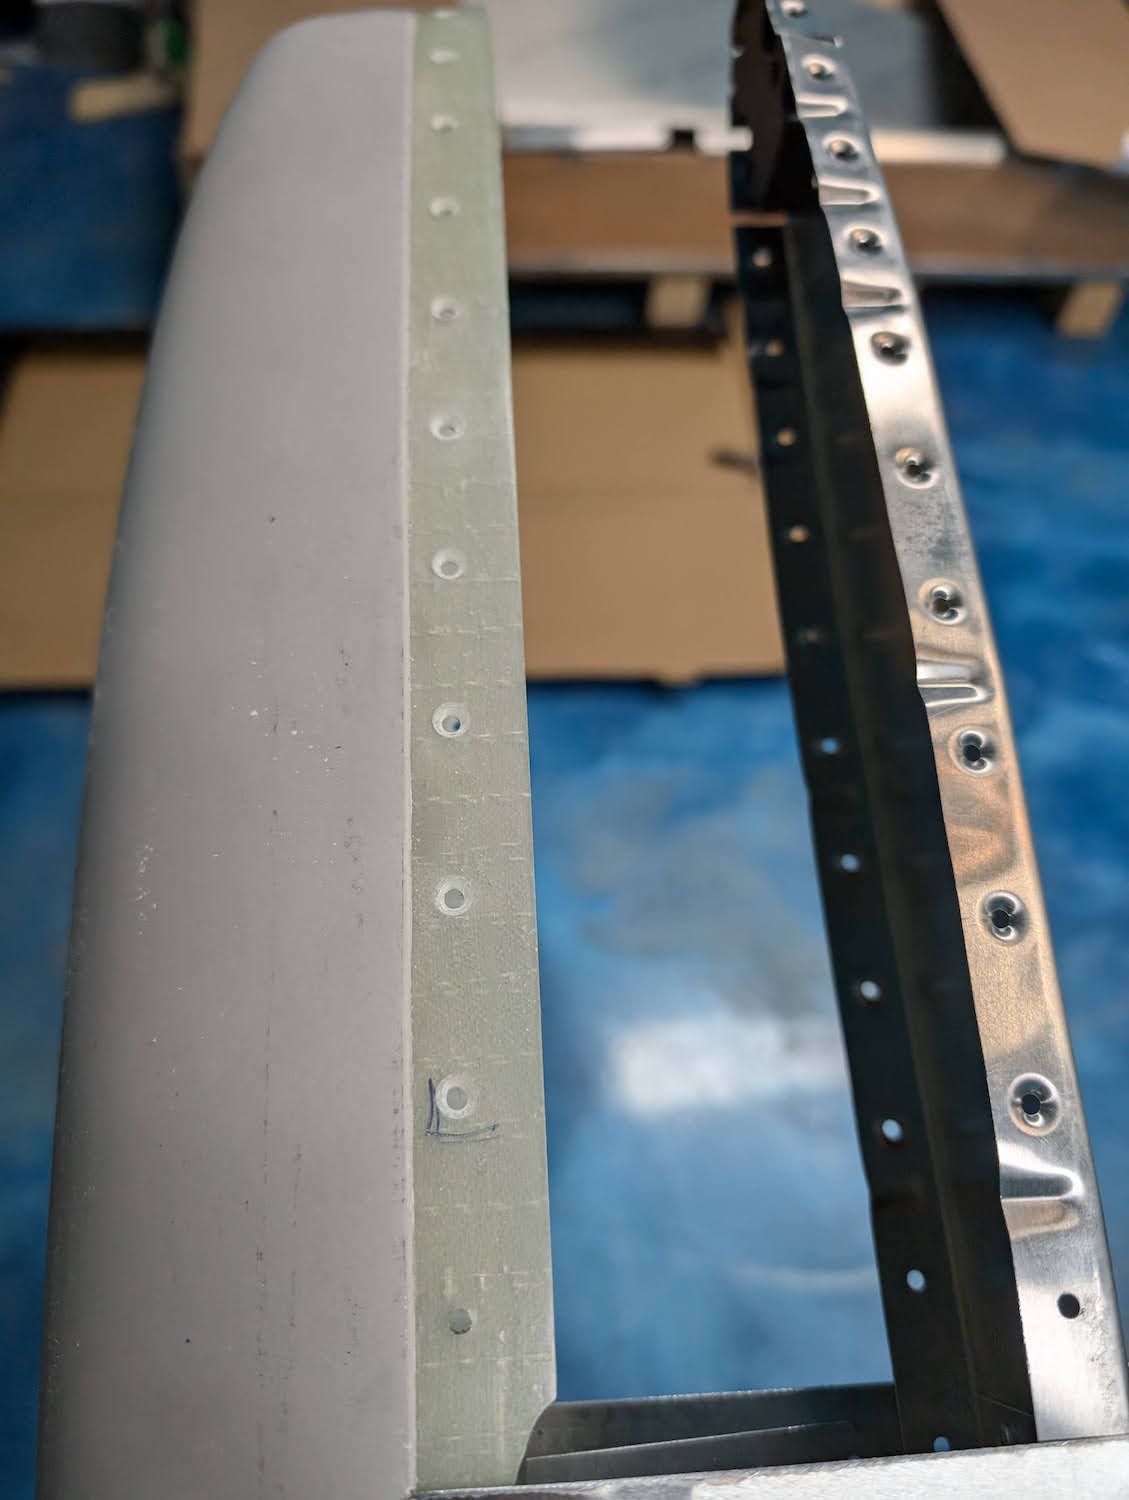 Fiberglass tips countersunk where there were dimples on the skin.
 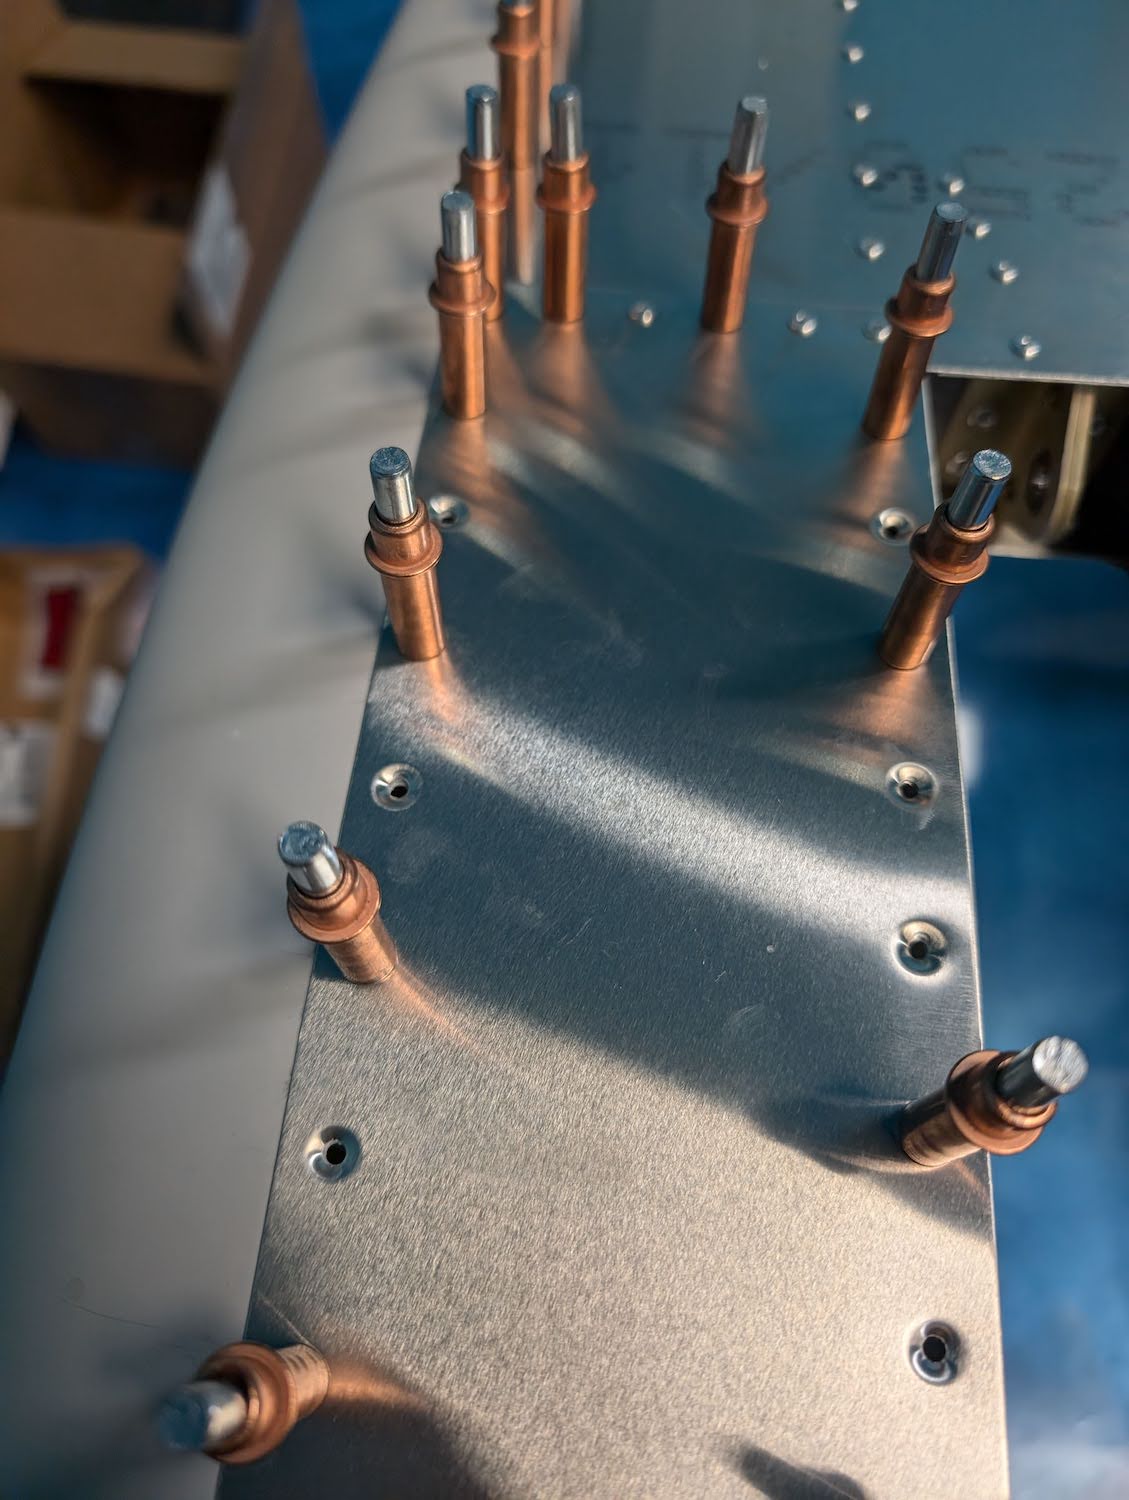 Fiberglass tips clecoed in place after countersinking.
 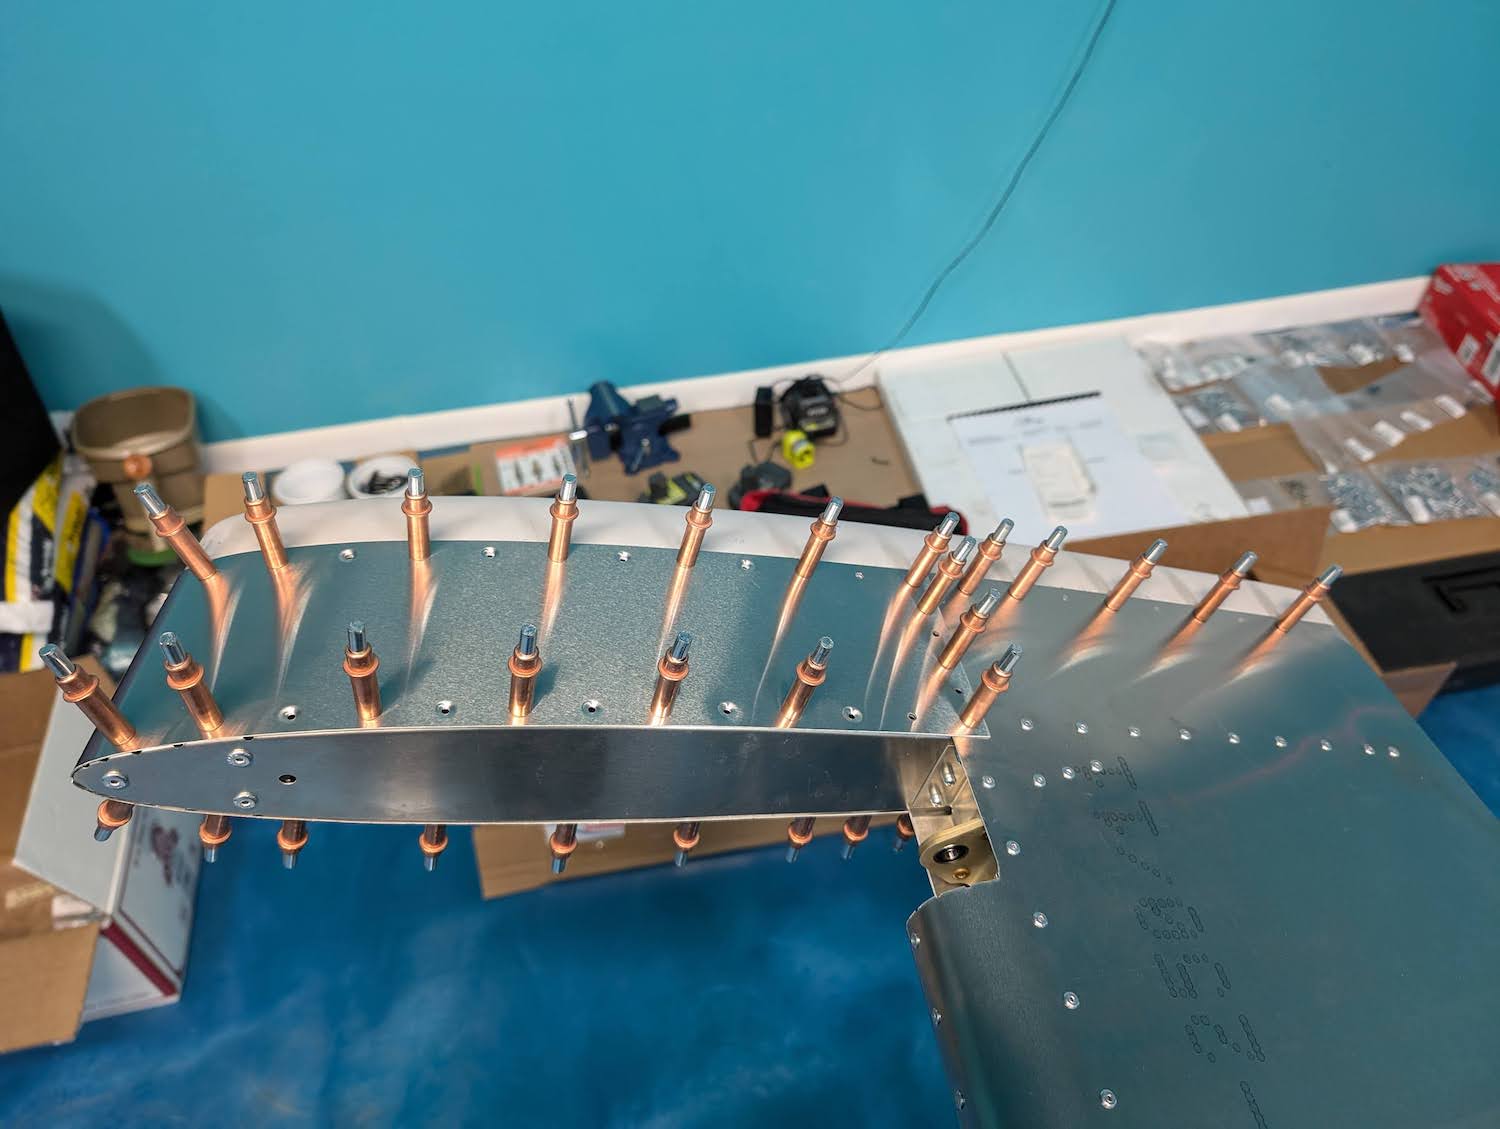 Fiberglass tips completely clecoed, ready for riveting.
Riveting
Skin tip got riveted in place after the fiberglass tips were drilled and countersunk. Other than slightly enlarging the holes, riveting was pretty straightforward. 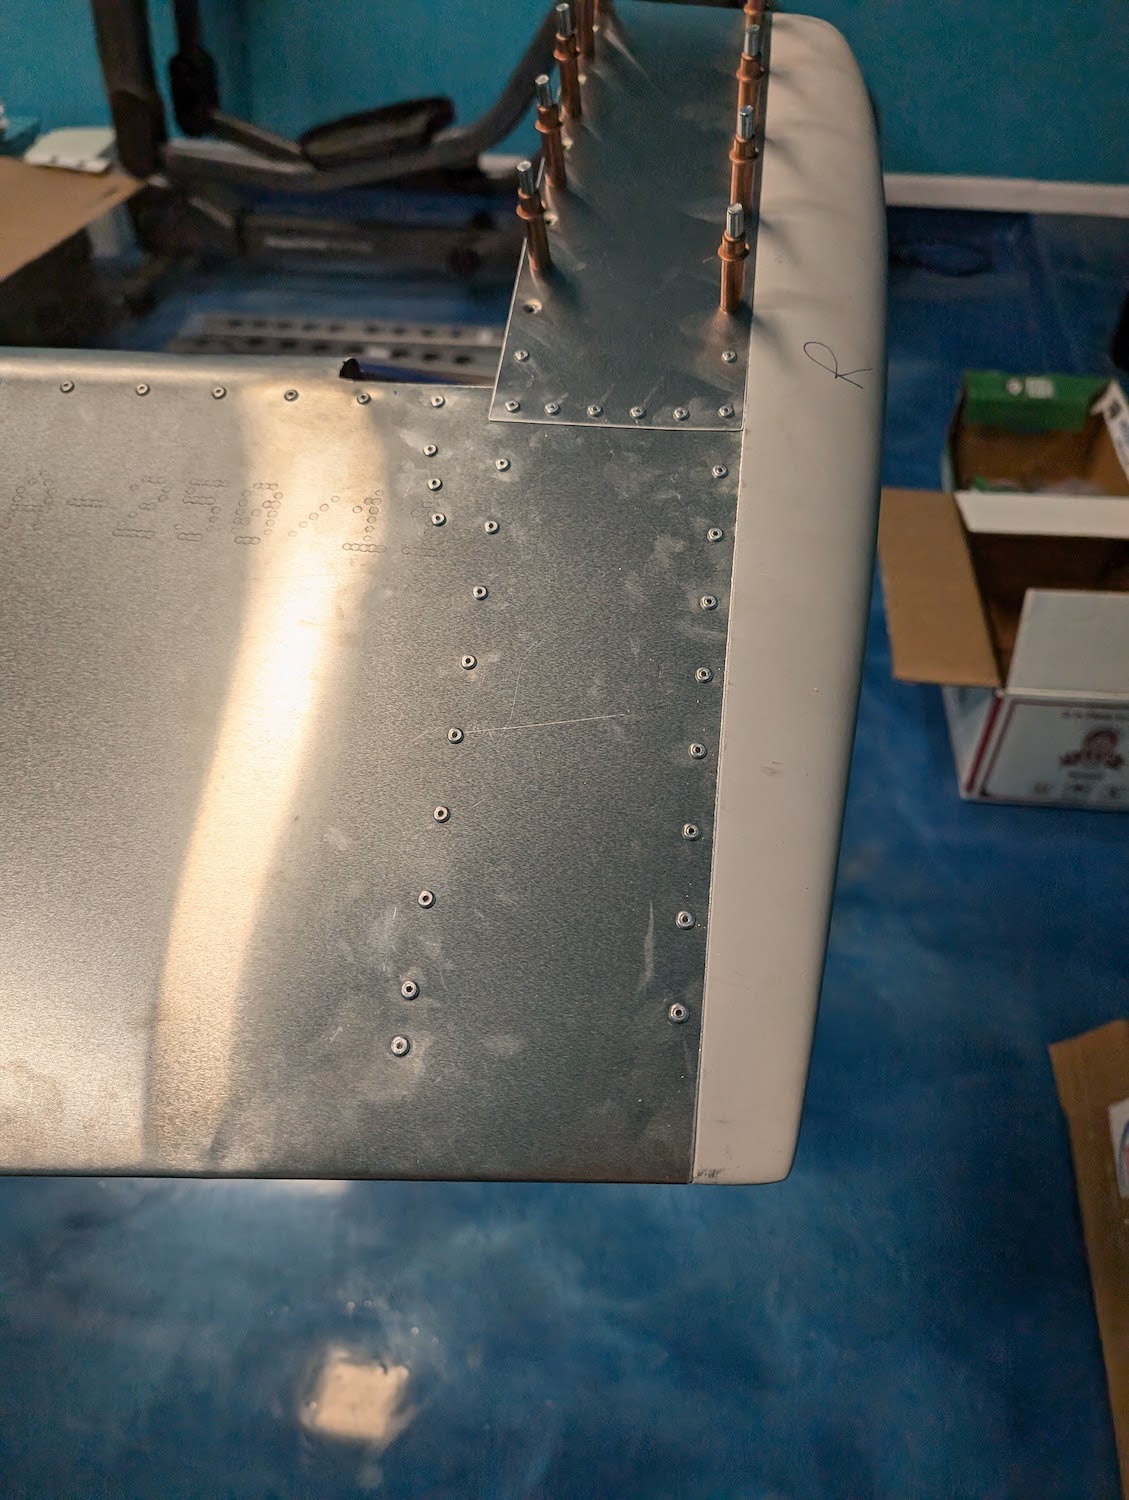 Riveting from rear to front.
 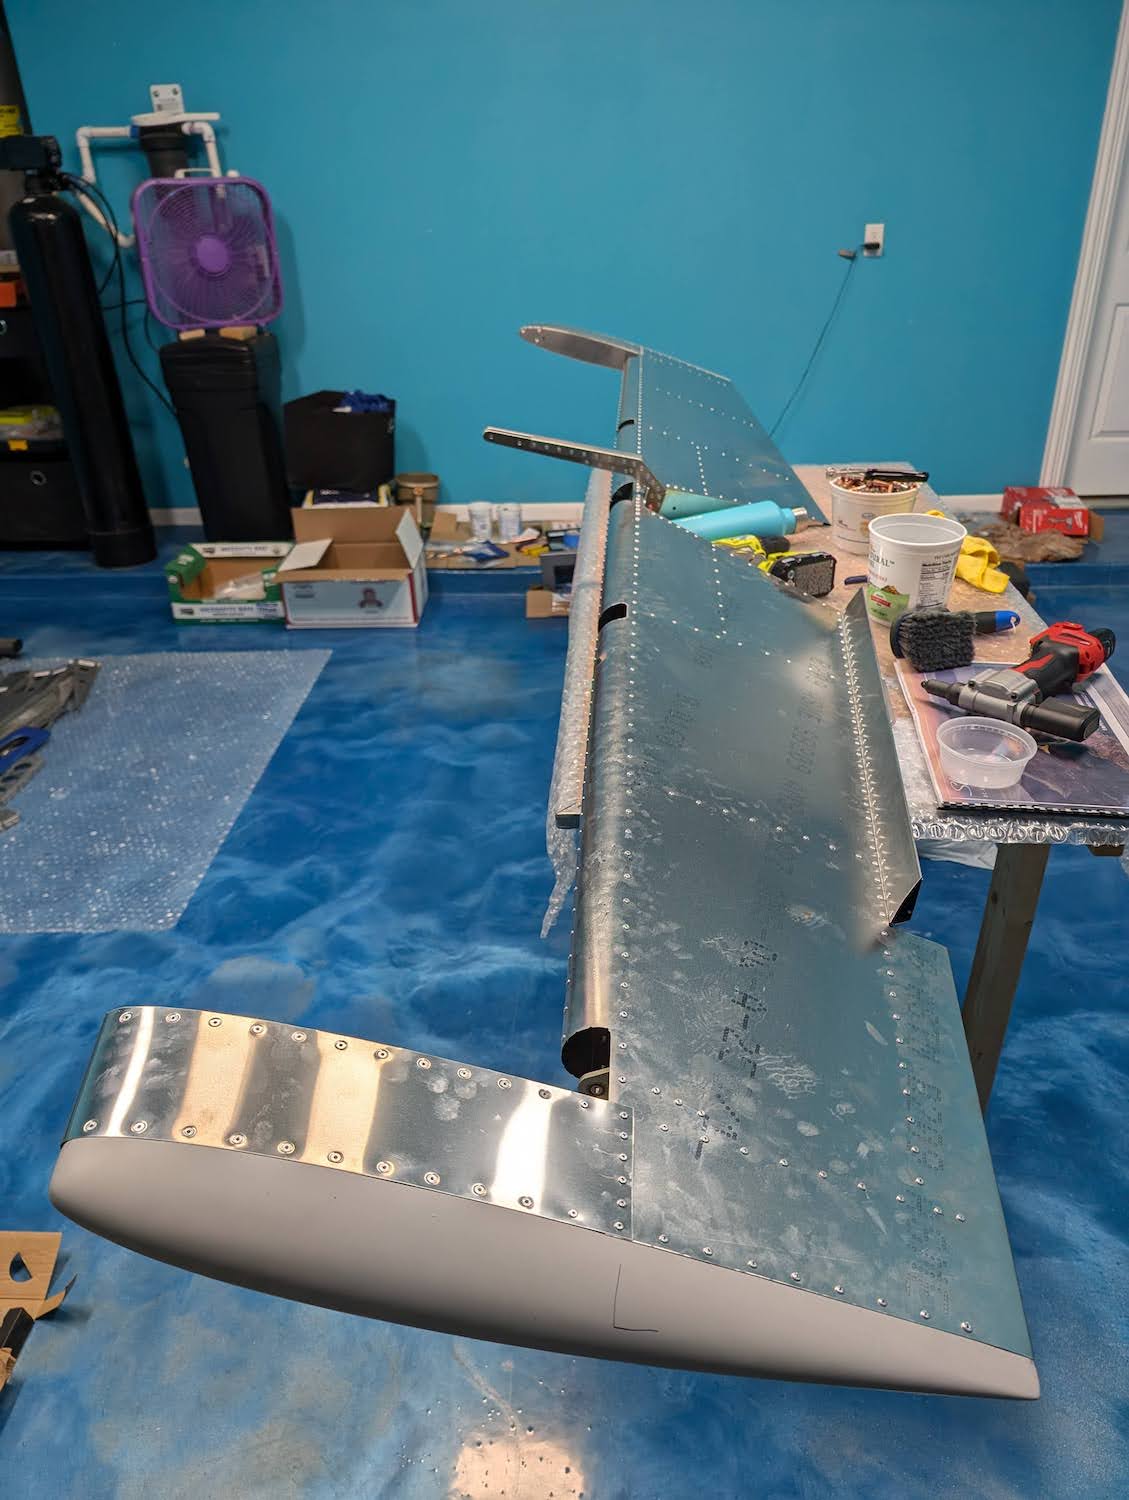 Skin tip riveting complete.
Inspection Hatch
Assembling and riveting the inspection hatch was pretty straightforward, the key thing was to stick the protective coating on the hatch itself before adding the doubler. Photos below in sequence represents the assembly process. 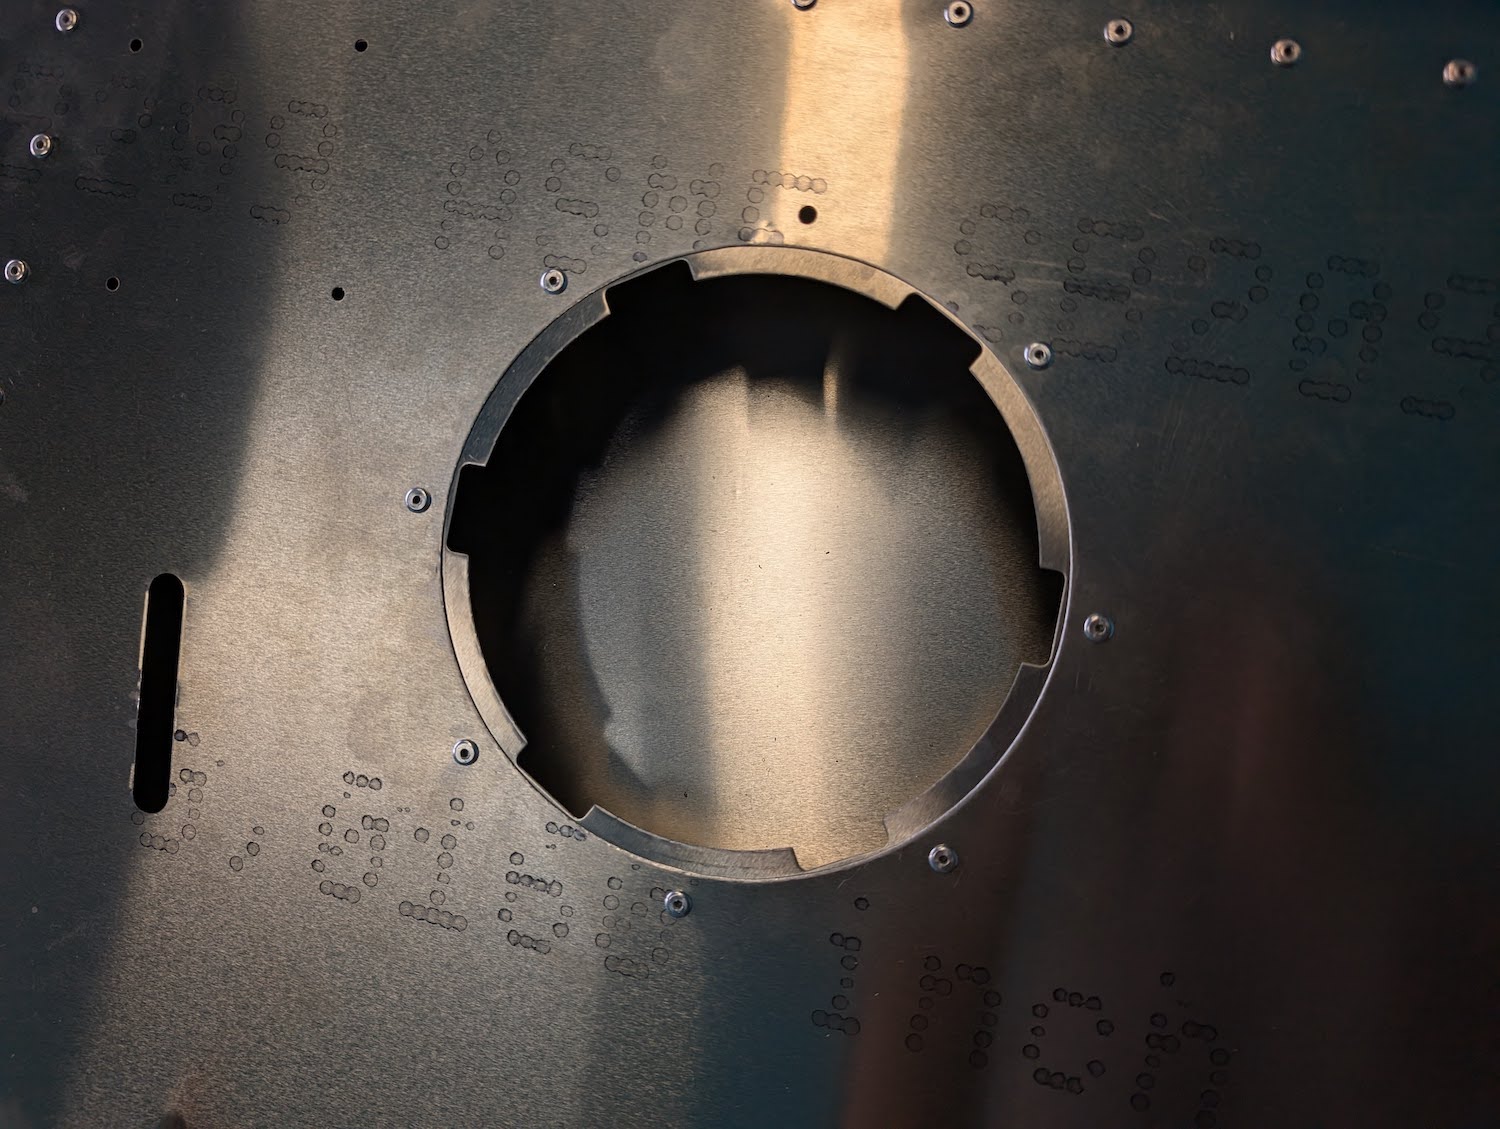 Skin doubler riveted in place.
 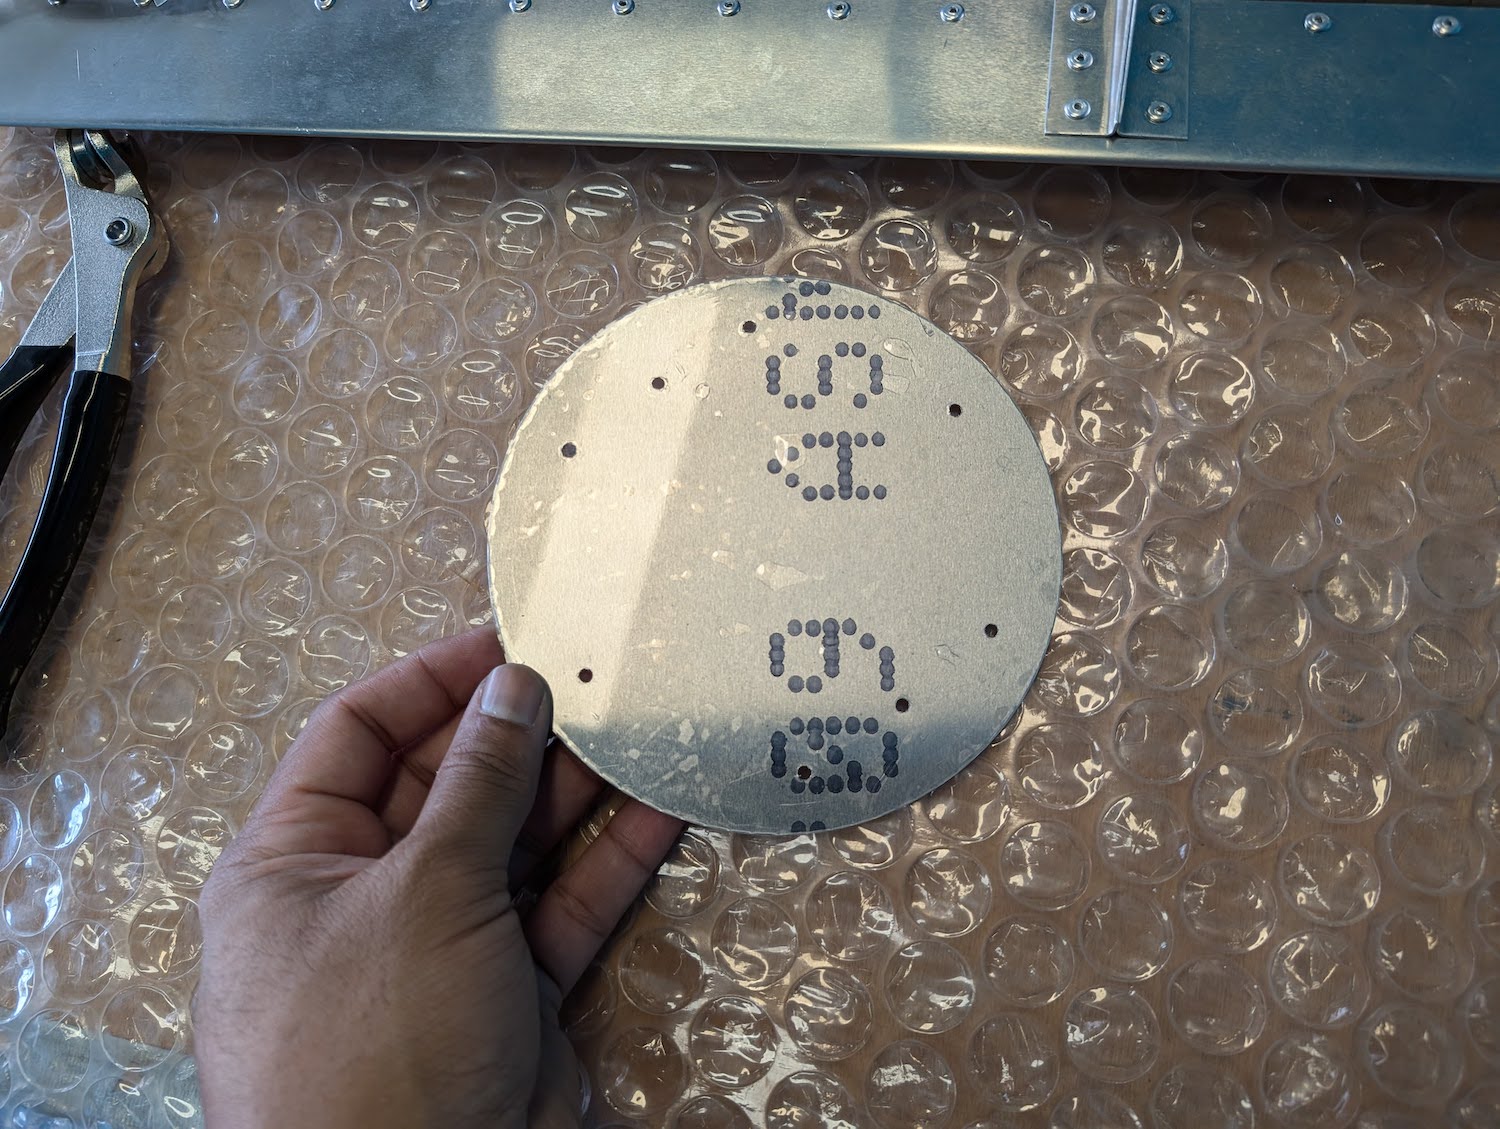 Transparent protective film stuck on the panel itself.
 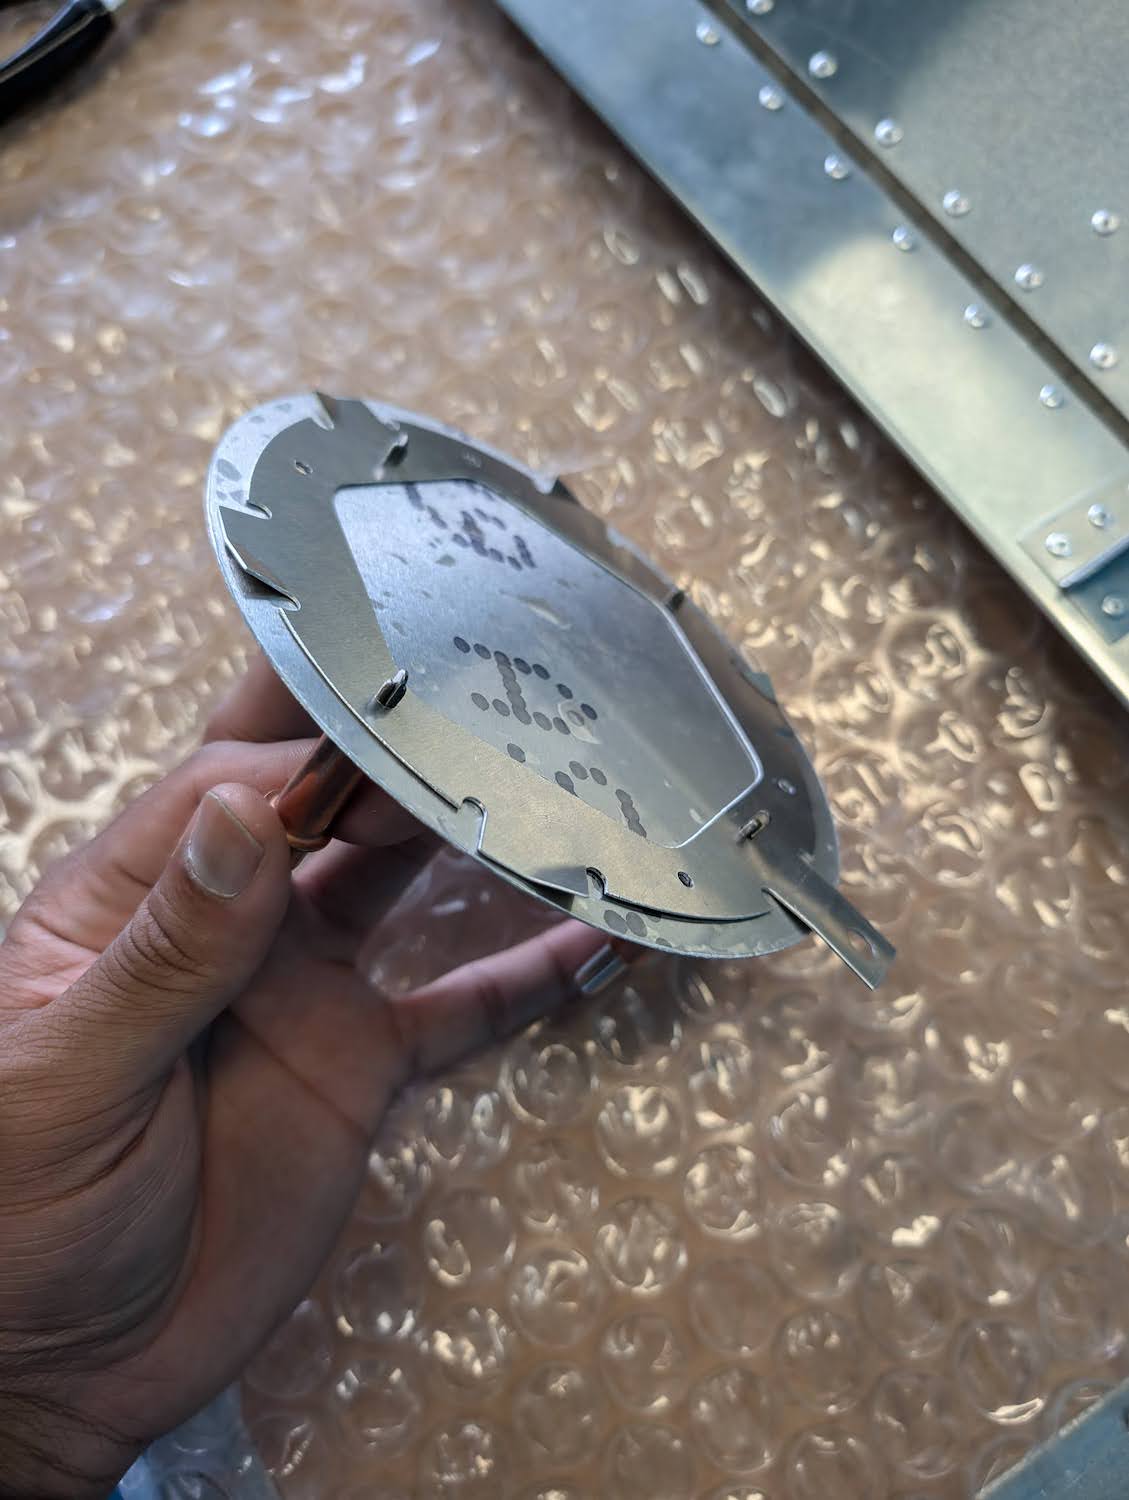 Hatch doubler clecoed tempeorarily.
 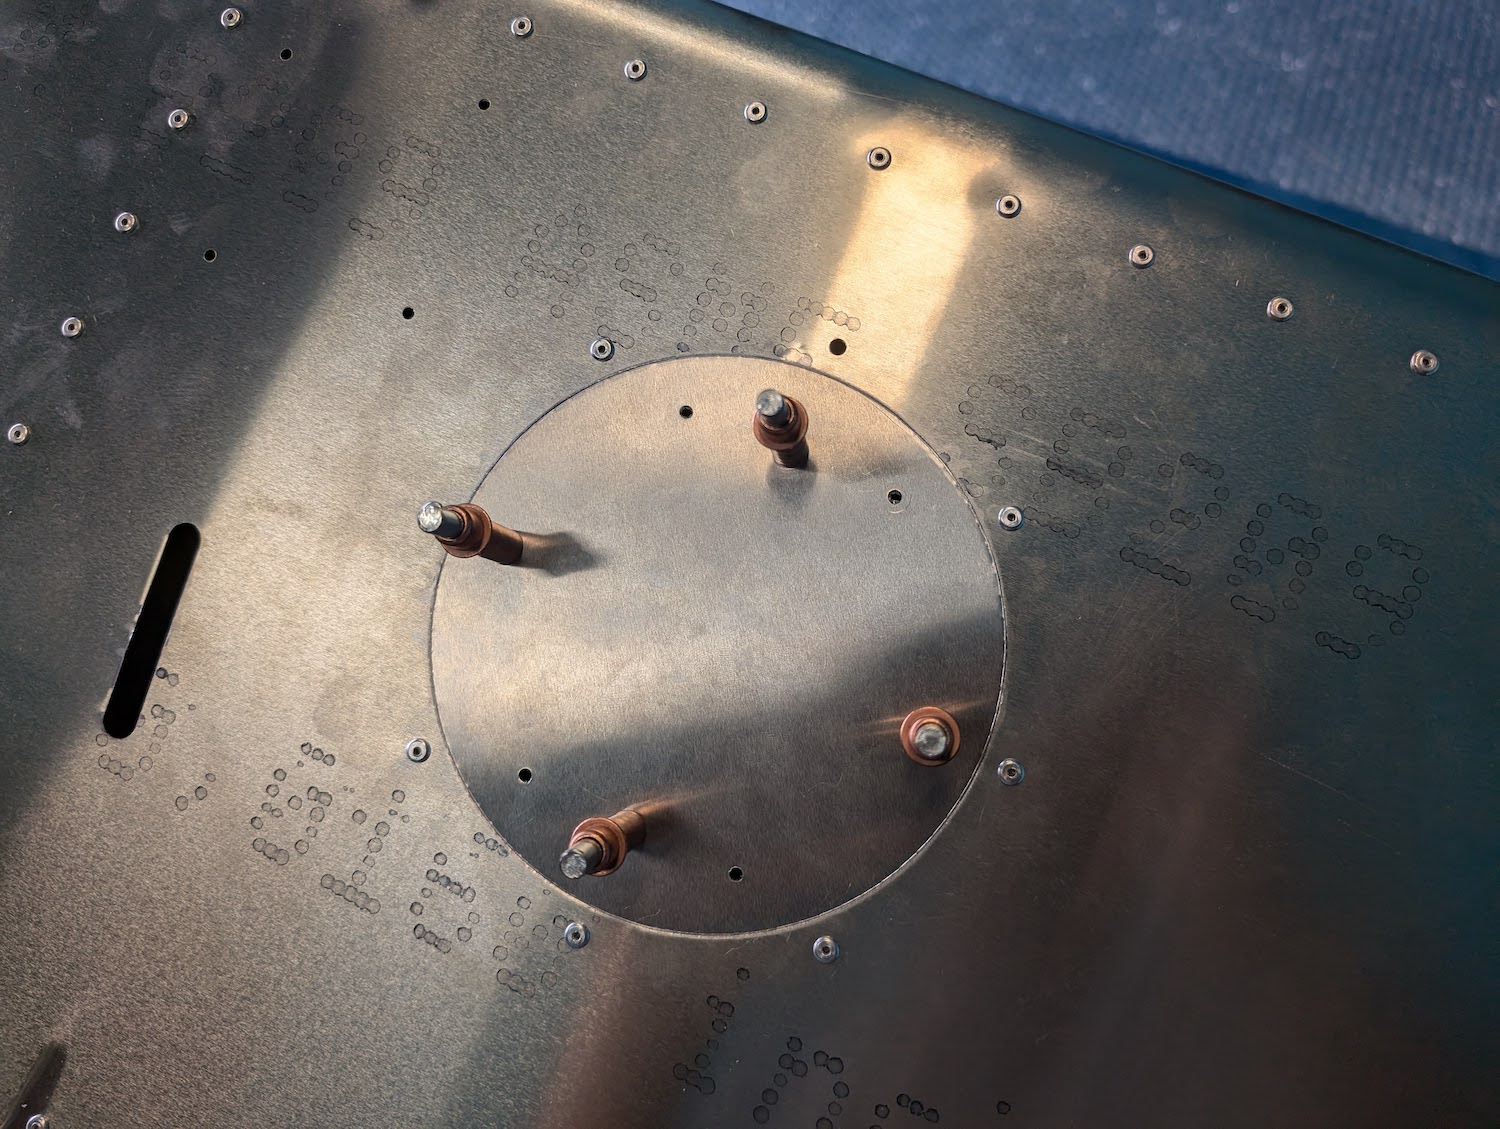 Testing the opening and closing of the hatch before riveting.
 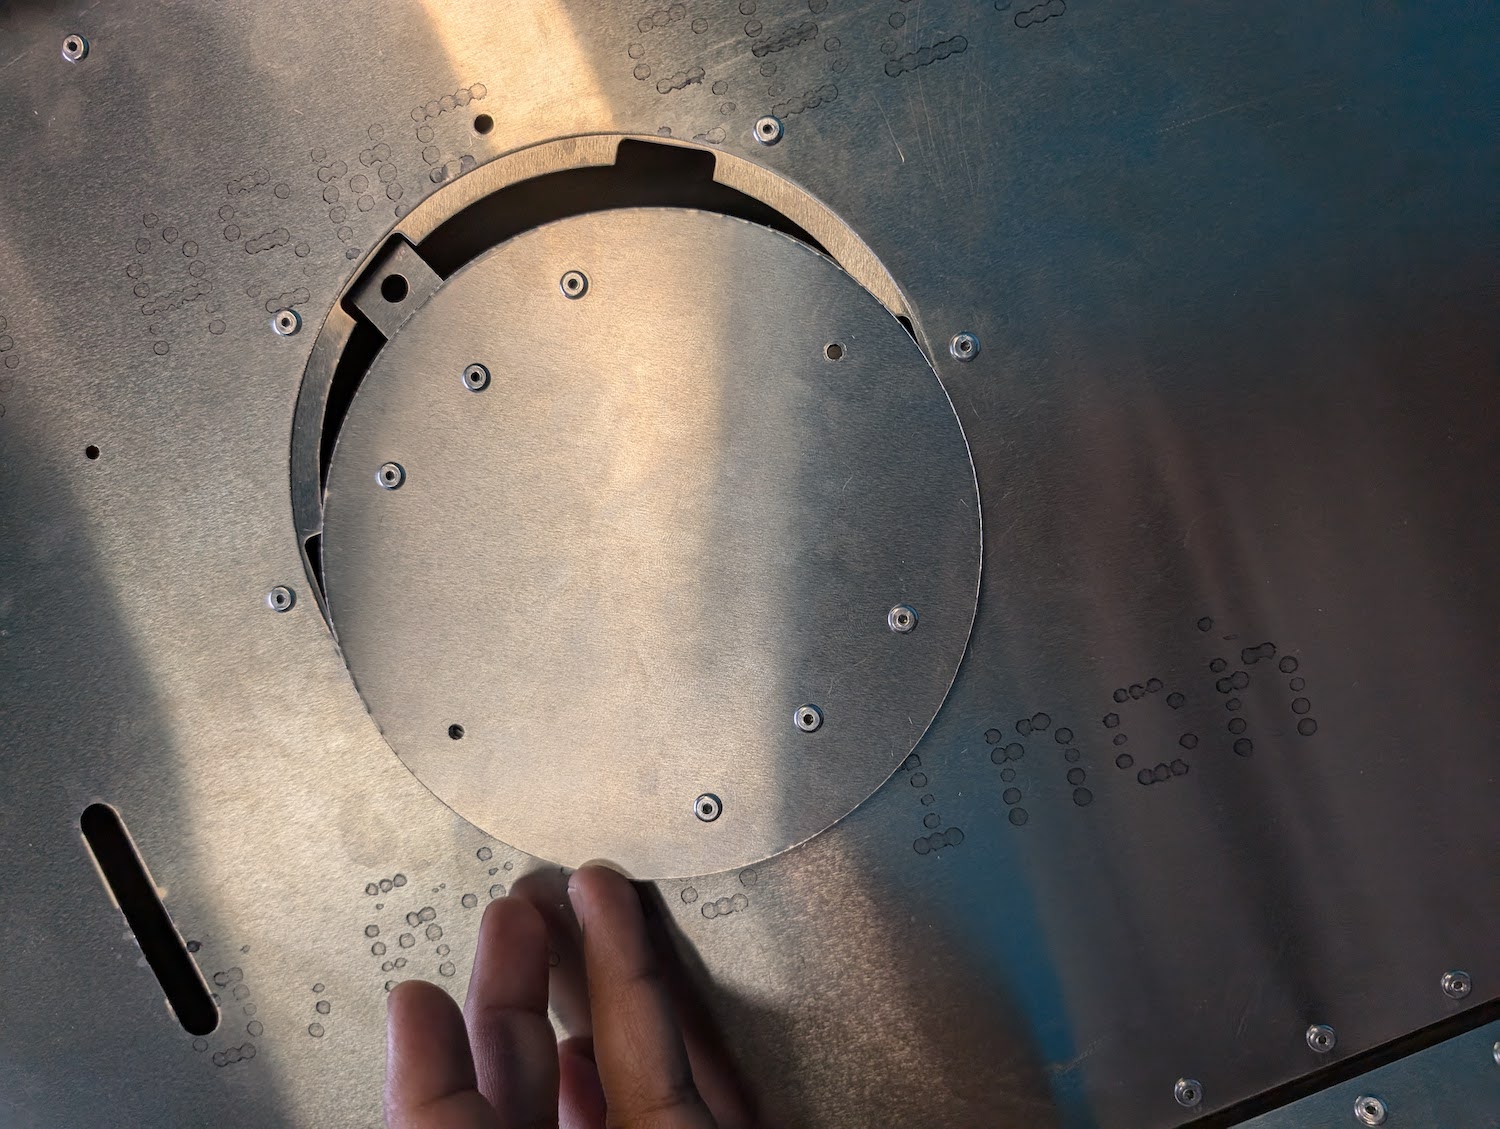 Testing closing and opening after riveting.
 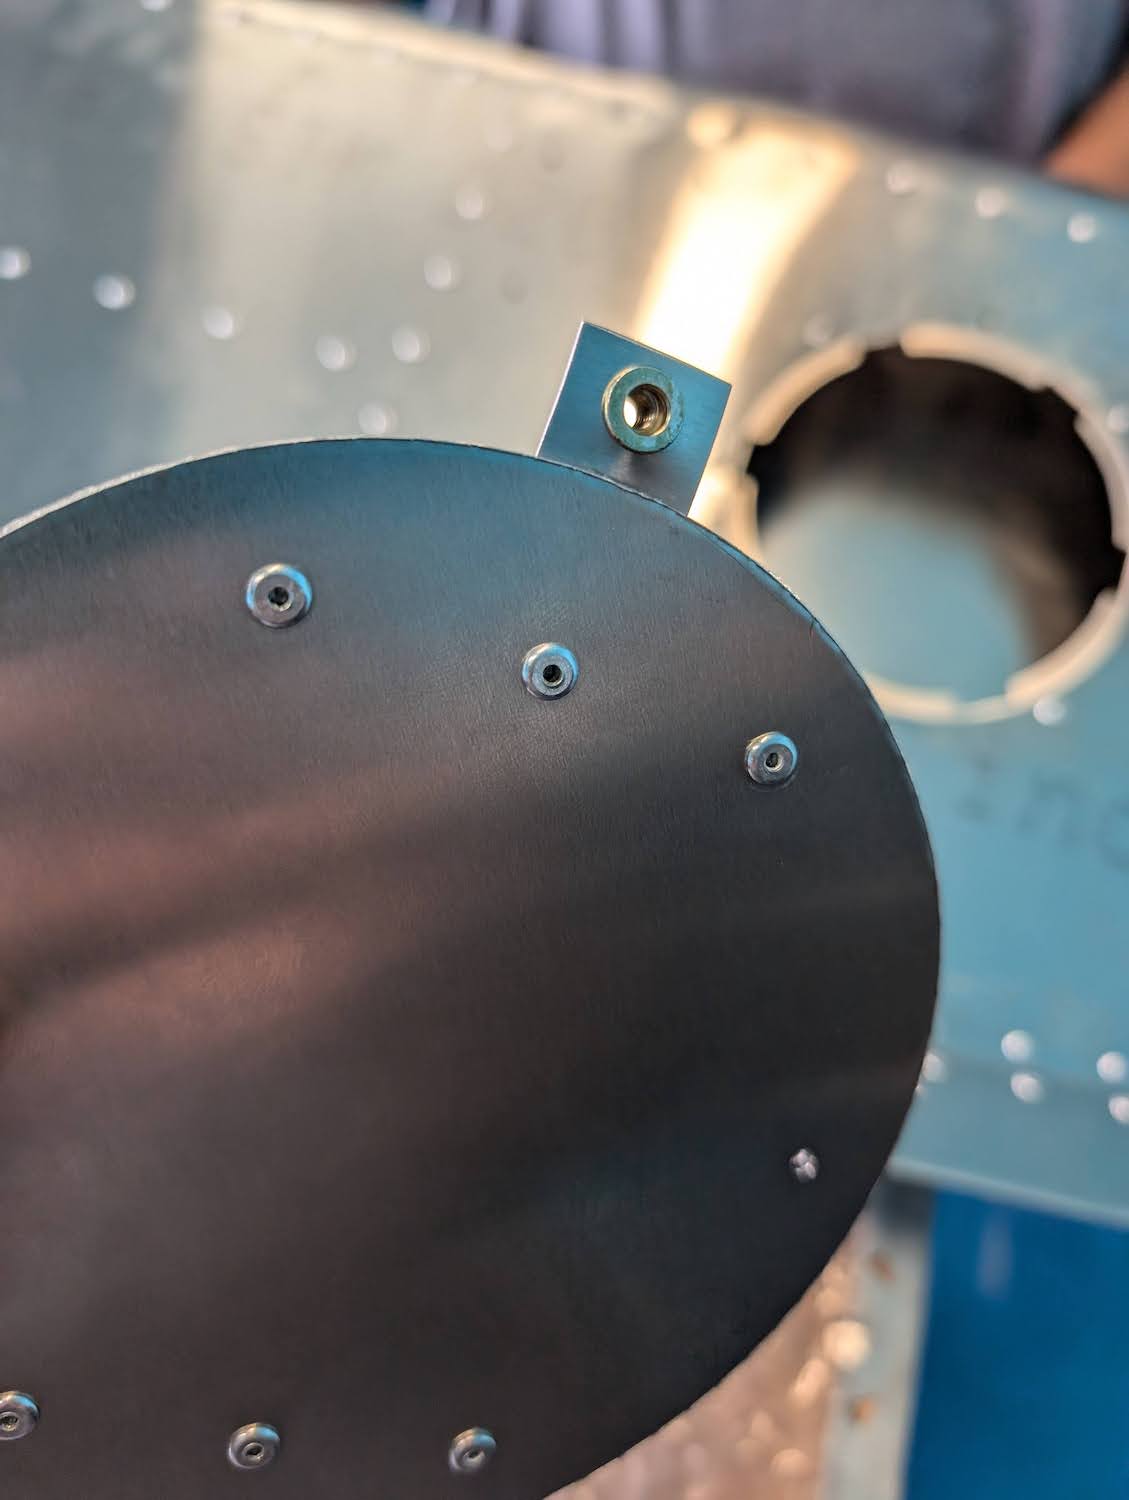 Installing rivnut in the inspection hatch locking hole.
Center Counterweights Service Bulletin
As described in the photo below, the center counterweights were not added to the elevator. According to a notification from sling aircraft Notification #0009, it helps with the CG and some minor flight stability fixes without the center counterweights, which additionally also complies with FAR 23 regulations, so keeping all that in mind, we choose to simply not install them.  Counterweights not installed according to Notifcation #0009.