Elevator Trim Tab Assembly
Elevator trim tab has been assembled and tempeorarily attached to the elevator.
The elevator trim tab riveting was smooth for the most part, few of the rivets had to be shortened, the process to do that is described in this article. Additionally, the instructions asked to shorten a lot of rivets, however only a few were required to be shortened.
Assembly
The clecoing for the trim tab was pretty straightforward. 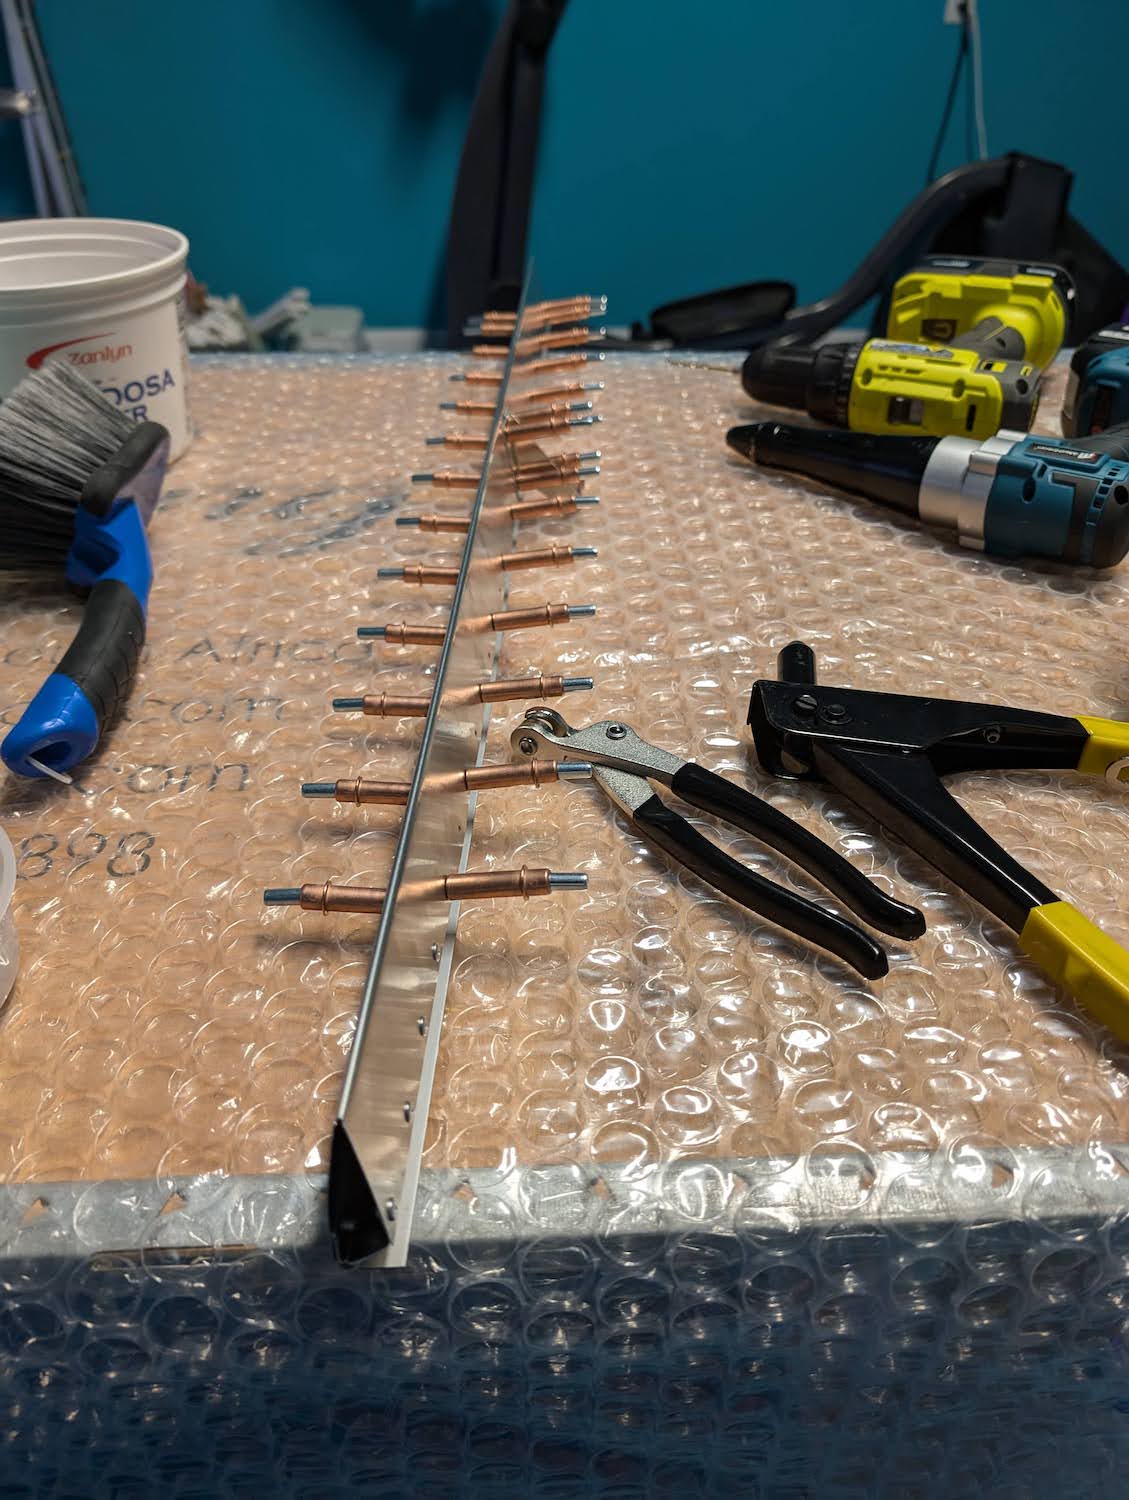 Trim Tab temporary assembled with clecos.
Riveting
Riveting the trim tab was straightforward as well except a few rivets which had to shortened to fix the small space. 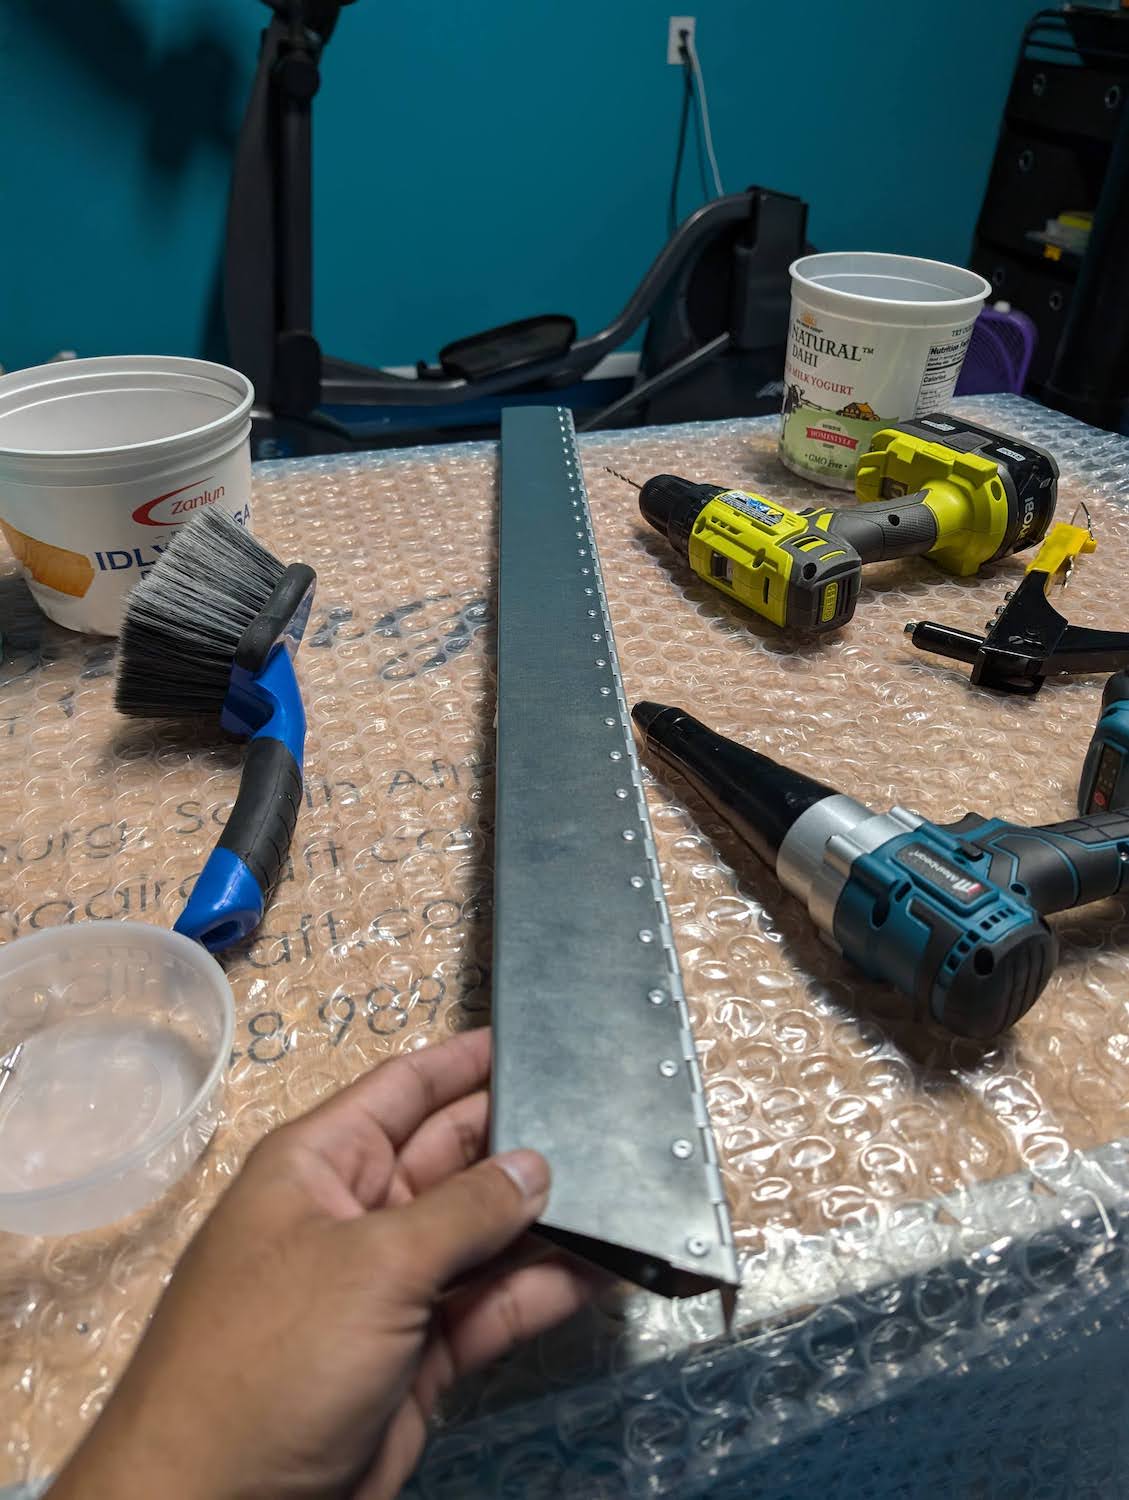 Trim Tab riveted.
 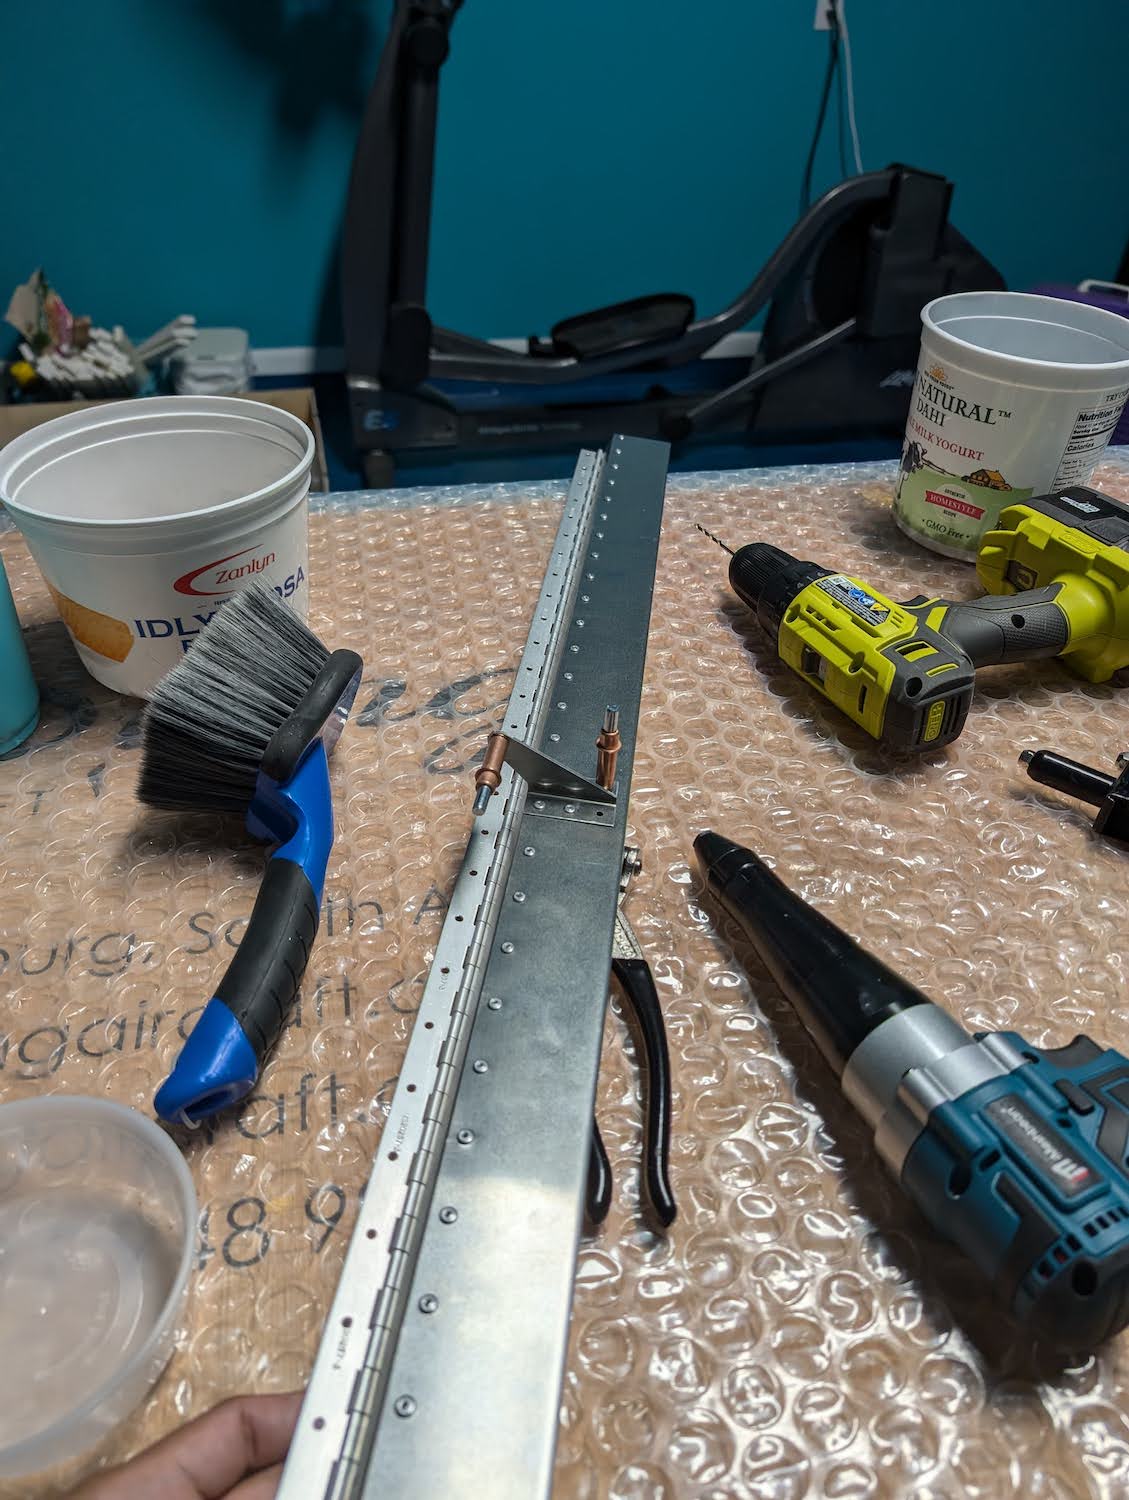 Trim Tab riveted.
Rivet shortening
For rivets that had to be shortened, a procedure involving vice grip, hammer, and dikes was used. The images below describe the sequence of events, in summary, first a light hammer was used to get the mandrill out partially with a few taps, then dikes were used to cut part of the rivet material while rotating the rivet to keep the cut uniform. Once the cut was made, the mandrill was taken out all the way, the excess material was removed, then the mandrill was inserted back into the rivet using a few taps of the hammer. Most of the described steps were done while mounted on a vice grip, which was critical. 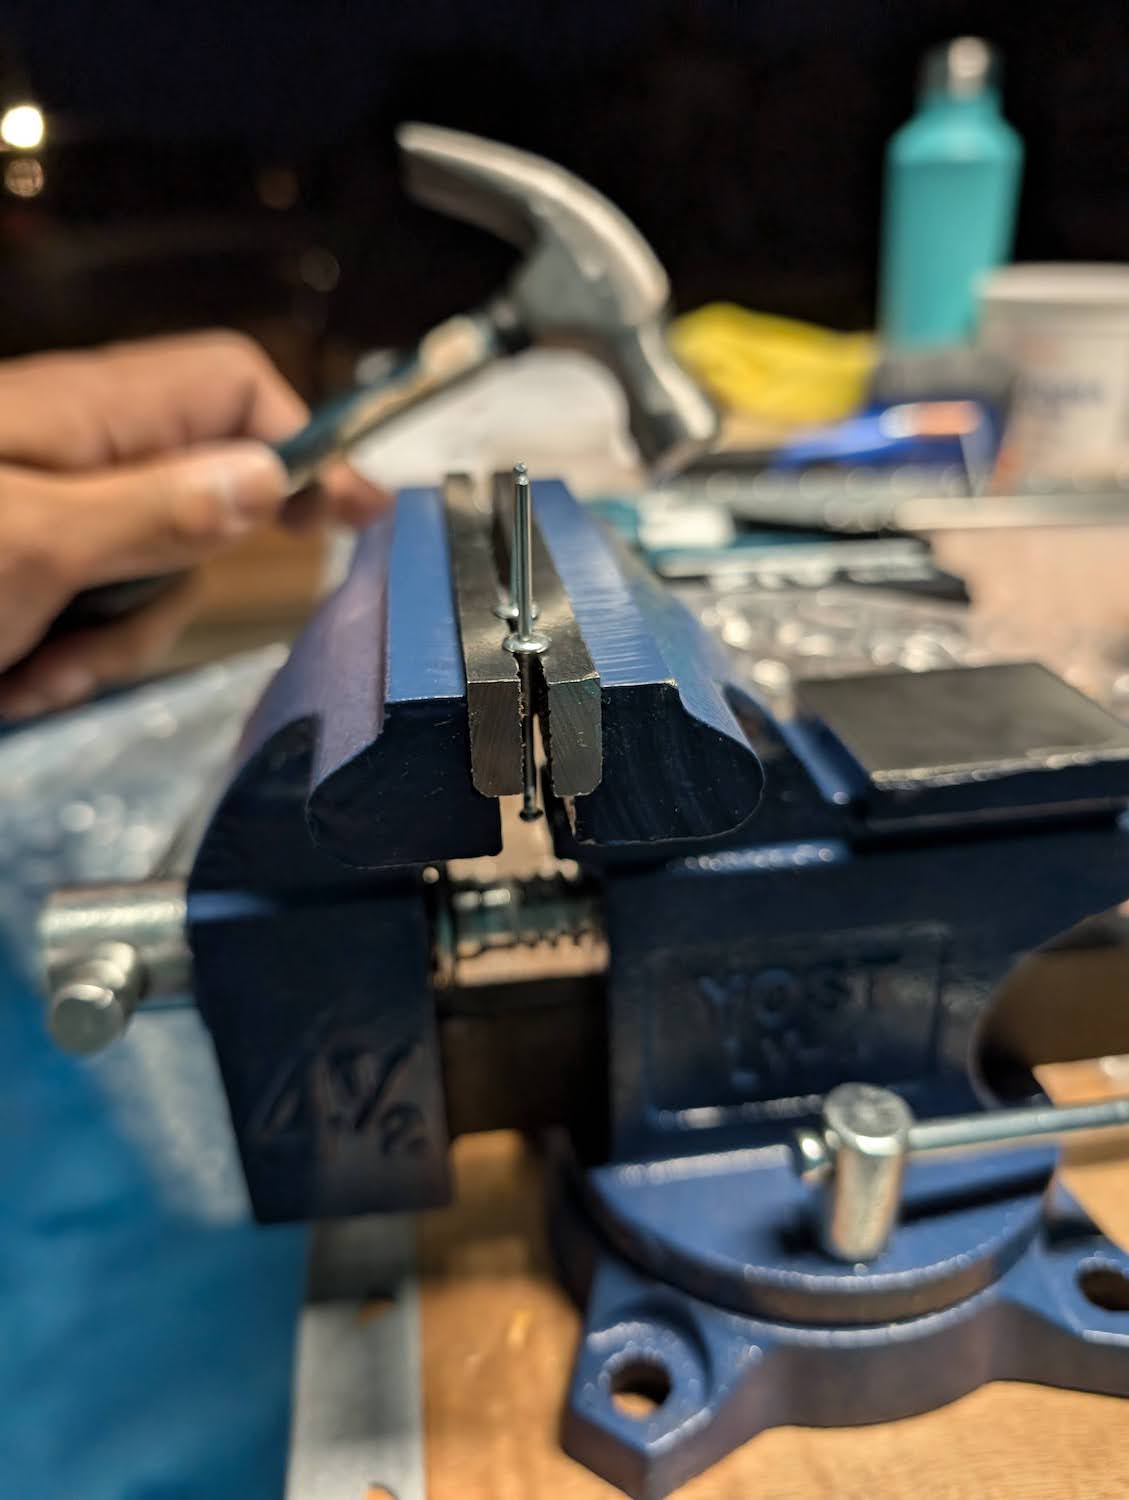 Rivet mandrill taken out using vice grip and hammer.
 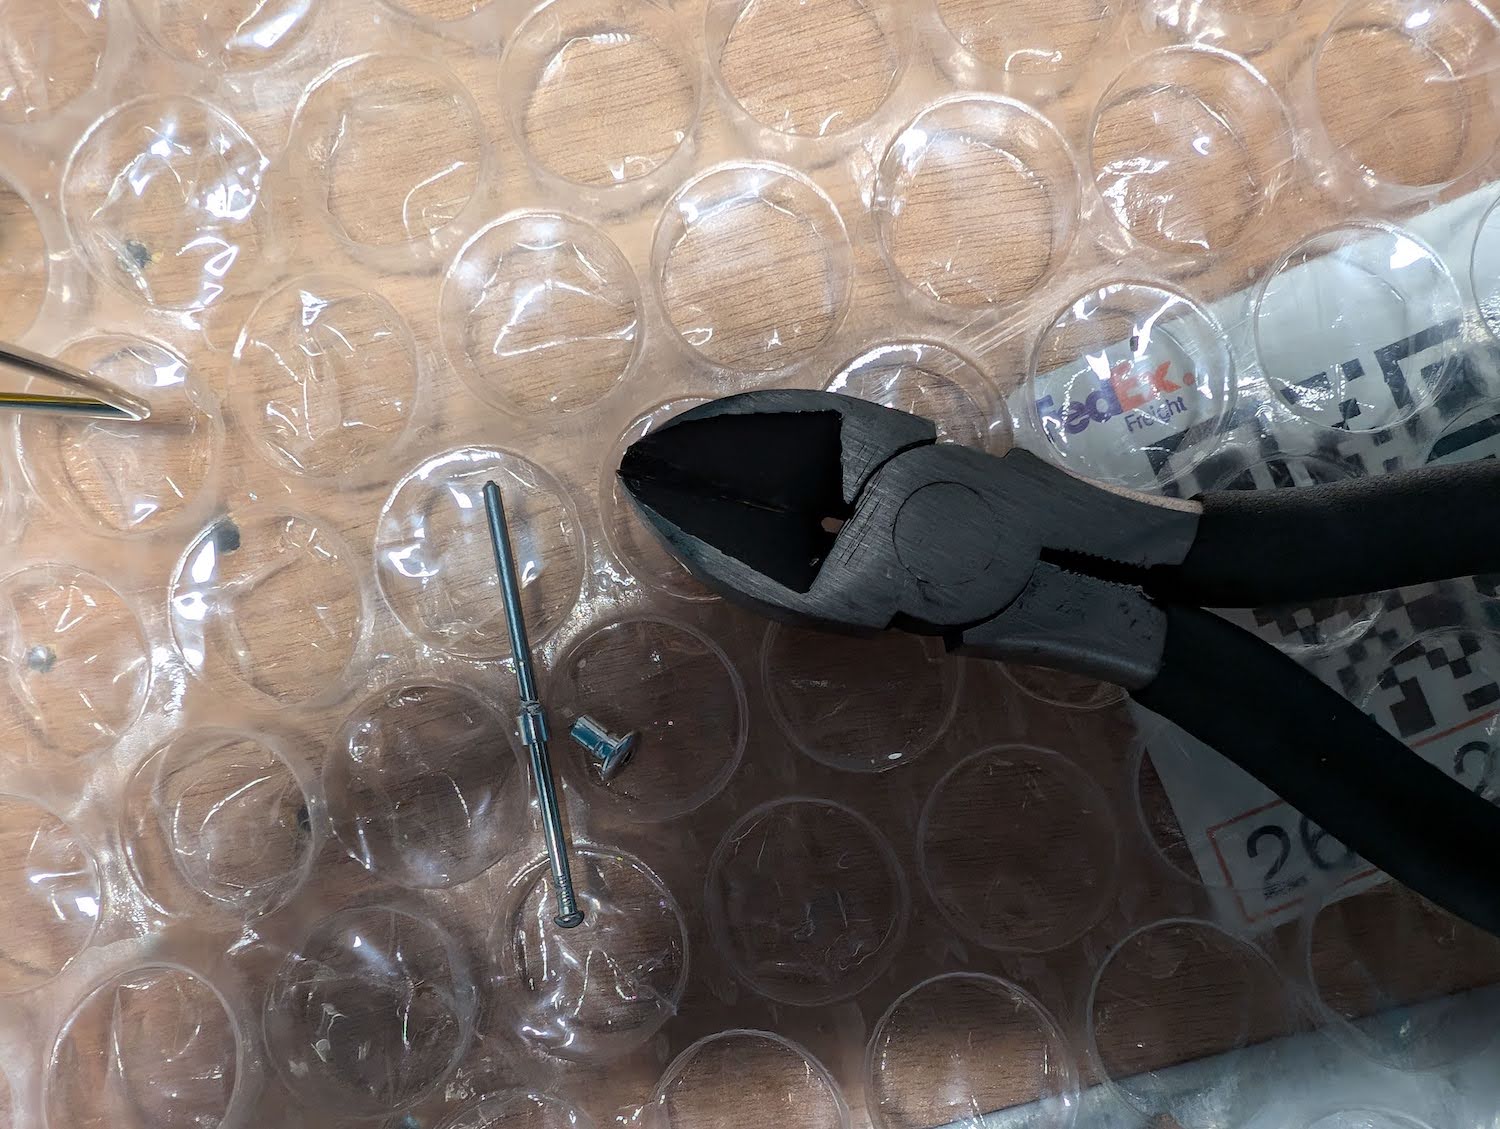 Mandrill and the shortened rivet with some excess material on the mandrill, which was removed.
 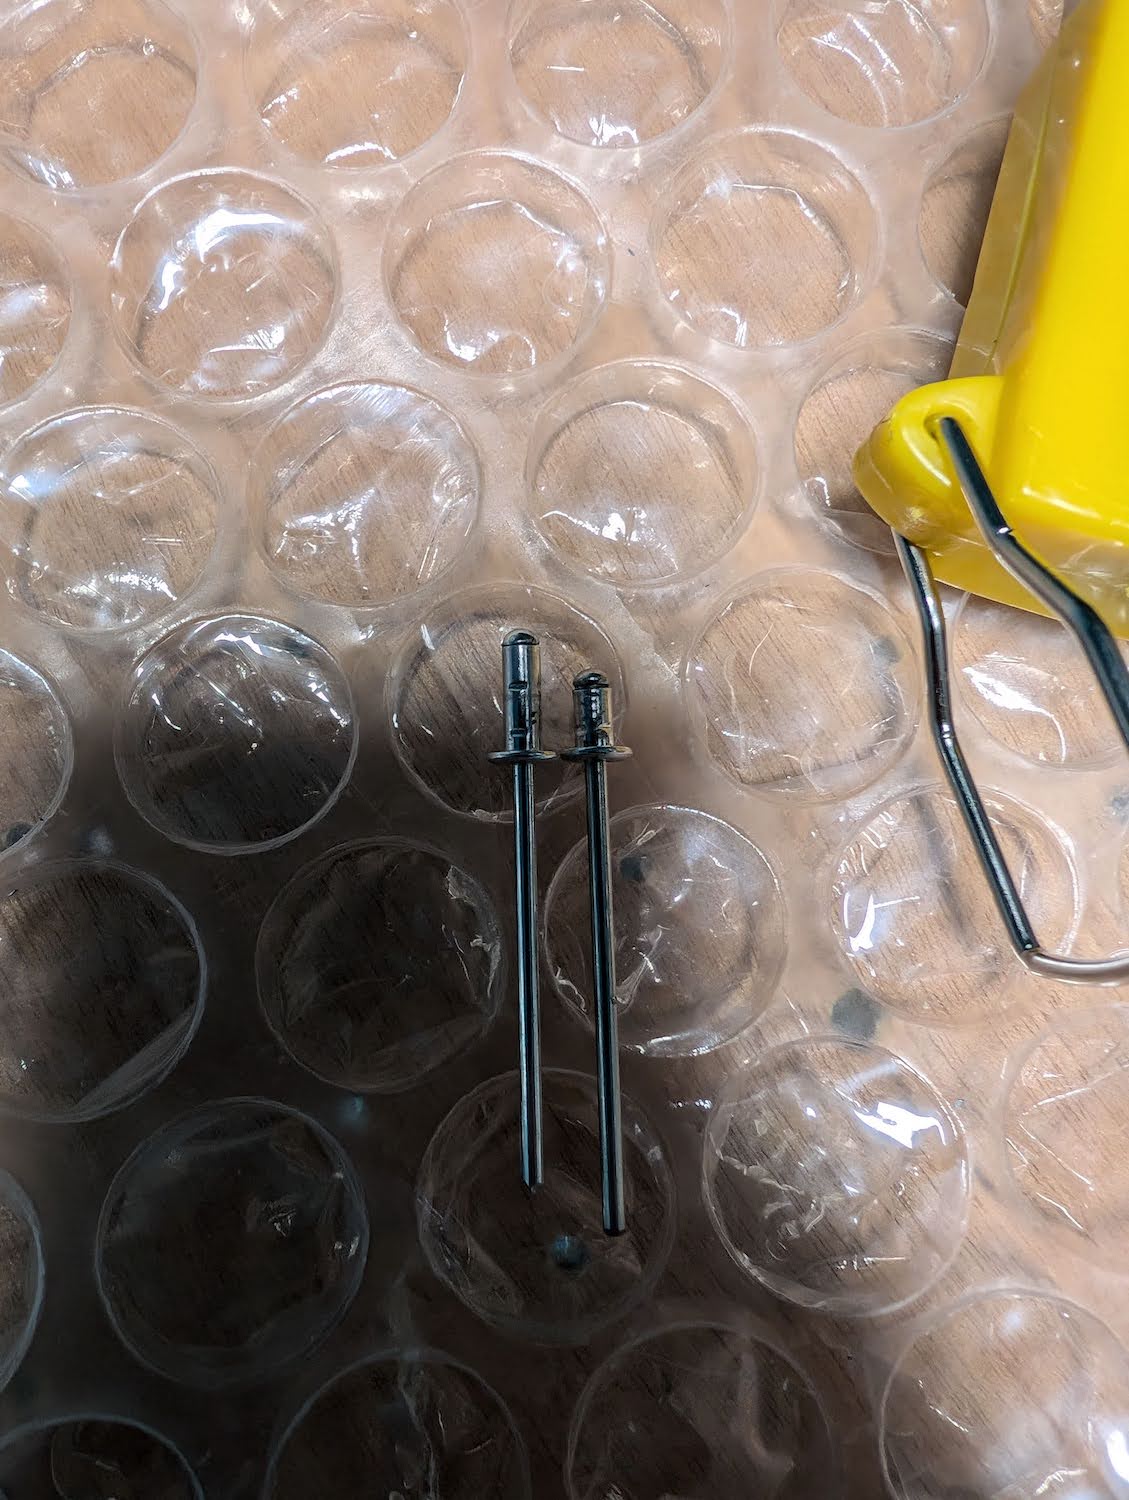 Shortened rivet size compared to the original size.
  Bottom two rivets on the trim tab hinge are the shortened ones.
Attaching to Elevator
Trim tab is attached to the elevator, clecoed for now, ready to be riveted in place. The trim tab looks perfectly in alignment with the elevator. 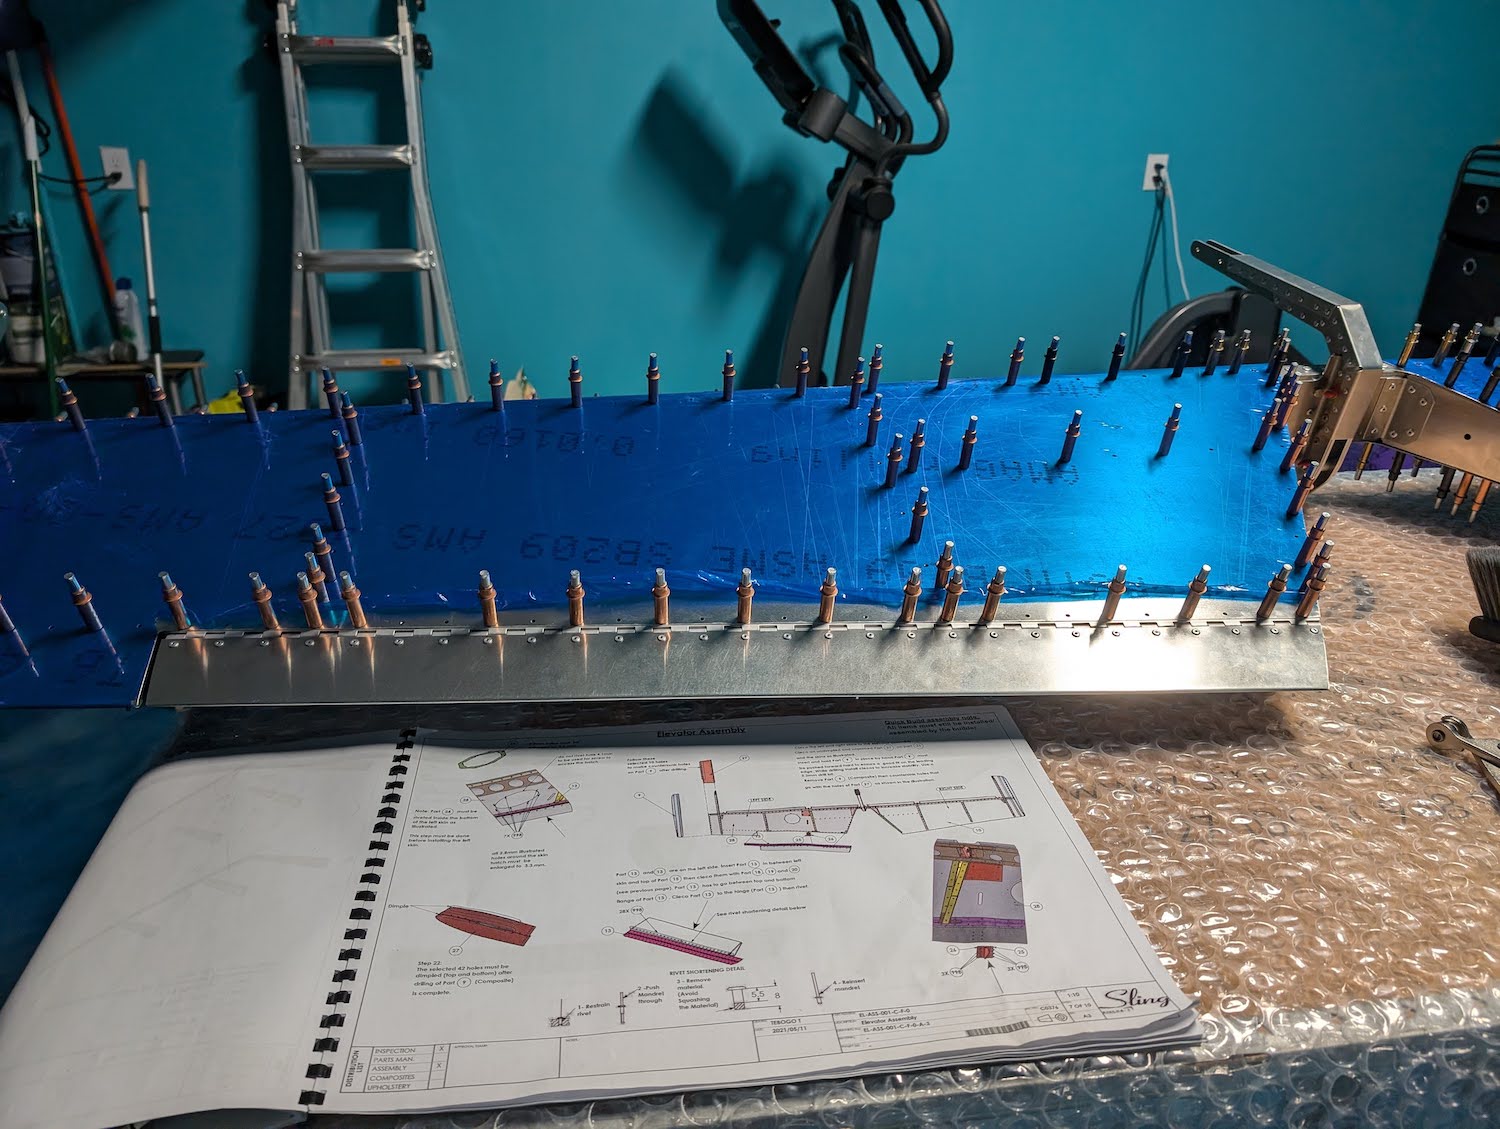 Trim Tab attached to the elevator.
 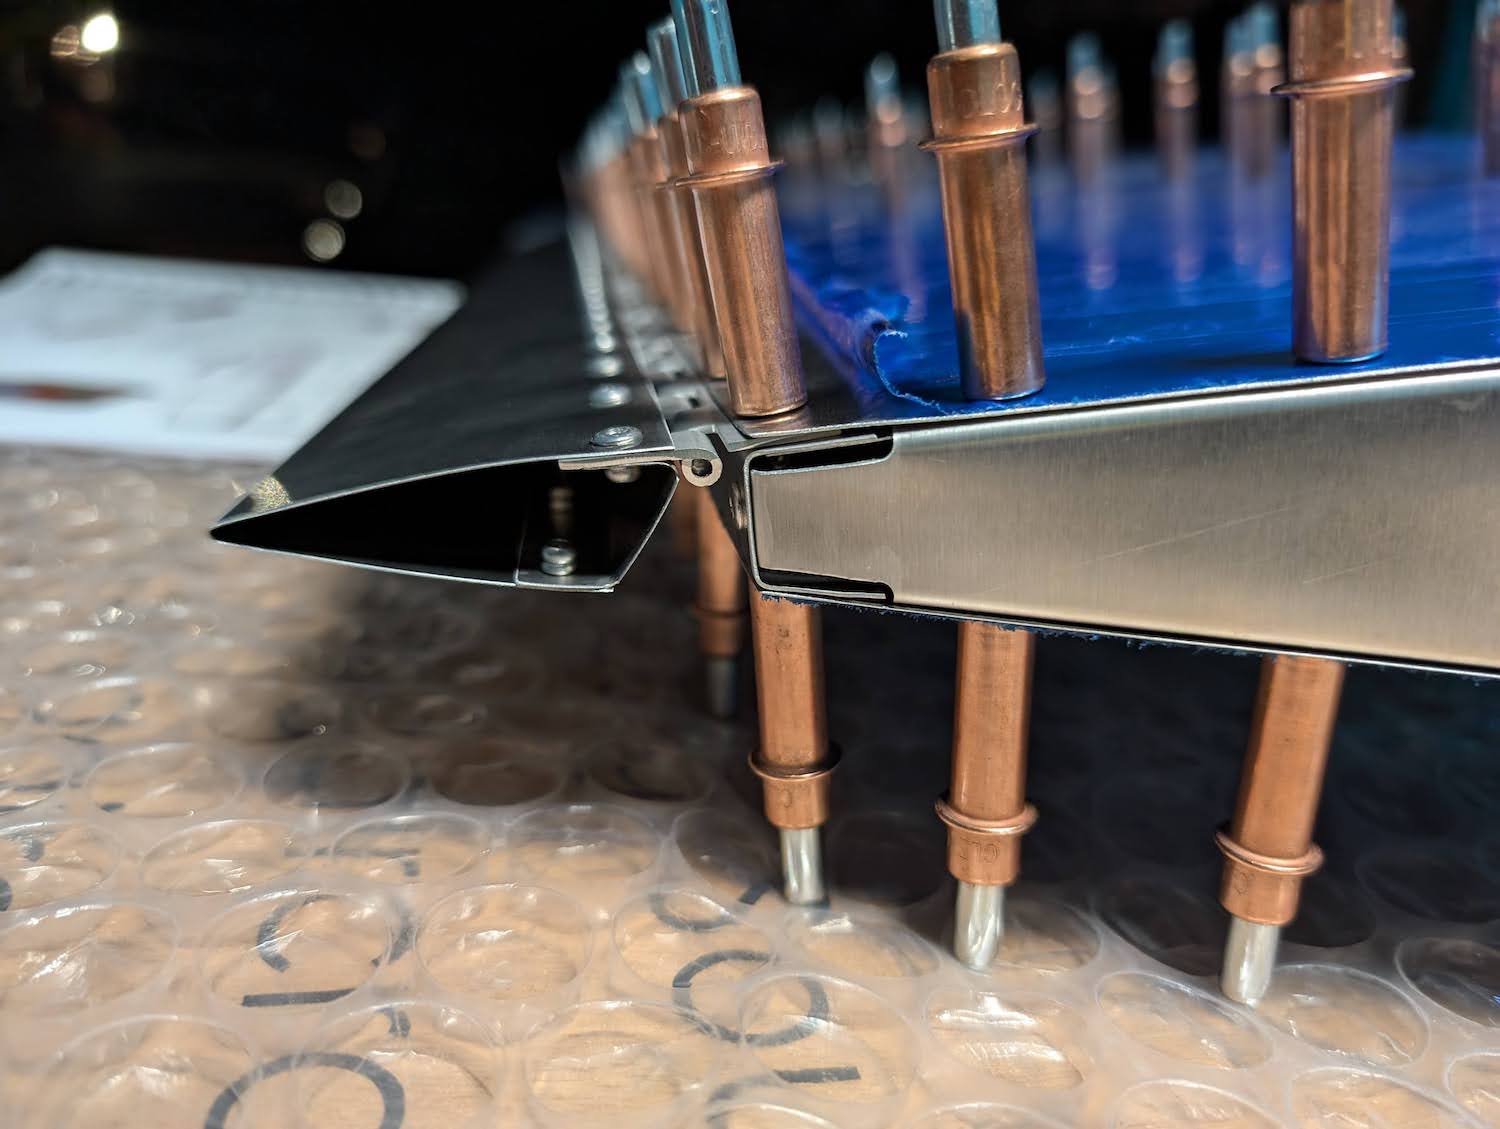 Trim Tab attached to the elevator.
  Trim Tab attached to the elevator.