Horizontal Stabilizer Ribs Assembly (Part 1)
Attaching some ribs to the spars for the horizontal stabilizer.
We started partially riveting the ribs to the already assembled spars for the horizontal stabilizer, especially for the ones that did not require any dimpling, and also for some brackets on the trailing edge spar which does not require any rib attachments on the opposite side of that spar.
Ribs Assembly
Before riveting the ribs to the spars, they were held together using clecos, check the images below. 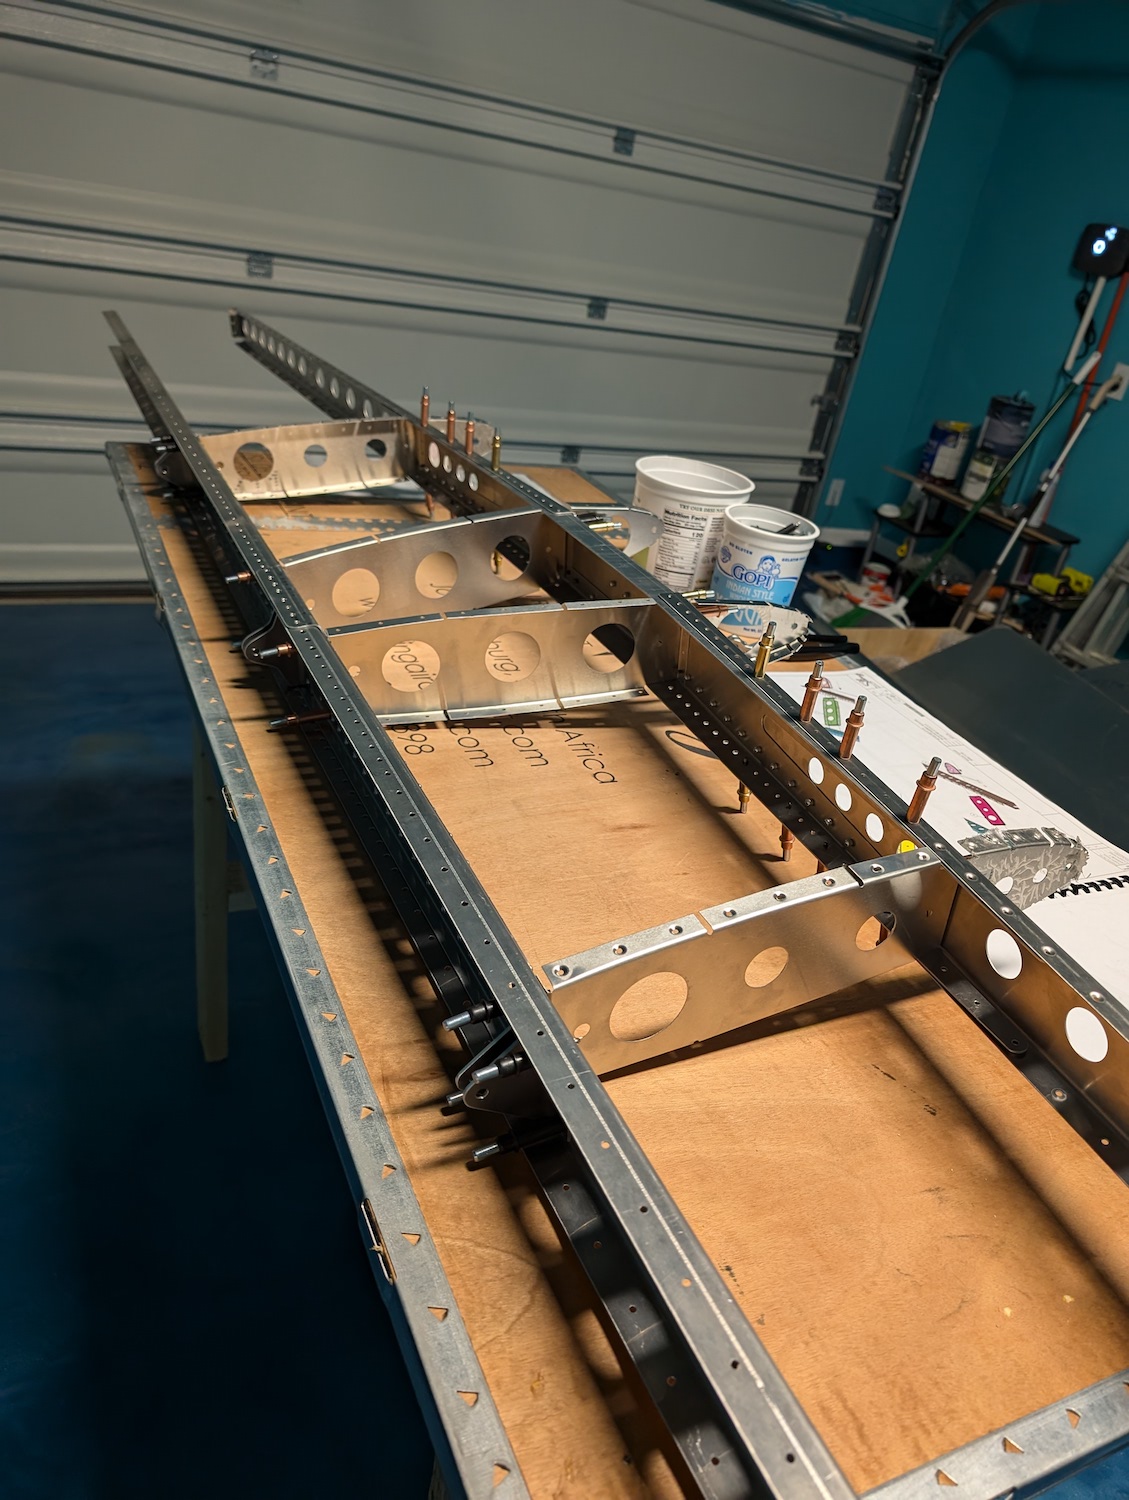 Center ribs temporary joined with the spars.
 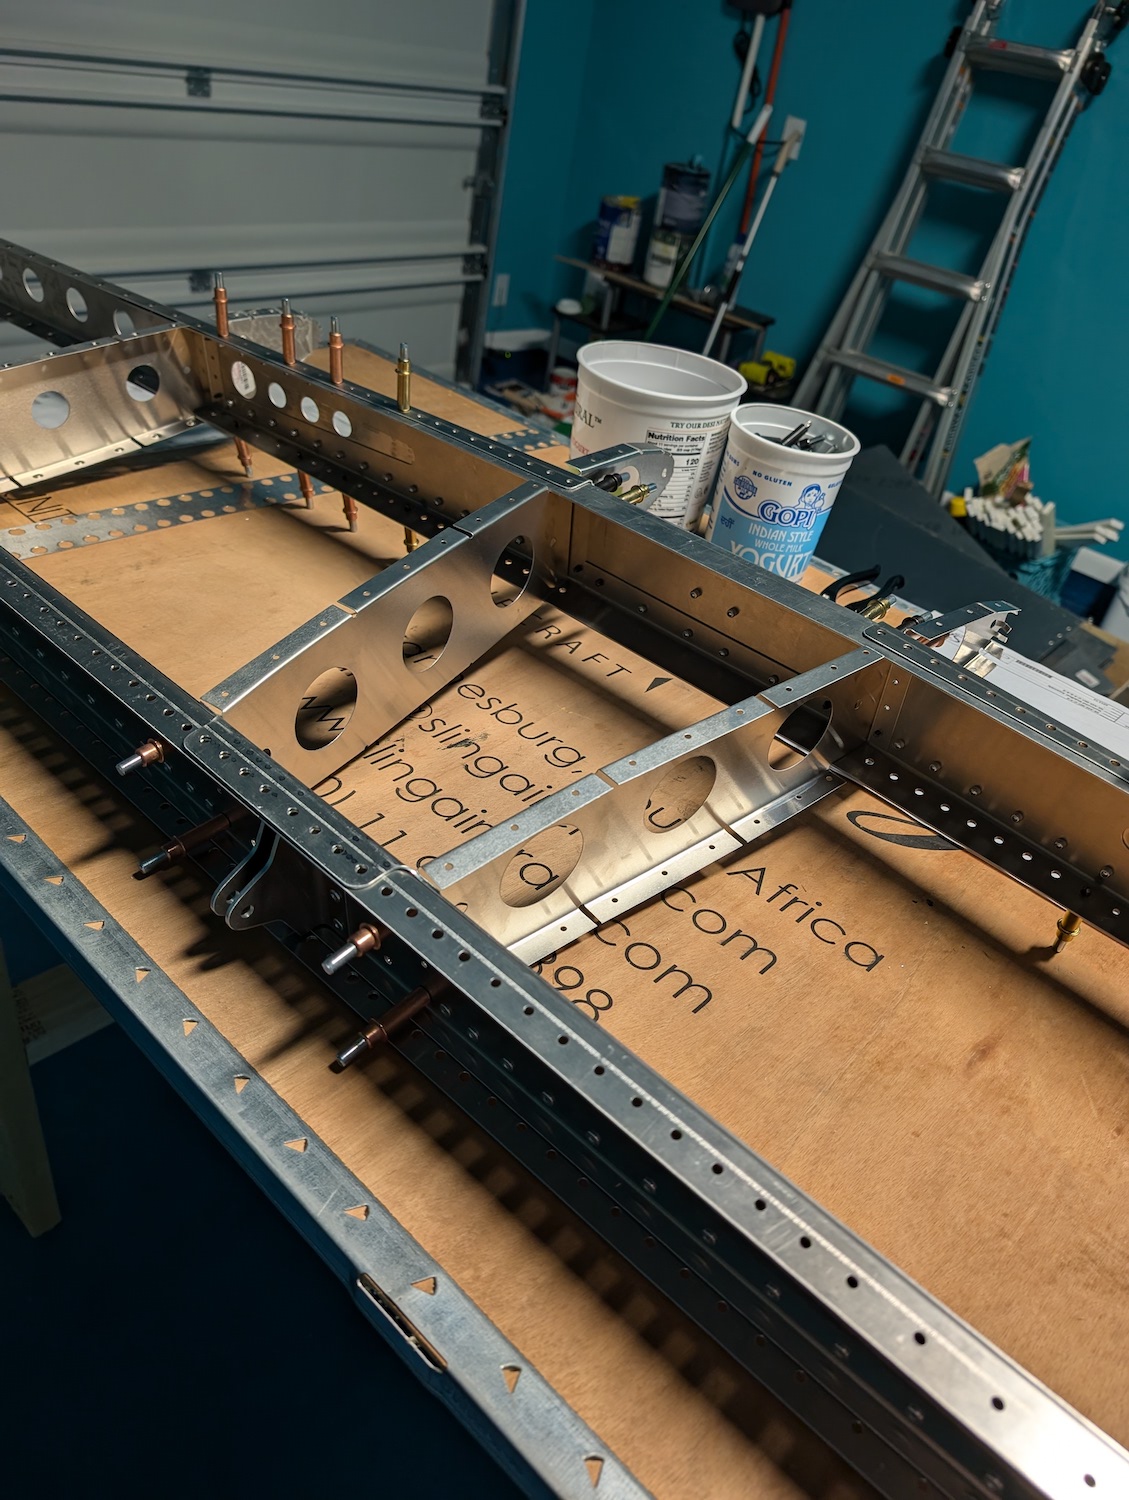 Center ribs temporary joined with the spars.
 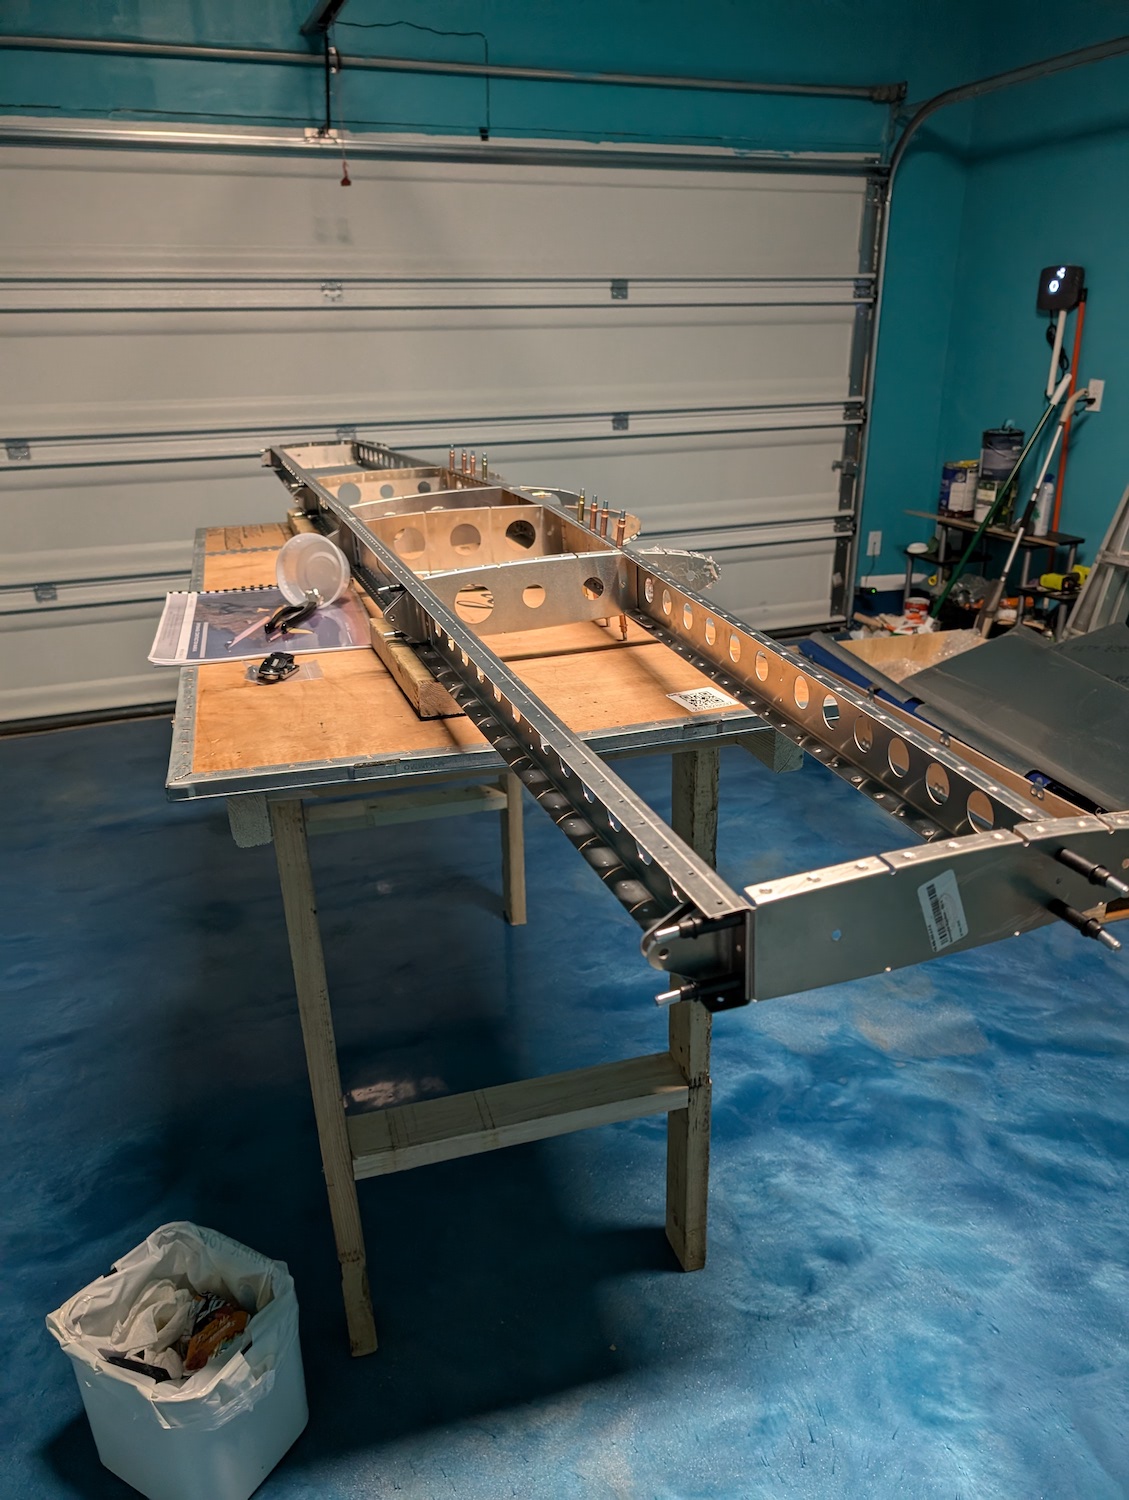 Ribs temporarily attached to the spars.
 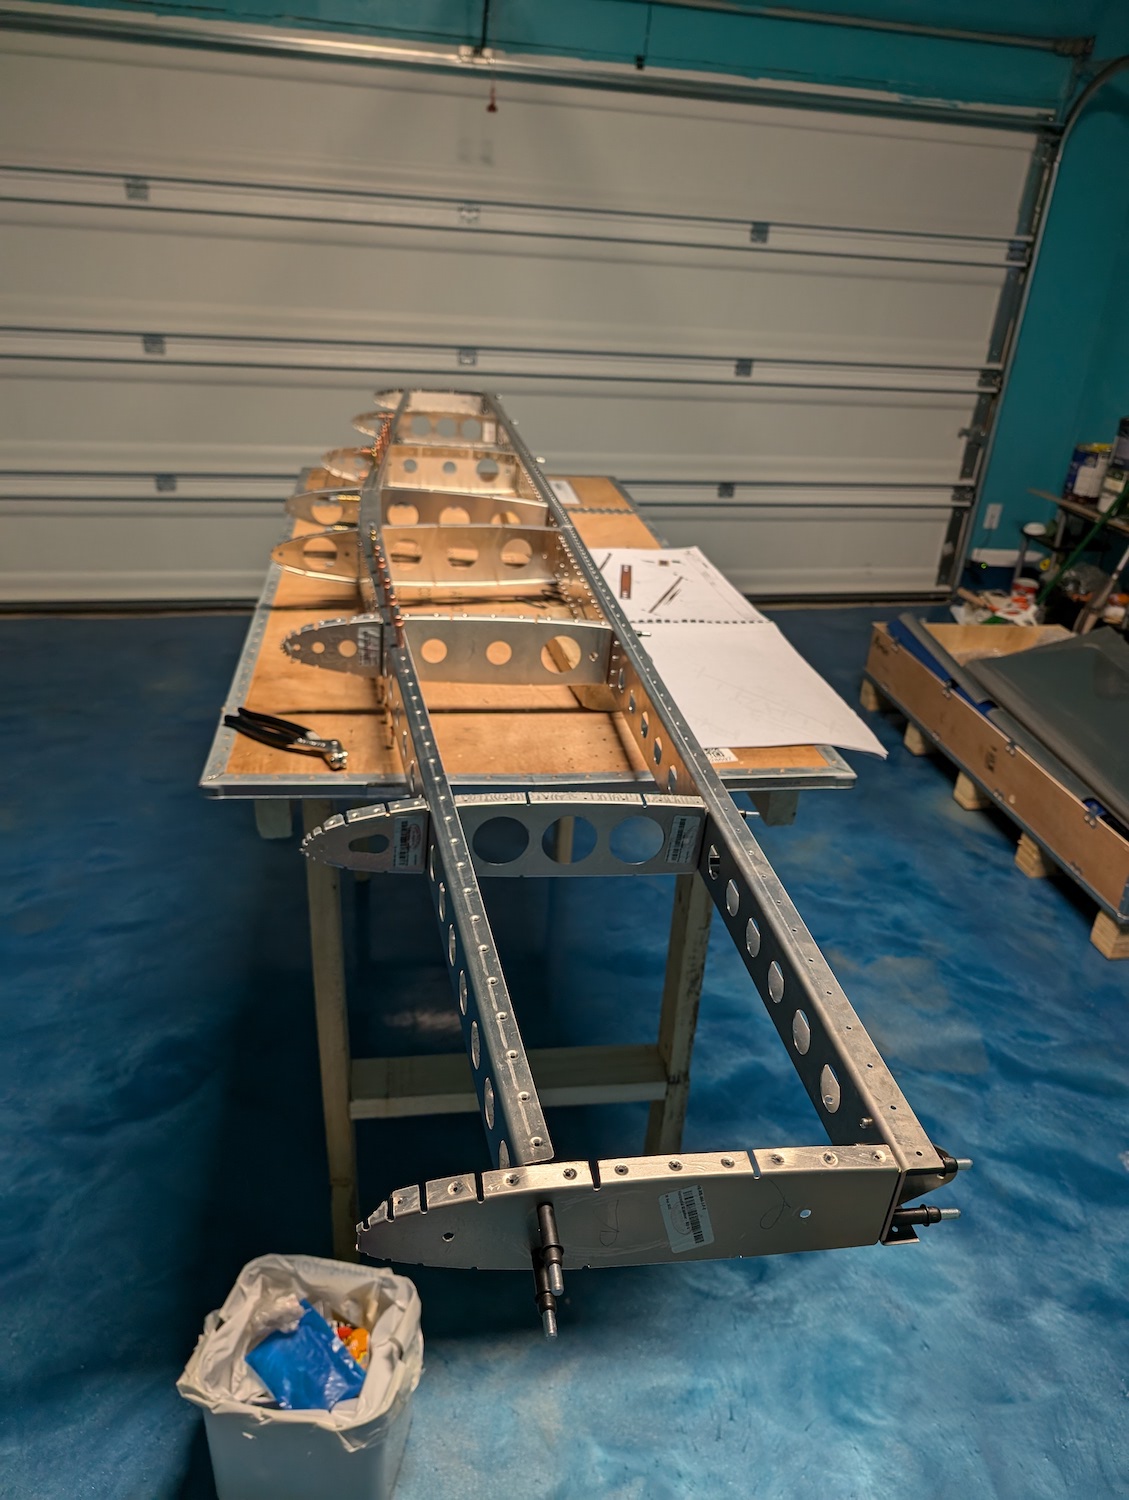 All the ribs temporarily attached to the spars until some replacement parts arrive.
Center Ribs Riveting
Some ribs that did not need dimpling such as the center ribs are permanently riveted to the front and rear spars. 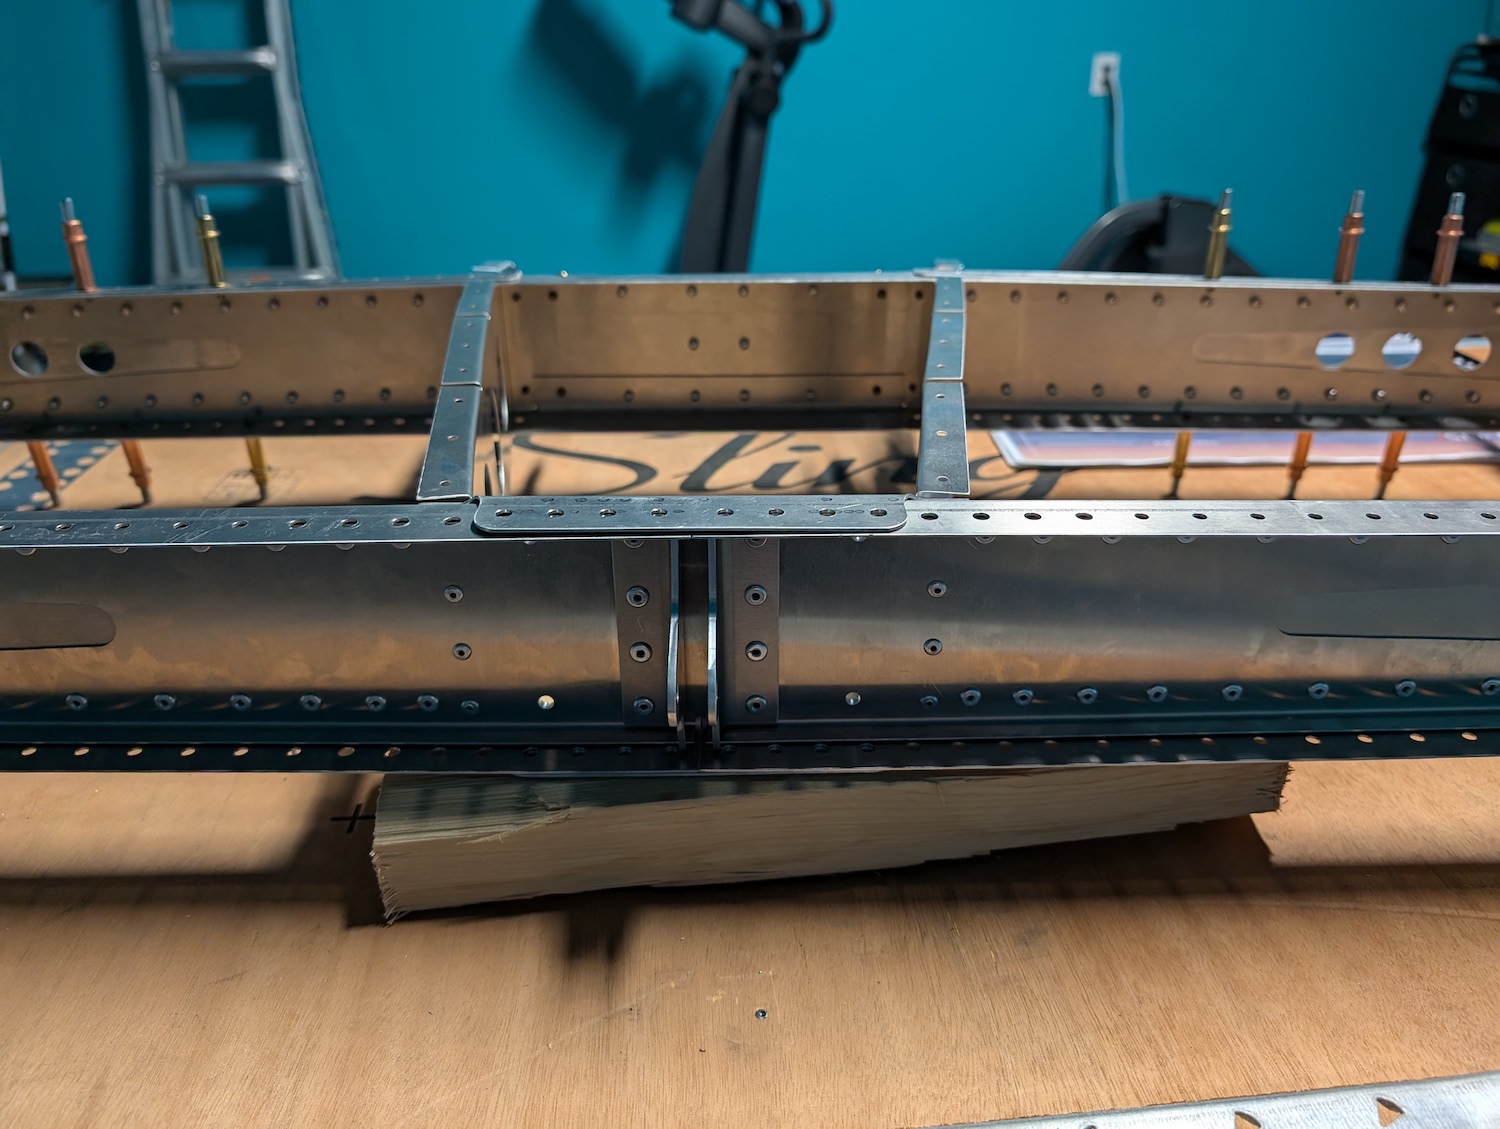 Center ribs riveted to the front and rear spar. Trailing edge view.
 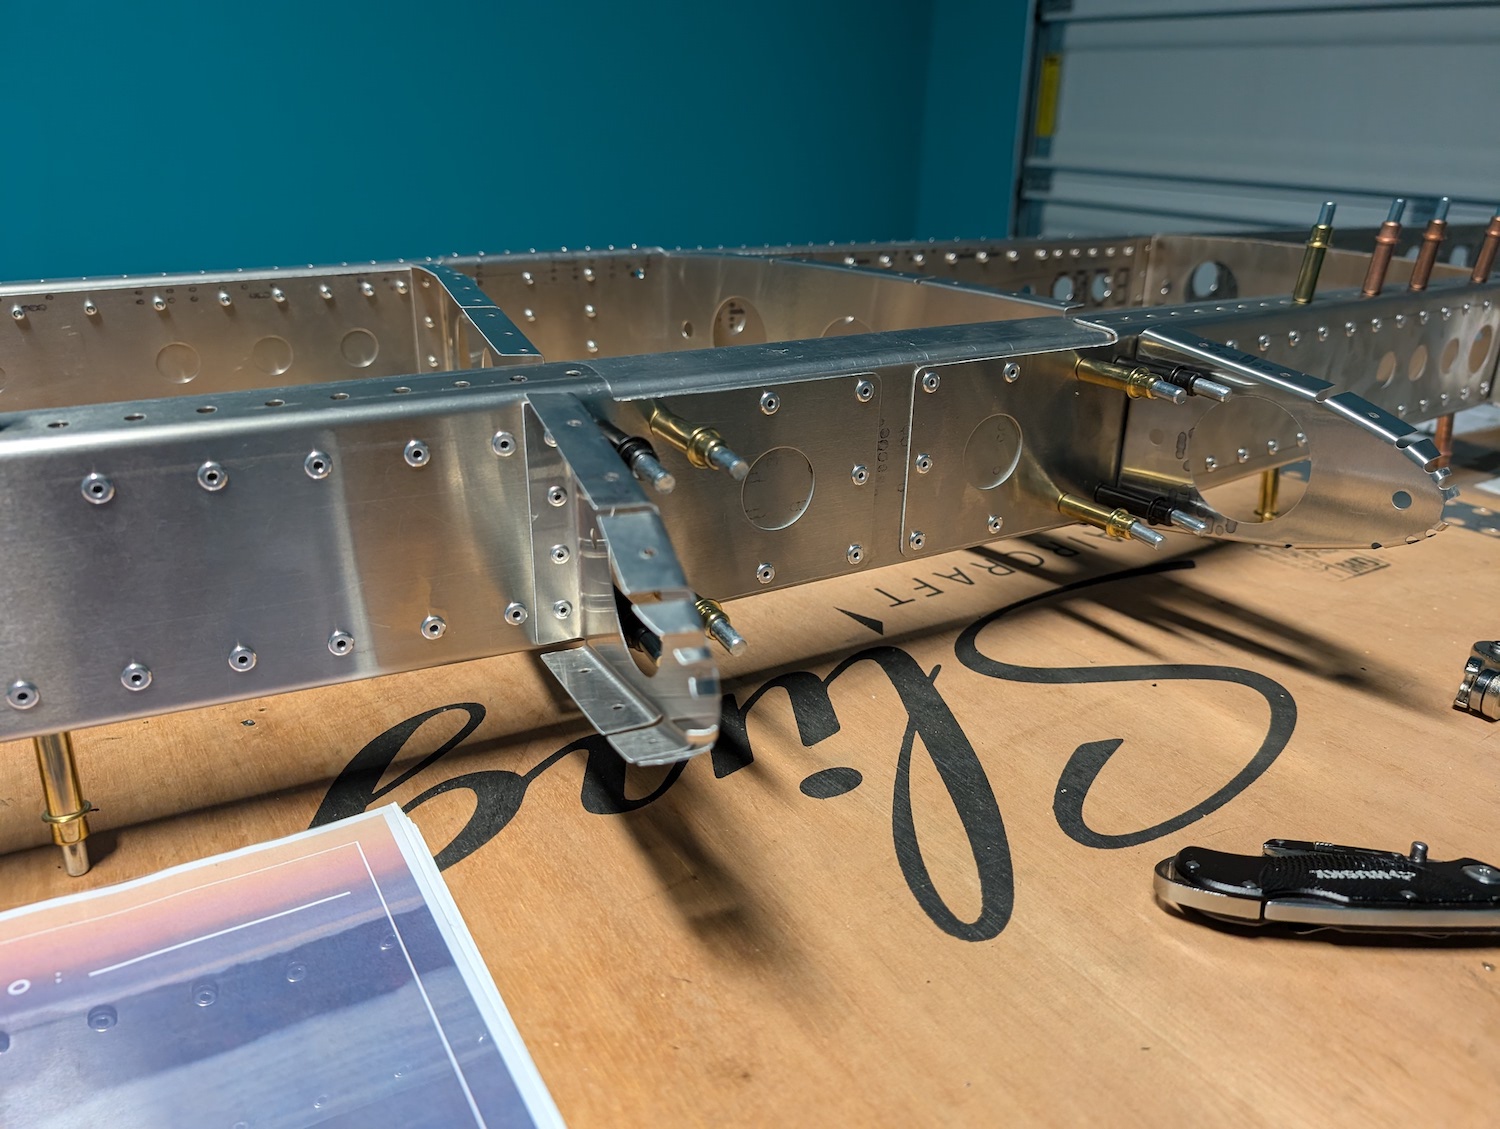 Center ribs riveted to the front and rear spar. Leading edge view.
 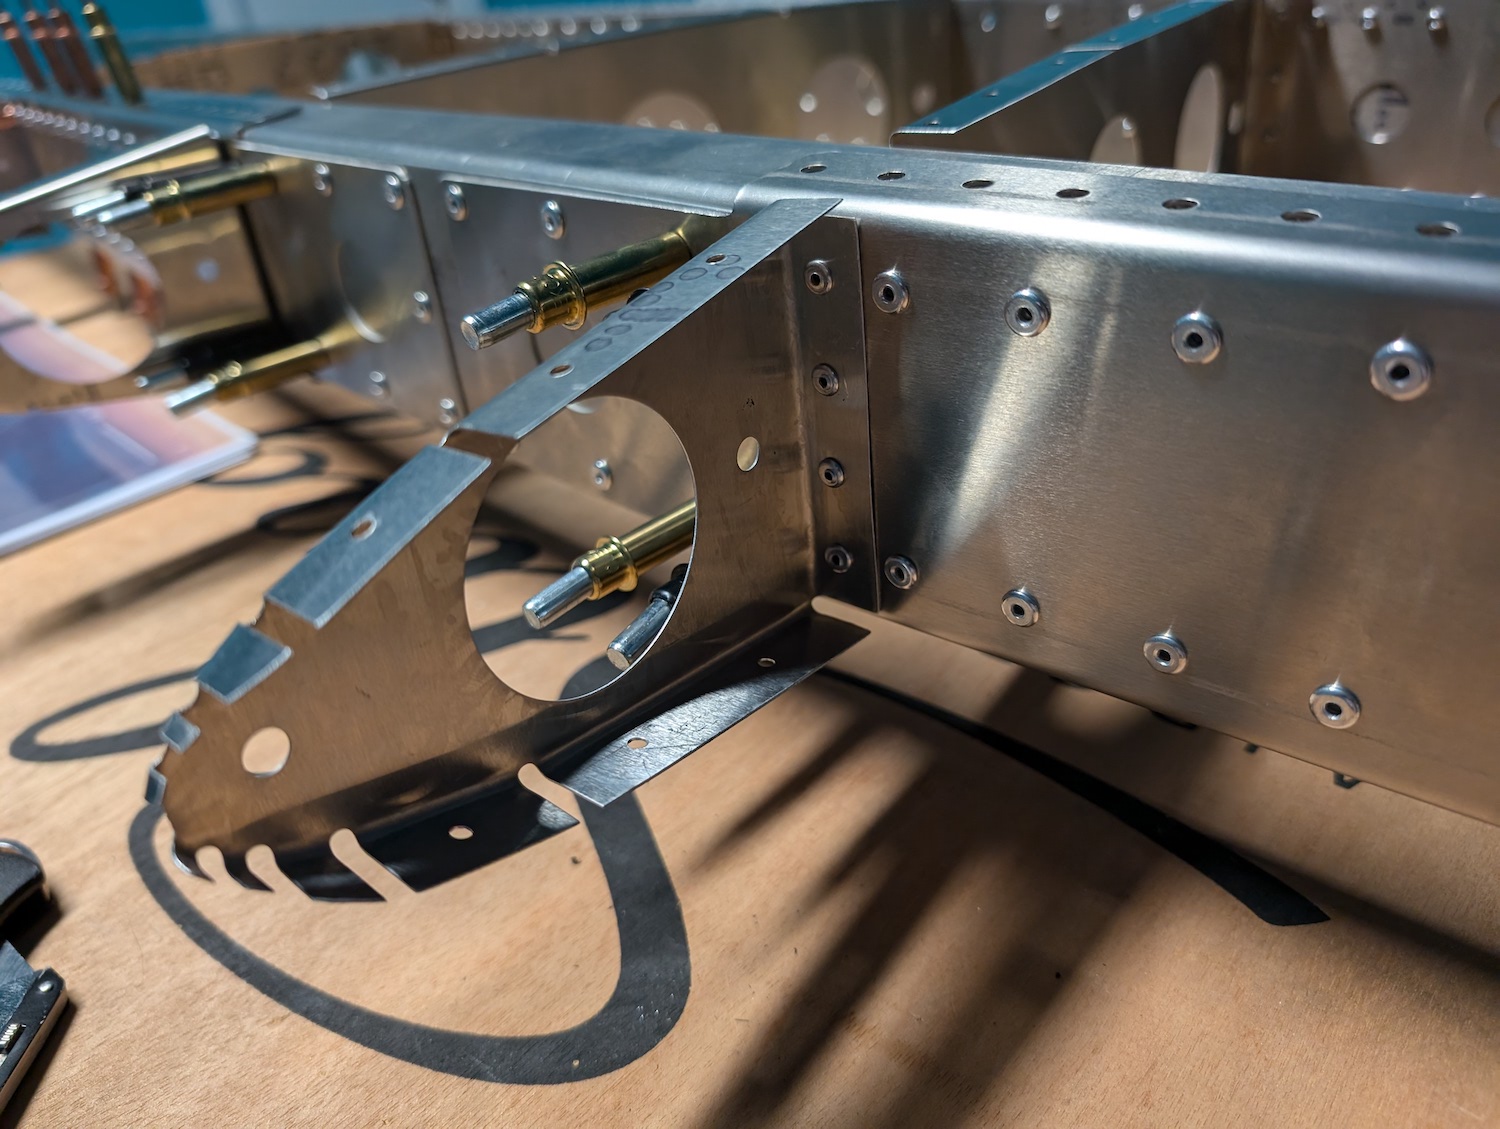 Center ribs riveted to the front and rear spar. Leading edge view.
Some Brackets Riveting
Brackets that did not need attachment to the opposite side of the rear spar were permanently riveted to the rear spar. 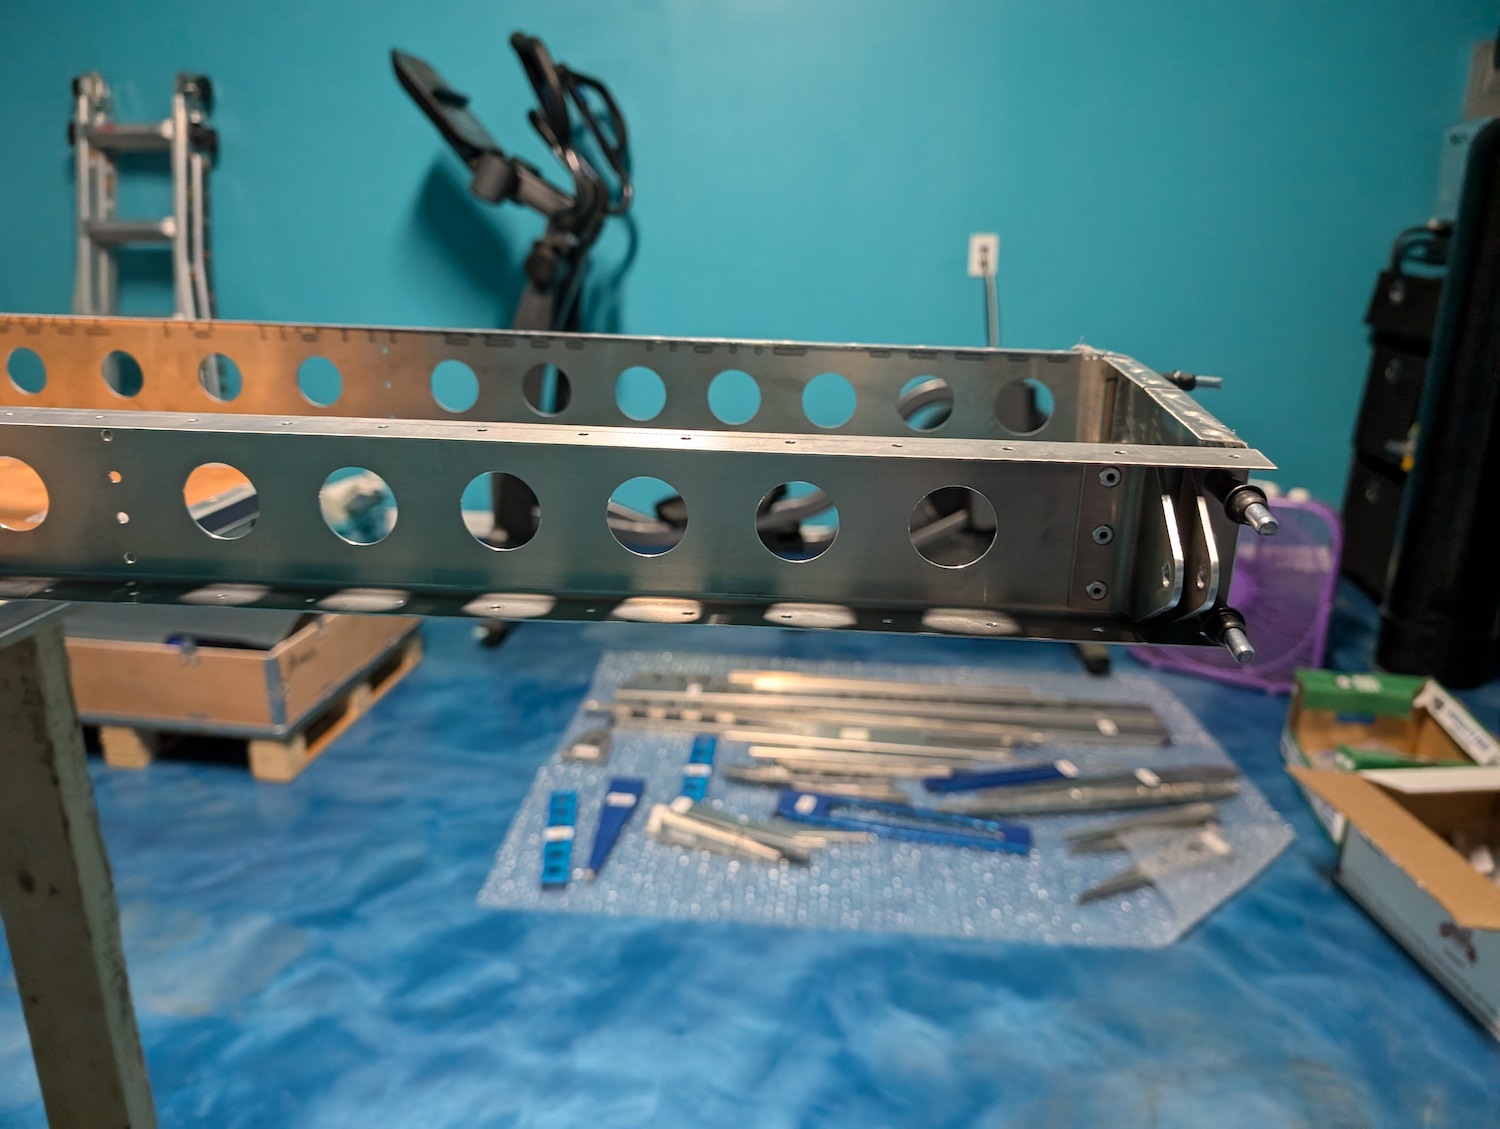 Some brackets attached to the rear spar. Outboard bracket view (only one side in this image).
 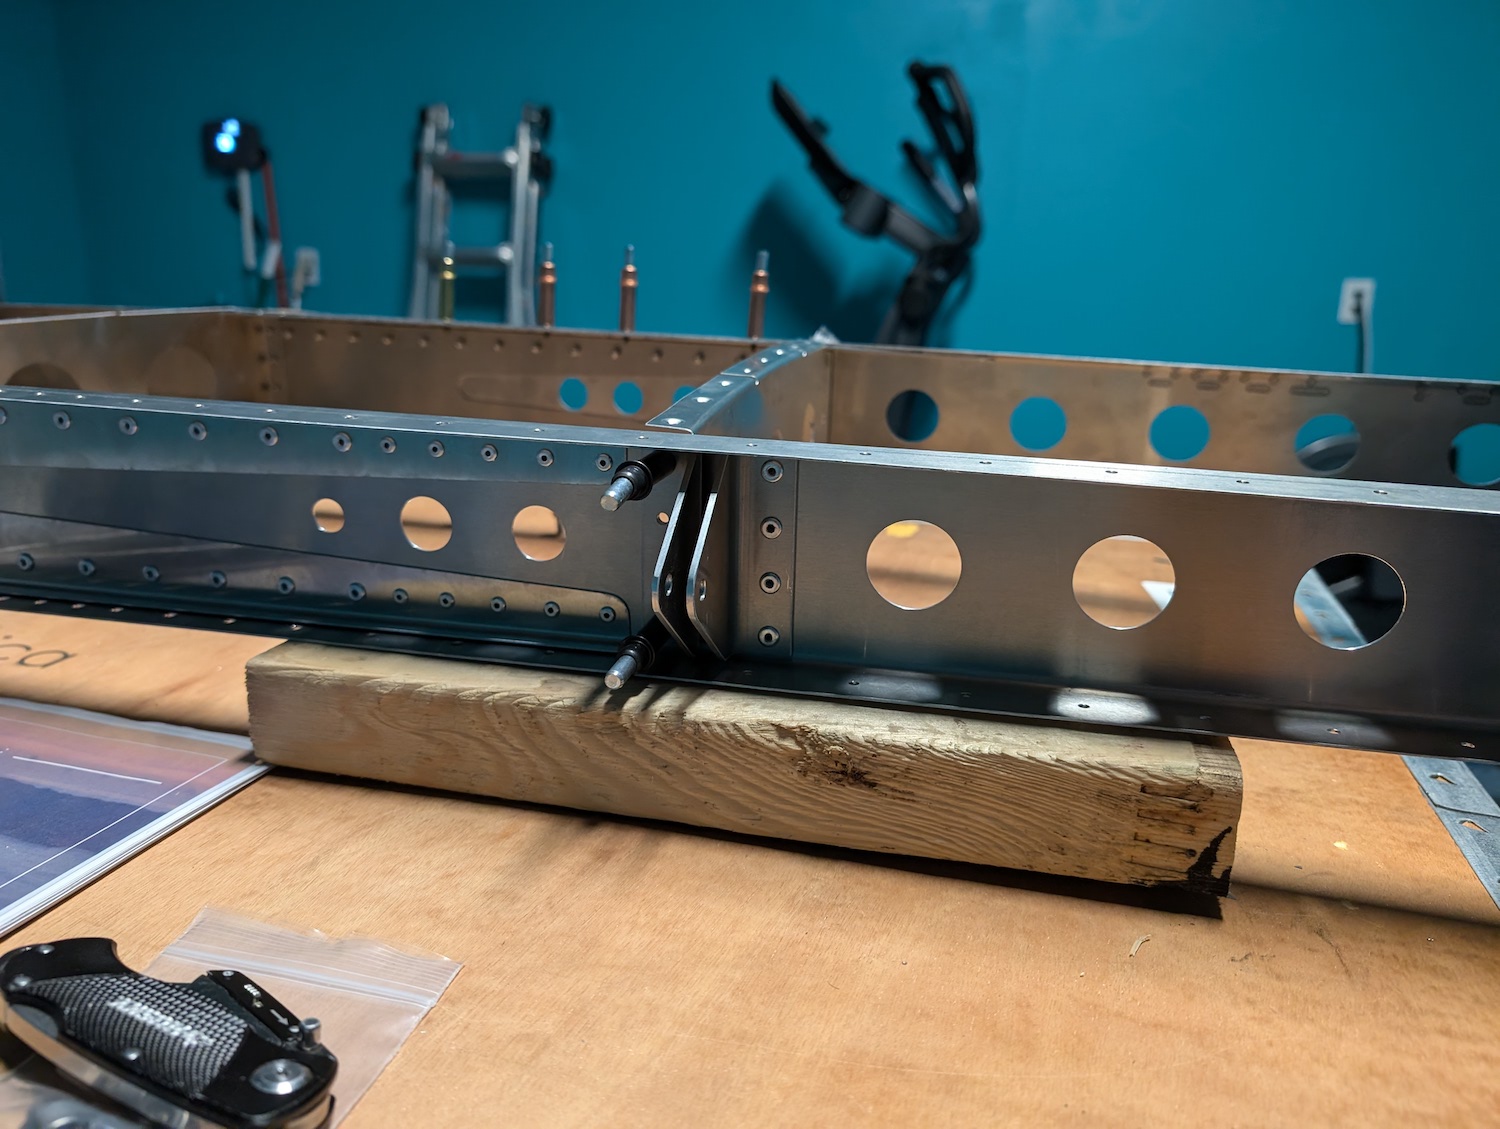 Some brackets attached to the rear spar. Intermediate bracket view (only one side in this image).
 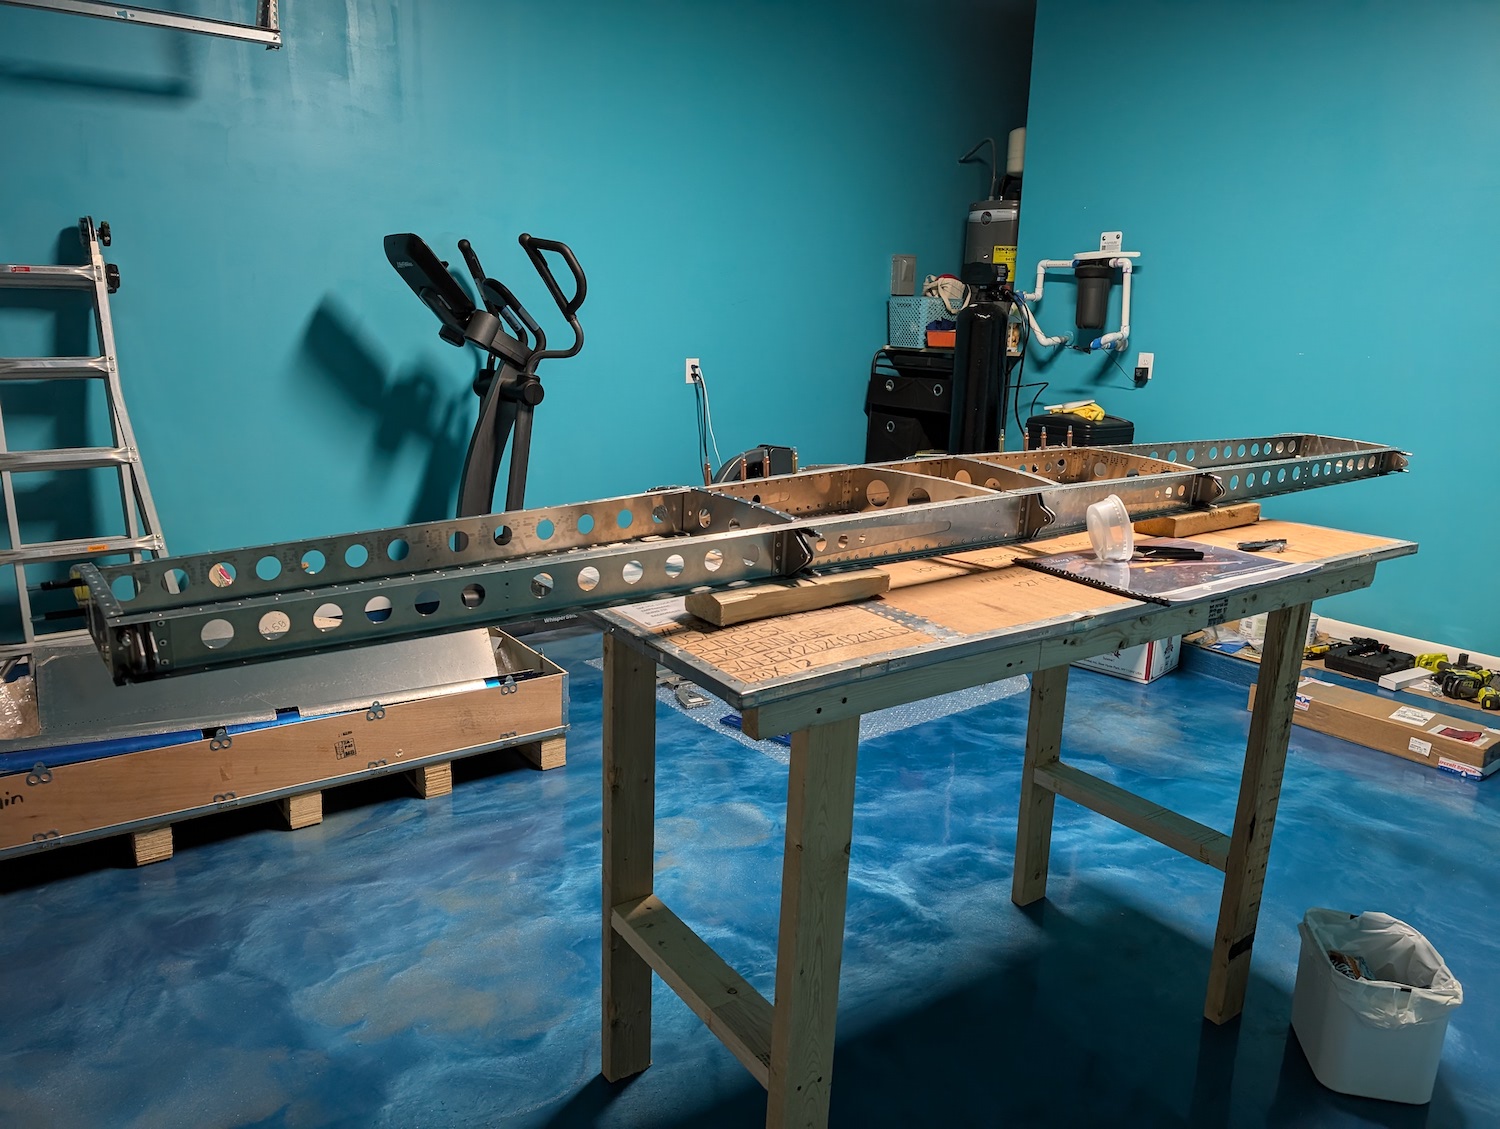 Some brackets attached to the rear spar. Overall view.