Horizontal Stabilizer Ribs Dimpling (Part 1)
Dimpling for horizontal stabilizer ribs using impact dimpler.
We started dimpling for the horizontal stabilizer ribs, using the impact dimpling tool from Aircraft Spruce, details regarding the tool is provided in the Tools section at the bottom.
Update: Some dimple mishaps have been reported to sling technical and their response is in the relevant sections. Additionally, it was determined that the damage to the 1/8” dimple die caused some cracks, which was reported to airplane factory, and a replacement die is on the way.
Ribs
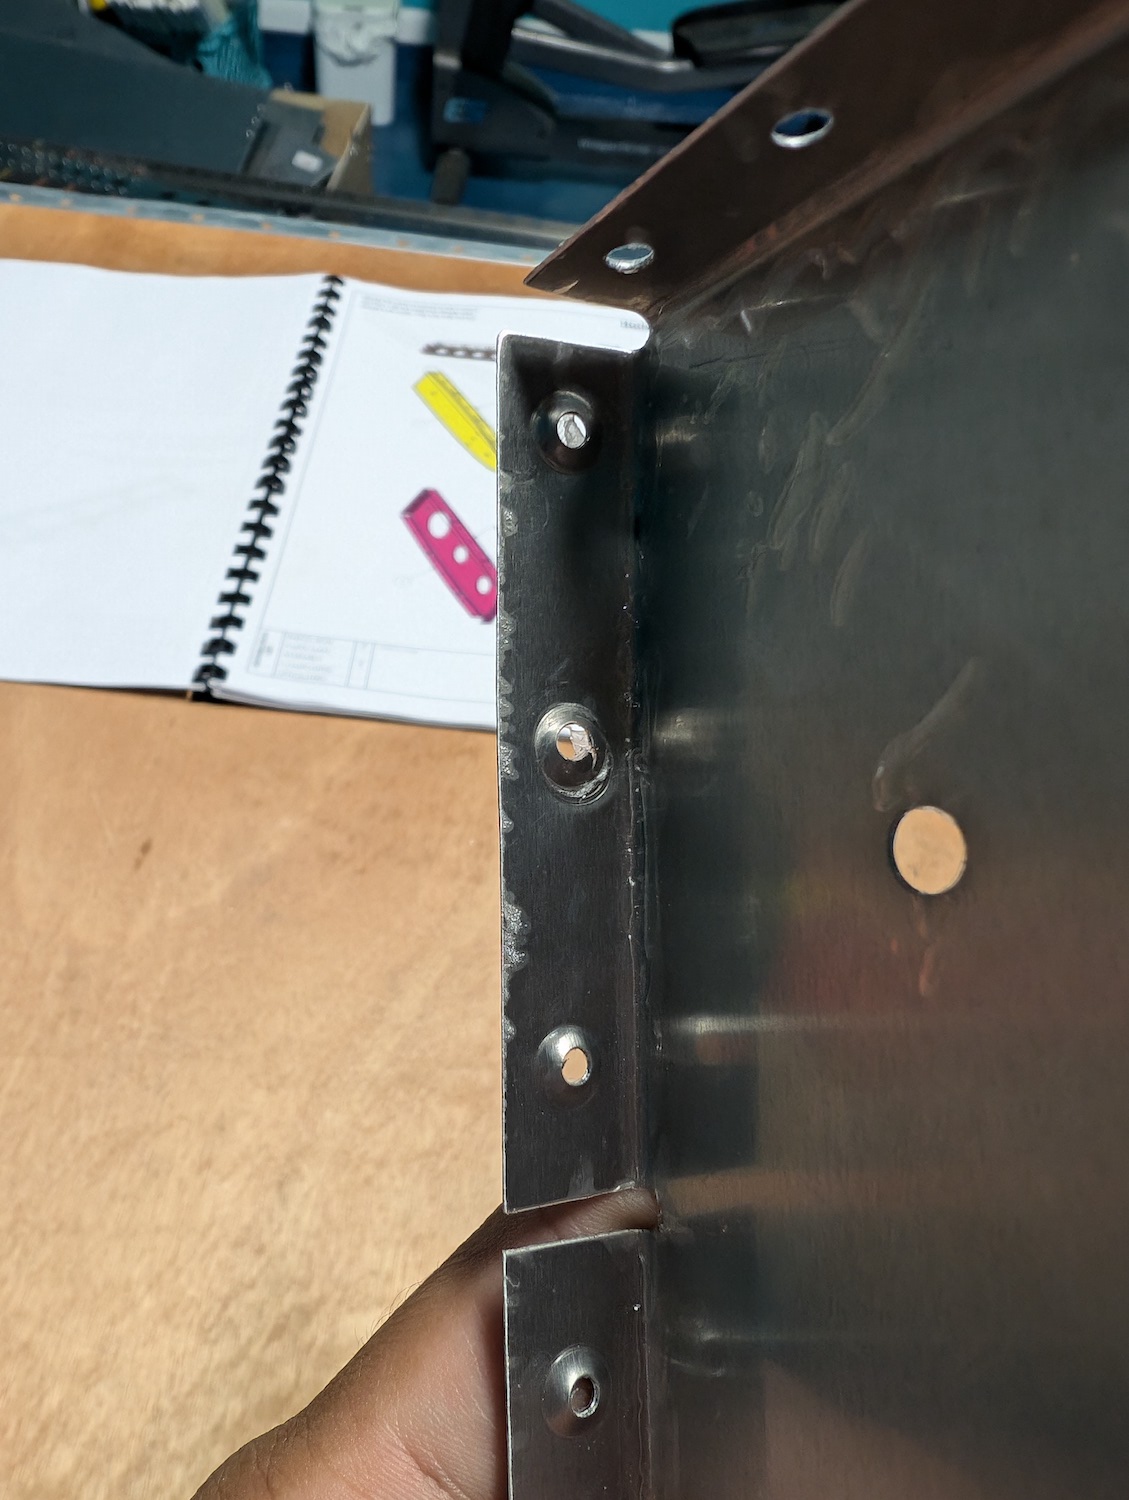
While dimpling the ribs using the impact tool, we ran into some mishaps such as the dimples being off-center and also some crack due to the impact getting misaligned for a second. Below images are from how the normal dimples came out. 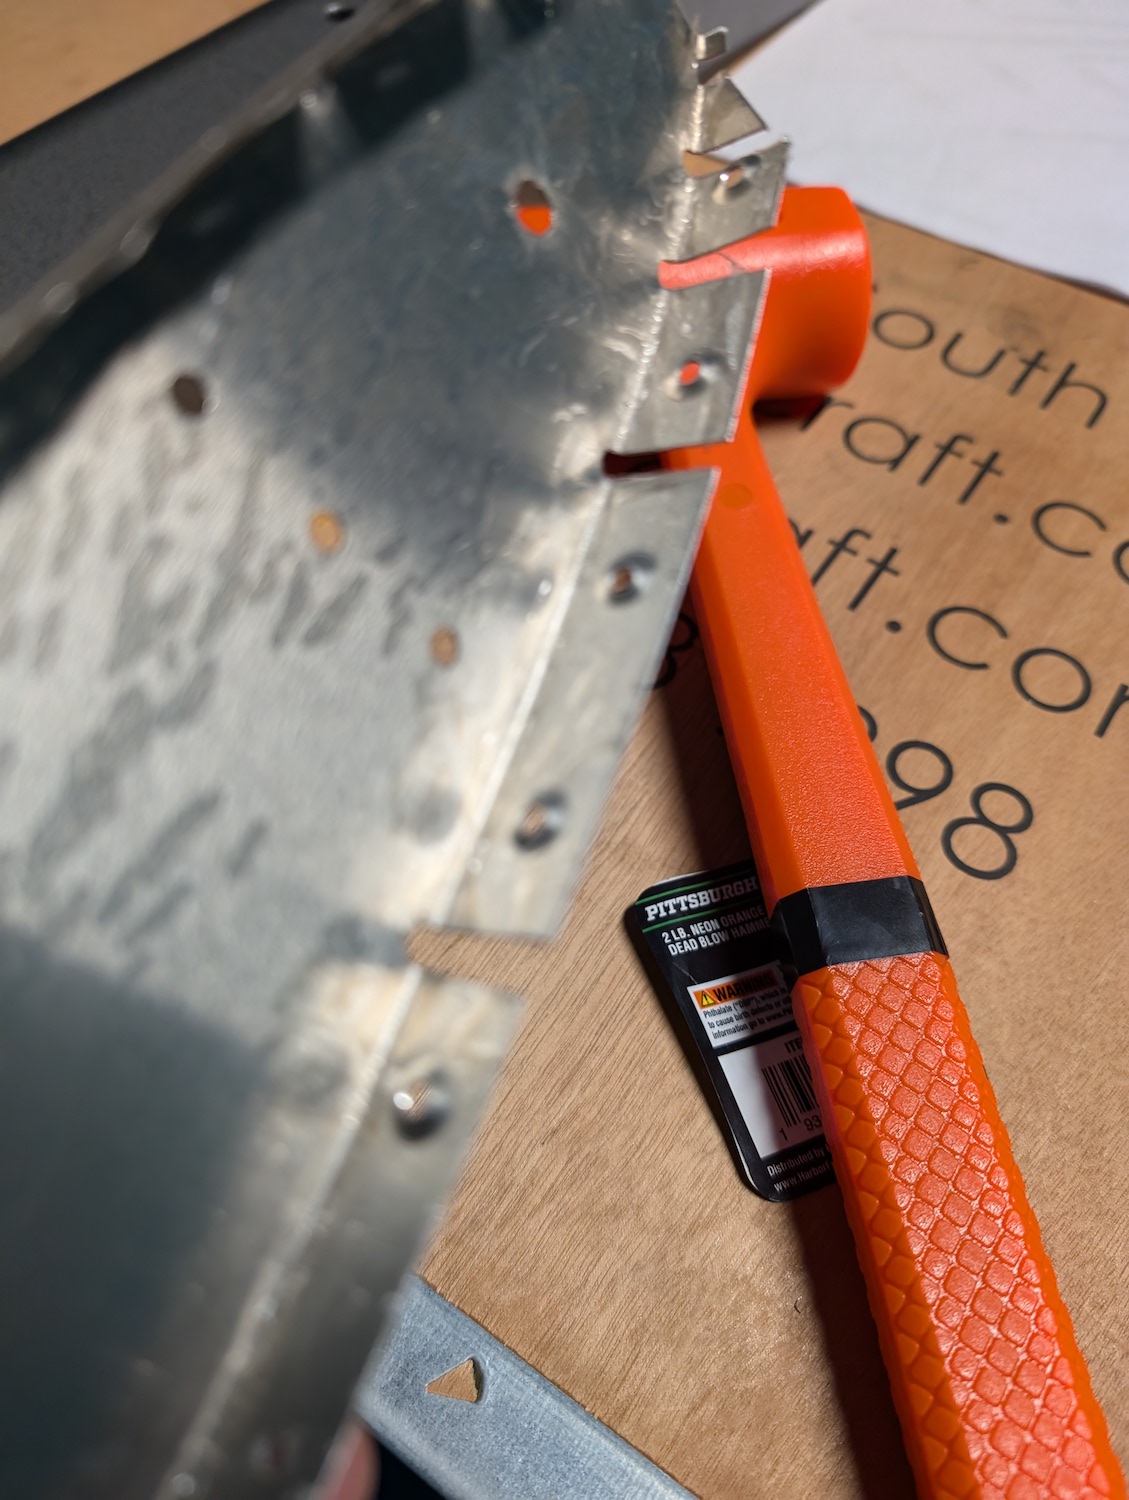 Normal dimpled ribs.
 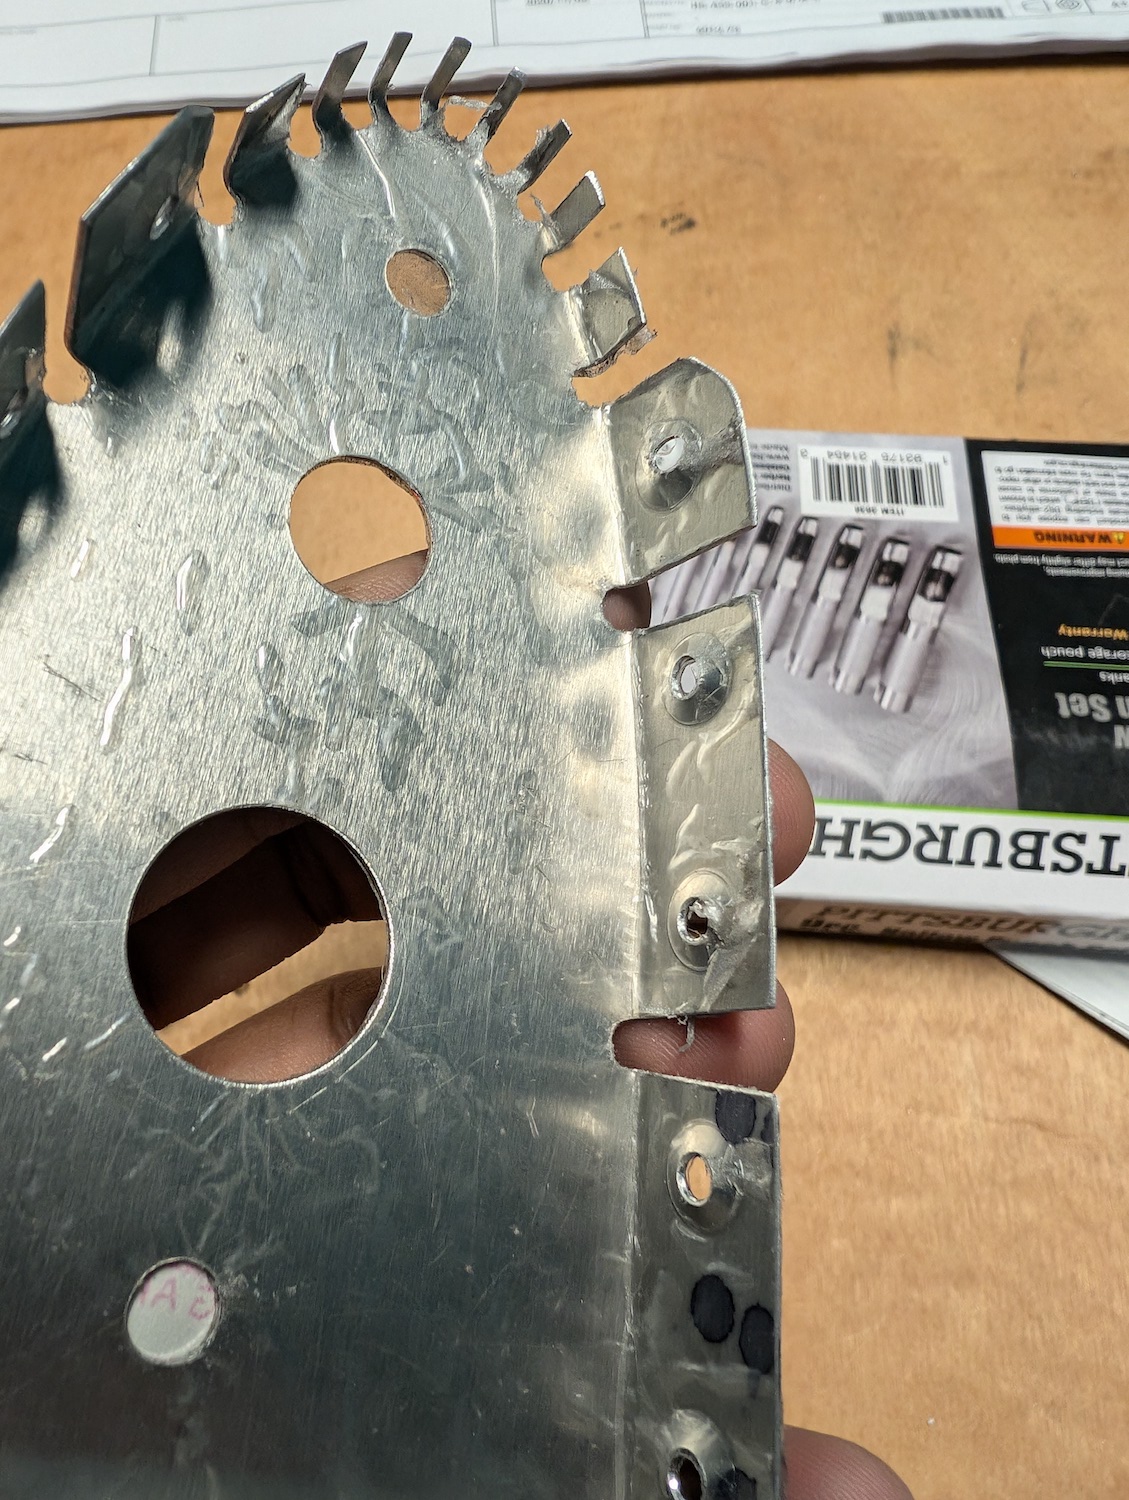 Normal dimpled ribs.
 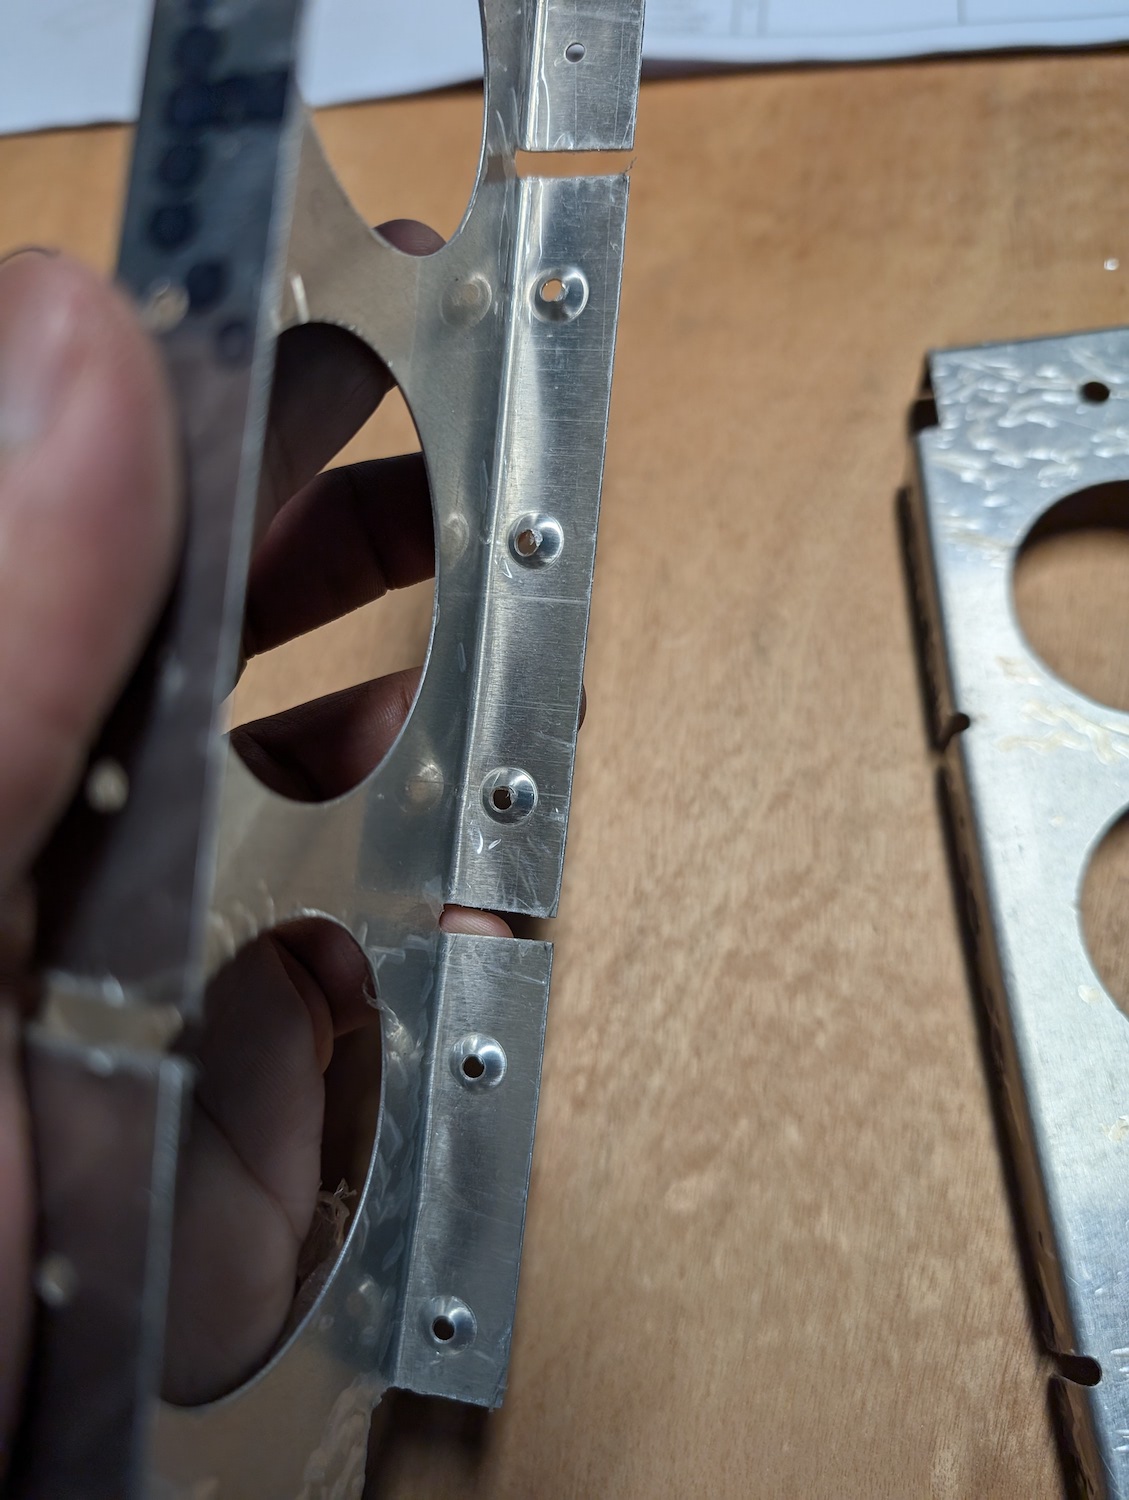 Normal dimpled ribs.
 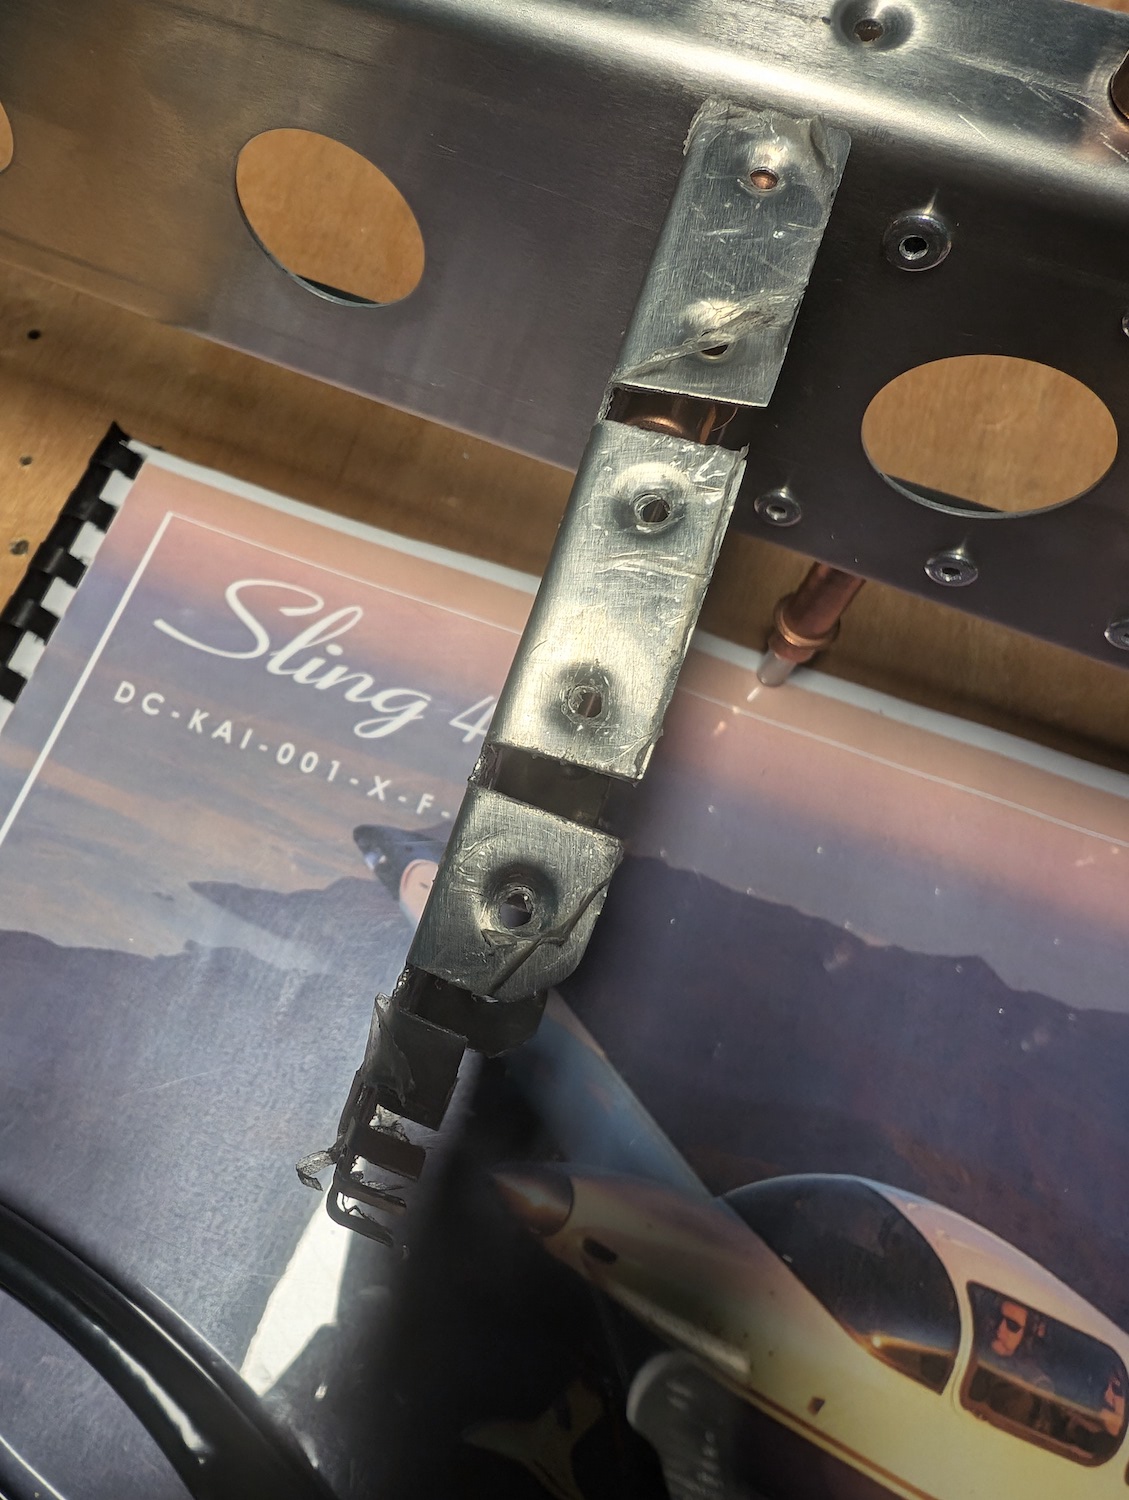 Normal dimpled ribs.
Off-center dimples
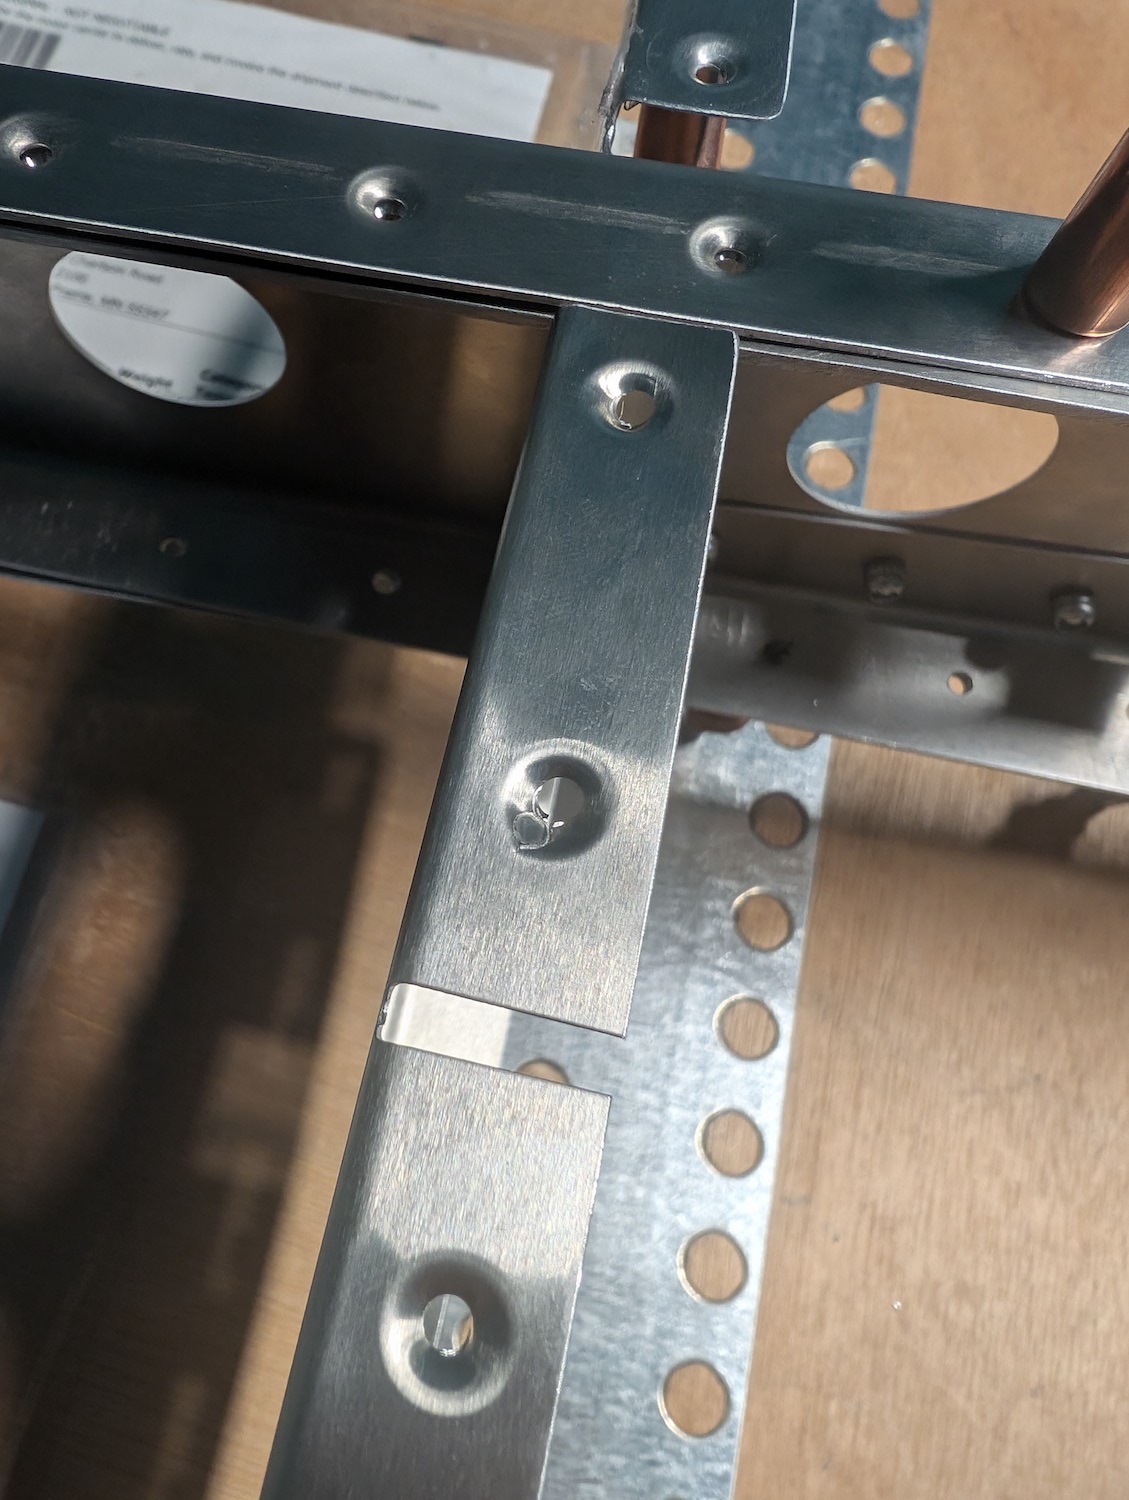
Some dimples (images below) came out to be a little off-center, I sent questions to sling technical, will update this post when I get some answers.
Update: Sling technical department recommended replacing the parts, since the rivet flanges on the skin can protrude a bit. Additionally, it was determined that the dimple die was too big for that opening, so I will grind the edge of the dies a bit, so they fit flat against the hole.
 Off center dimples on rib.
  Off center dimples on rib.
Cracked dimple
Very few dimples (images below) came out to be slightly cracked, I sent questions to sling technical, will update this post when I get some answers.
Update: Sling technical department mentioned that I definitely need to replace these parts. This was reported via Sling Shot to the factory, and replacement for cracked parts is on the way.
 Crack protruding from the hole which was dimpled.
Skin Sample
We tried this tool on the skins as well, the dimples came out to be great, since the placement for skin was flat with the tool compared to ribs. 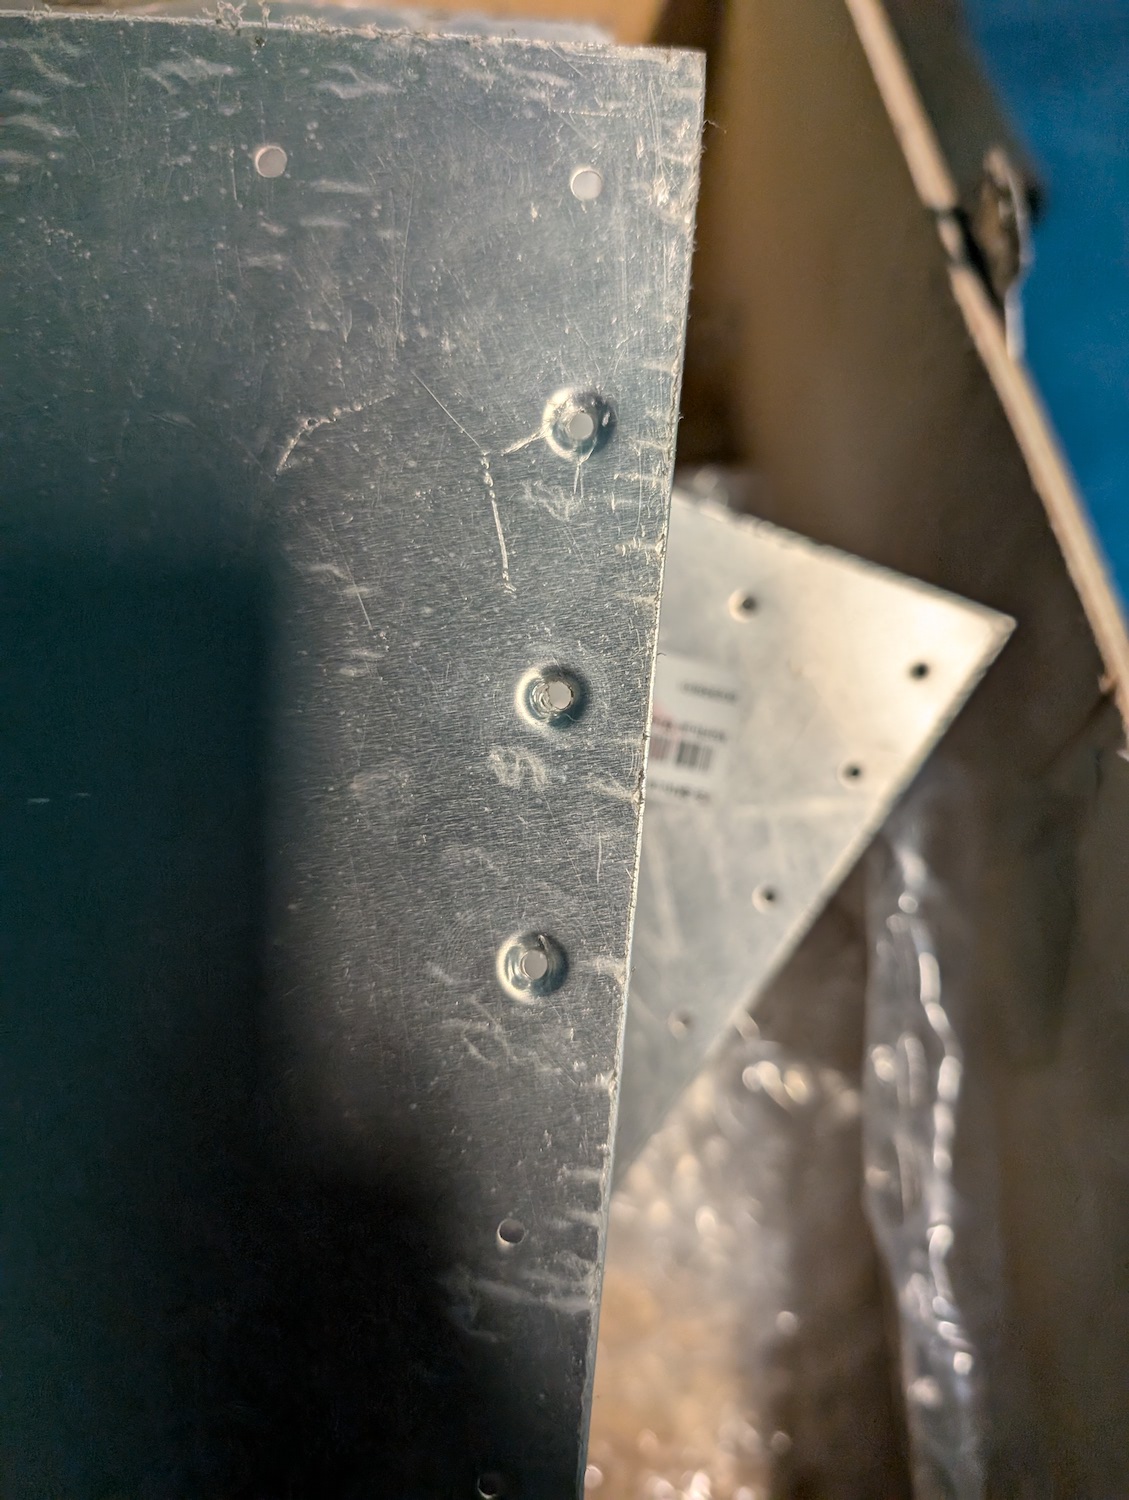 Sample dimples on the horizontal stabilizer skin.
Tools
The dimpler we ended up using was the impact dimpler, which we used with a 2lb dead blow hammer. Using that kind of hammer is critical, since it has a sand ballast instead of hard metal, which will provide a smooth impact instead of a jerk like impact which you get from a regular hammer. The tool itself is from Aircraft Spruce., and the dead blow hammer is from Harbor Freight. 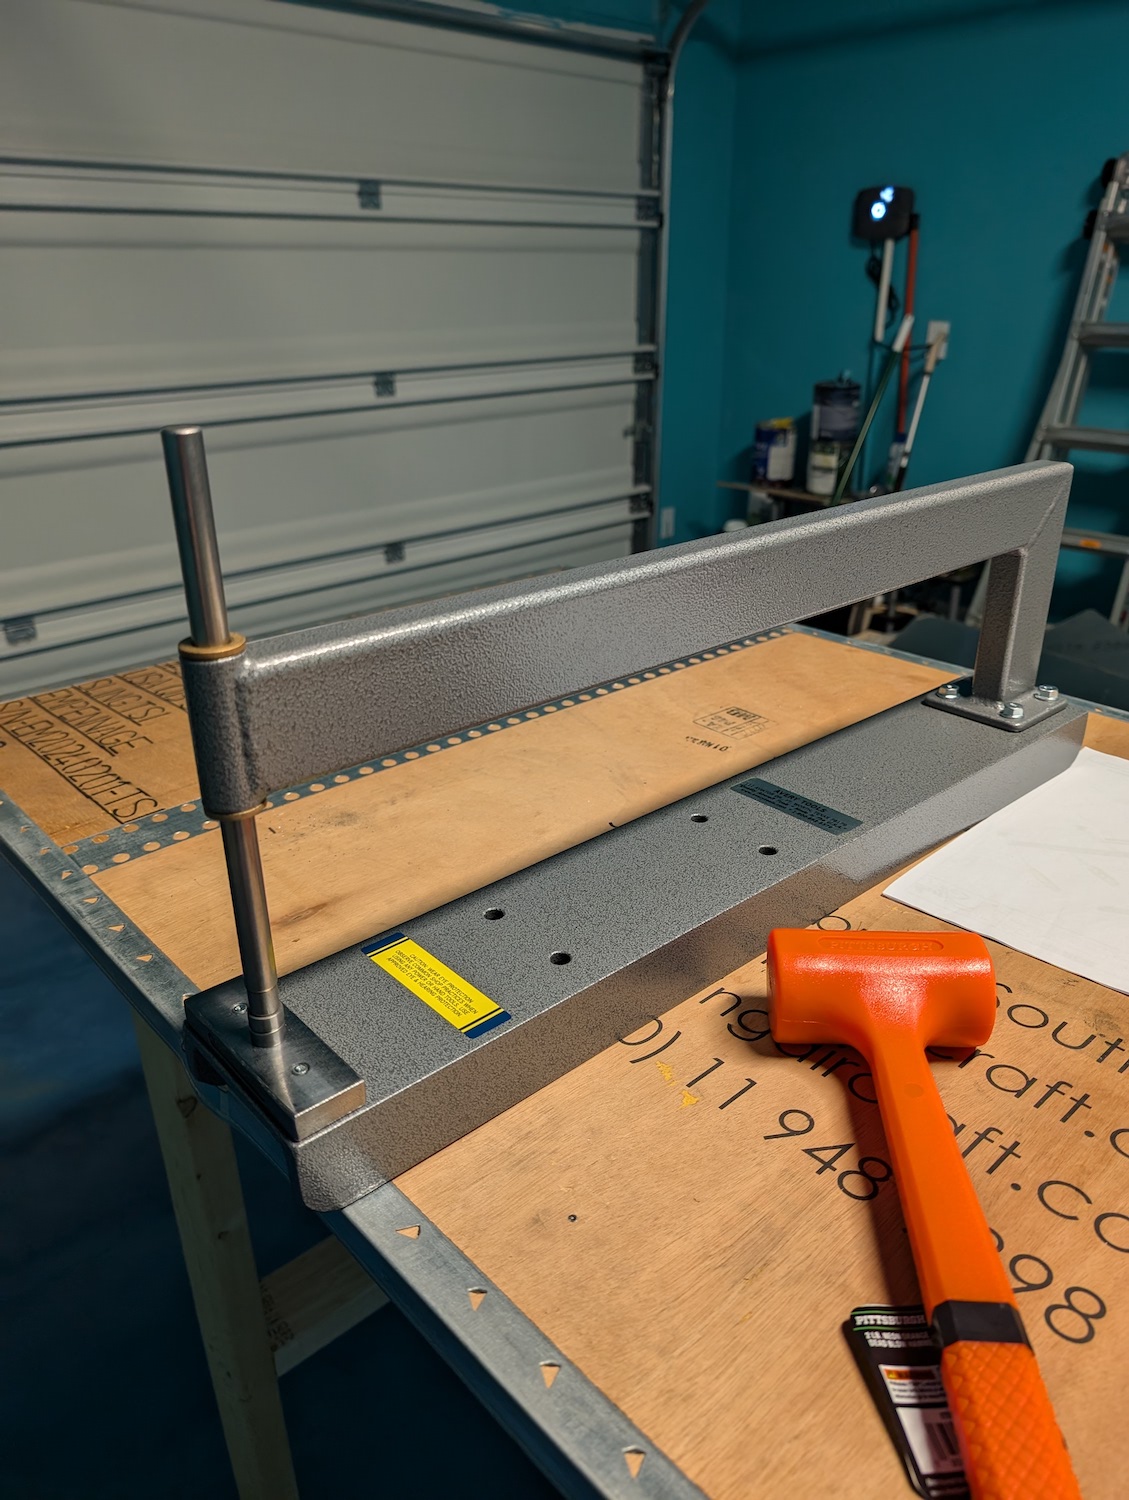 Impact dimpler tool with dead blow hammer.
 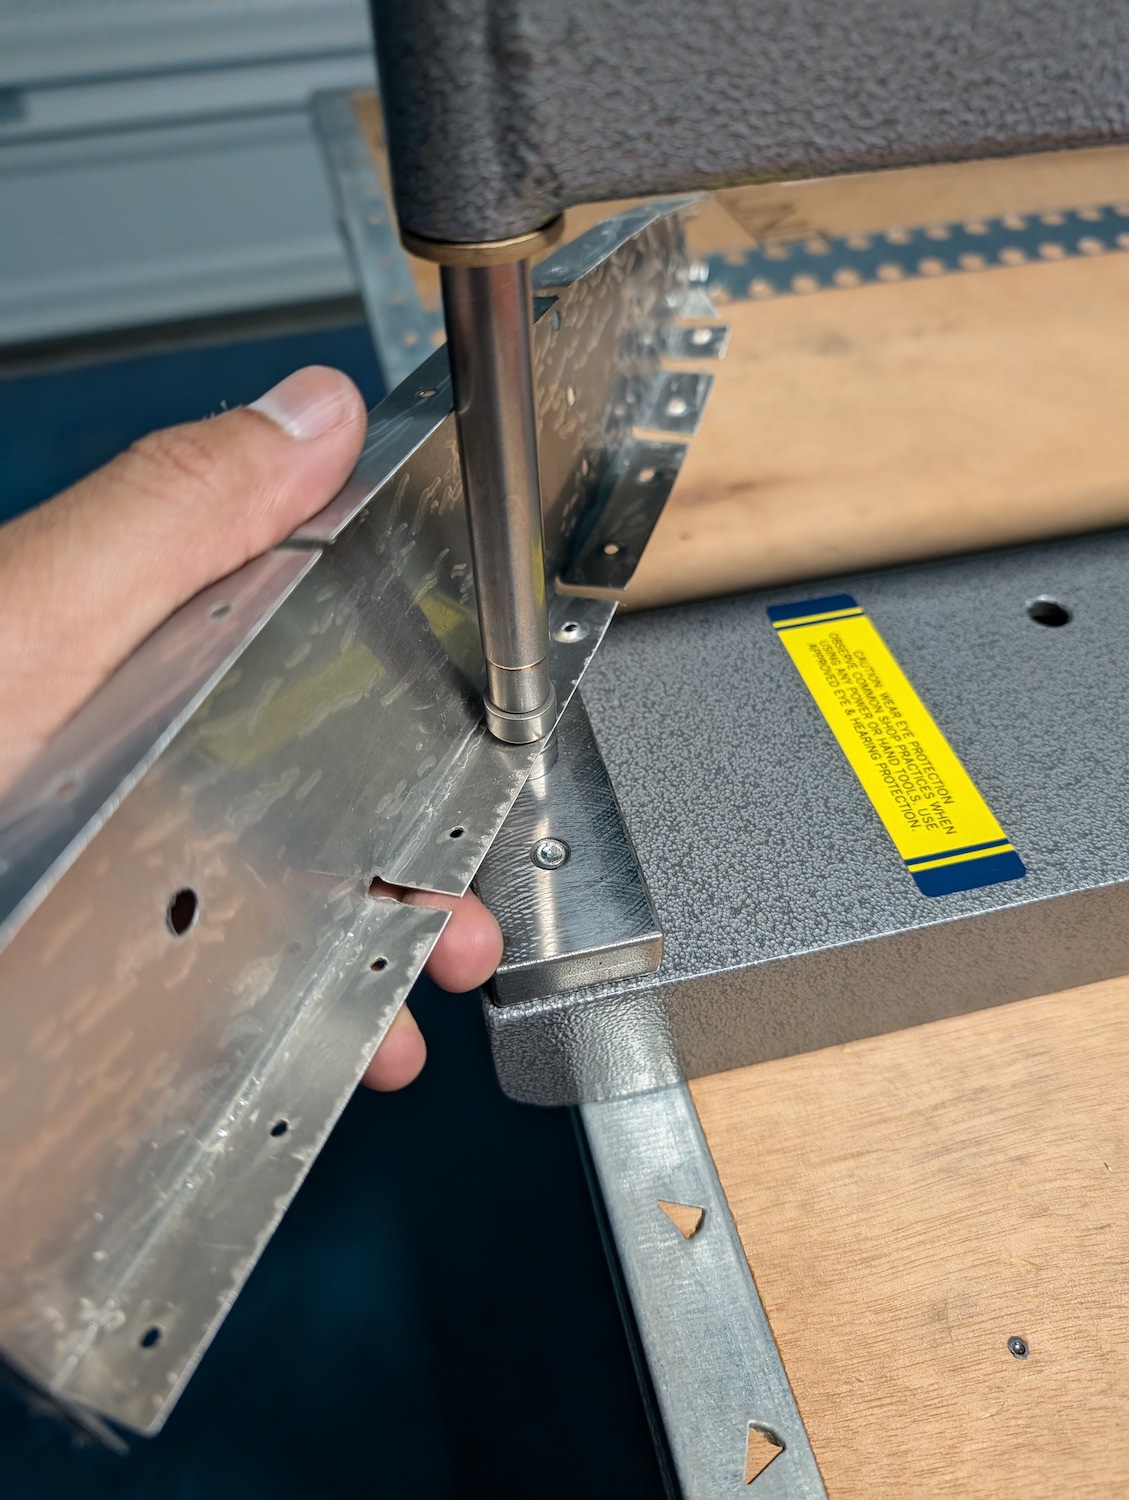 Placement of the rib on the dimpling tool.
 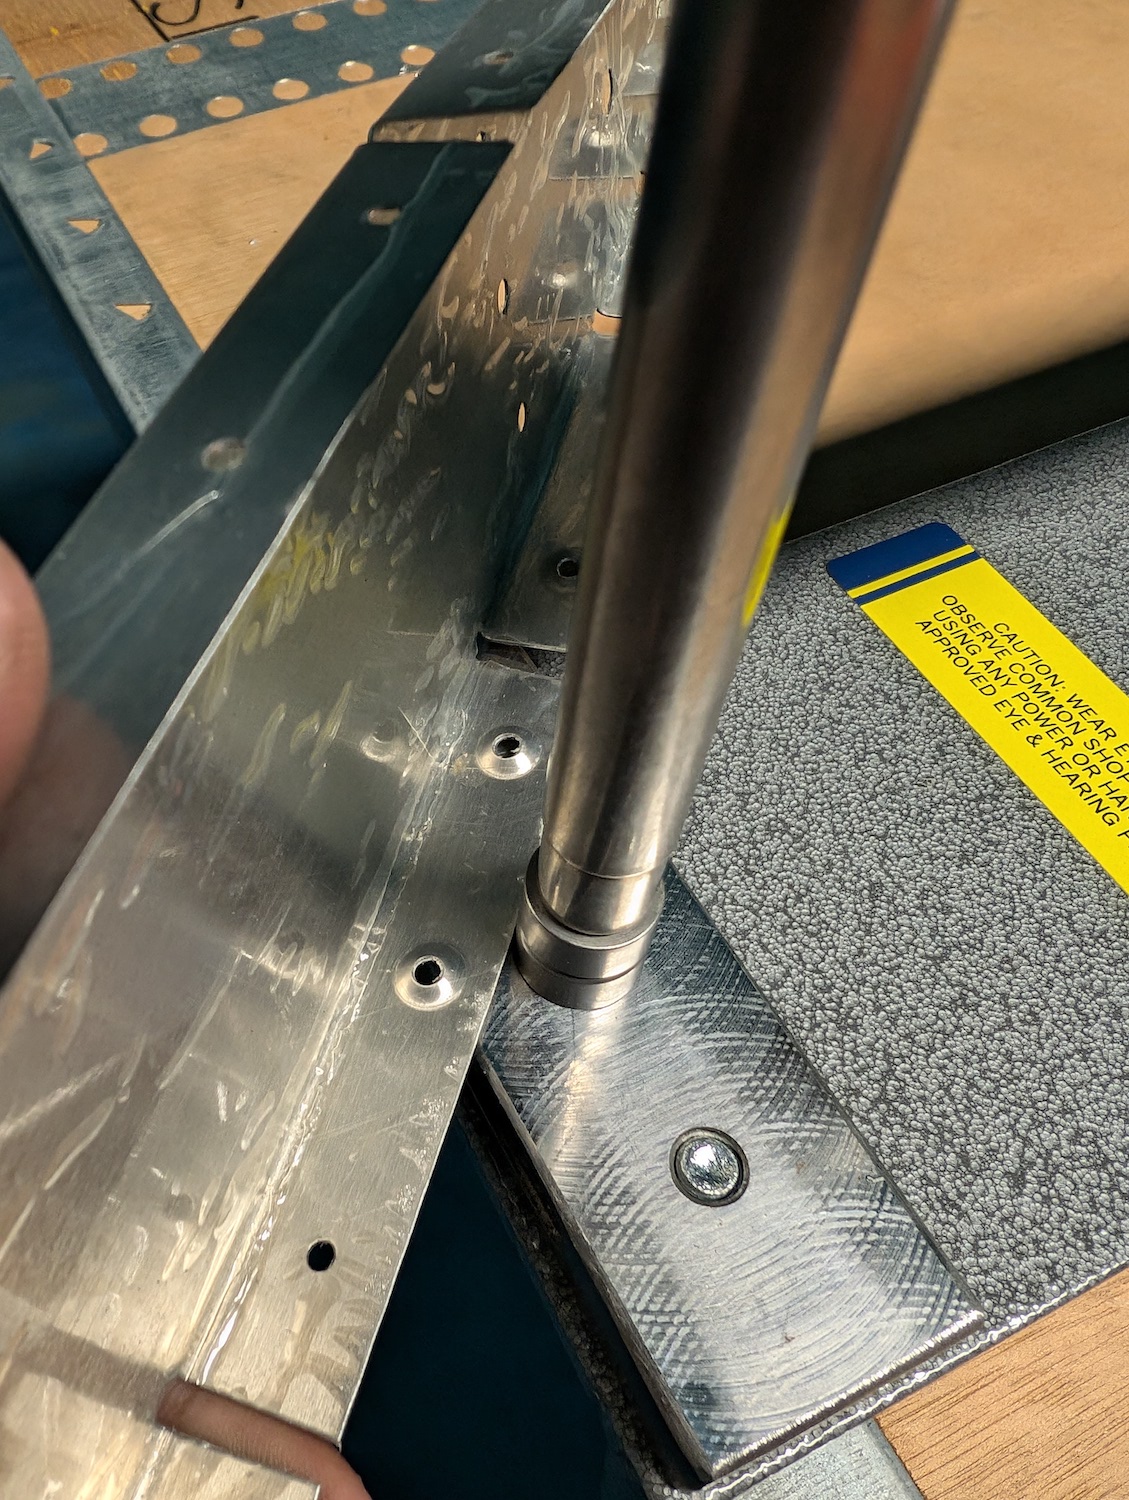 Sample result of the rib dimple using the tool.