Horizontal Stabilizer Skin Assembly (Part 1) - Right Side
Assembly for horizontal stabilizer right skin is complete.
The assembly for the horizontal stabilizer right side skin is complete. There was a different sequence we followed to rivet the skins properly, which will be described in this article.
Dimpling
Before assembling the right side skin in place, it had to be dimpled at a few places using the 1/8” dimple die. Below is the image of it. 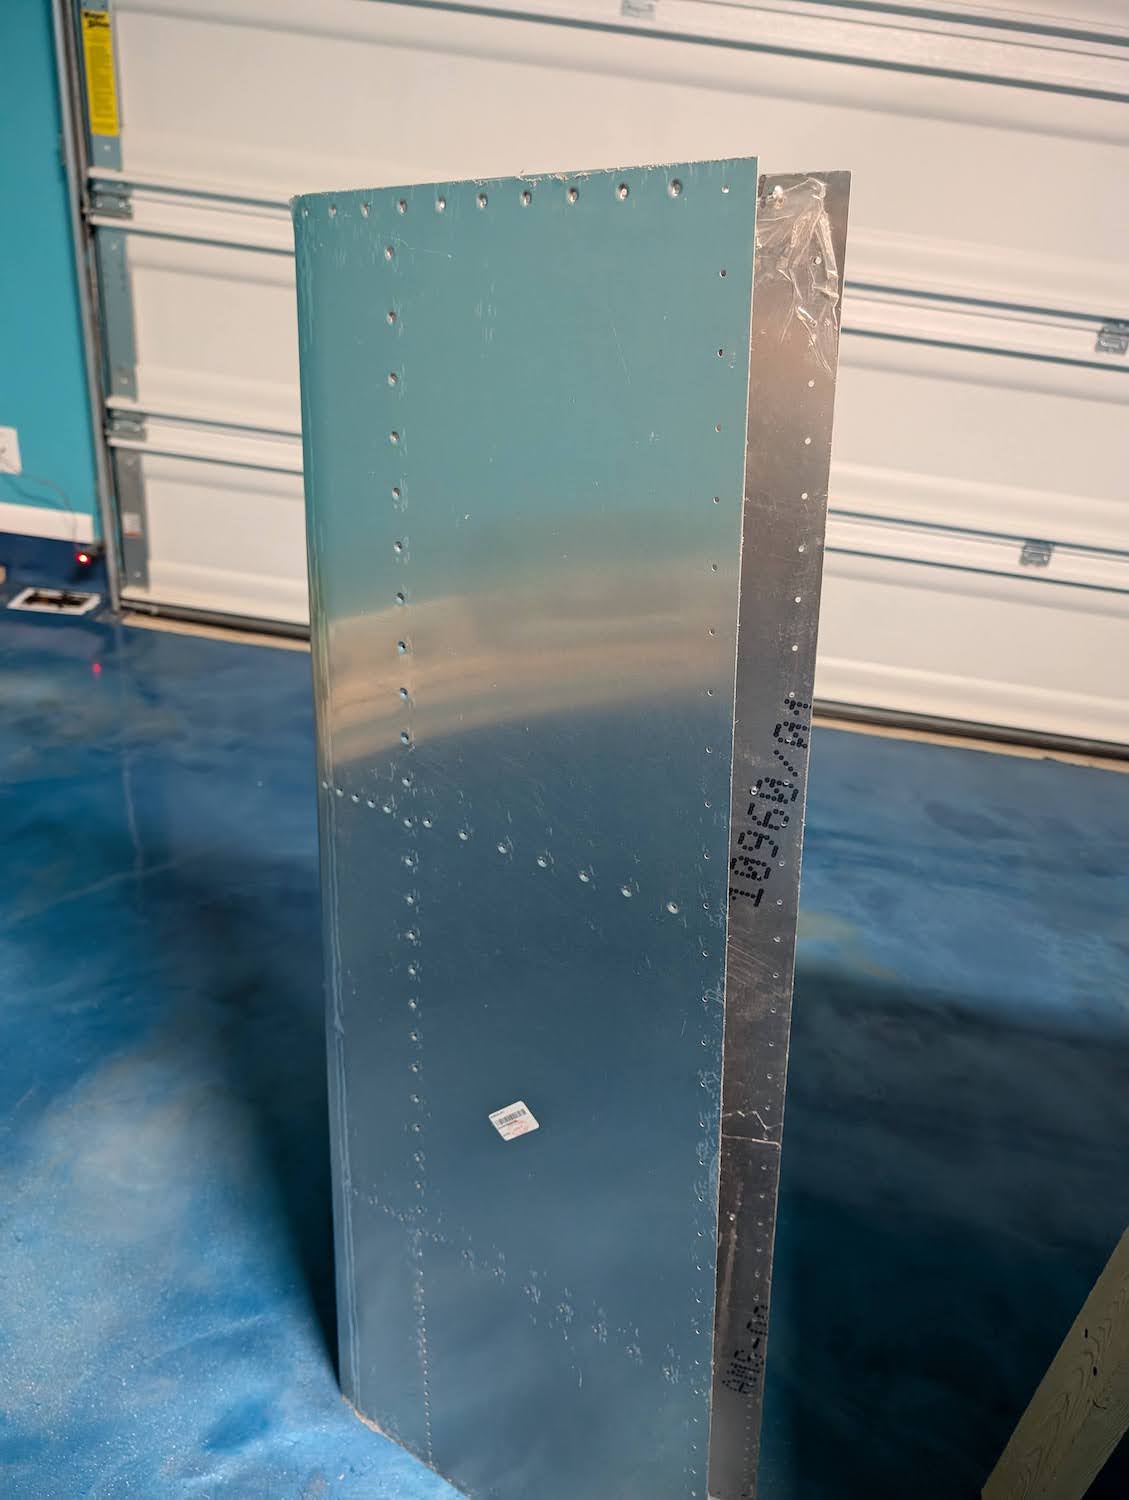 Right skin dimpled.
Assembly
For inserting the clecos, we started with the inboard rib, doing both sides, then going outboard to cleco the rest. In between we also riveted the center rib, before continuing on to cleco the rest of the skin. 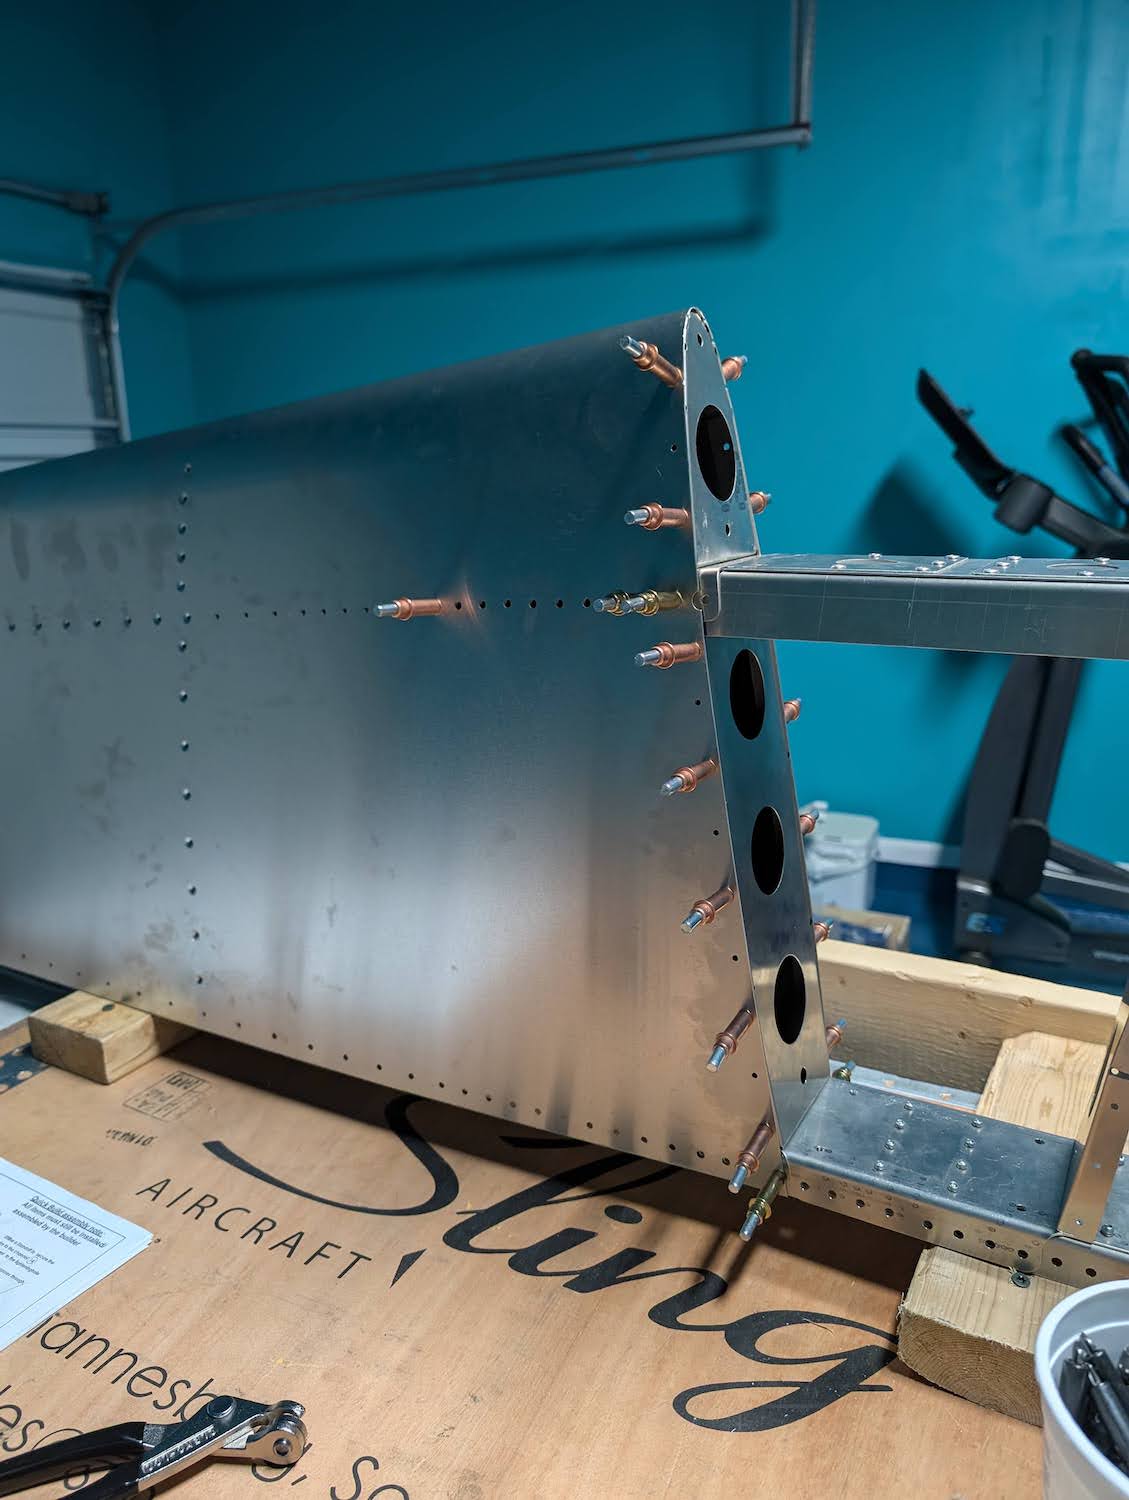 Center rib clecoed.
 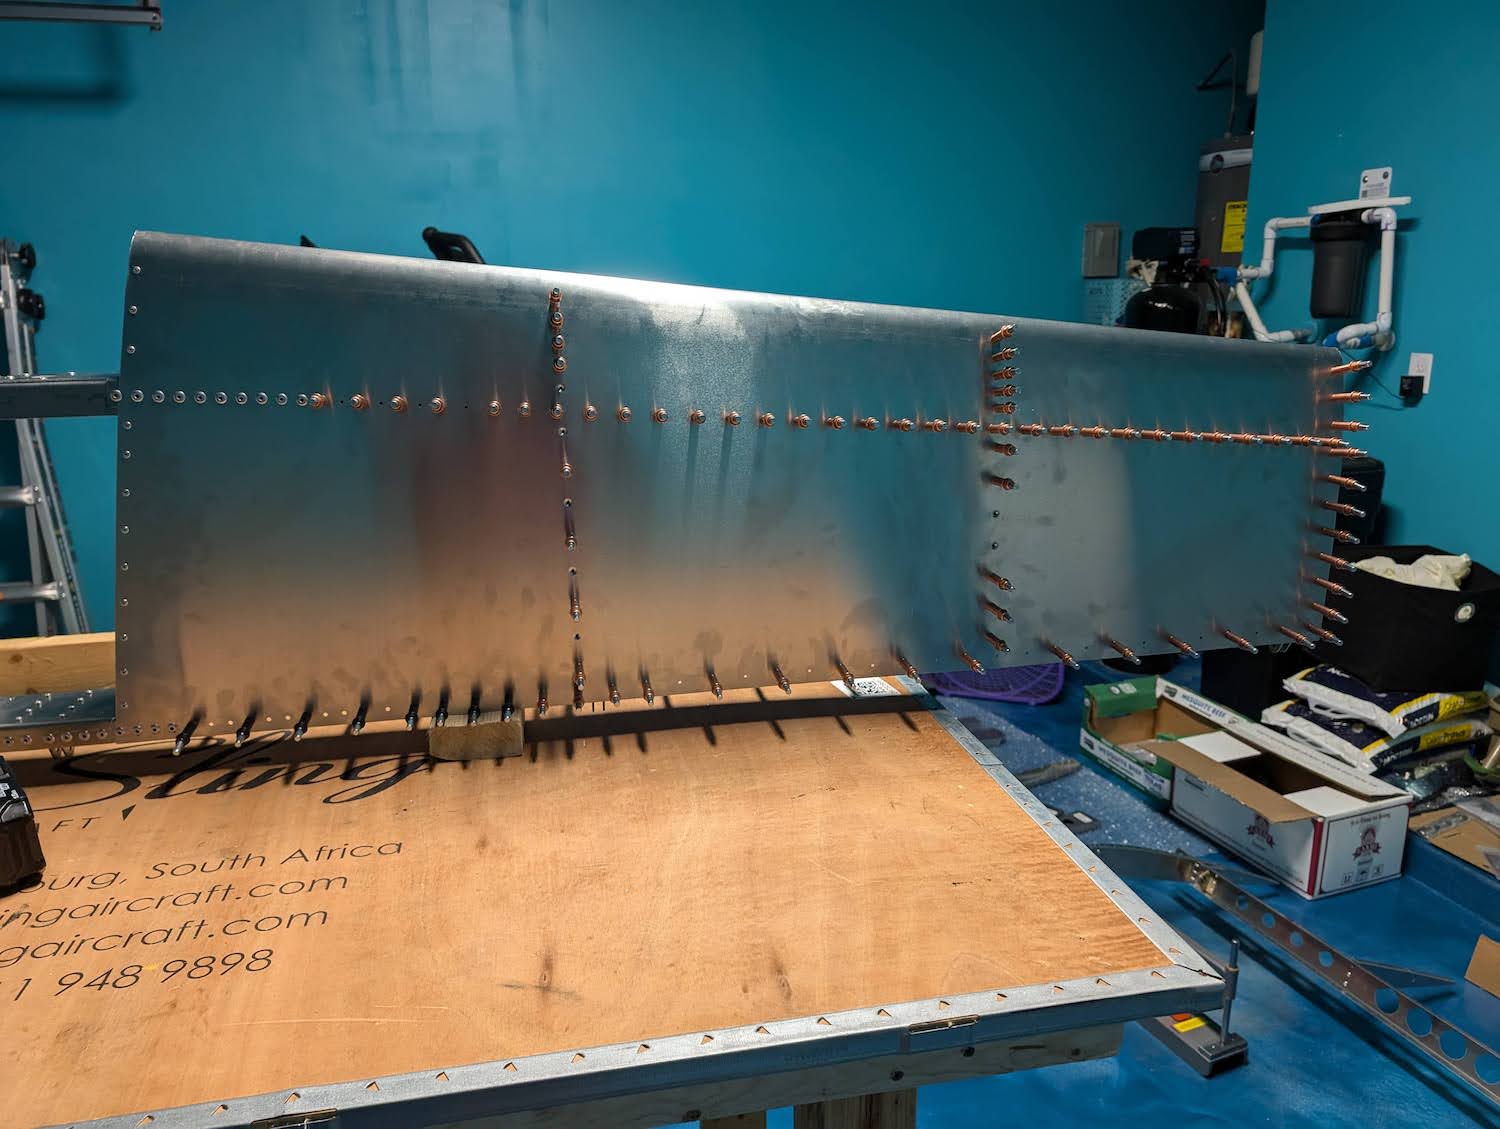 Whole right side skin clecoed.
 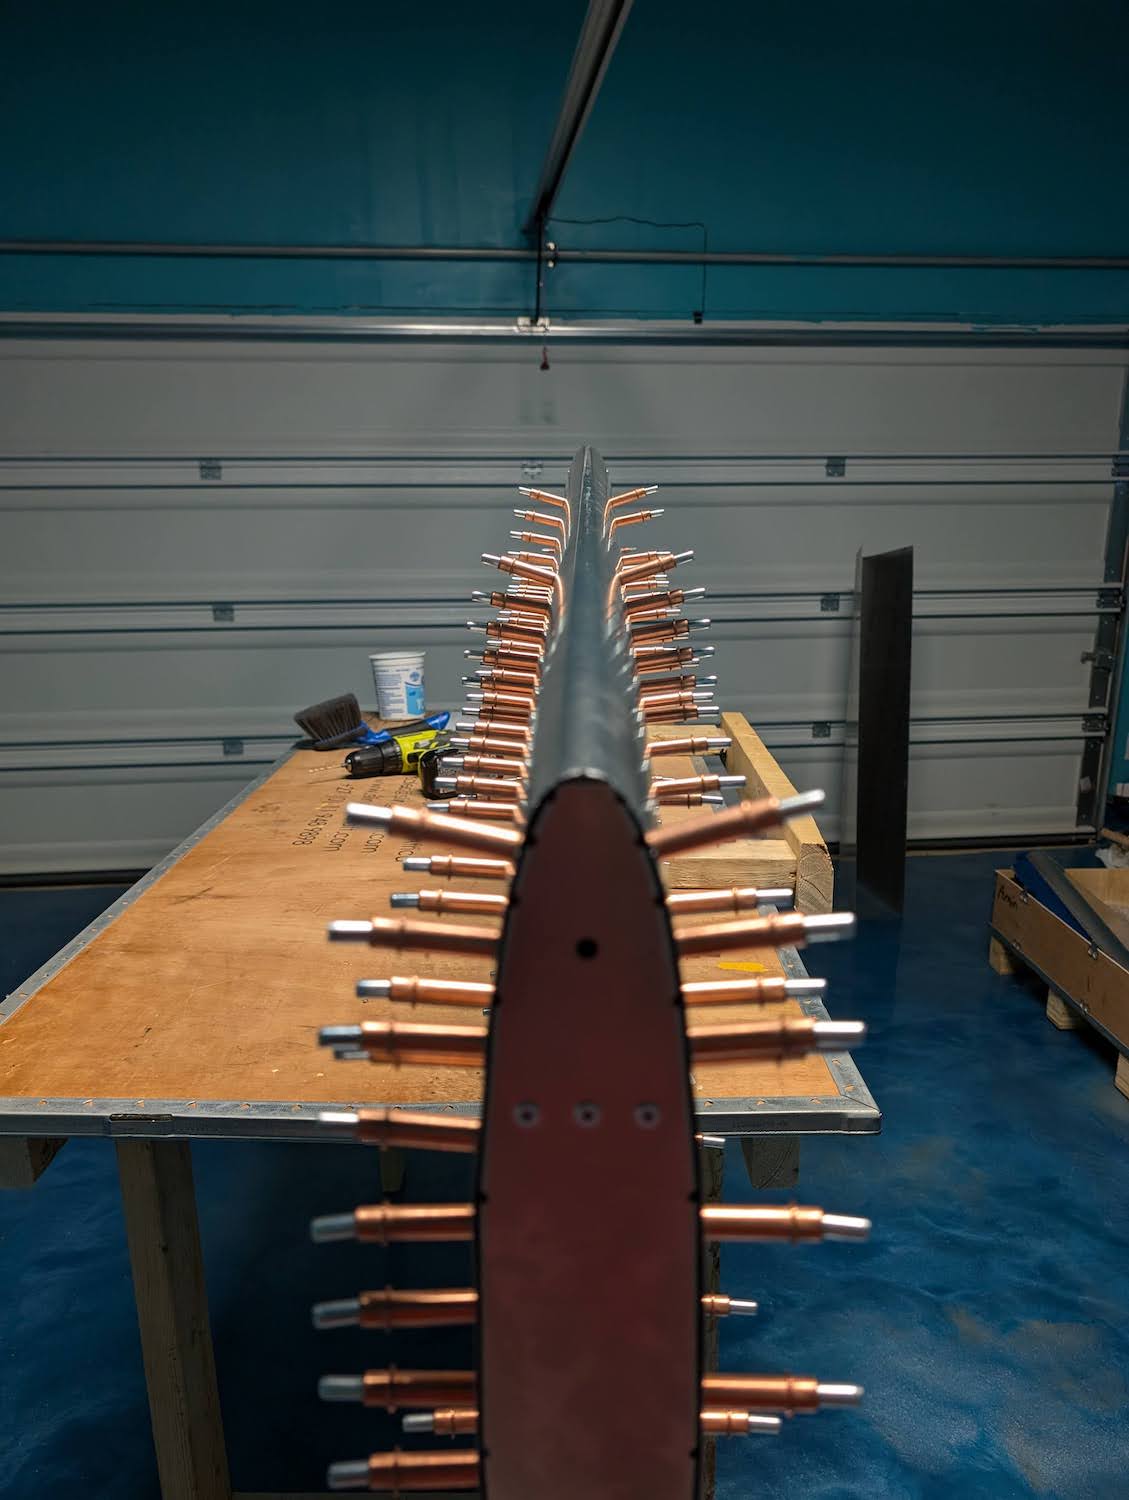 Side view of the clecoed skin, within alignment.
 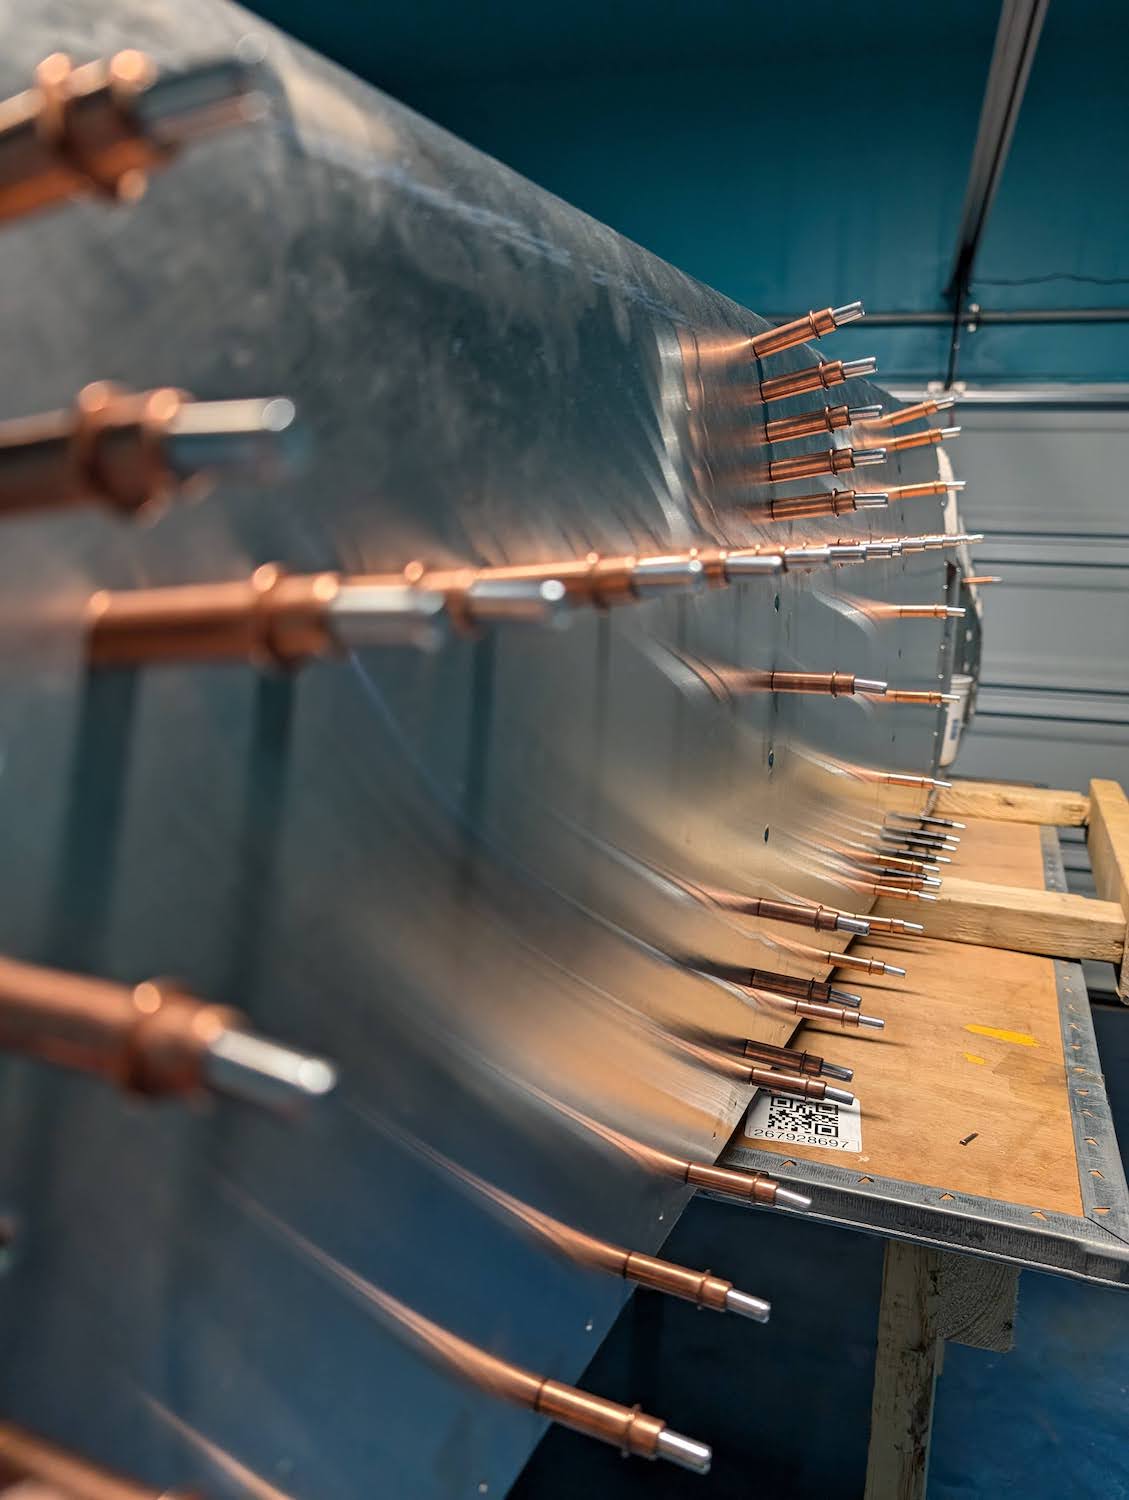 Another view of the clecoed skin.
Riveting
For riveting purposes, after clecoing the whole skin, the sequence we went with was starting from inboard ribs, then the spar channel in between the ribs, then the ribs after that spar channel and so on. Additionally, we also riveted the trailing spar first before going to the rest of the ribs, and spar channels. 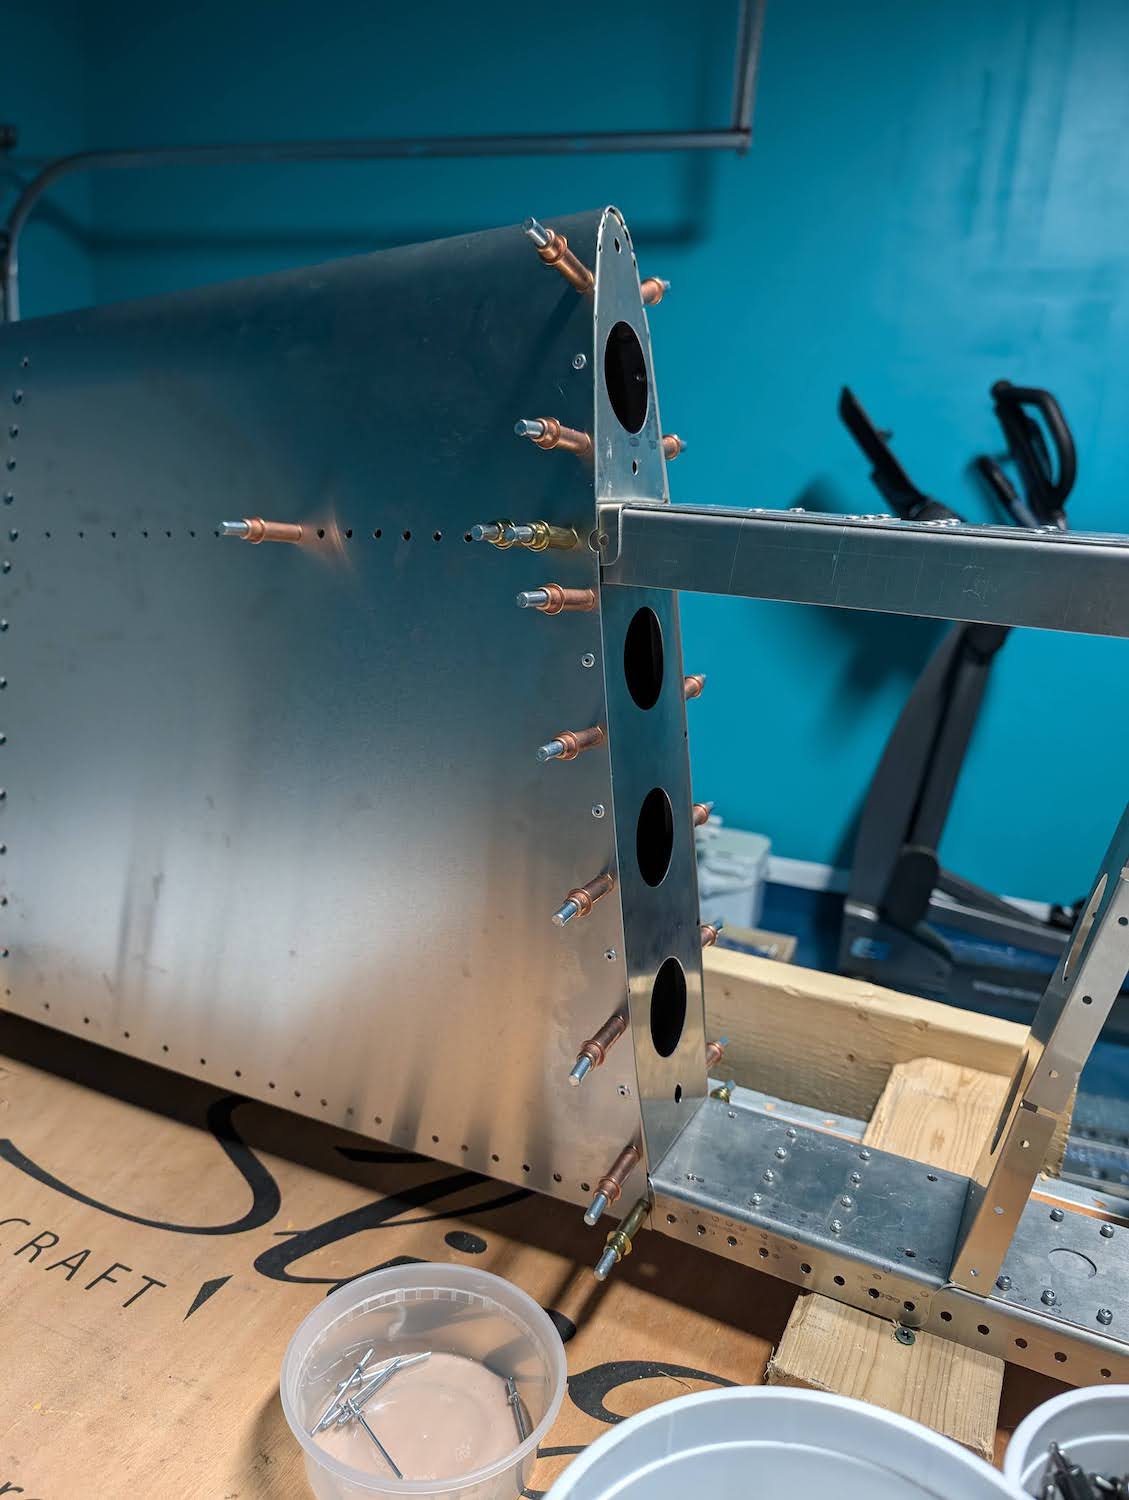 Center rib riveting.
 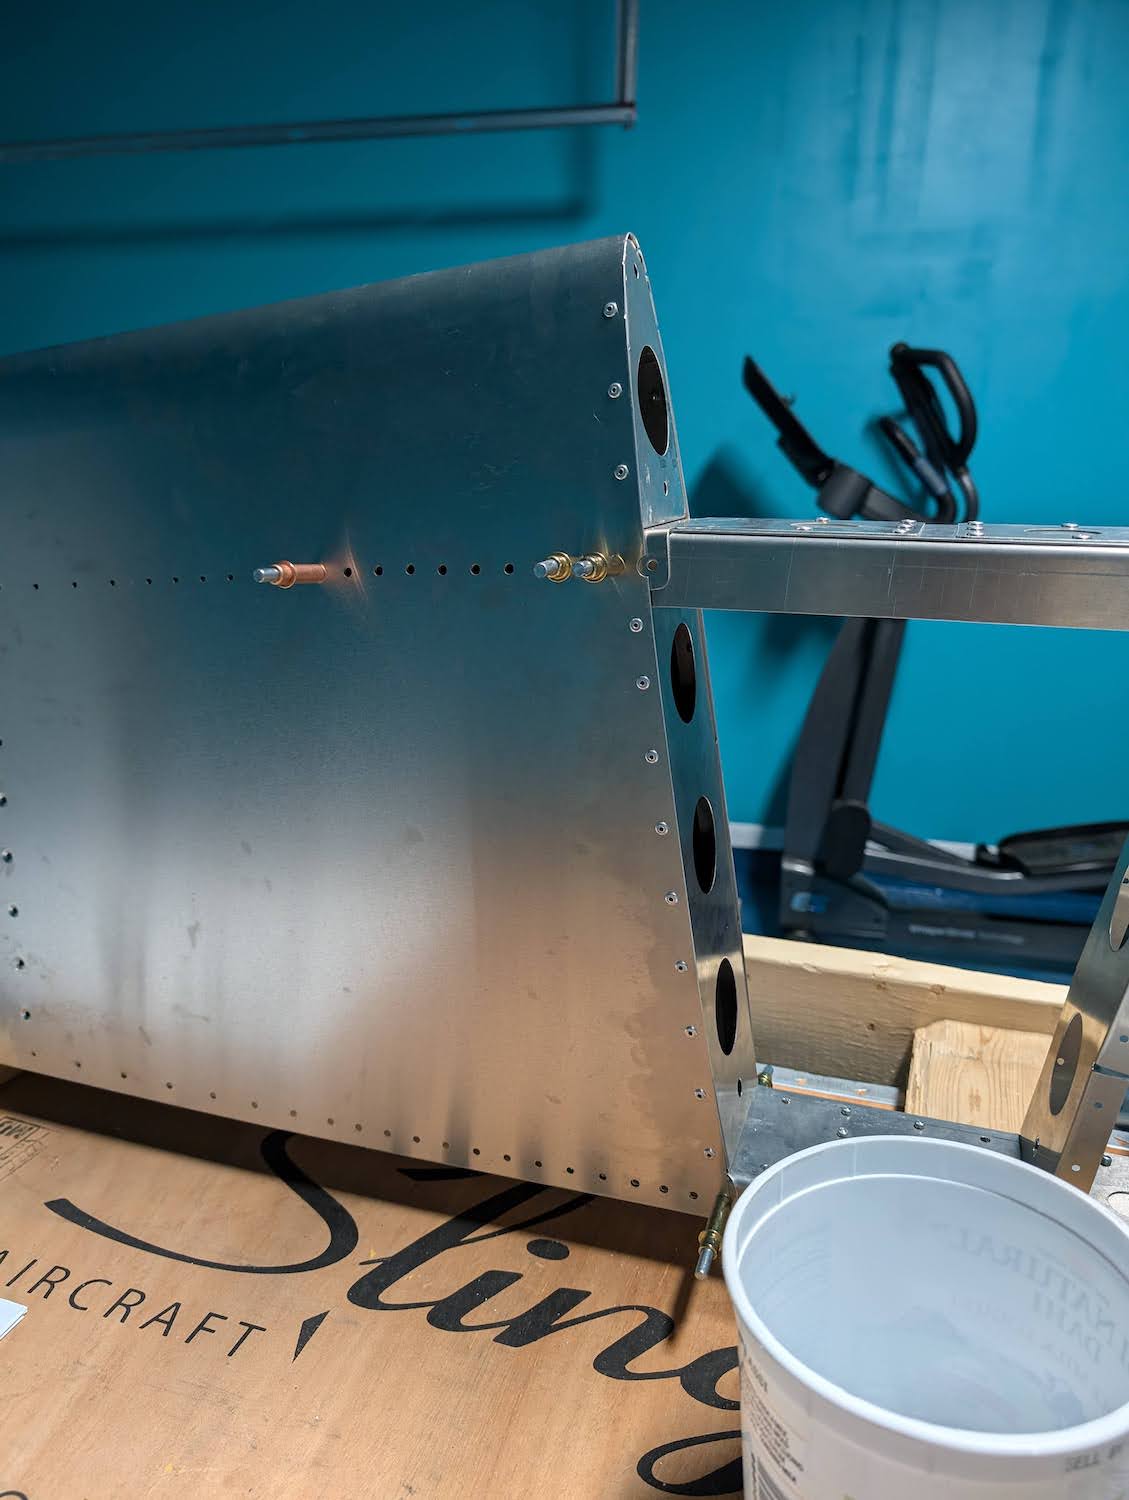 Center rib riveting (cont’d).
 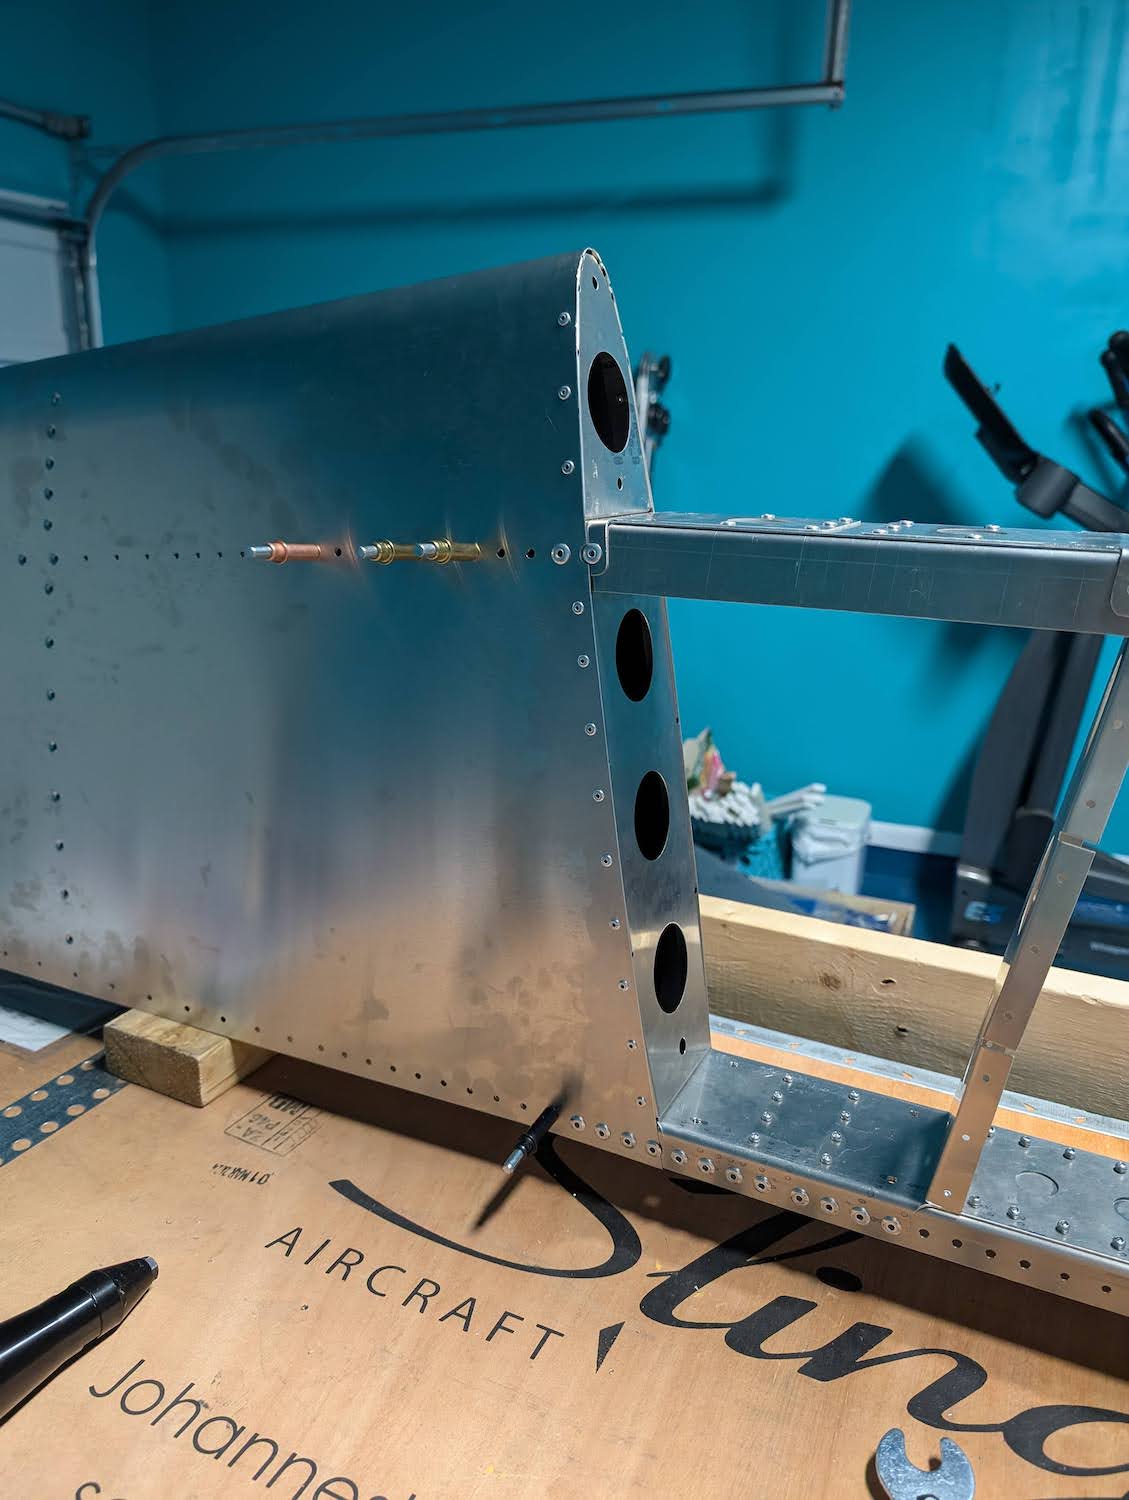 Center rib riveting complete.
 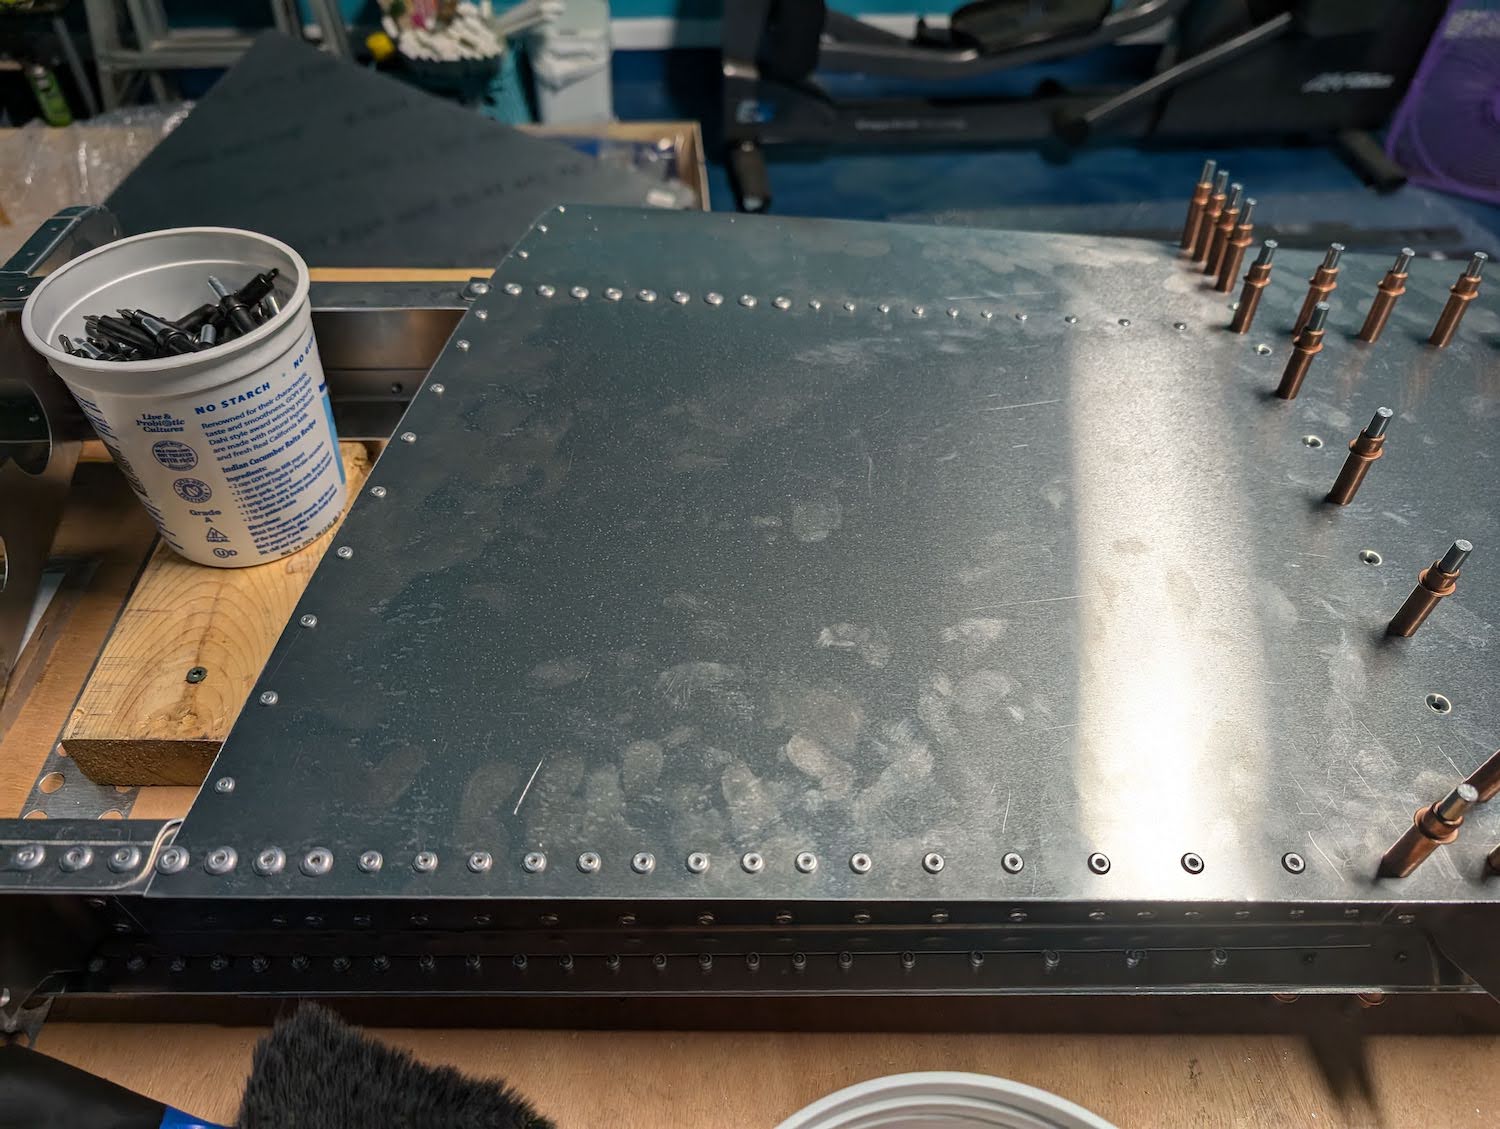 Center rib and intermediate spar channel riveting.
 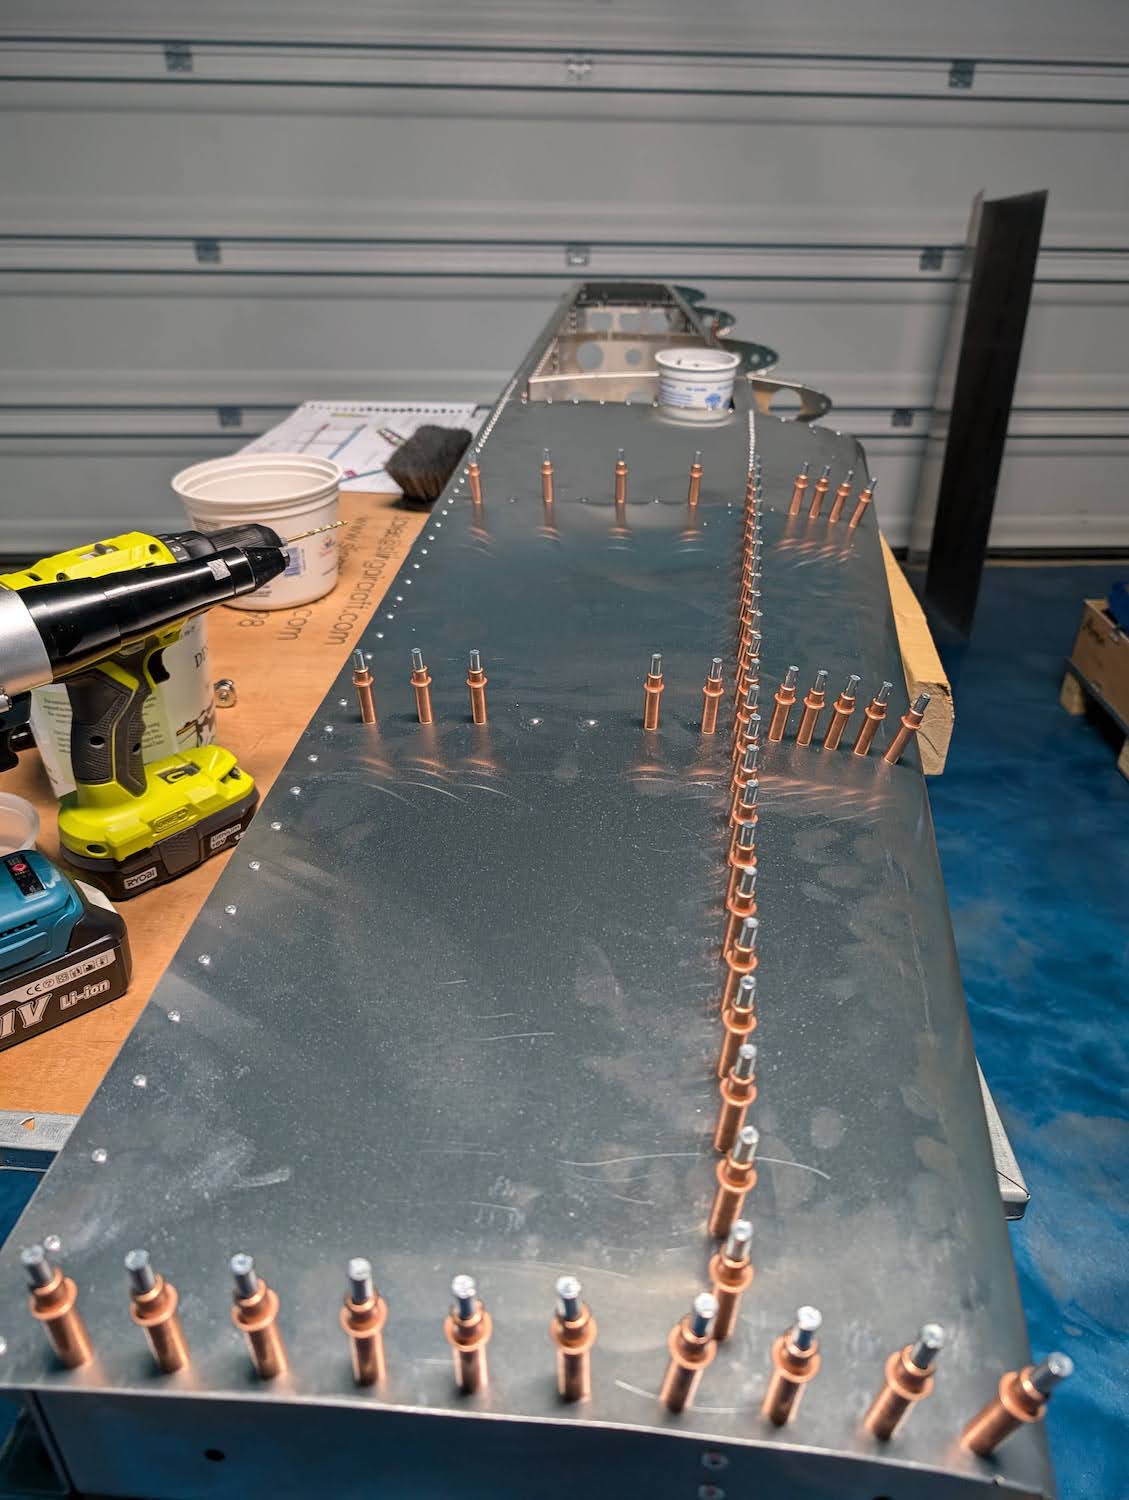 Trailing edge riveted.
 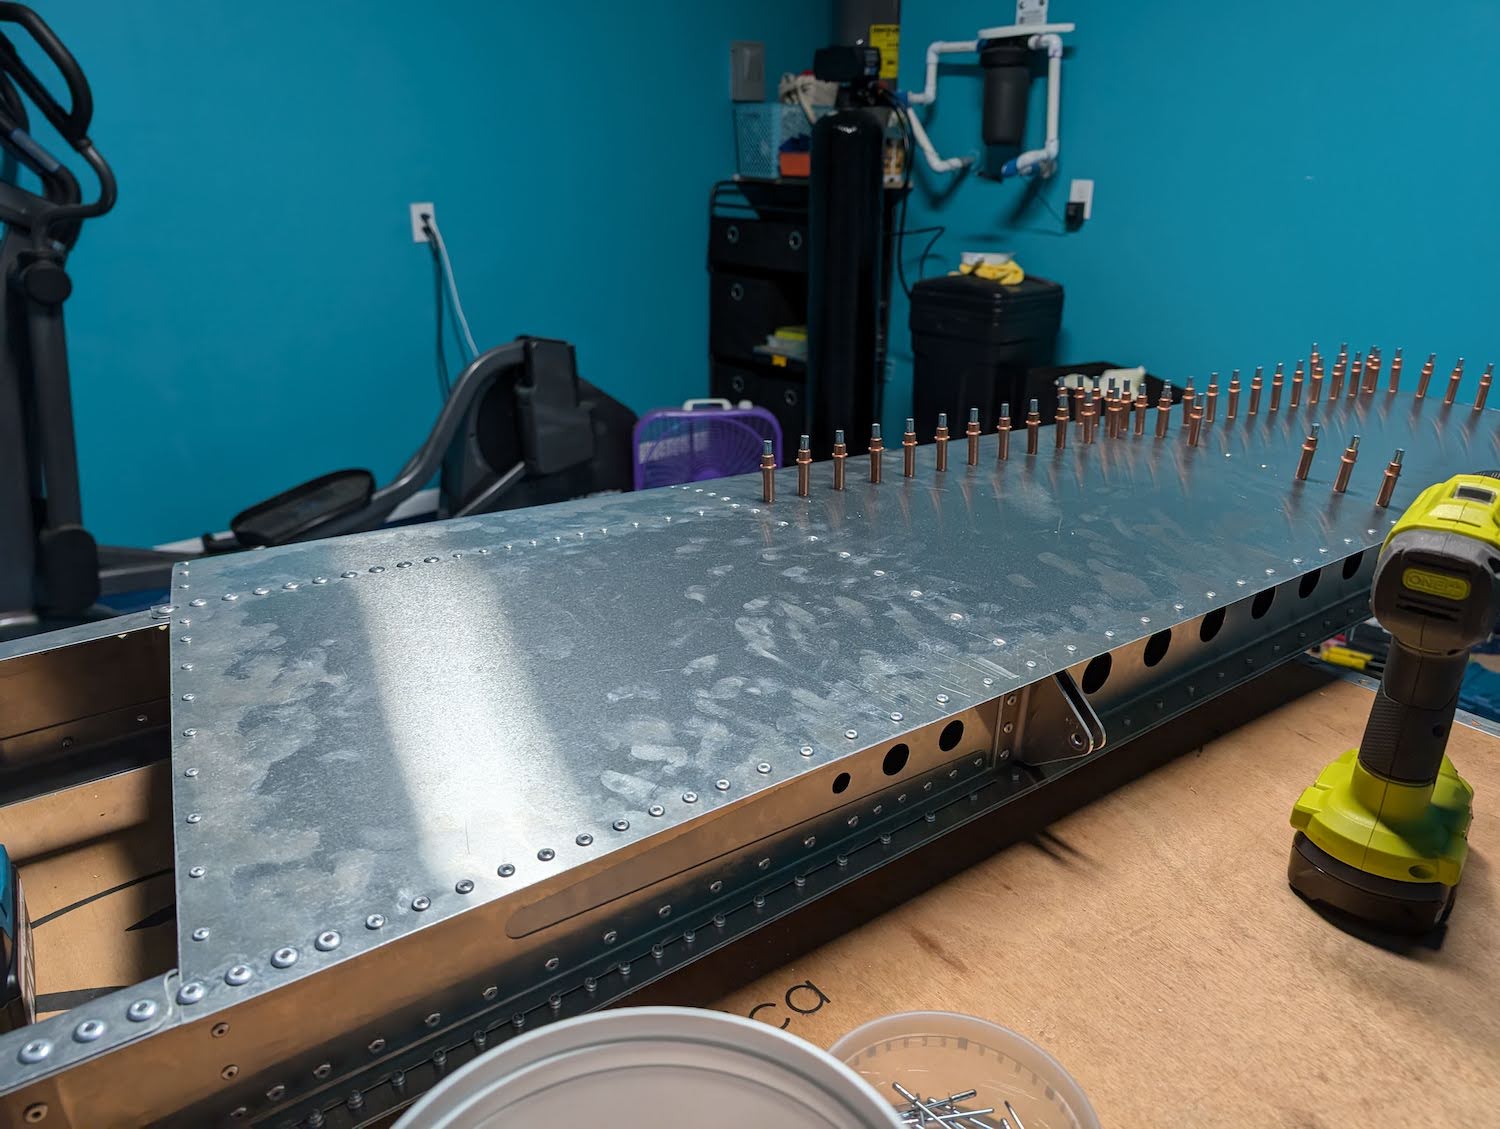 Riveting cont’d.
 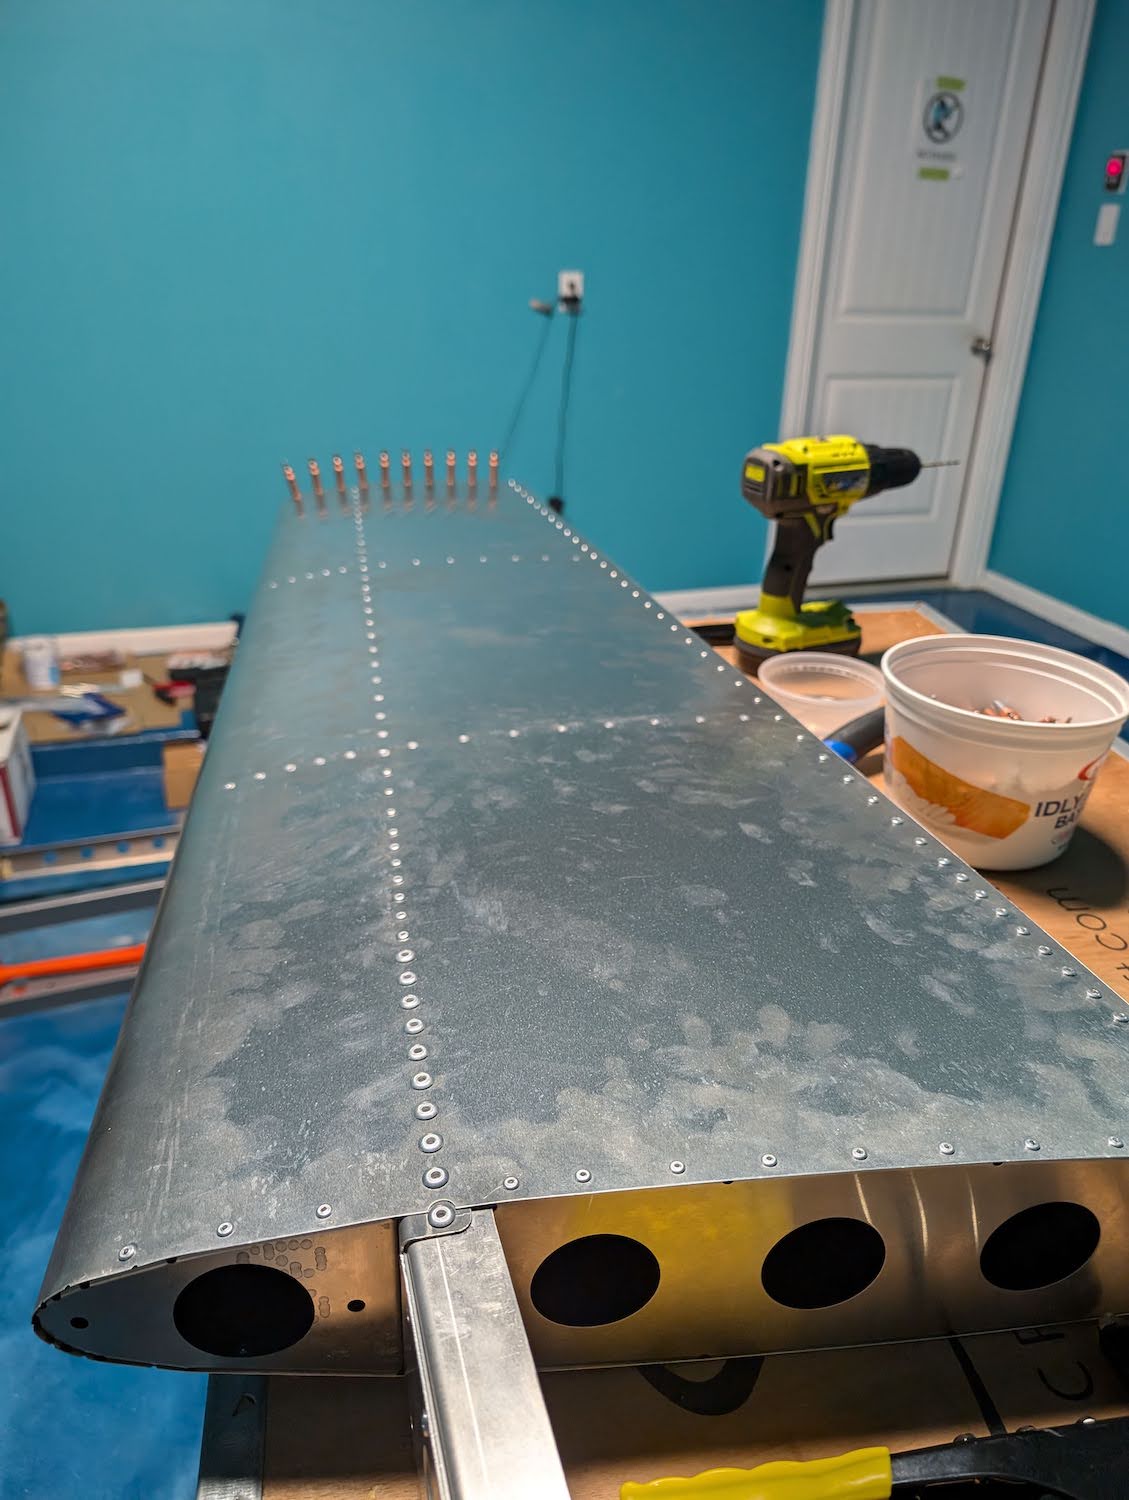 Riveting cont’d.
 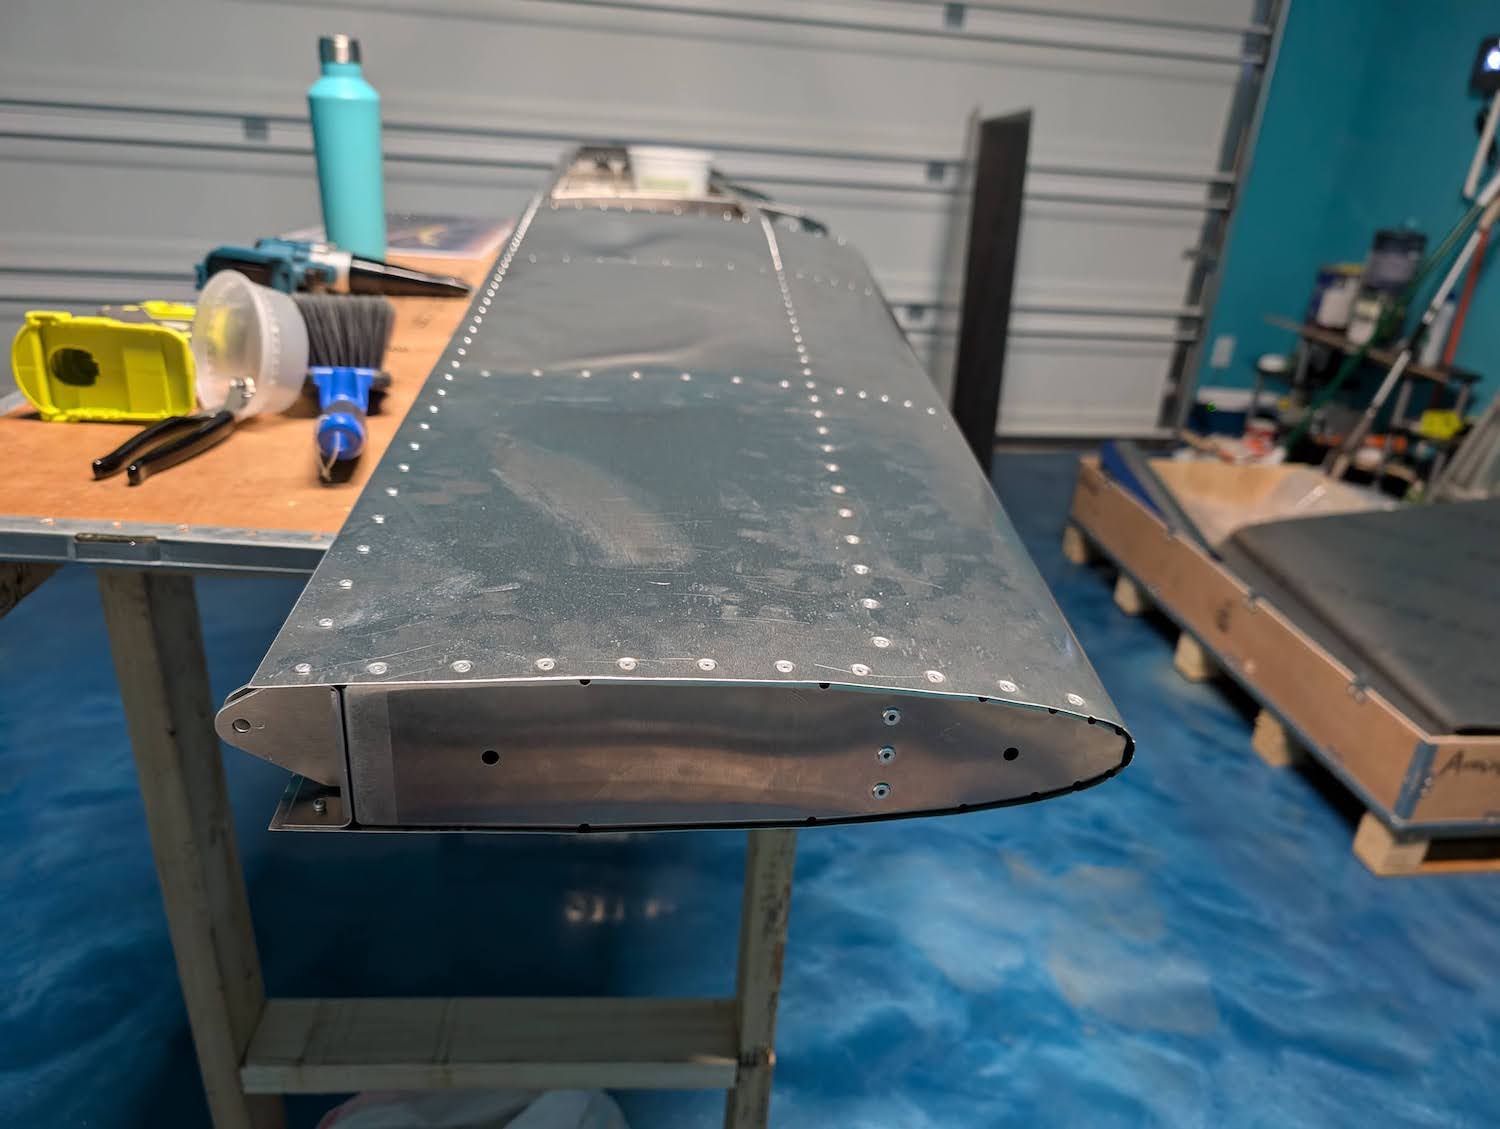 Riveting complete, within alignment.
 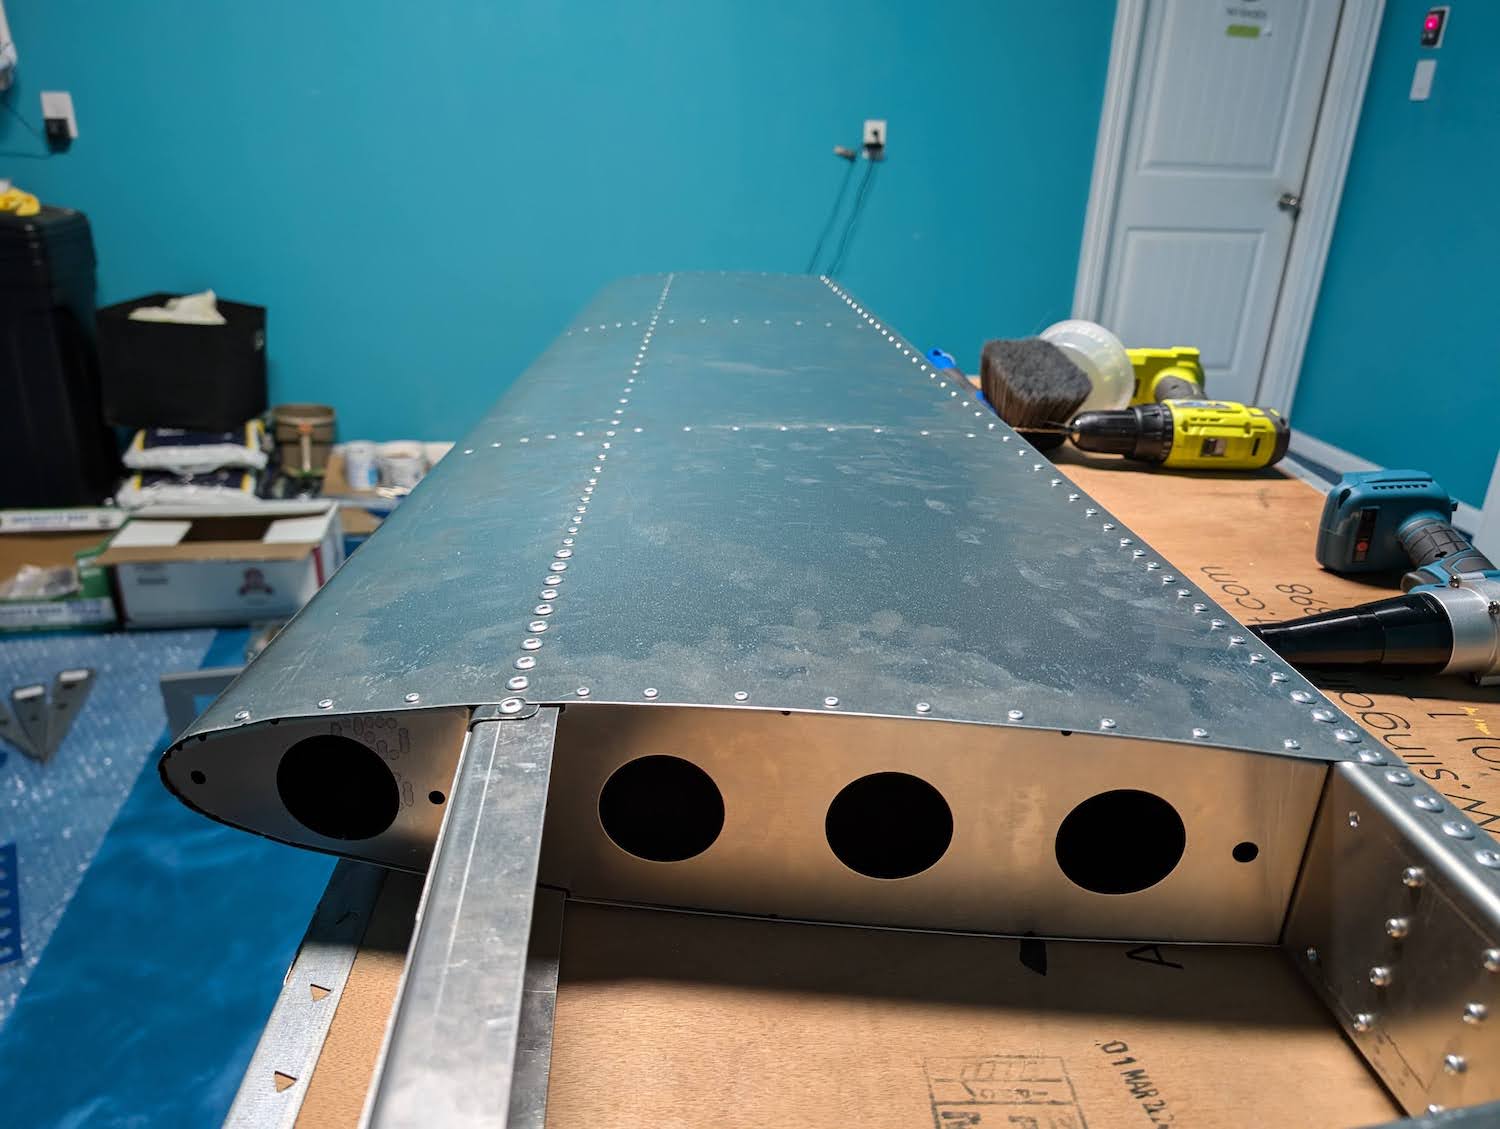 Riveting complete, within alignment.