Horizontal Stabilizer Skin Assembly (Part 2) - Left Side
Assembly for horizontal stabilizer left skin is complete.
The assembly for the horizontal stabilizer left side skin is complete. This also concludes the assembly of the horizontal stabilizer. We followed the same sequence in riveting as the right skin, which has been described in the previous article. The skin was dimpled as well, very similar to right side.
Trim Servo Wiring
Before clecoing the skin, the wiring for the elevator trim servo was placed through the ribs using the provided rubber grommets. 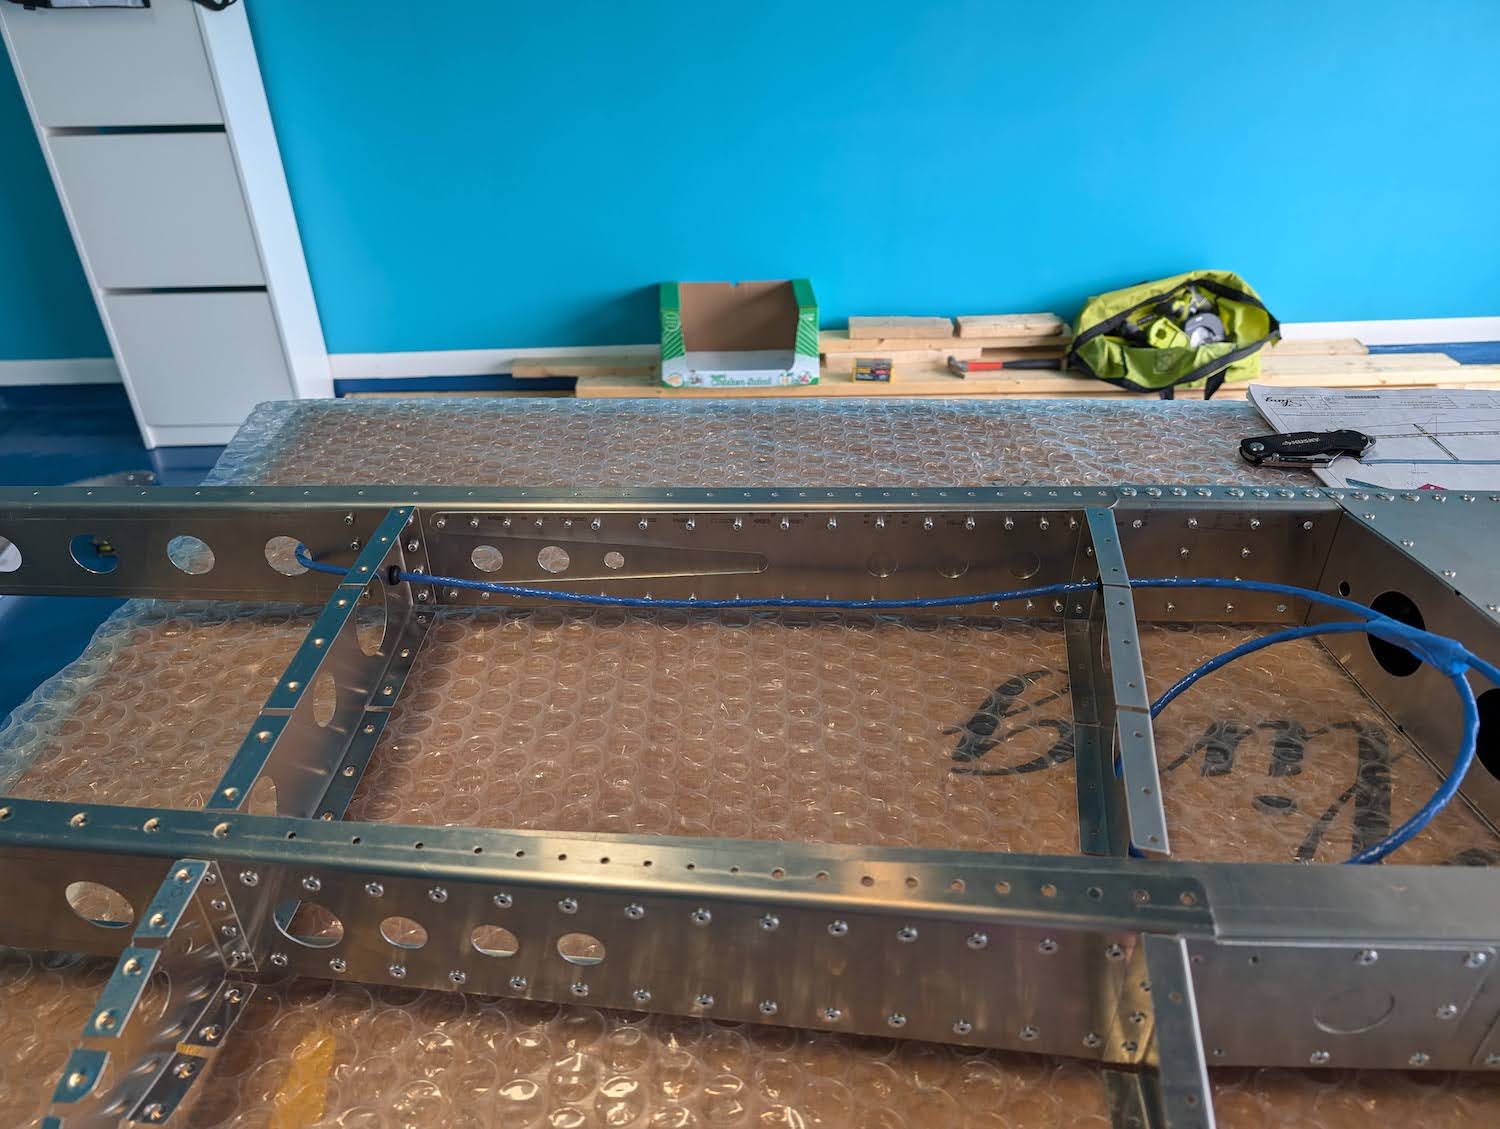 22 AWG 5 core wire passed through the ribs.
 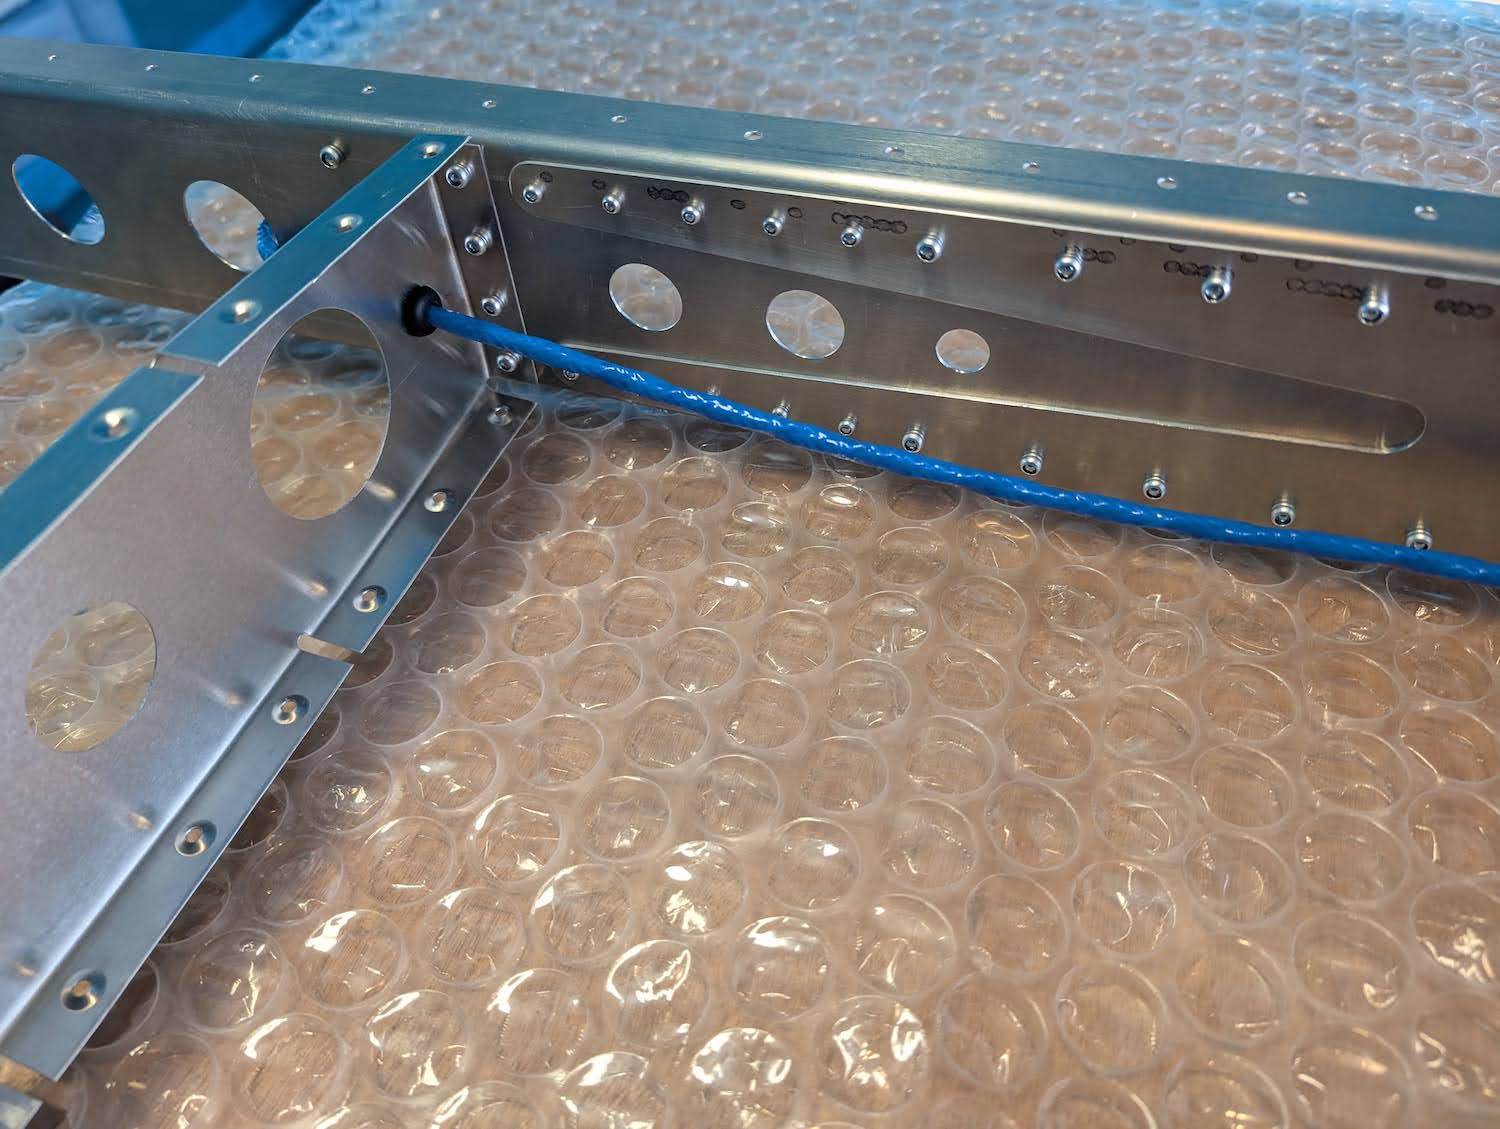 22 AWG 5 core wire passed through the ribs.
 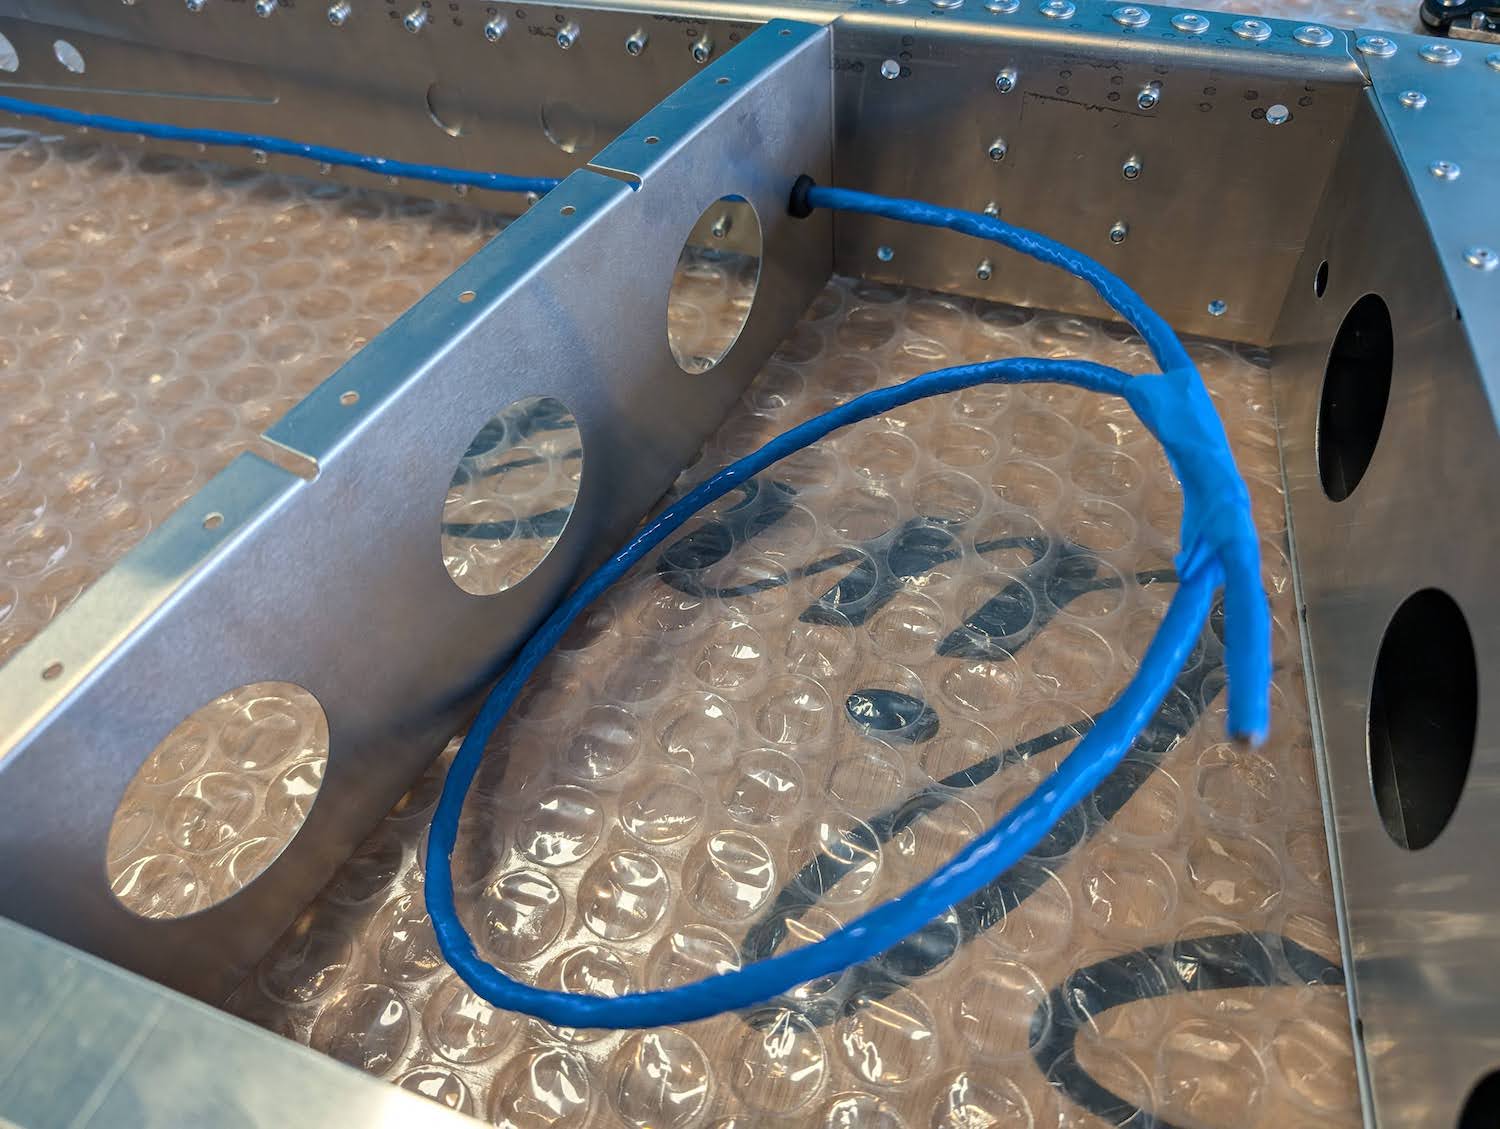 22 AWG 5 core wire passed through the ribs.
 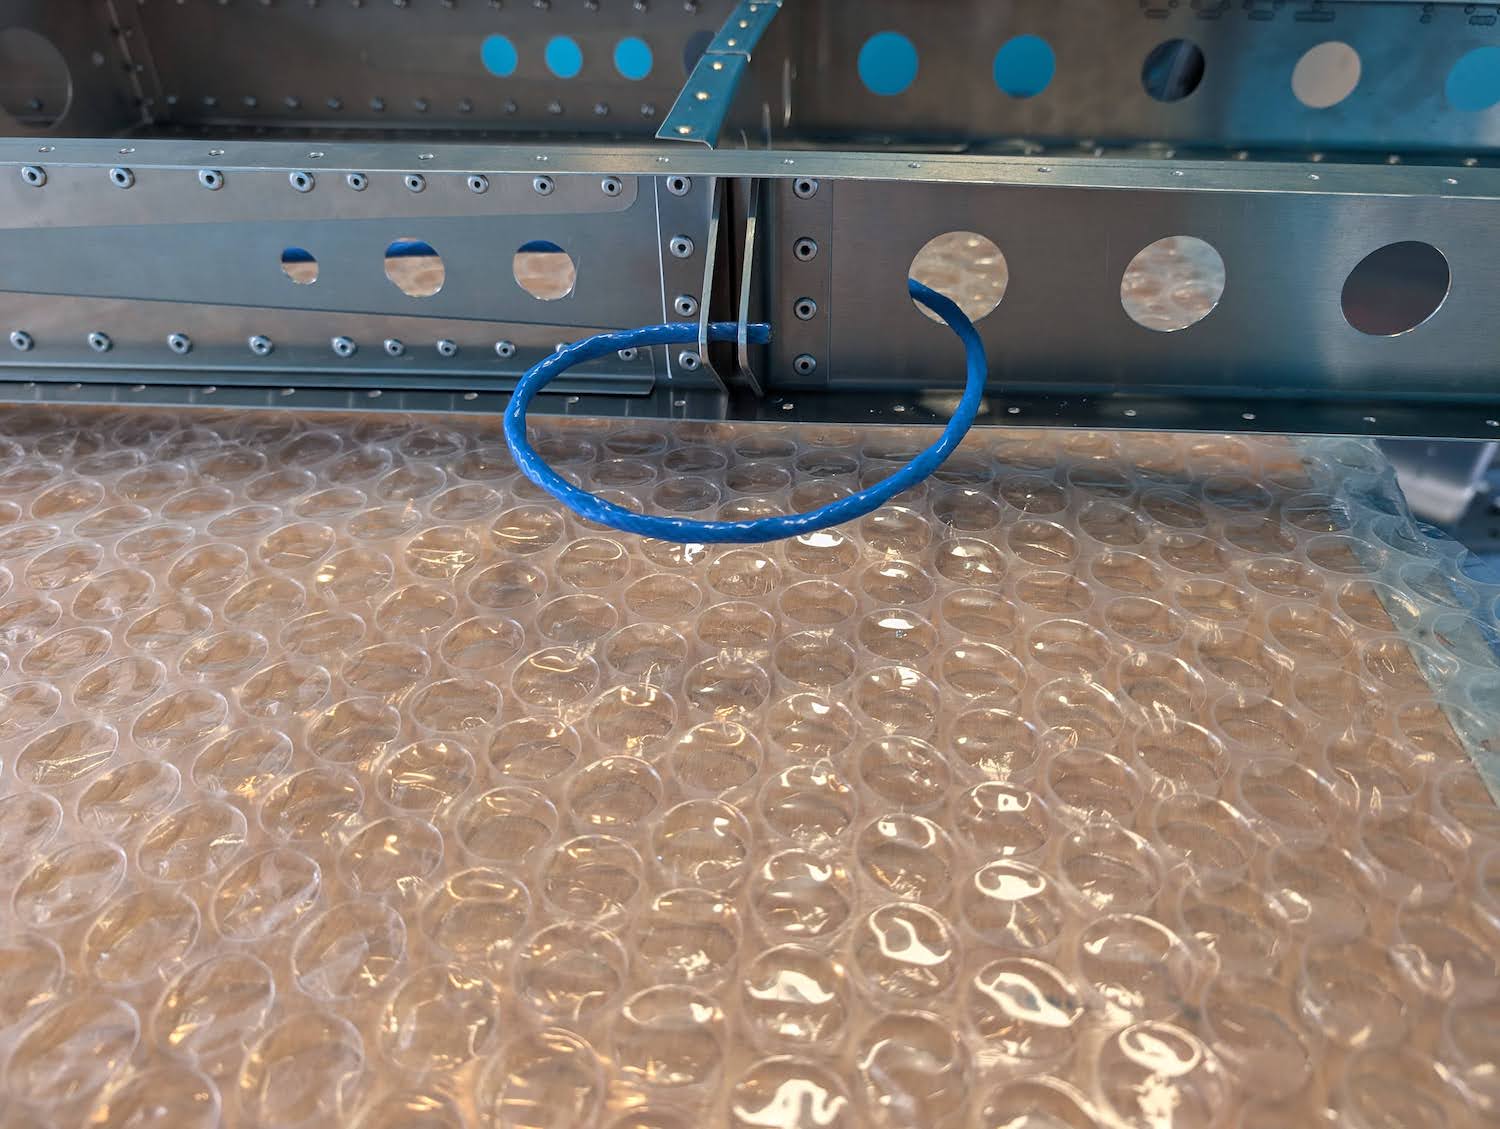 22 AWG 5 core wire passed through the ribs.
Assembly
Same sequence as the right skin was followed for the process of coecoing the skin. 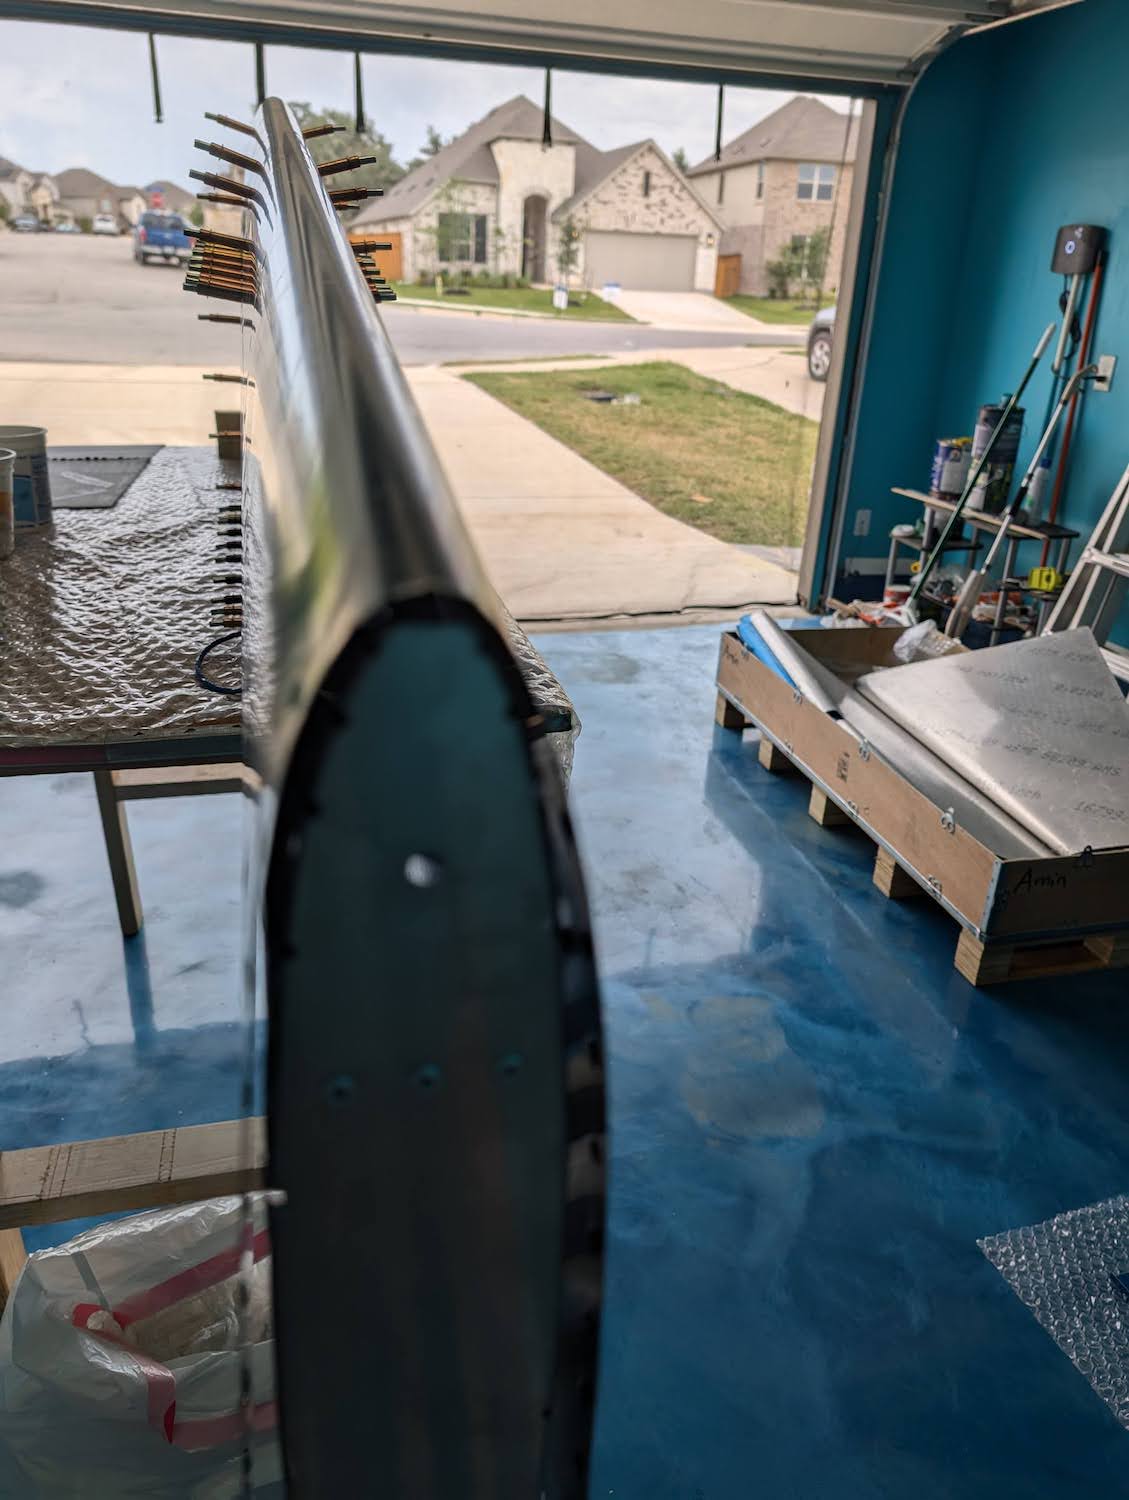 Left Skin temporary joined using clecos.
 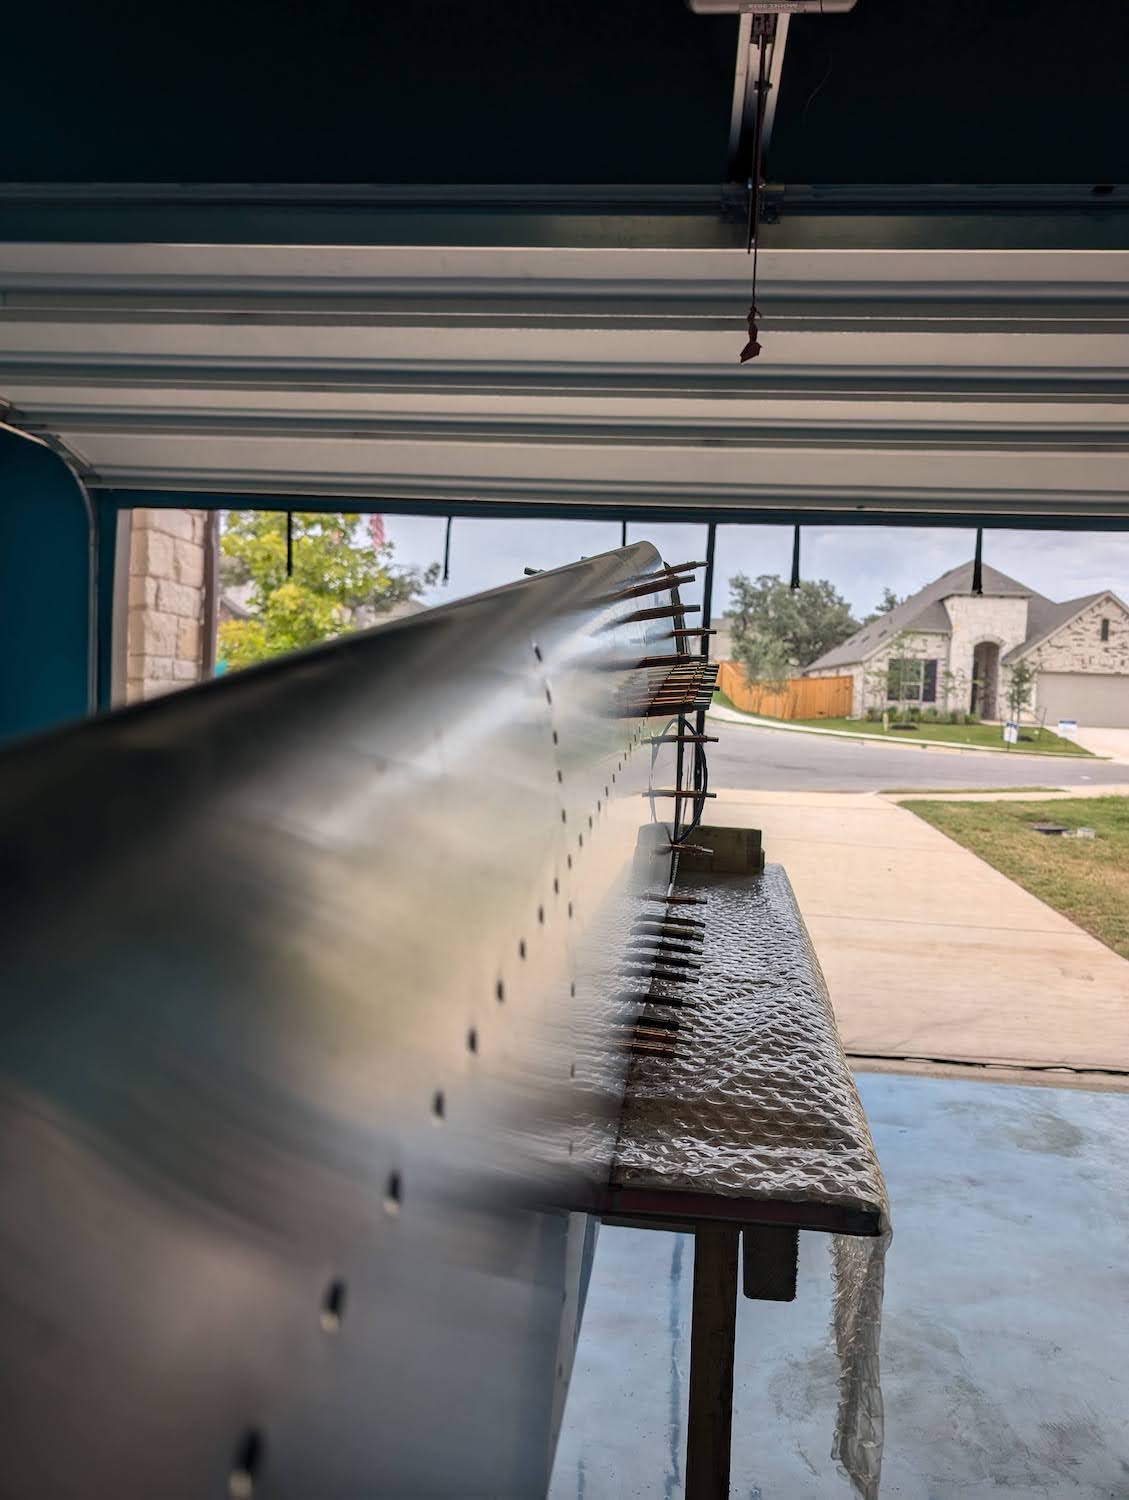 Left Skin temporary joined using clecos.
 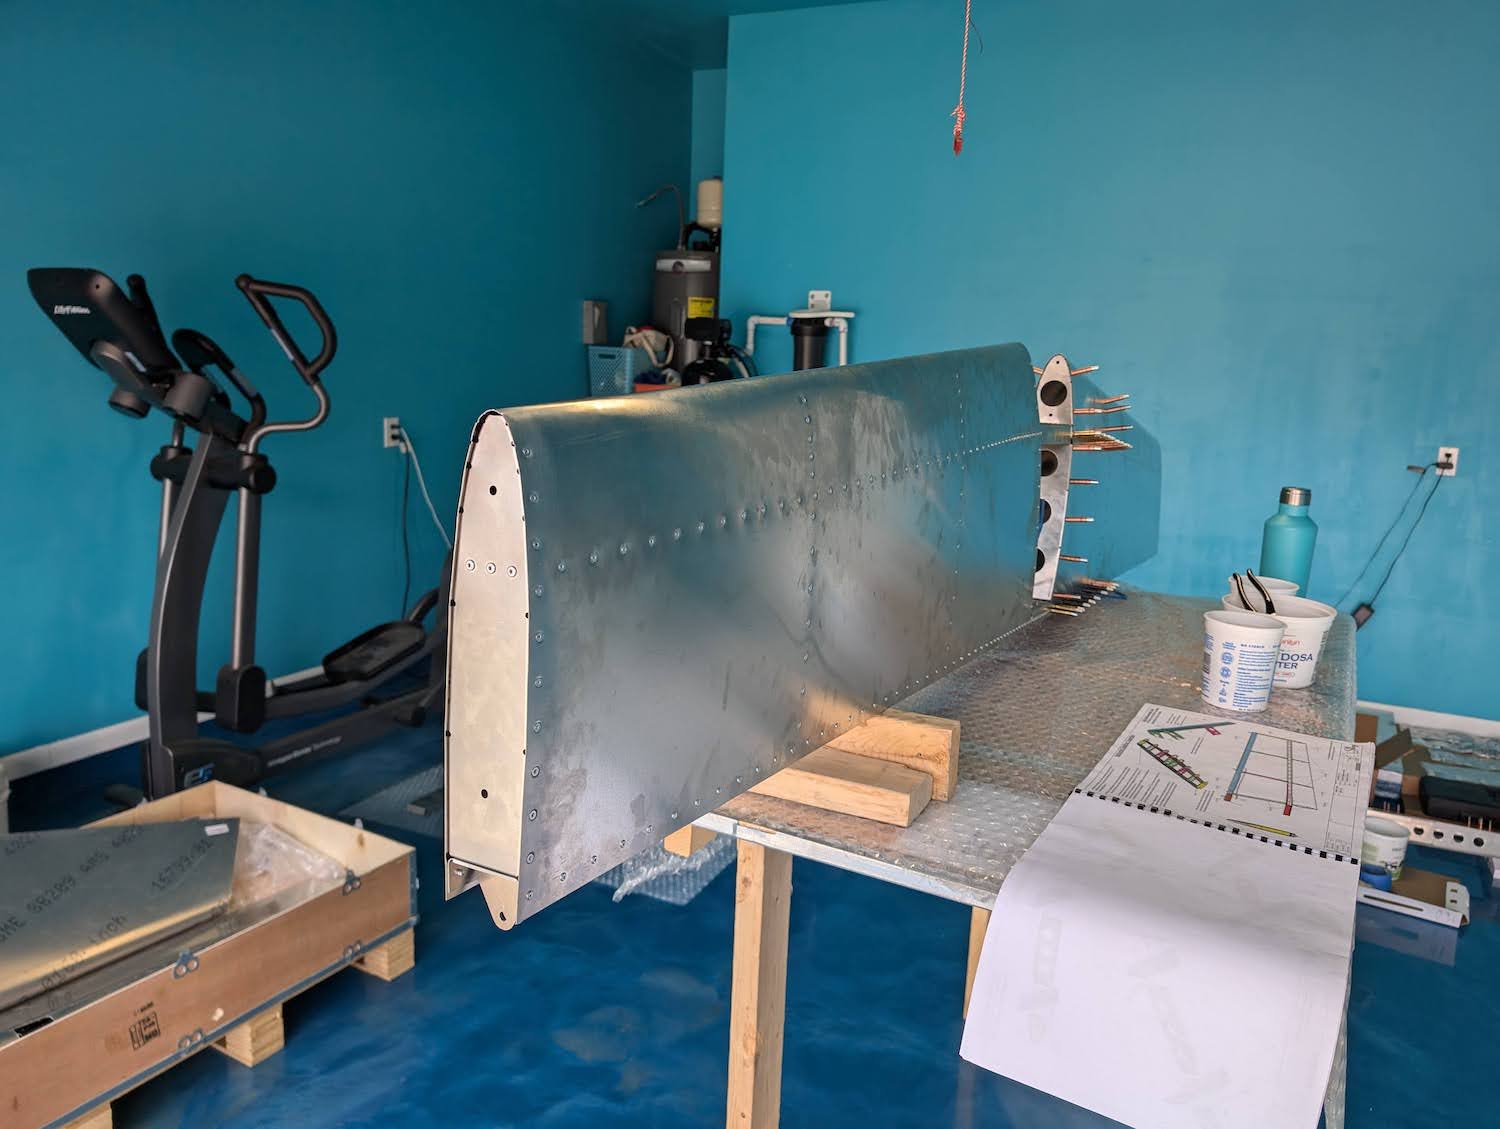 Left Skin temporary joined using clecos.
 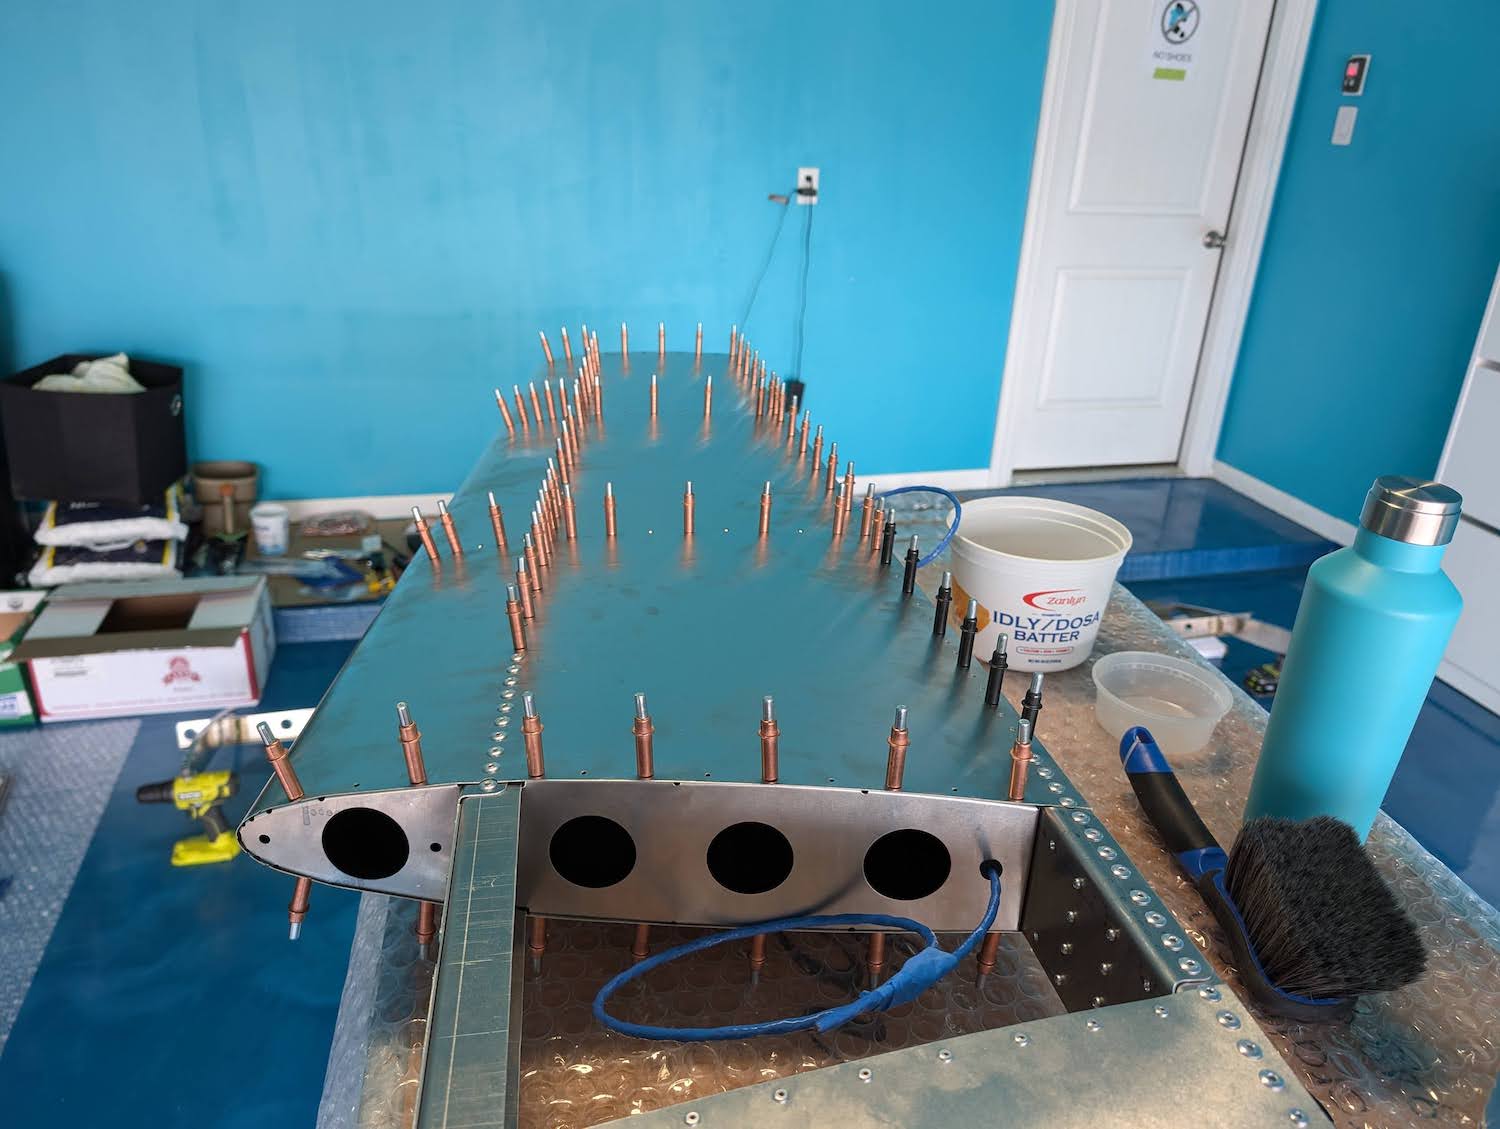 Left Skin temporary joined using clecos.
 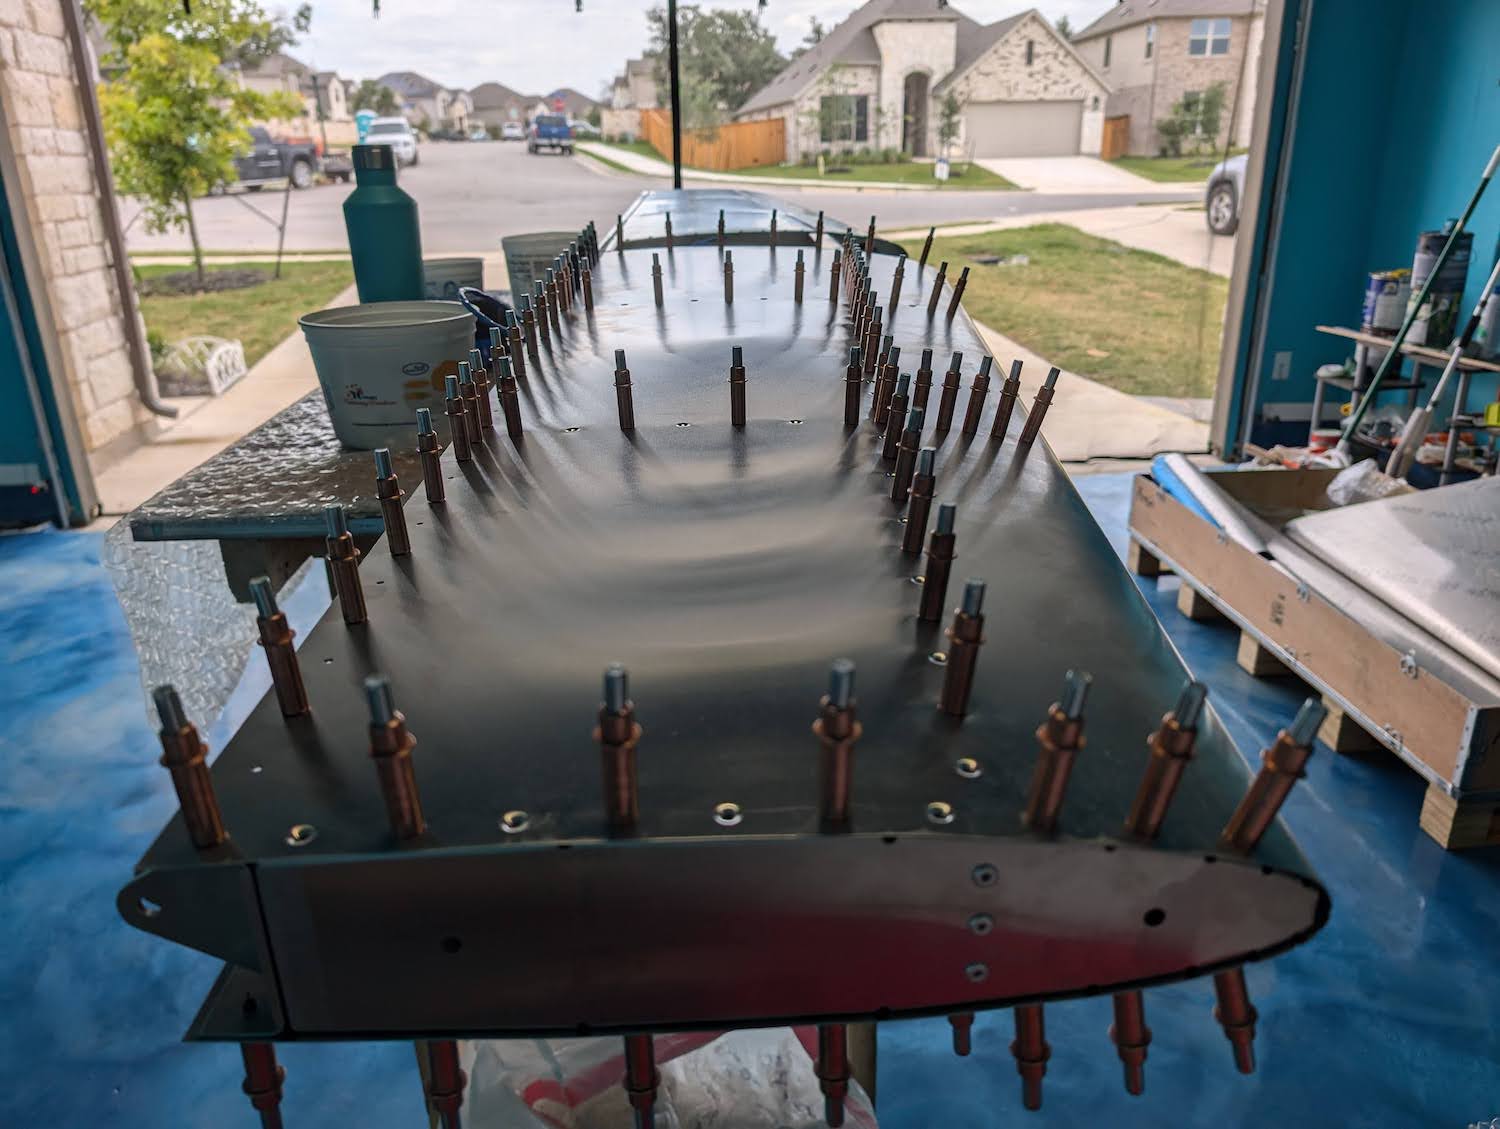 Left Skin temporary joined using clecos.
Riveting
Same sequence as the clecos was followed for riveting the skin. 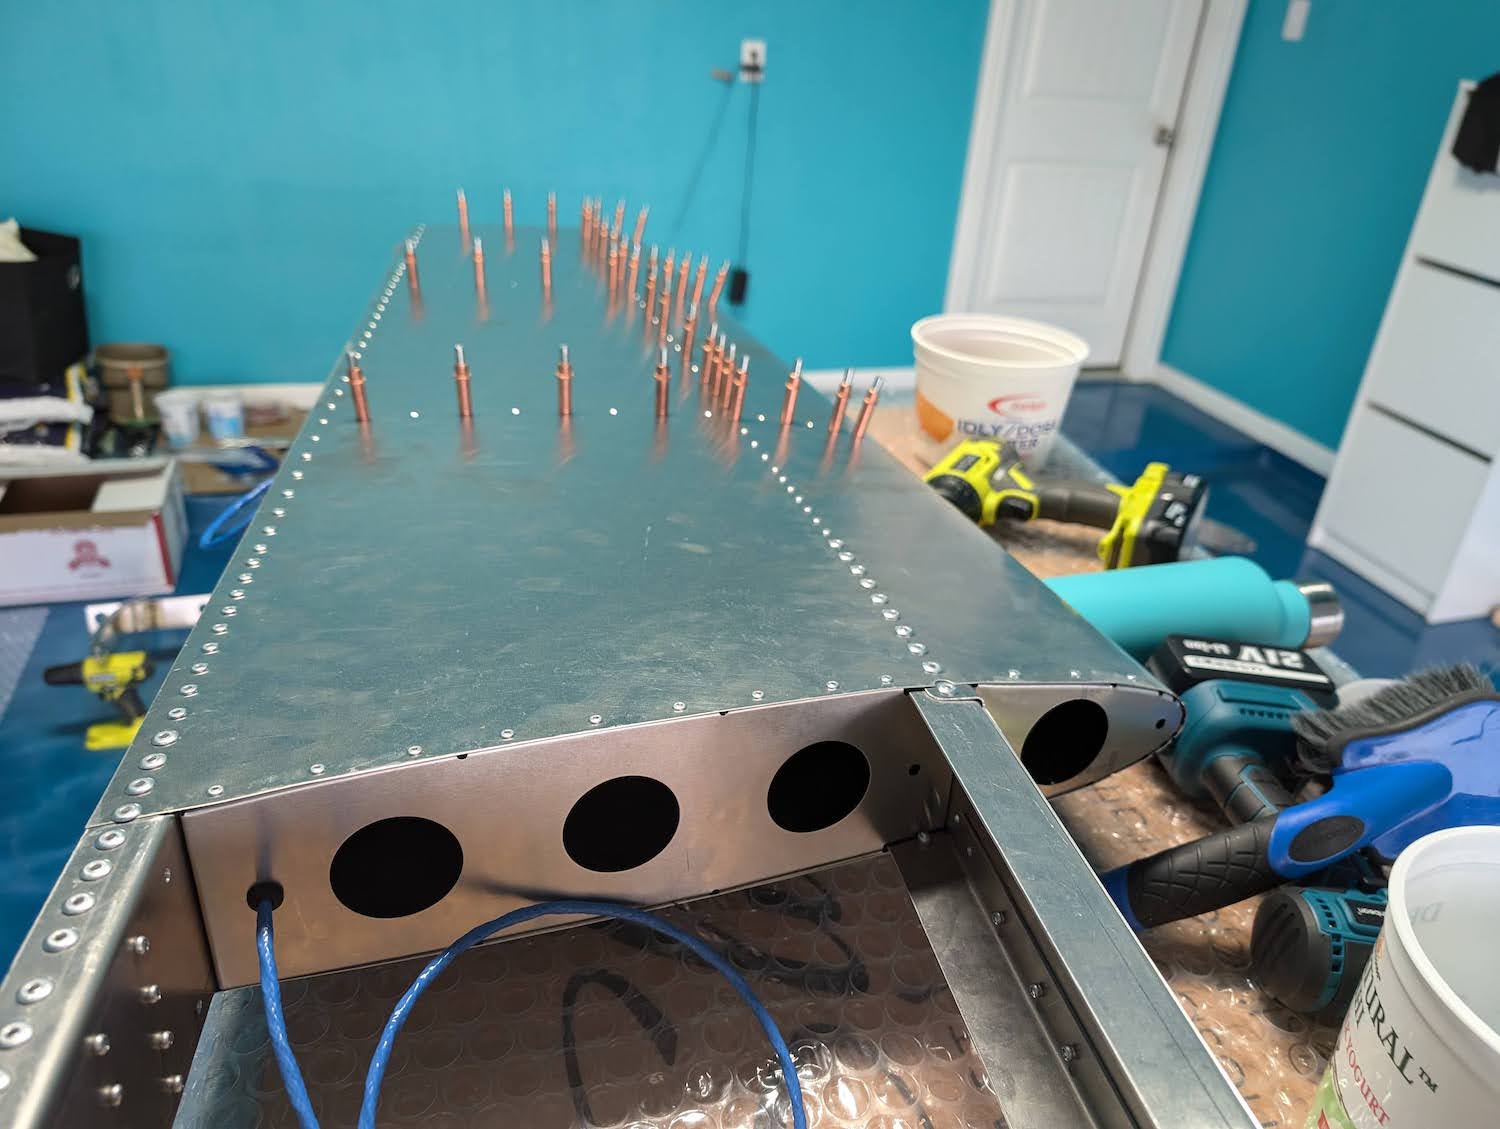 Left Skin riveted to the internal structure.
 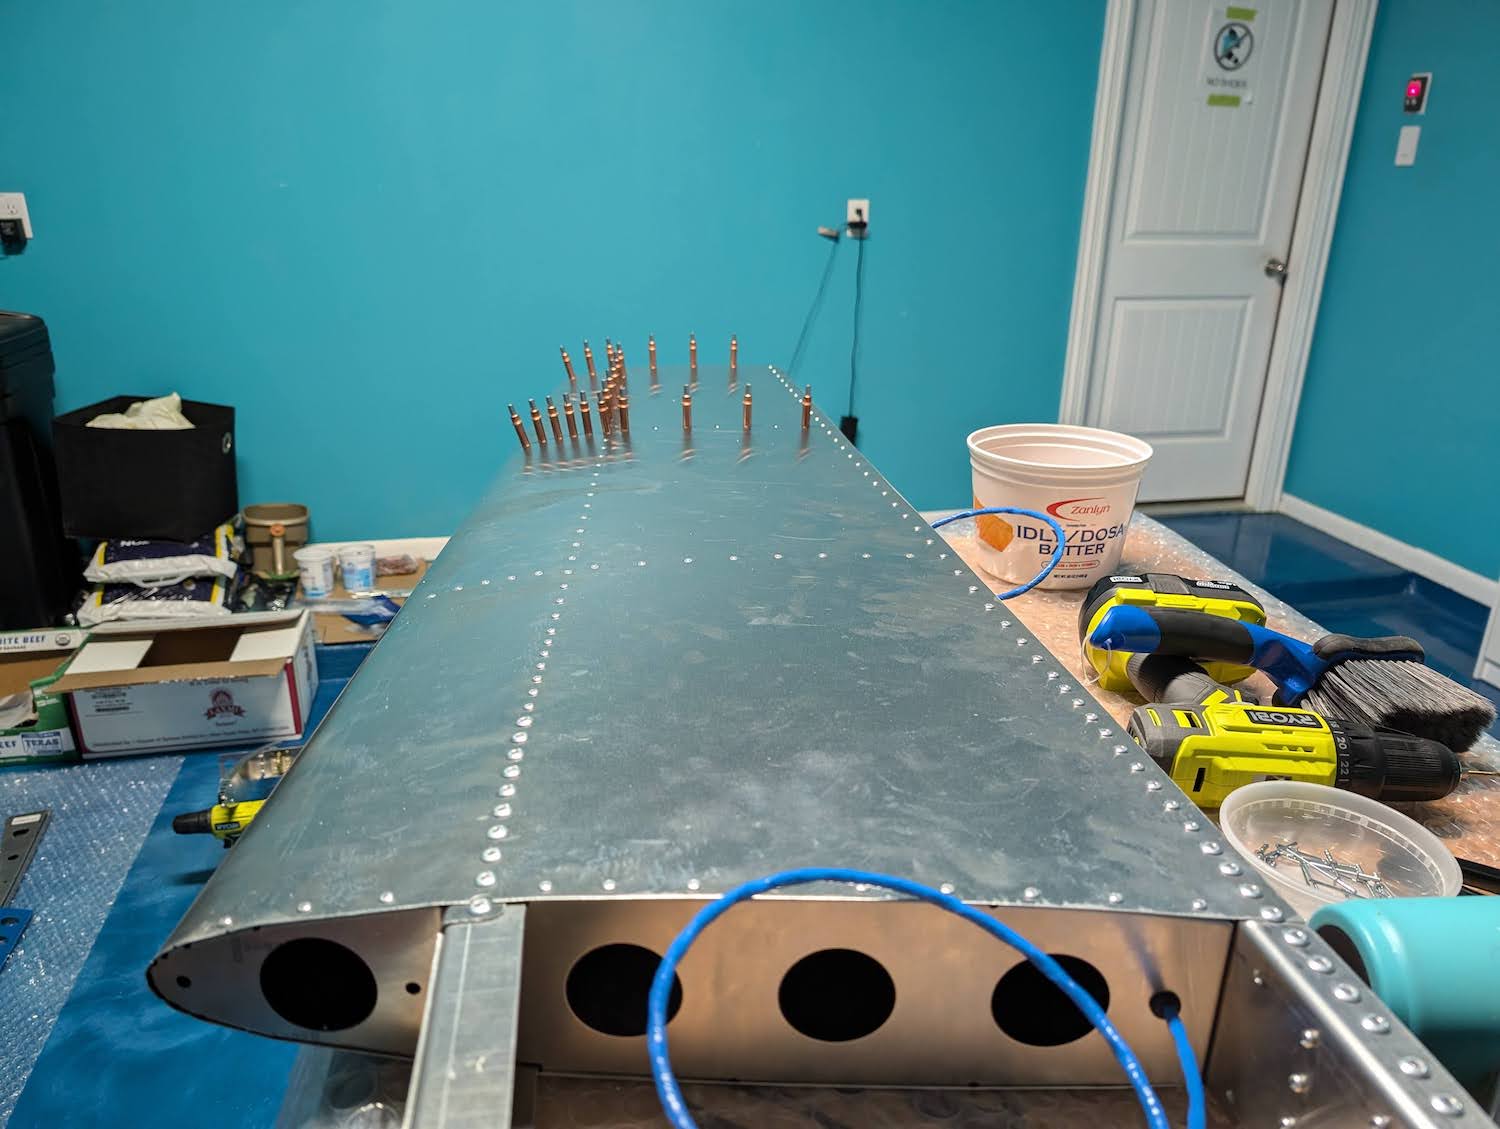 Left Skin riveted to the internal structure.
 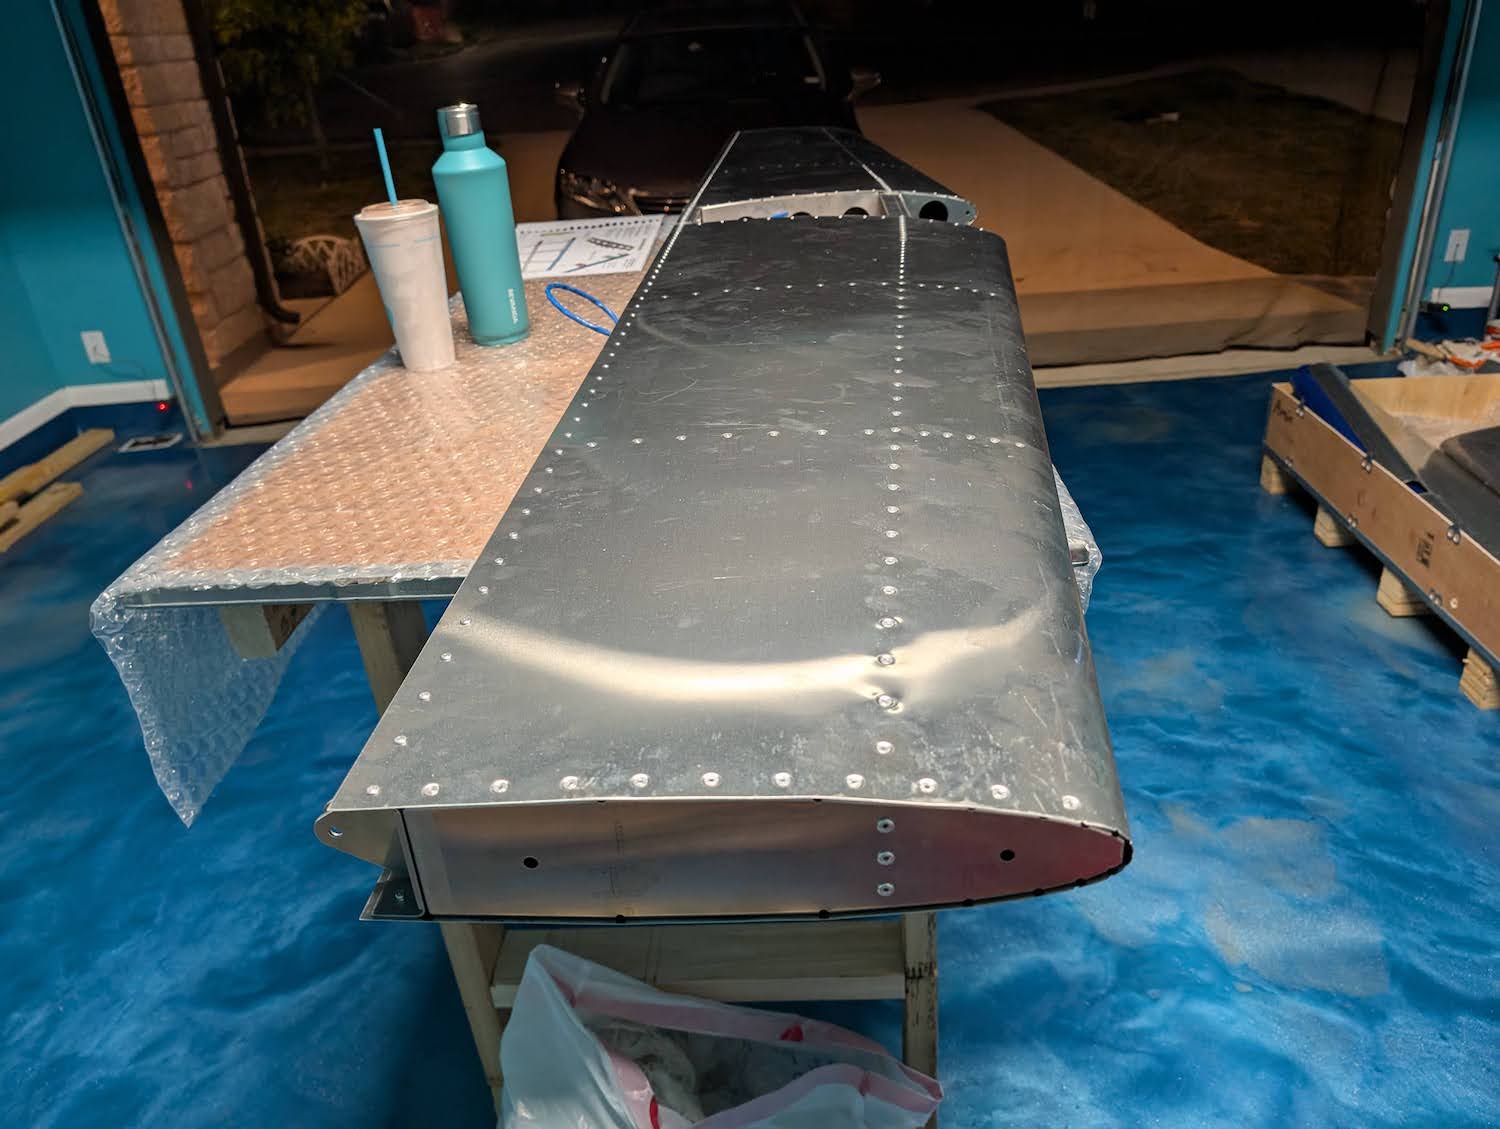 Left Skin riveted to the internal structure.
 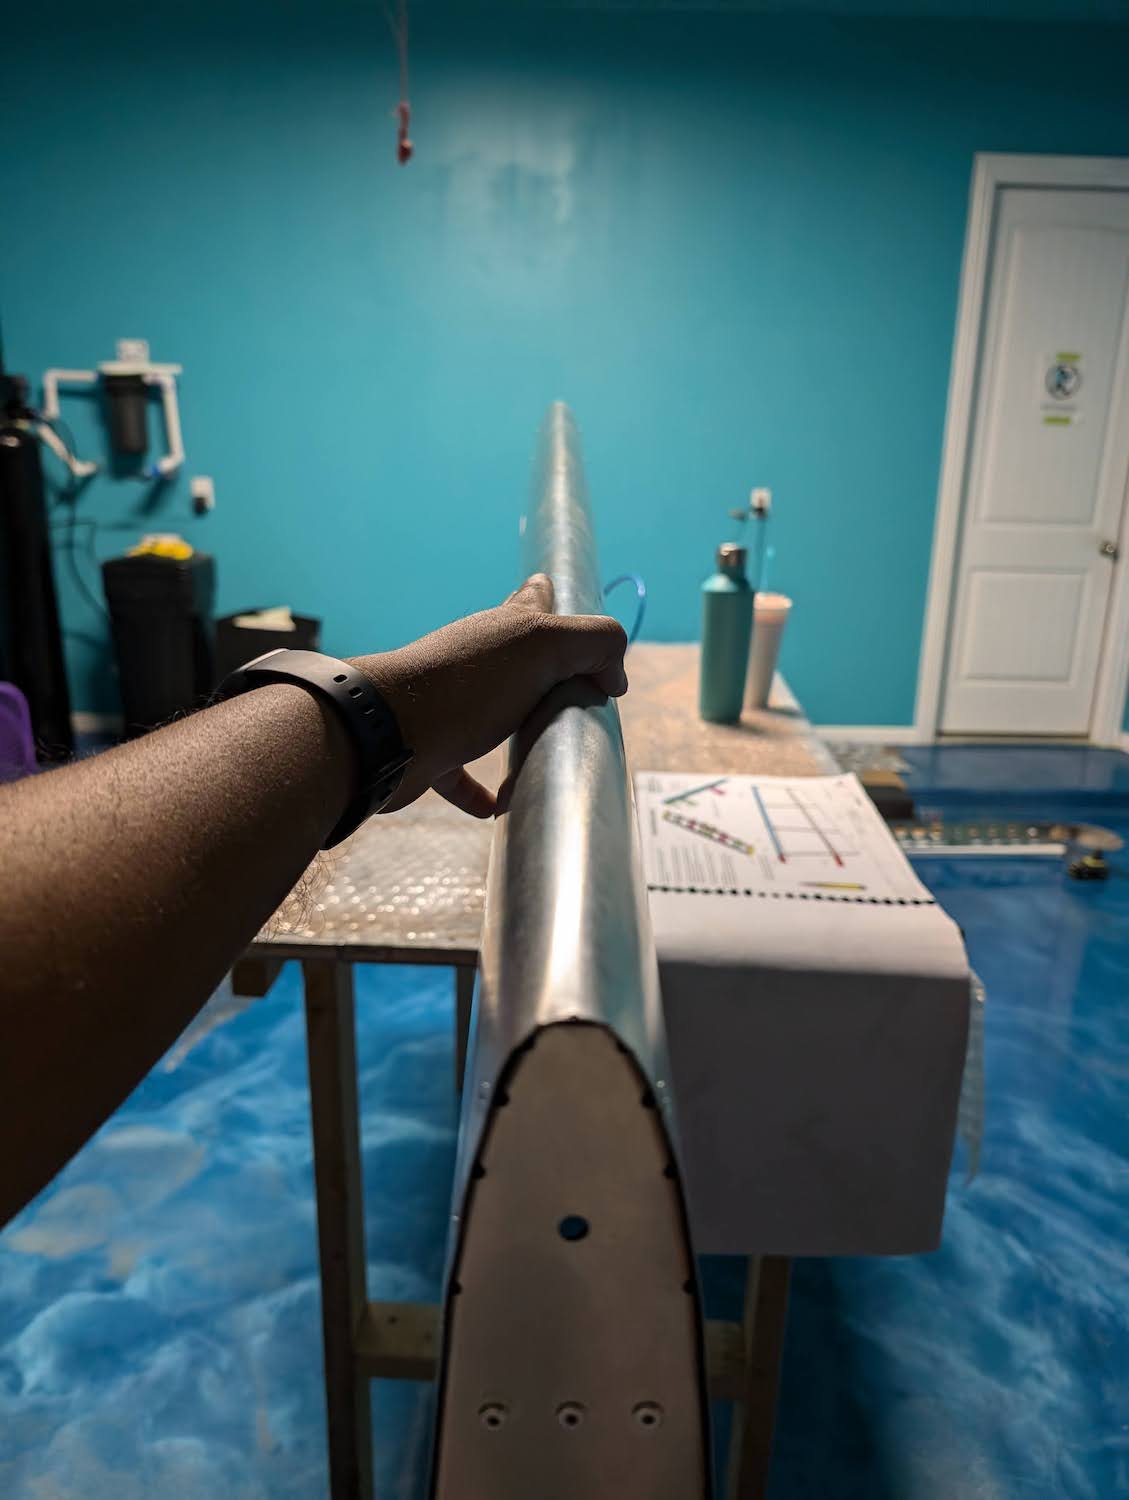 Left Skin riveted to the internal structure.
 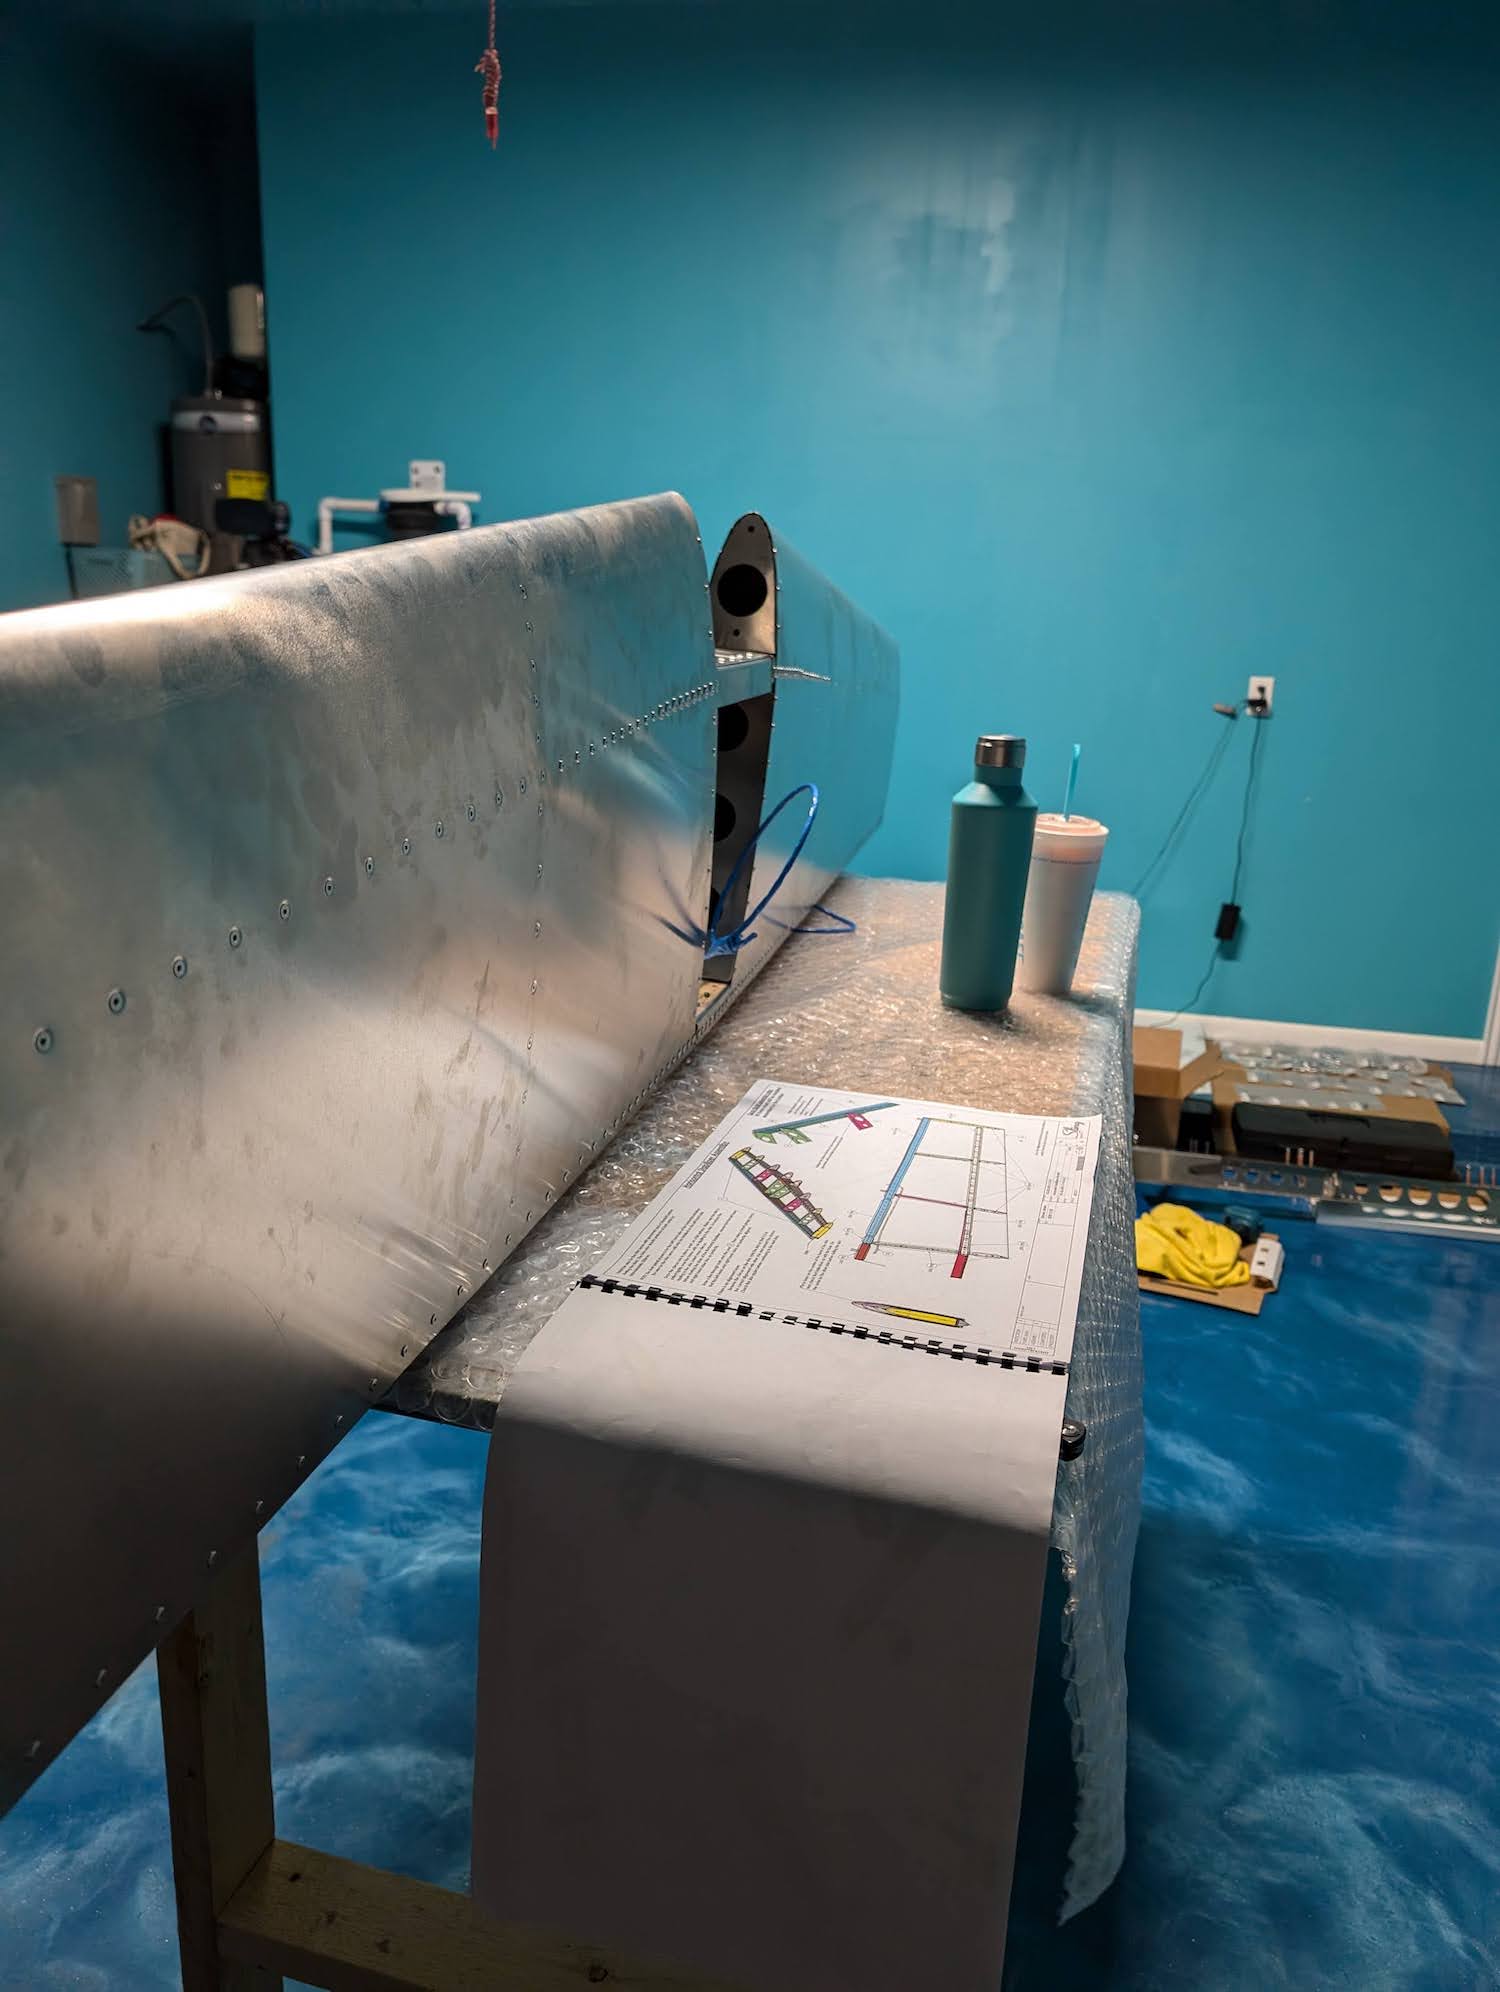 Left Skin riveted to the internal structure.