Horizontal Stabilizer Spars Assembly
Assembly for Front and Rear spars for the horizontal stabilizer is complete.
We finished assembling the front and rear spar for the Horizontal Stabilizer, which was a great experience, using clecos, riveting, countersinking, etc. In the end, they turned out to be great, looking forward to what’s next for assembly.
Front Spar
For assembling the front spar, one of the key thing in it for countersinking some holes, for that we used a countersinking drill bit with counter stop (refer to the tools section).
Countersinking a few holes
We used the 3.2mm rivet that will be used for that part of the skin to measure depth of the countersink tool. You want to start out with less depth, test with that rivet, which should be flushed with the material when inserting in that countersunk hole. Refer to the image below for detail. 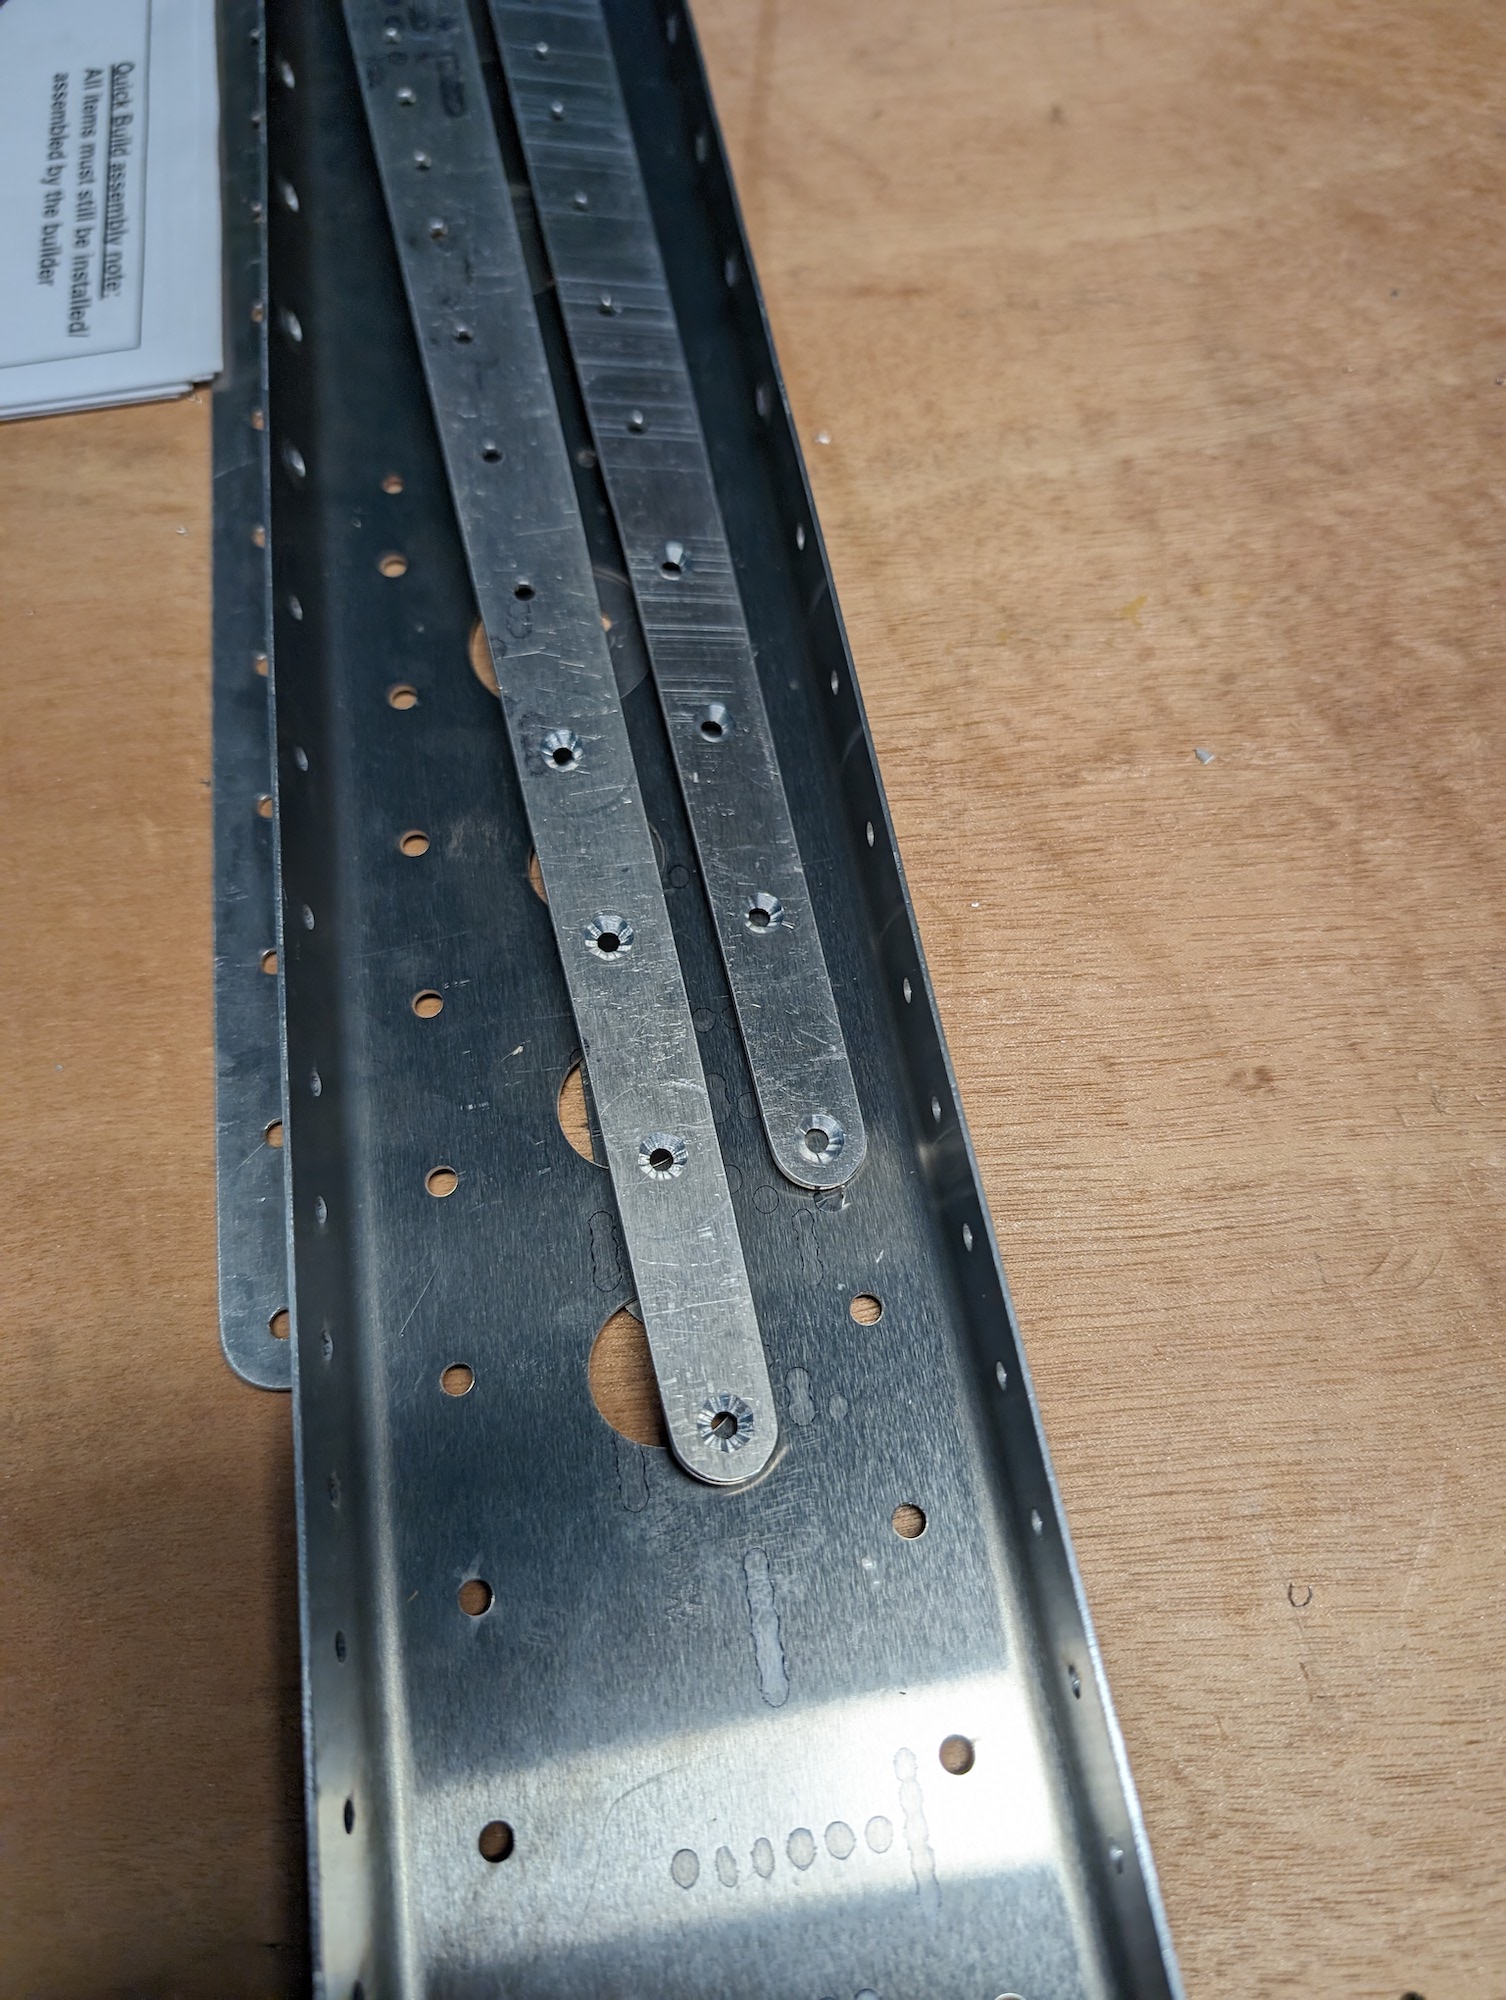 Front spar countersink details.
Few rivets not going through
Occasionally, we had a few rivets such as in the image below which were not going through, so had to use a 3.3mm metric sheet metal drill bit to widen the hole a bit, which is how the rivet went through. Additionally, adding more clecos to the holes around the rivet also helps, which is the preferred method to try first before widening the holes. 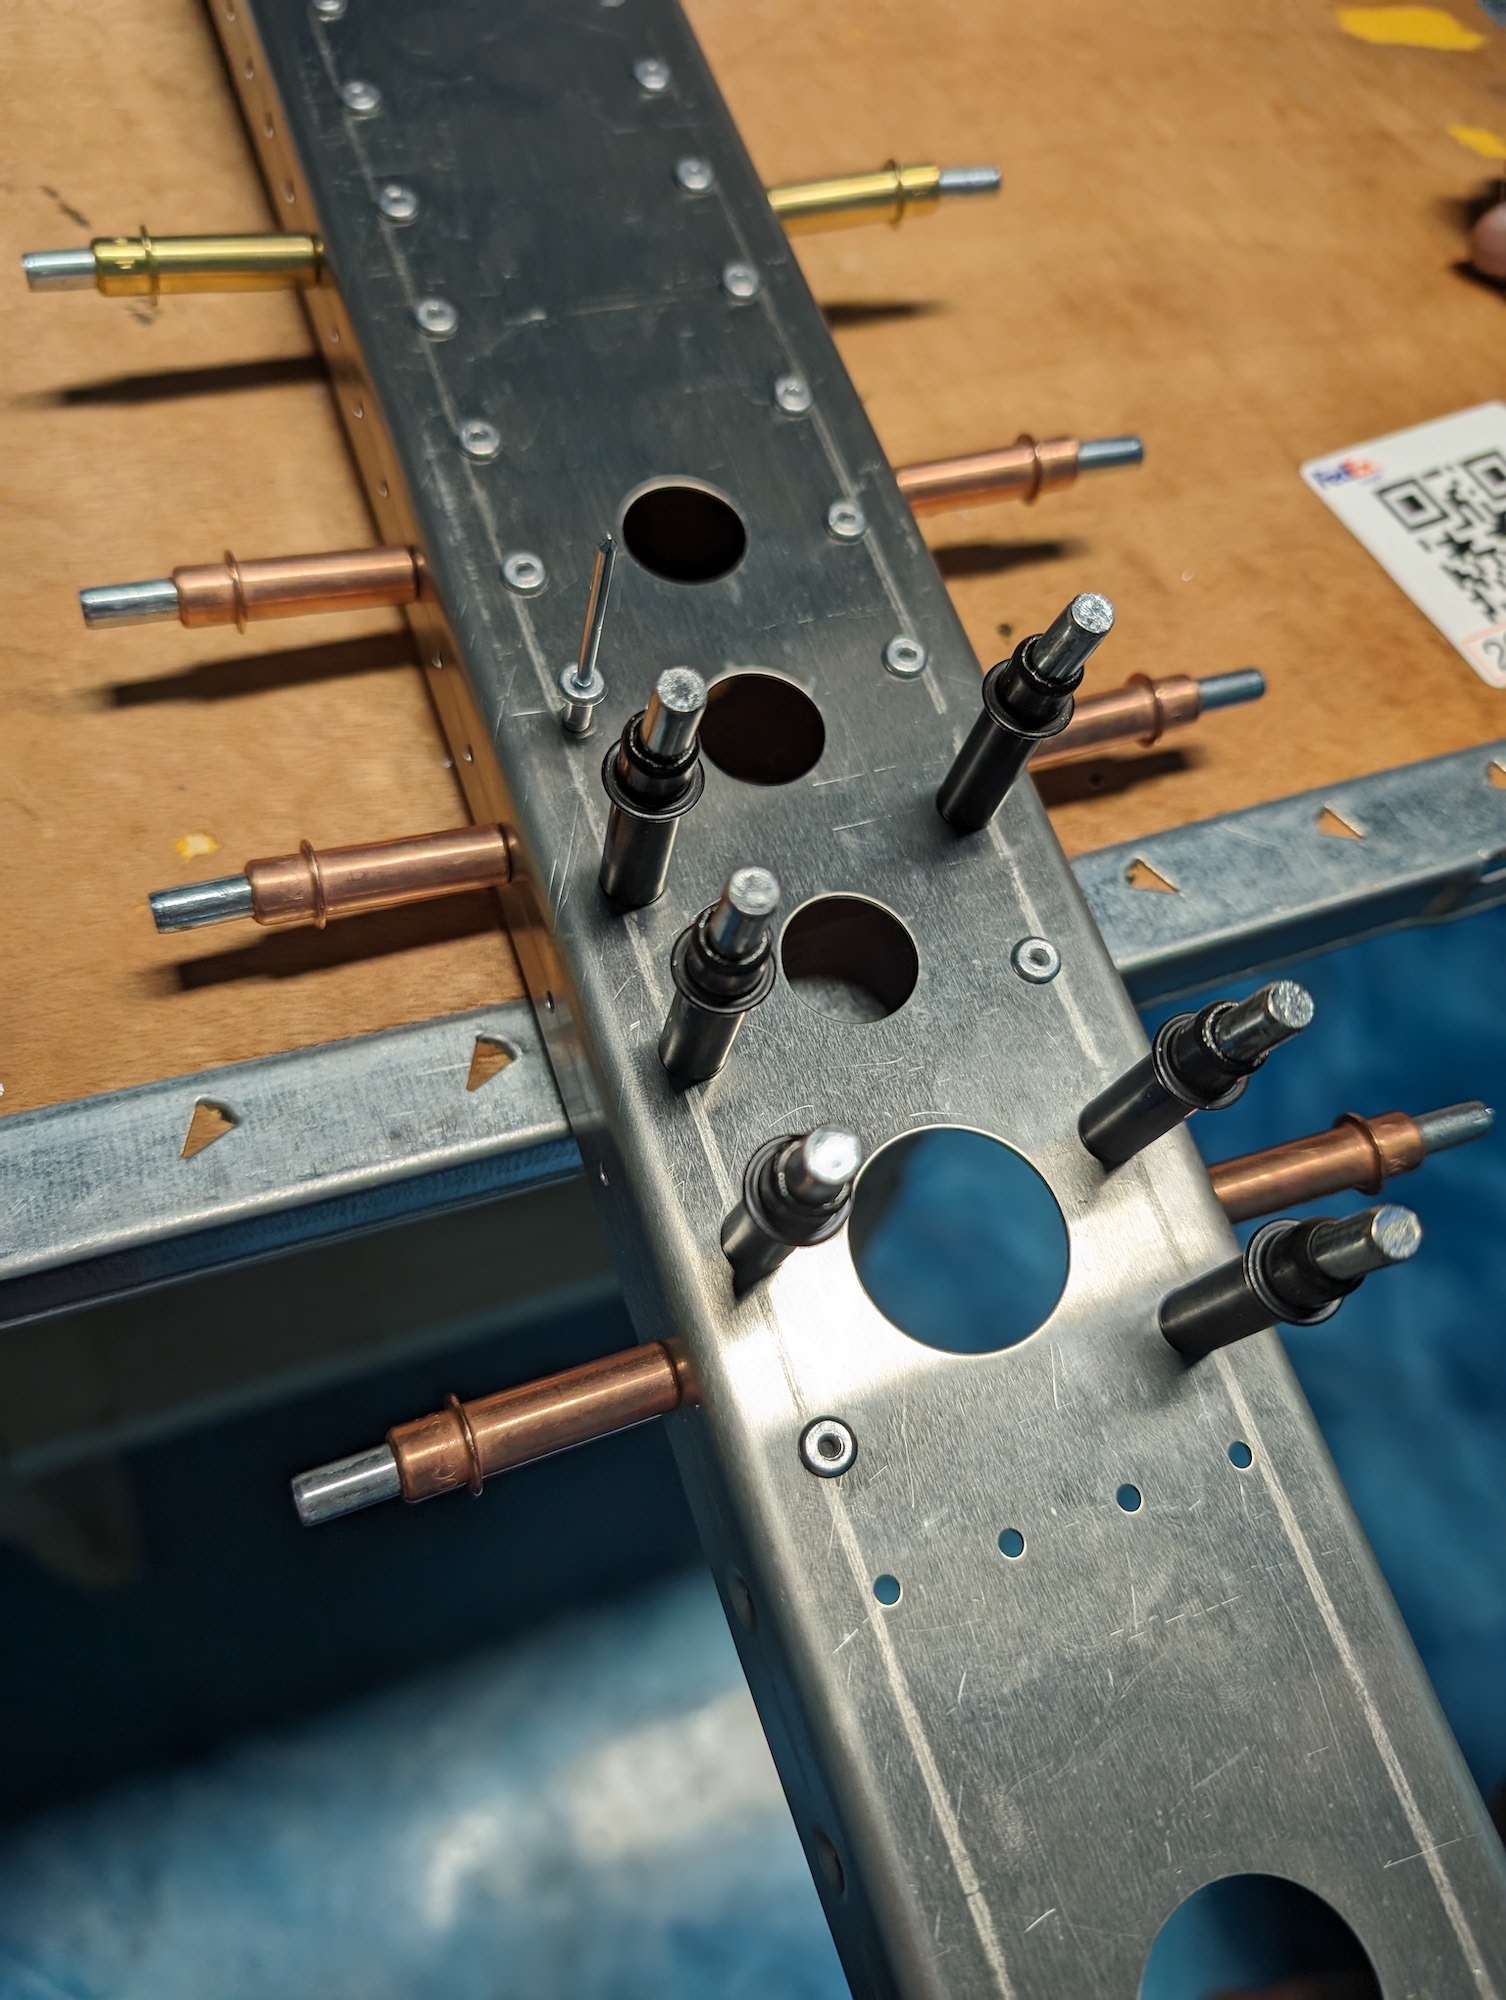 Rivets for some holes in the front spar not going through.
Assembly images
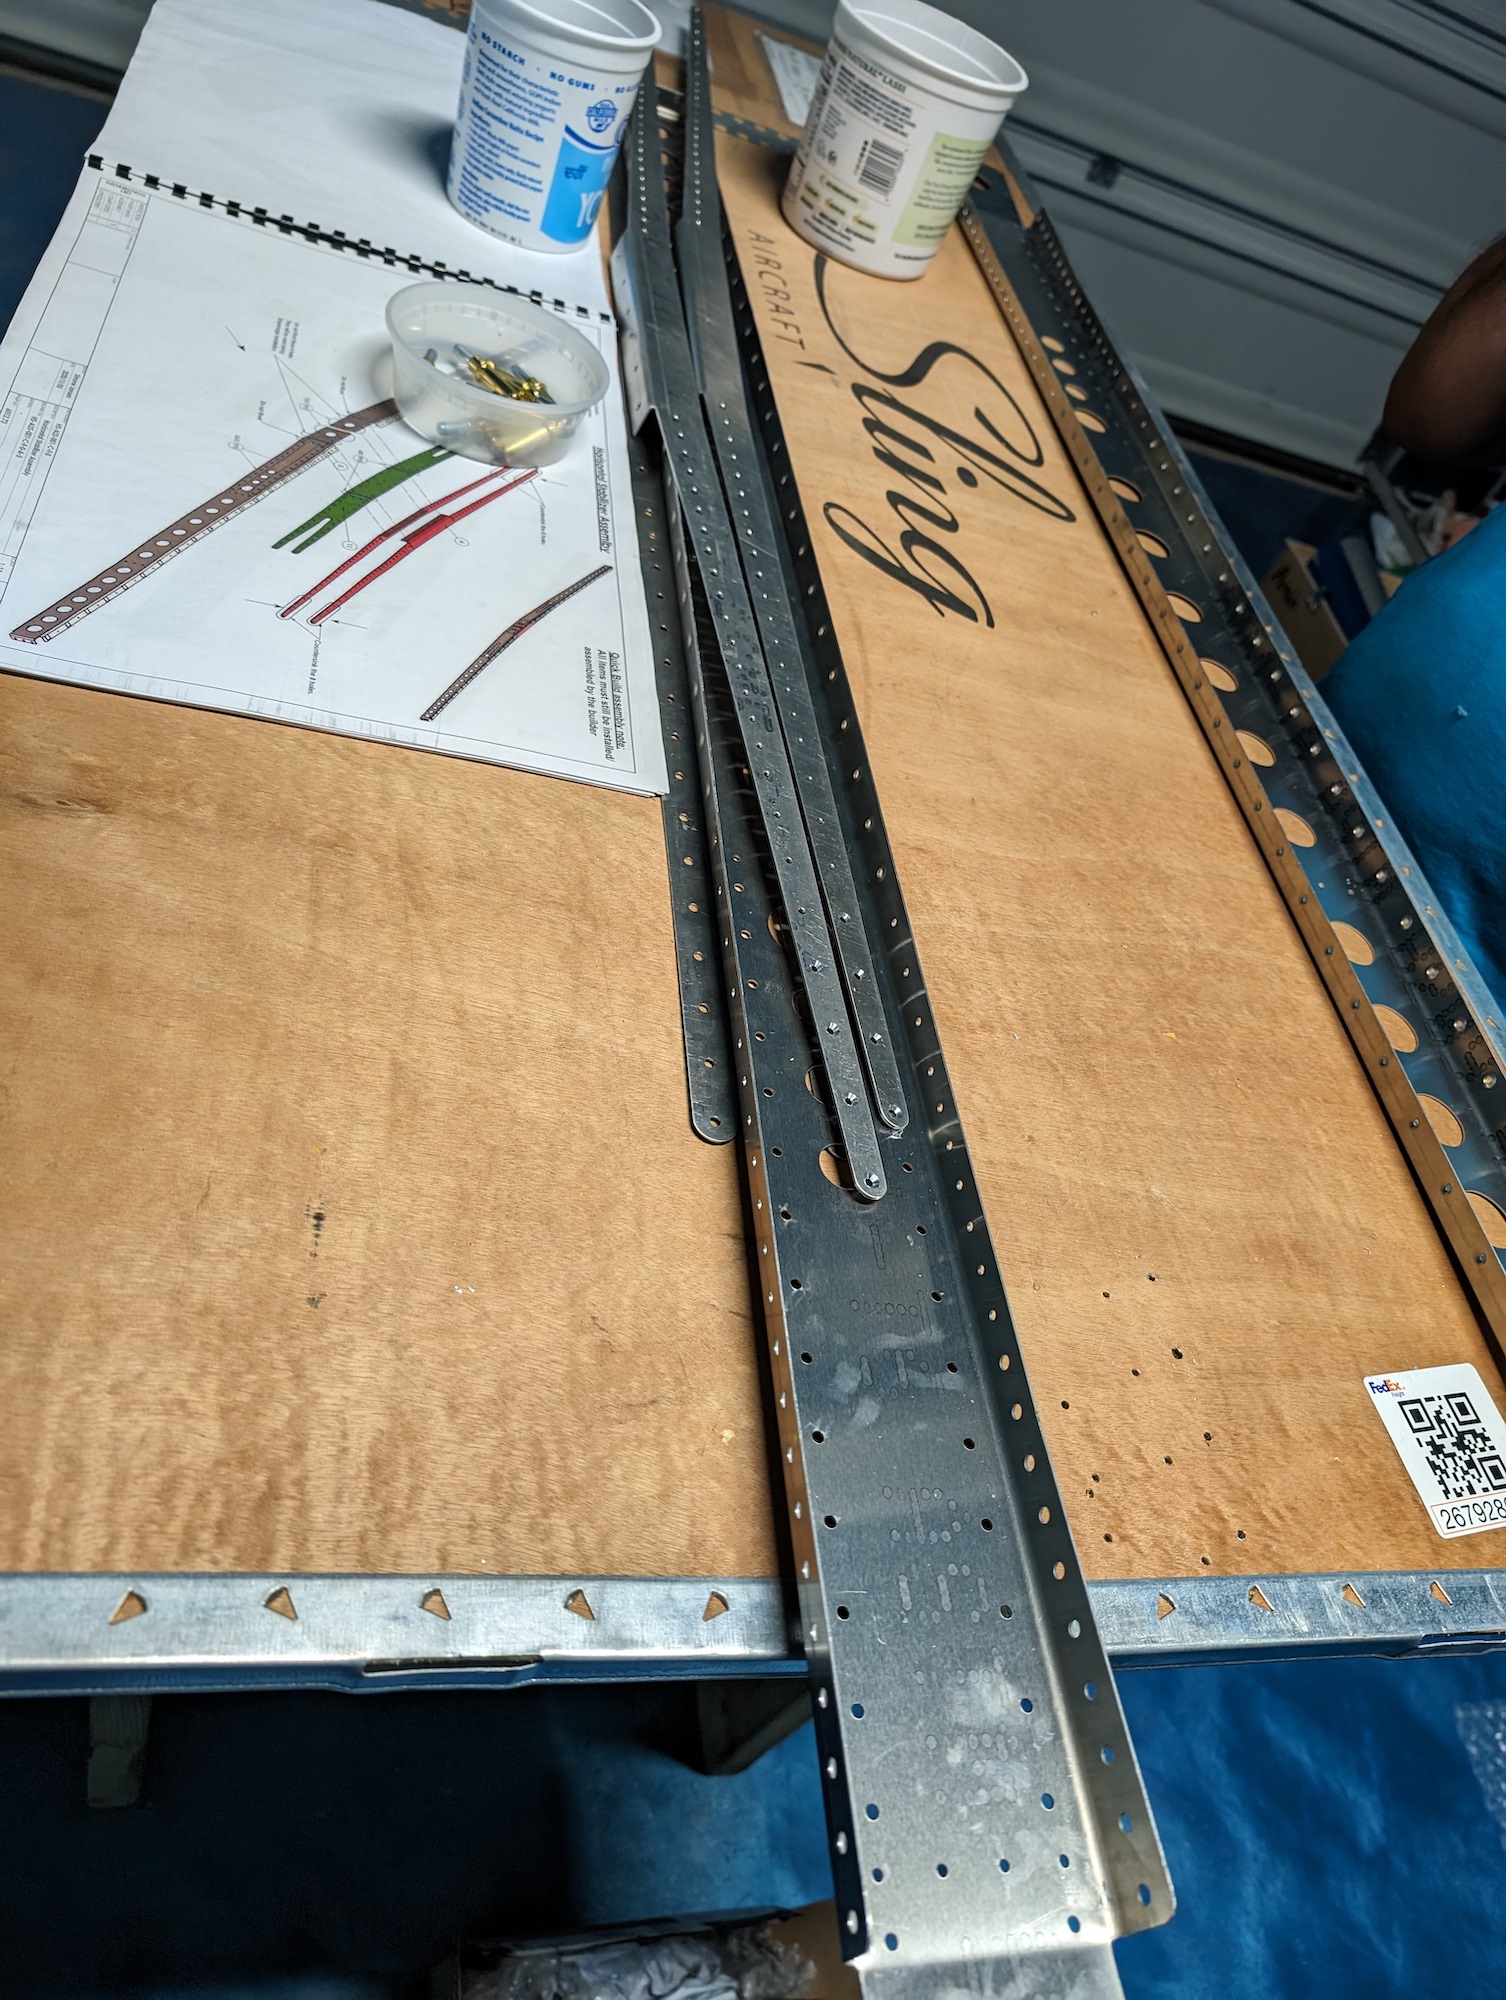 Front spar parts laid out before assembly.
 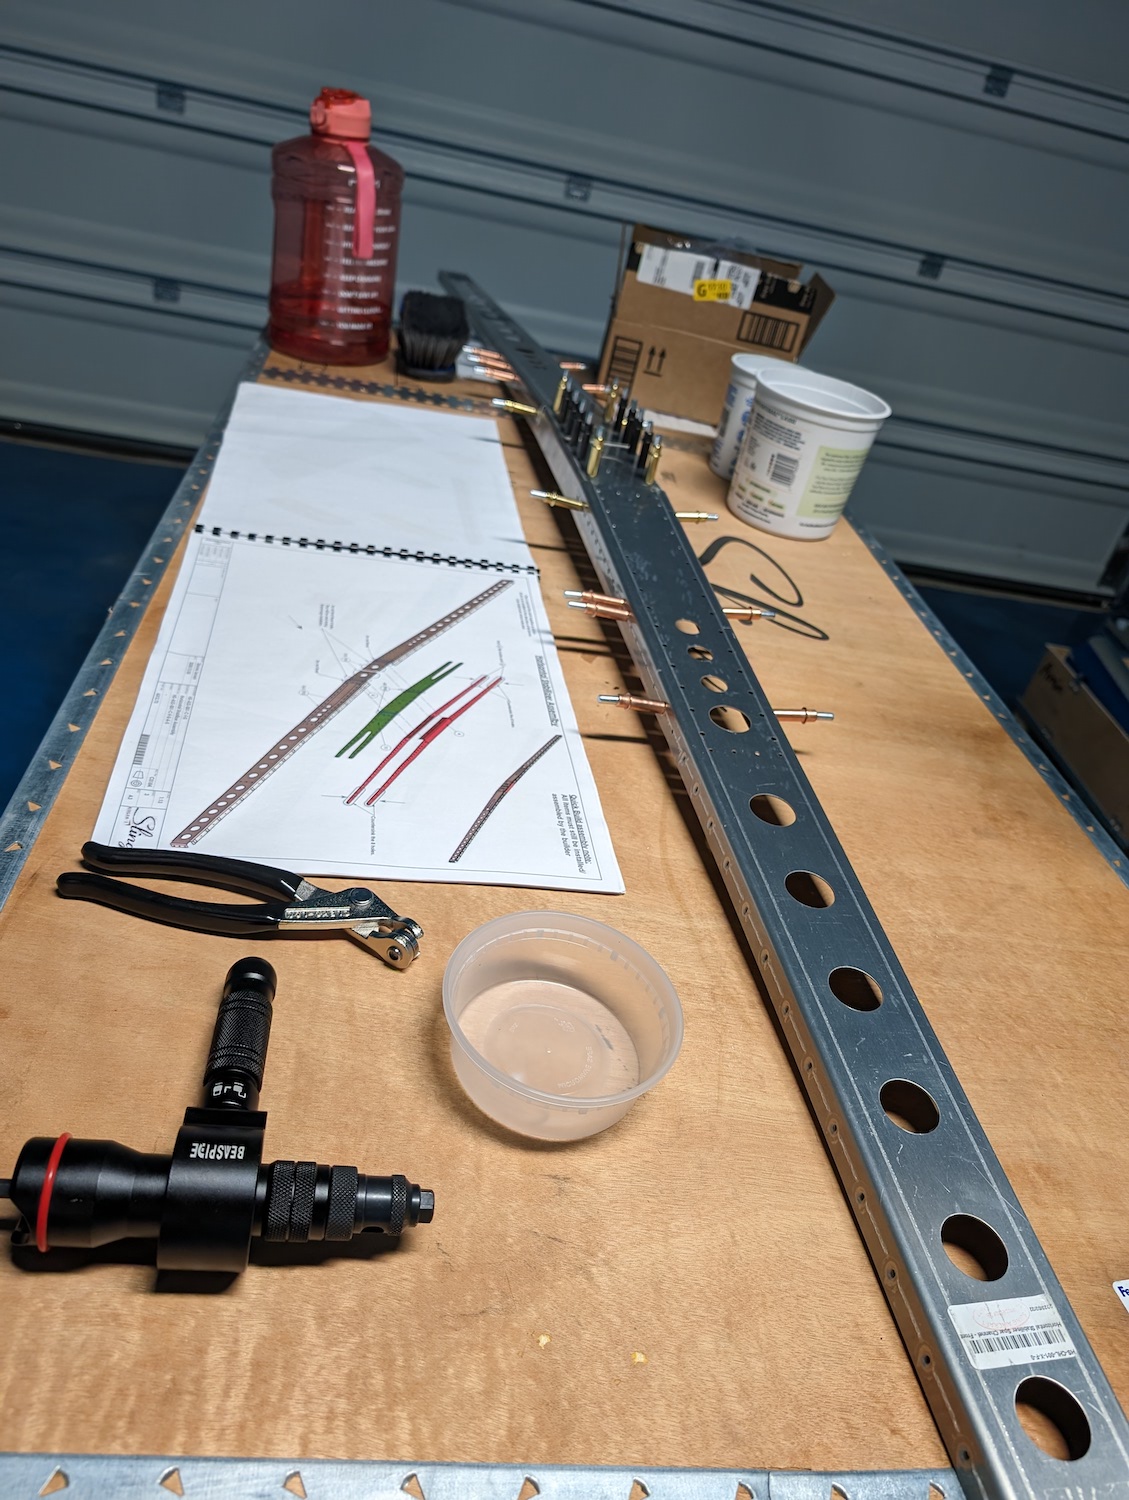 Front spar parts clecoled together before riveting.
 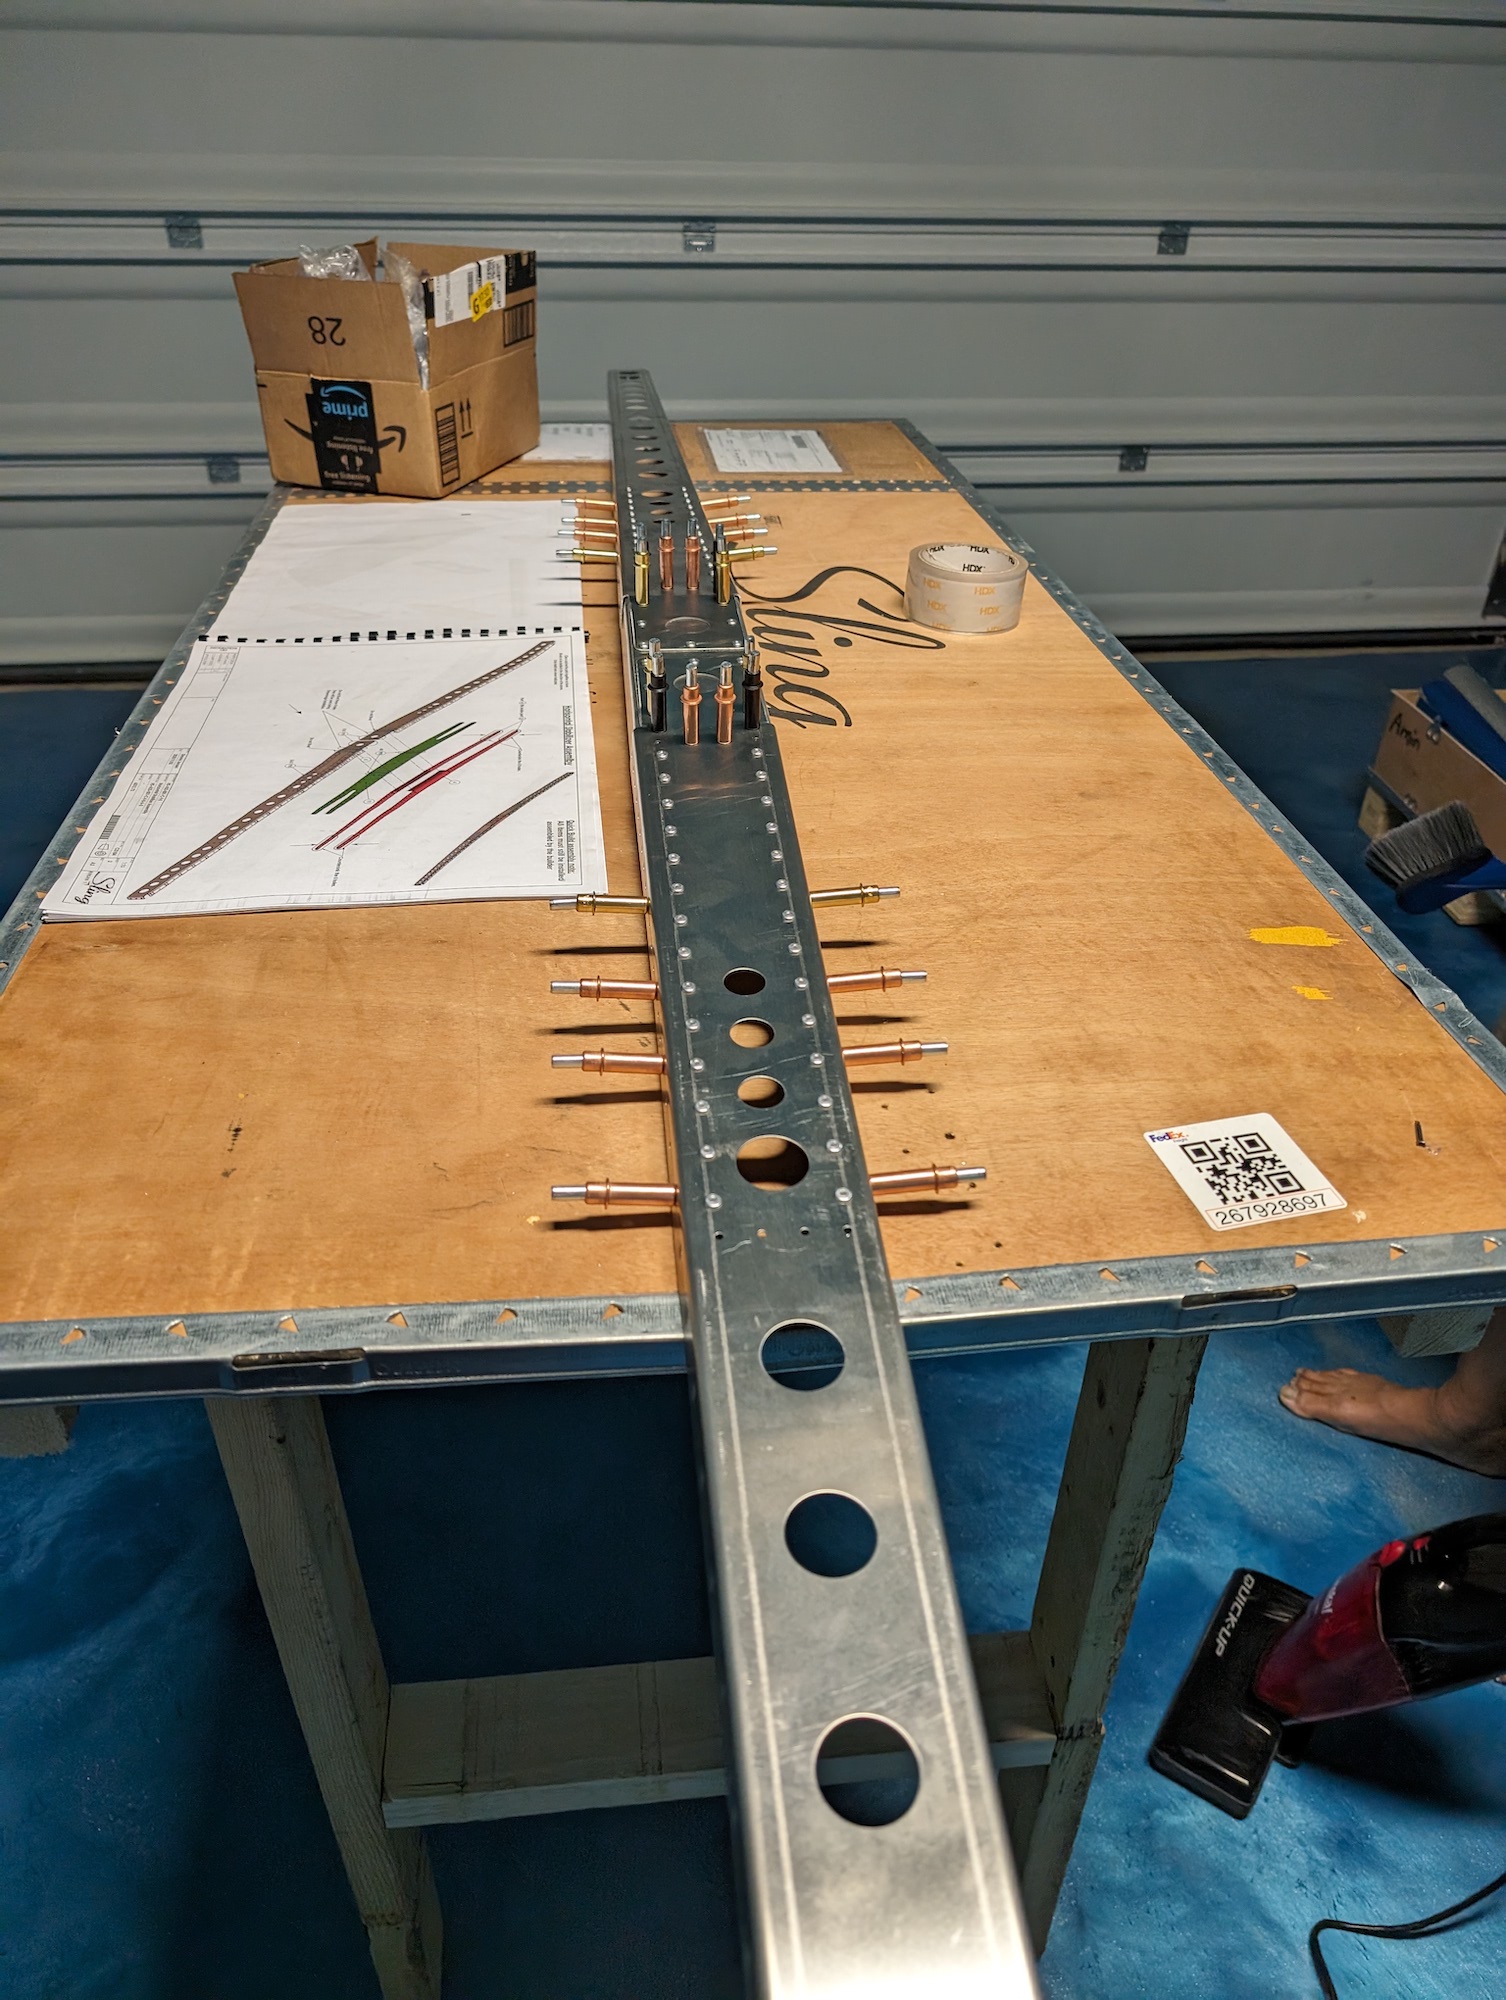 Front spar assembled with rivets already pulled.
  Front spar assembled with rivets (another view).
Rear Spar
For assembling the rear spar, it was mostly using clecos and riveting, basically the usual aluminum aircraft construction method.
Deburring some holes and edges
We had to debur some holes and edges where we noticed to some burs while running fingers through them. Refer to the image below for a deburring reference. Also, the tools section has some details on what was used for this process. 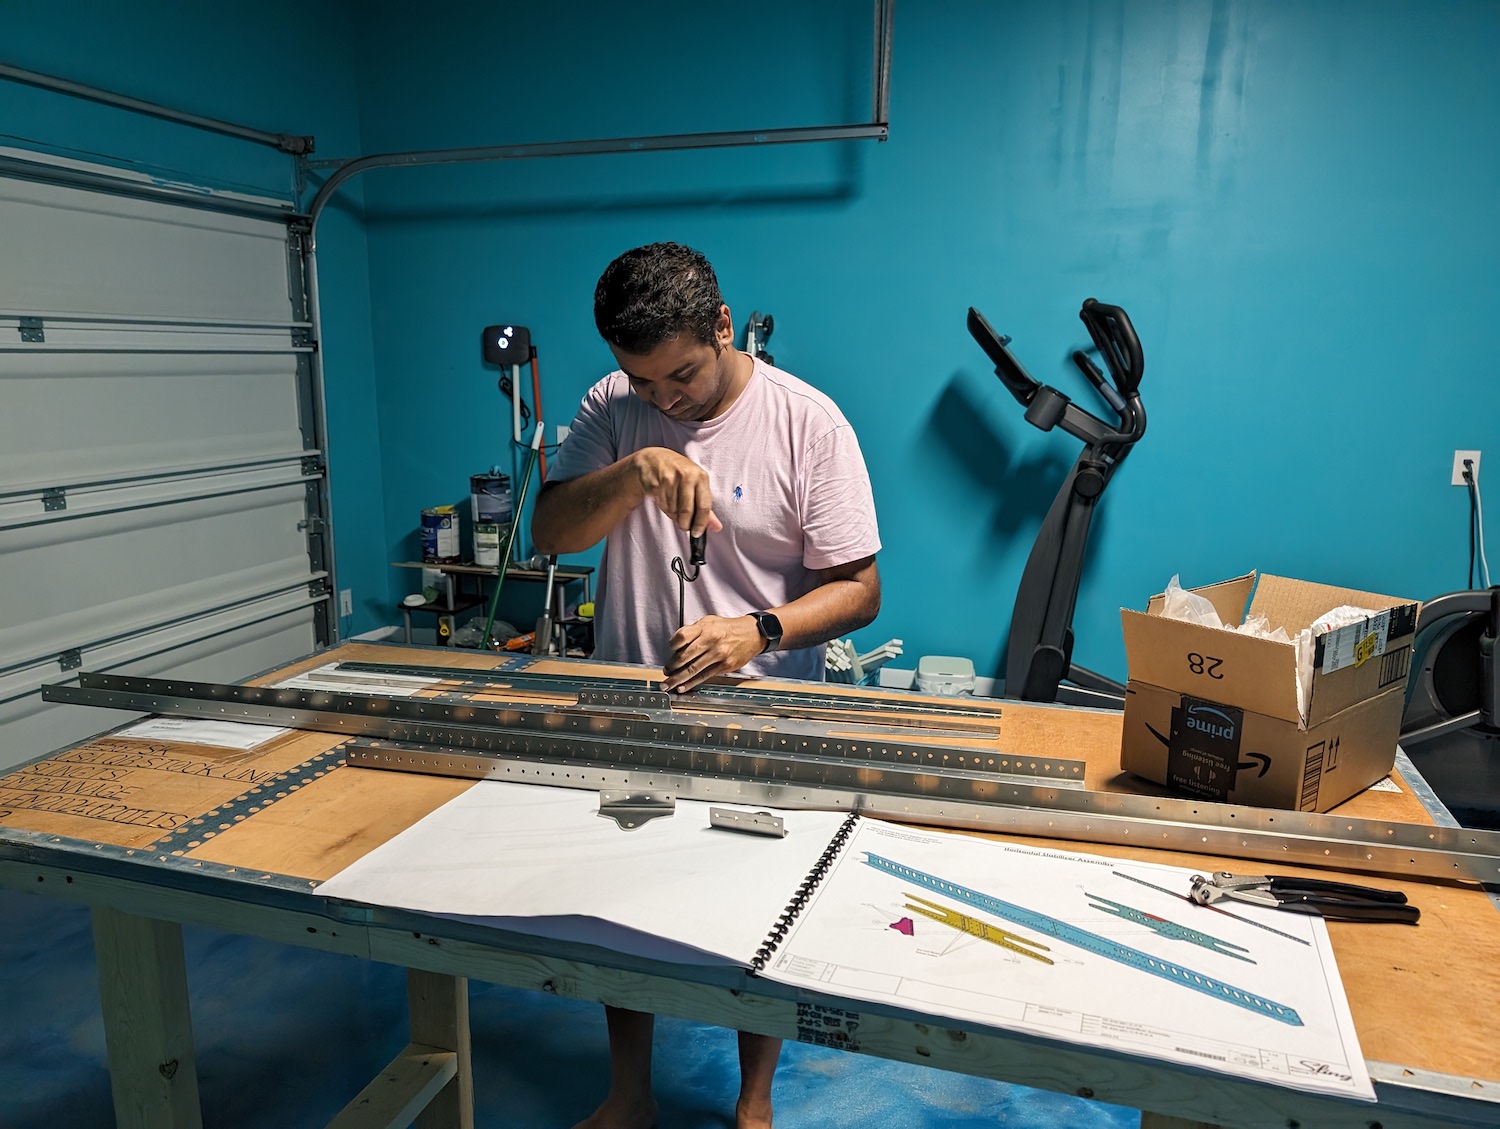 Rear spar deburring using the hole tool.
Assembly images
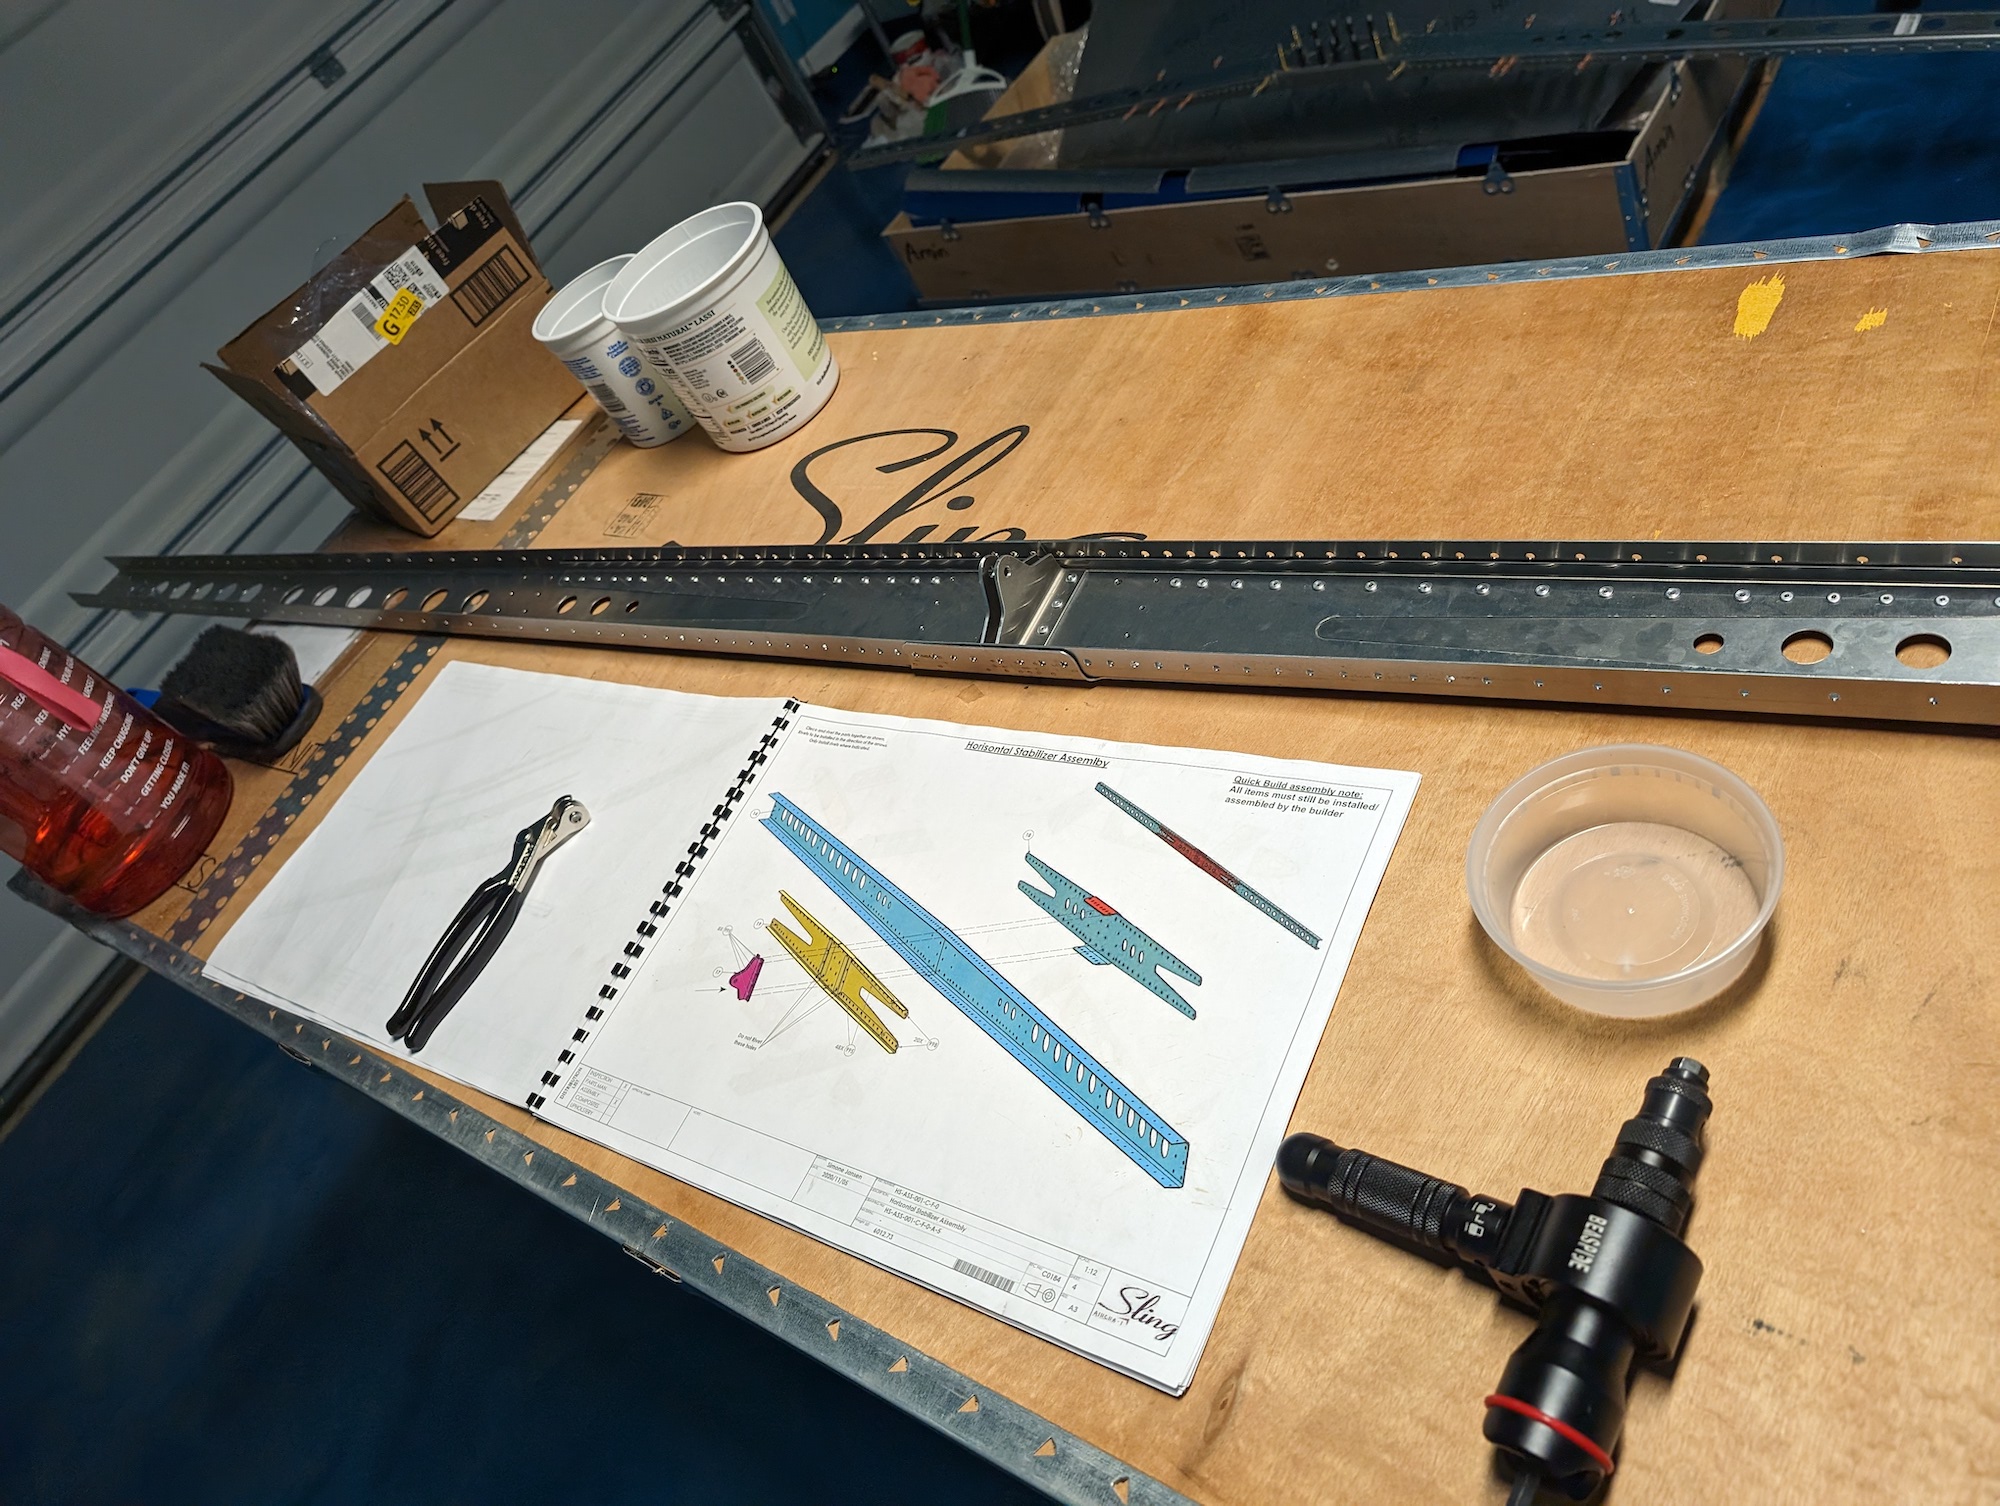 Rear spar assembled with rivets.
 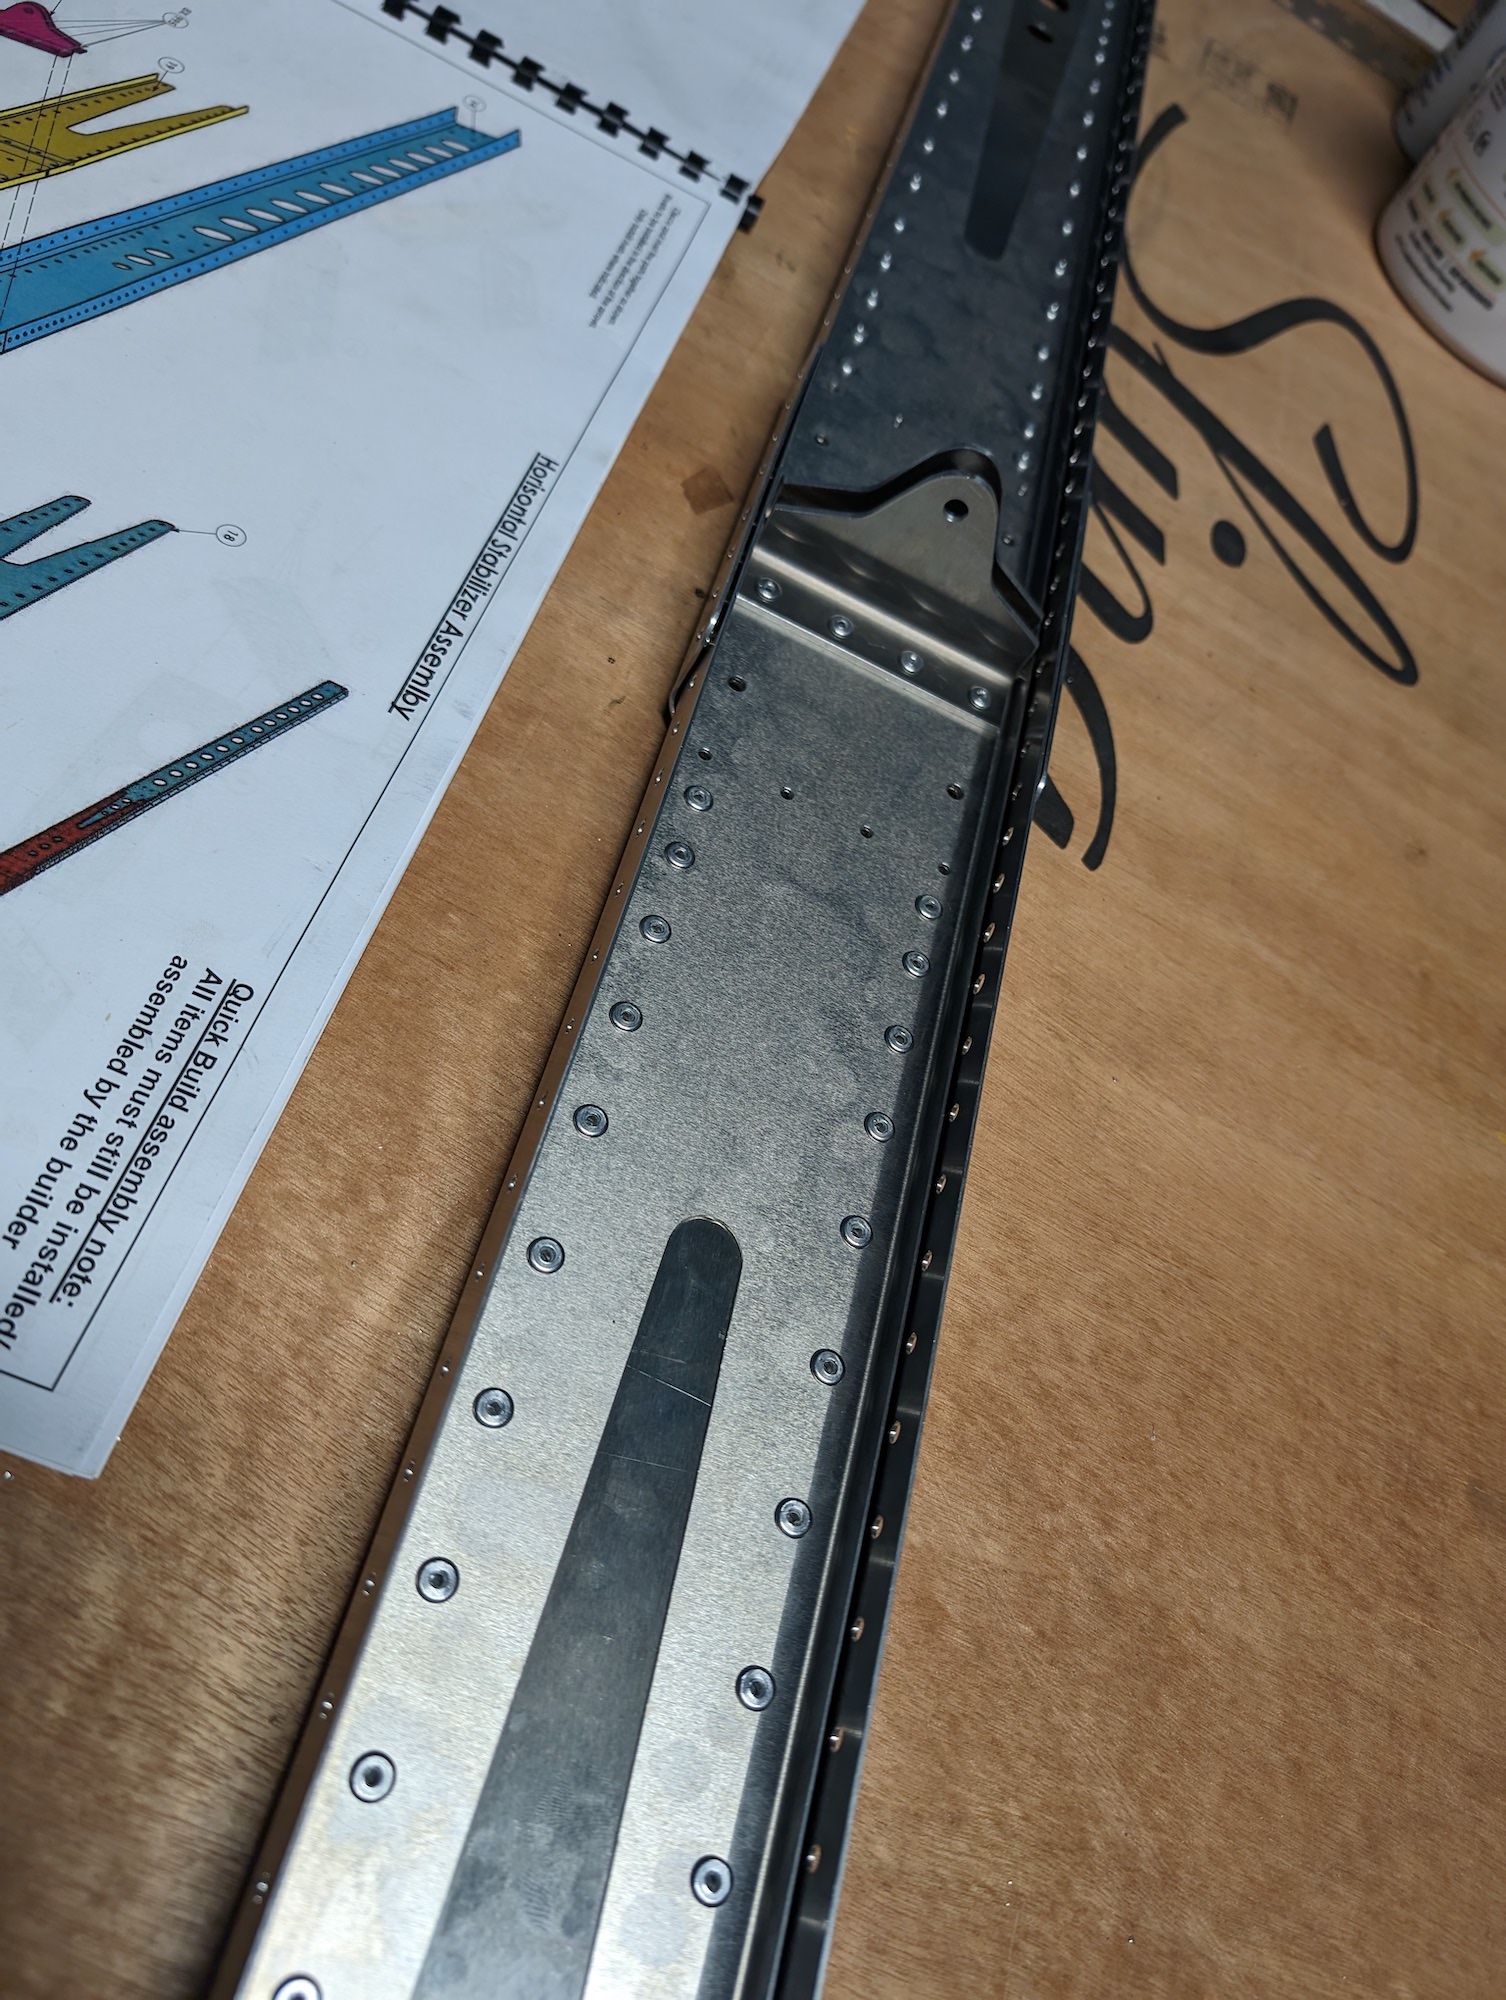 Rear spar assembled with rivets, (another view).
 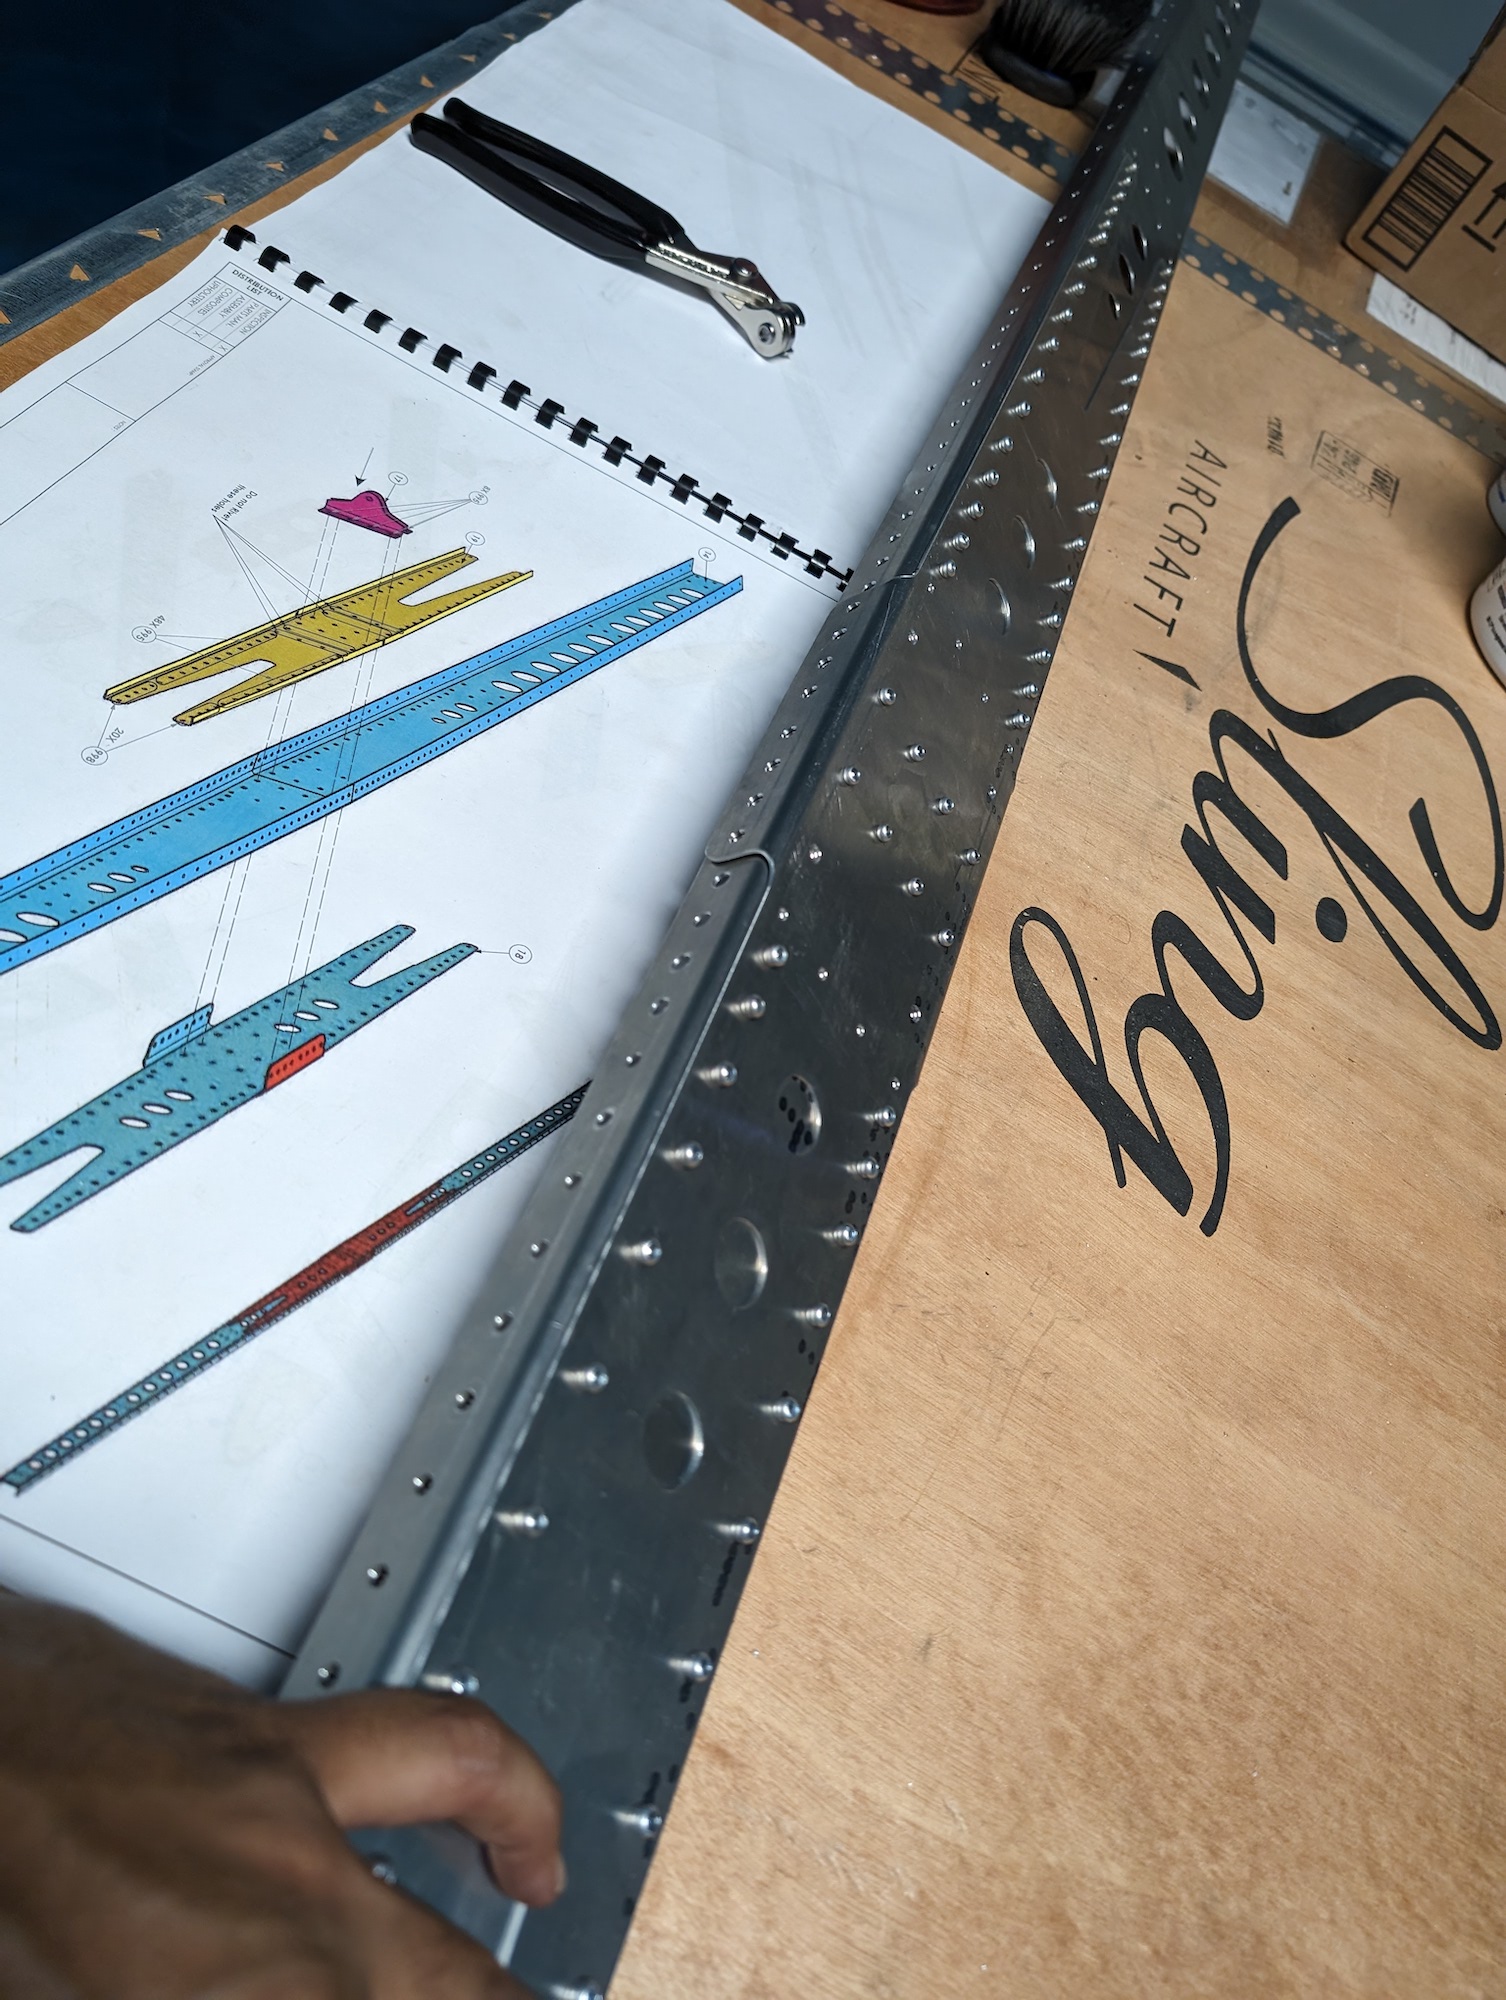 Rear spar assembled with rivets, (another view).
 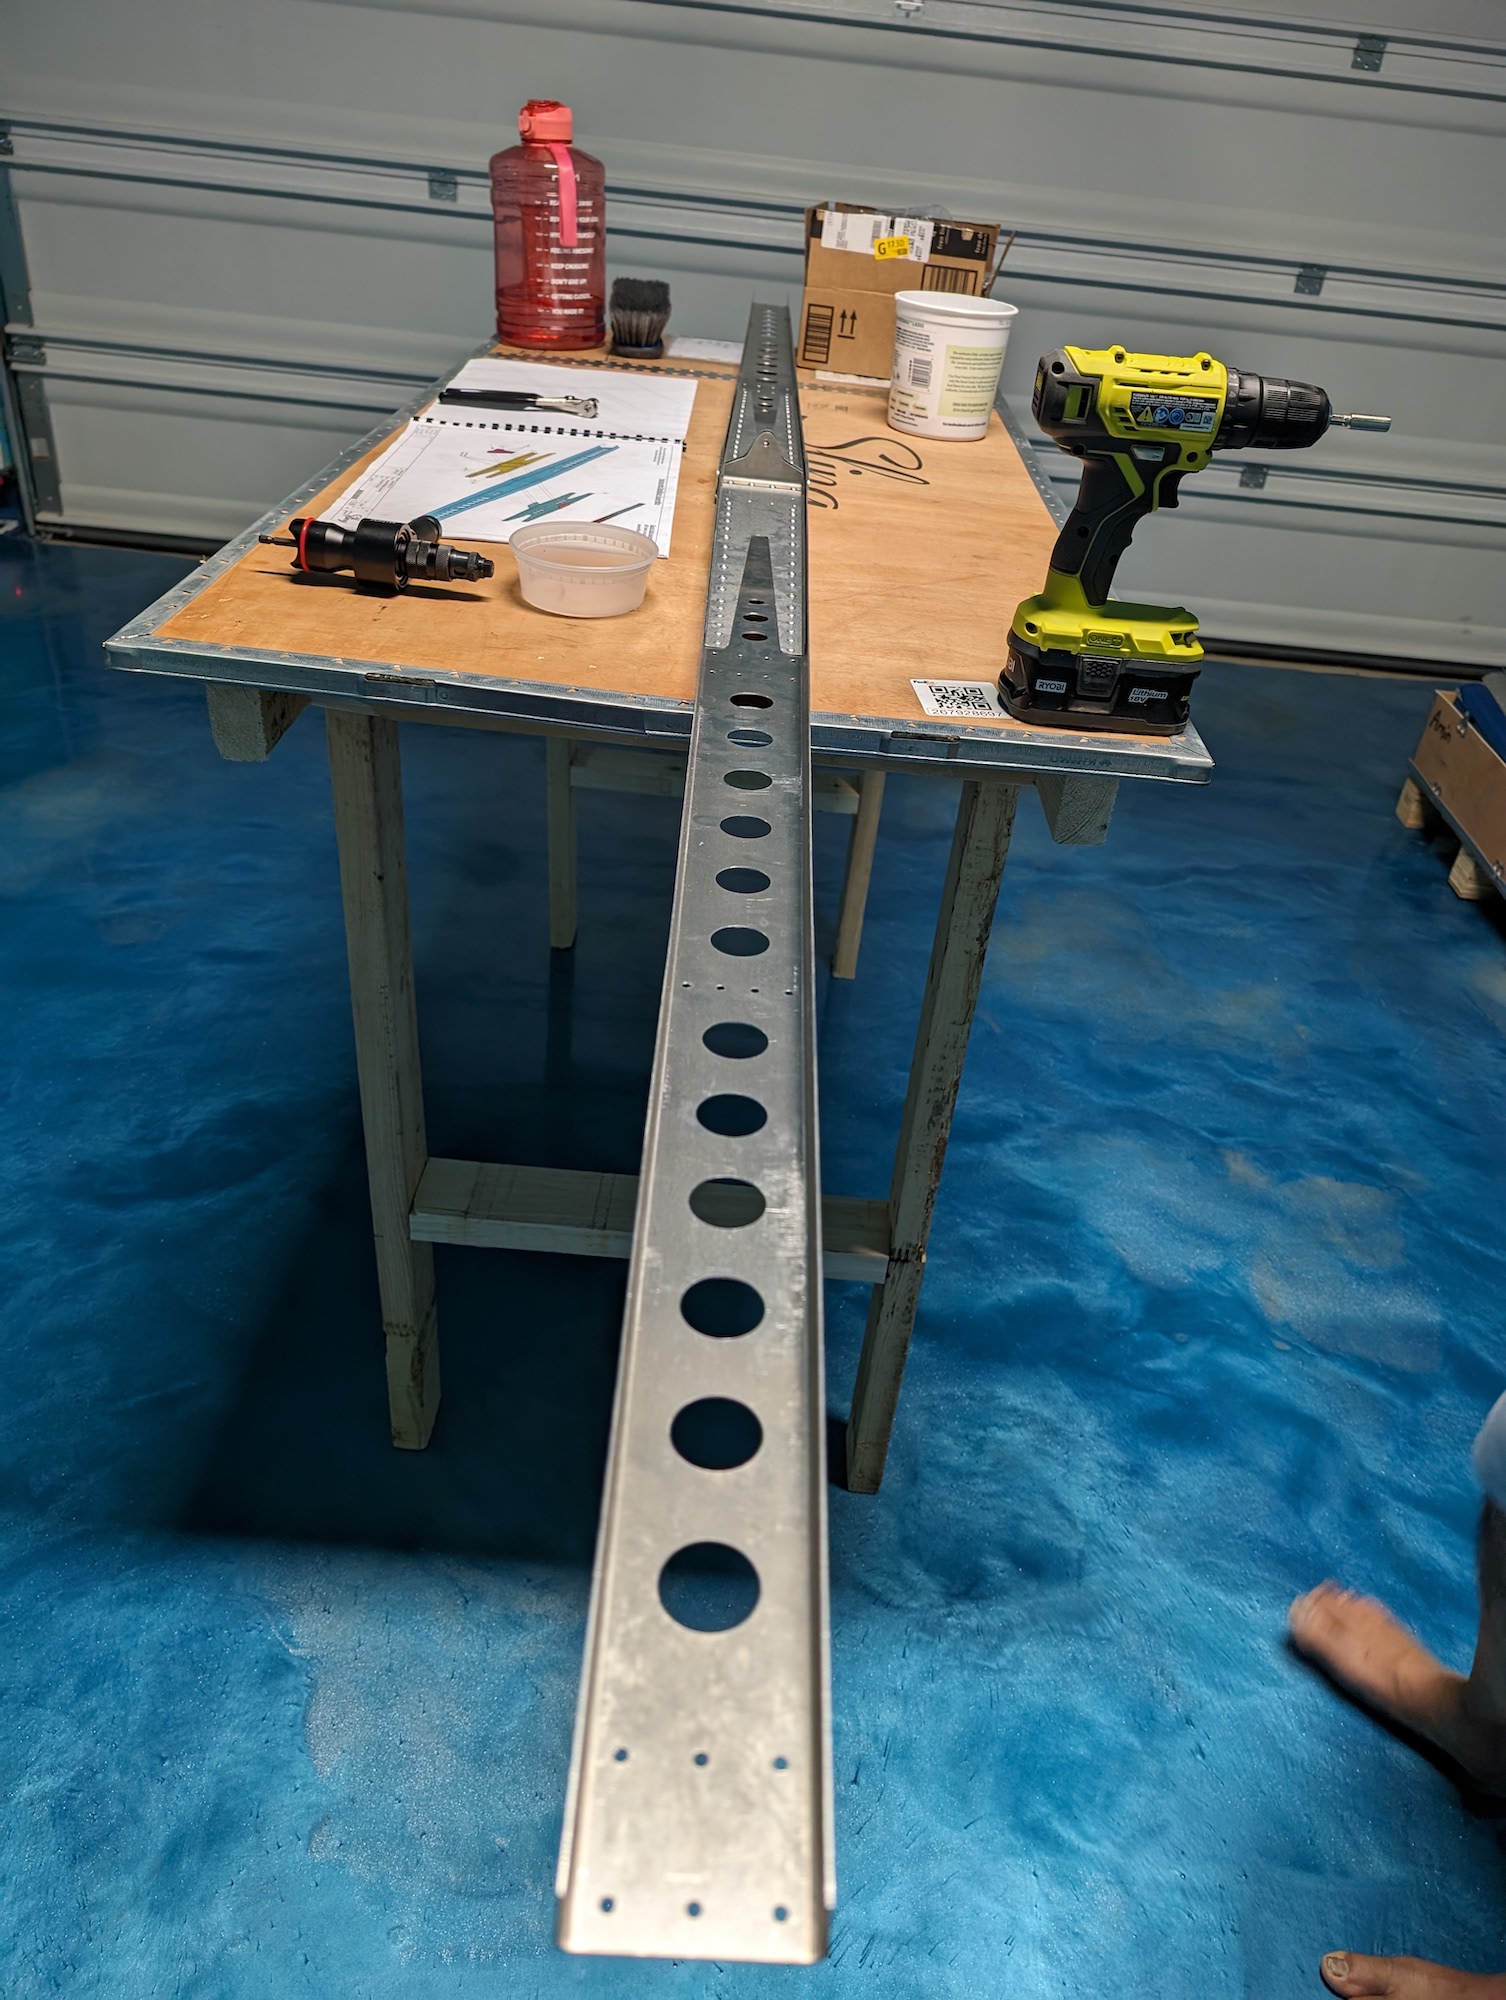 Rear spar assembled with rivets, (another view).
 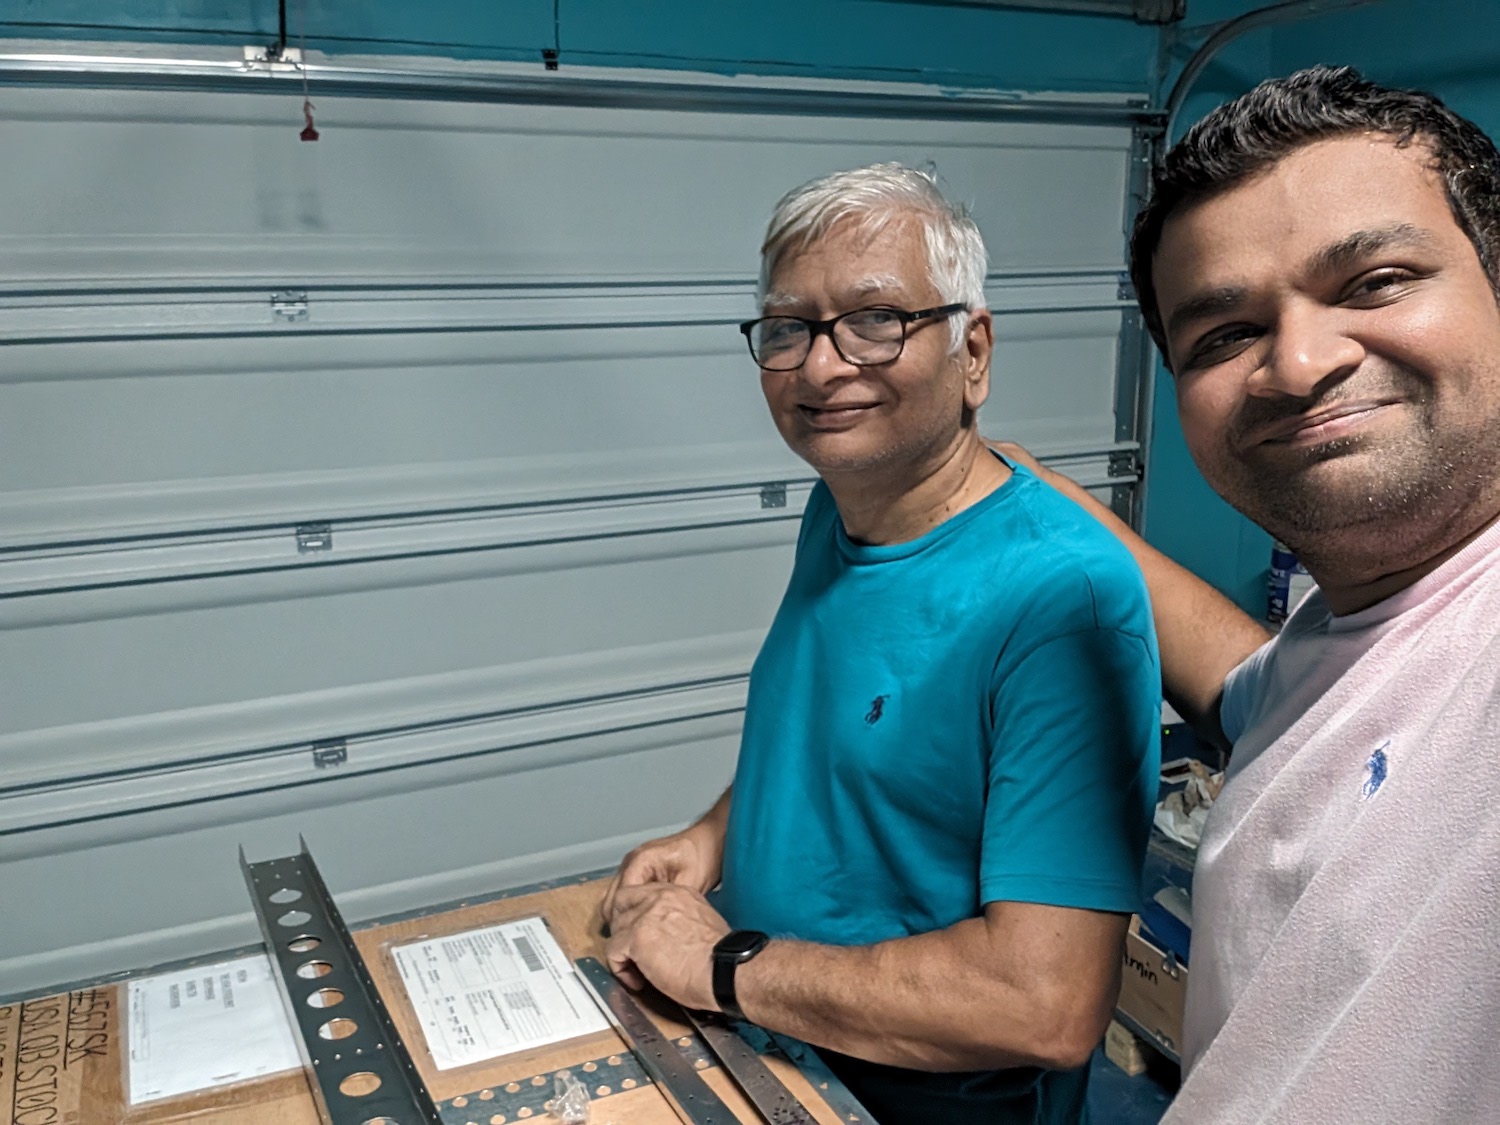 My parents were here over the weekend, and this was a great experience for my dad, love it!
Tools
Below are some of the tools we purchased so far as we are going through building the kit.
| Name | Description | Link |
|---|---|---|
| Countersinking Tool | Several holes need a countersink, it is critical that the depth and angle of the holes stay uniform throughout, so a tool with a stop is highly recommended. | https://www.amazon.com/Aircraft-Tool-Supply-Countersink-Cutter/dp/B005VR821G/ |
| Hole Deburring Tool | There will be some holes that need deburring, a 120 degree tool is recommended for aviation pulled rivets. | https://www.amazon.com/Aircraft-Tool-Supply-Dogleg-Deburring/dp/B005VRA7Z0/ |
| General Deburring Tool | Some edges will need deburring too, best way is to run your finger lightly and ensure it feels smooth to touch without any metal shavings. | https://www.amazon.com/AFA-Tooling-Deburring-Plumbing-Printing/dp/B0CP8F523N/ |
| Drill rivet attachment | We ended up using this drill attachment for pulling rivets, super reliable so far, might take a little more time than the pneumatic puller, but super cost-effective without needing additional equipment such as a compressor. | https://www.amazon.com/Beaspire-Cordless-Electric-Mandrels-Assorted/dp/B0C8SY1VQD/ |
| Rivet hand puller | There are some places where it is hard for a machine tool to reach for pulling rivets, for that we used this tool. | https://www.amazon.com/Riveter-Interchangeable-Durable-Automotive-Plastic/dp/B08NWXBCX5/ |
| Metric drill bit set | Using the metric drill bit set, specifically designed for metal is a great value add, especially for widening the dimpled holes, and a few holes that do not perfectly line up. | Harbor Freight |
Clecos
This deserves its own sub-section, it is super useful tool in the industry in general, for a kit build, you will go through a lot of them, they are critical in holding the parts together while riveting. It goes without saying, but be sure to use some cleco pliers with them.
| Size | Color | Qty |
|---|---|---|
| 3/32 | Zinc | 20+ |
| 1/8 | Copper | 300+ |
| 5/32 | Black | 100+ |
| 3/16 | Brass | 20+ |