Rear Fuselage Floor
Rear fuselage floor was assembled and is ready for next step.
Rear Fuselage Floor
Assembling the rear fuselage floor was pretty straightforward. It required riveting the large bottom skin section as well as pulling some rivnuts for the inspection hatches below the rear fuselage.
Assembly Photos
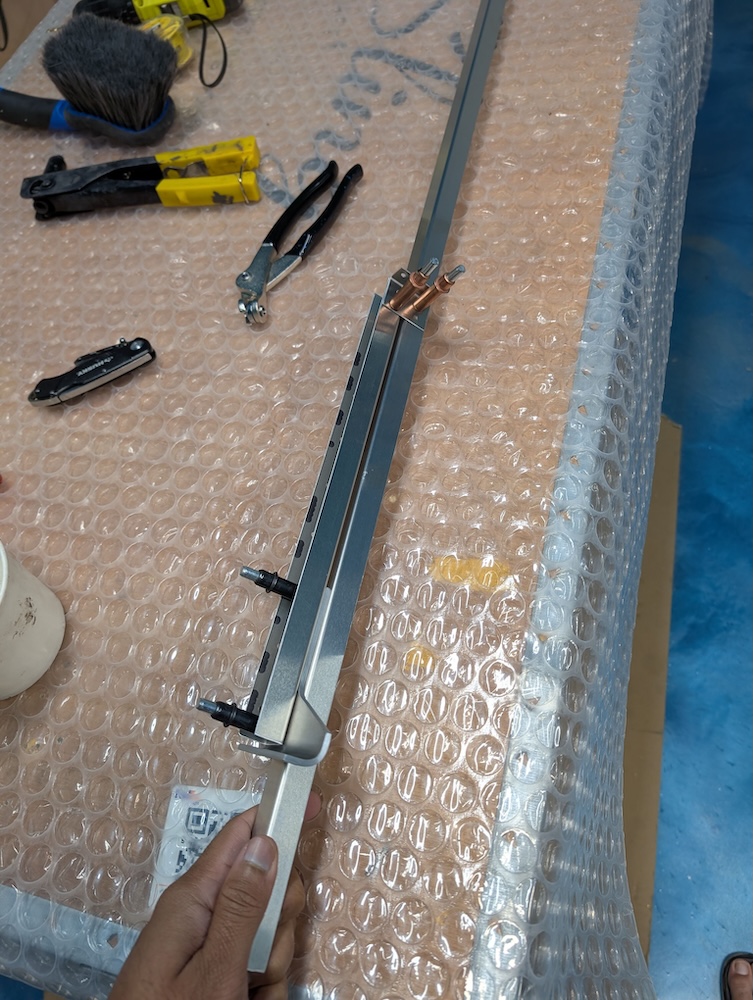 Tail hook longeron clecoed.
 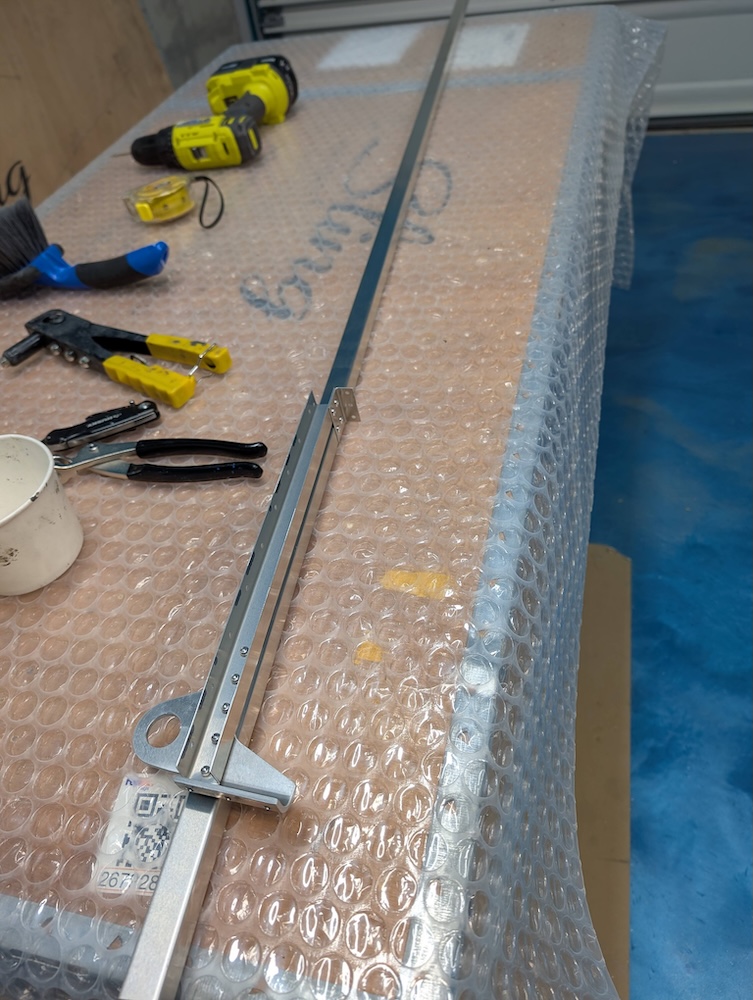 Tail hook longeron assembled.
 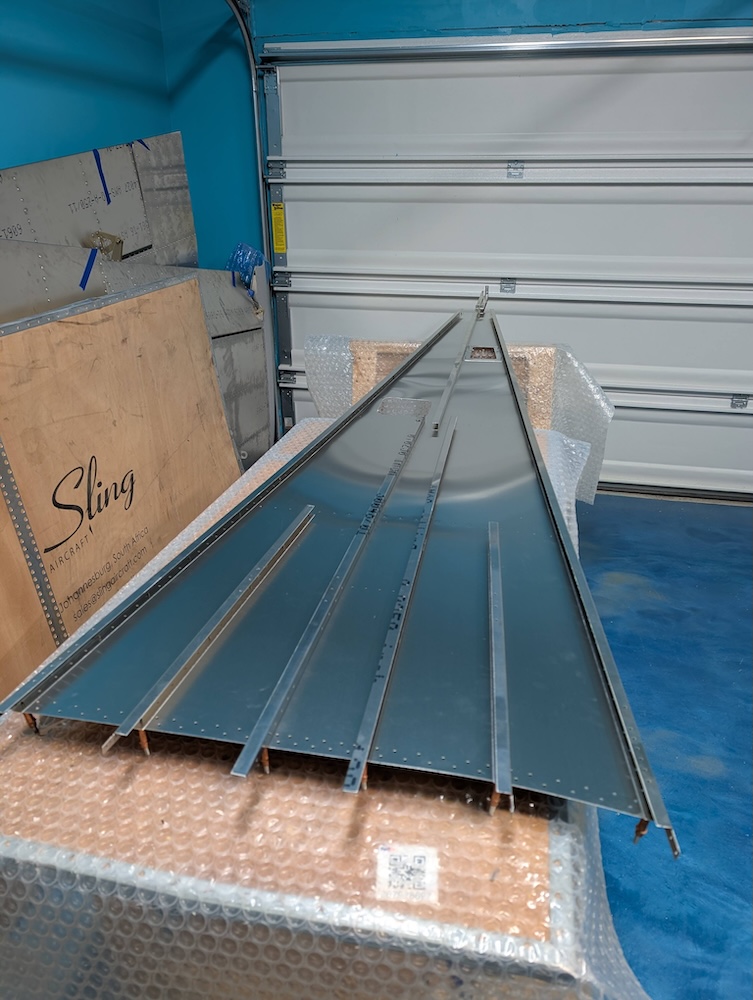 Rear floor skin clecoed.
 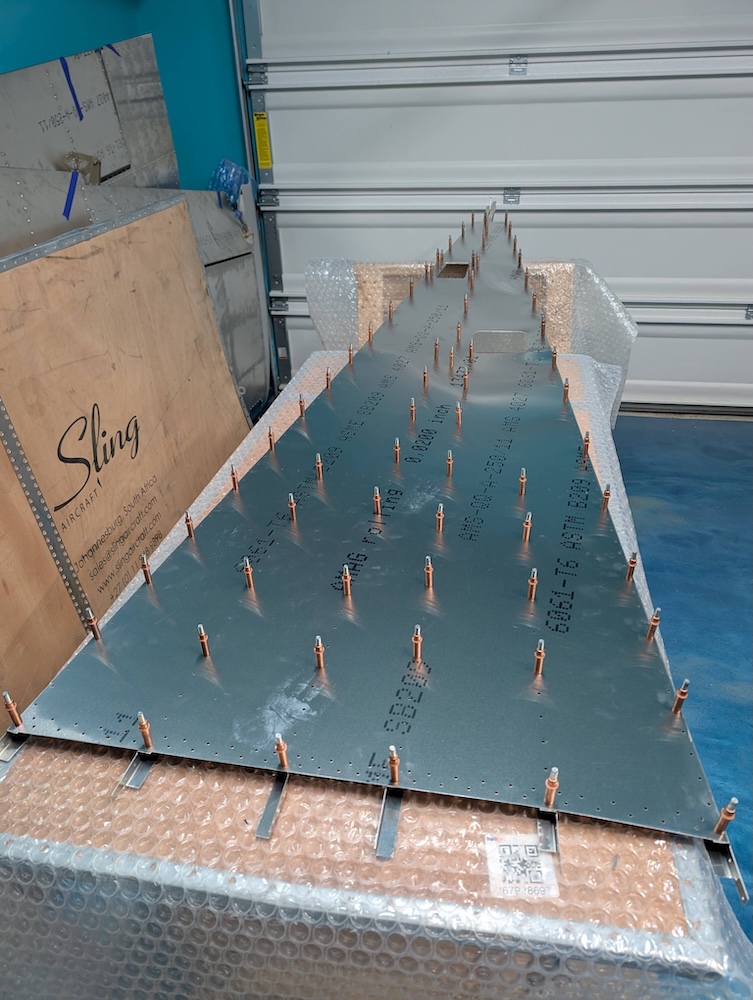 Rear floor skin clecoed.
 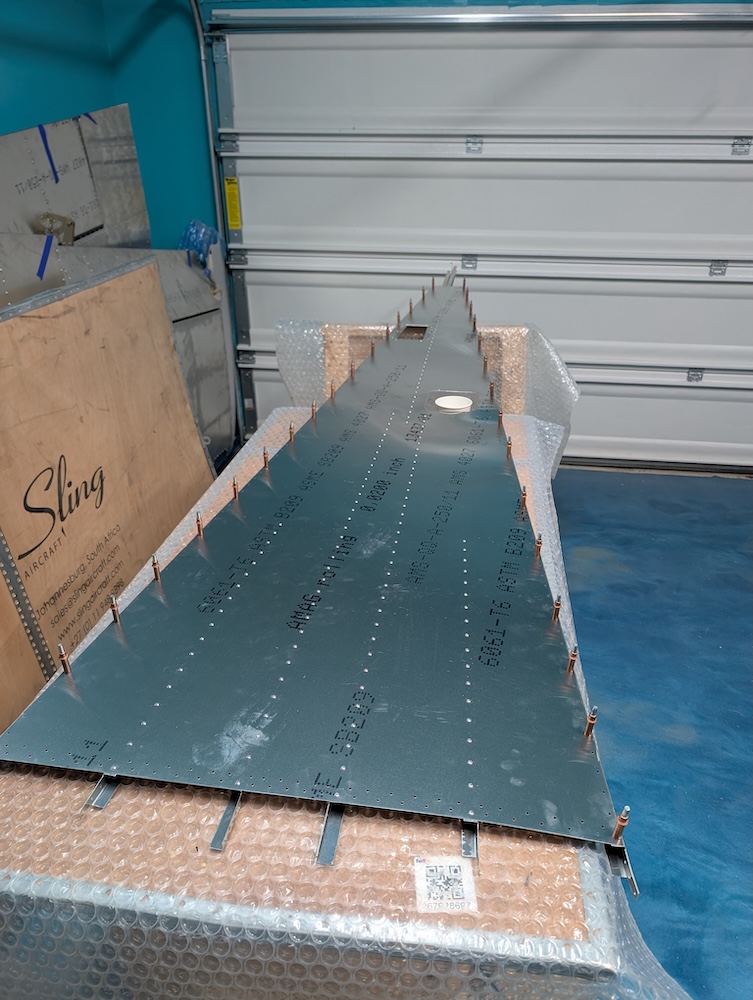 Rear floor skin riveted.
 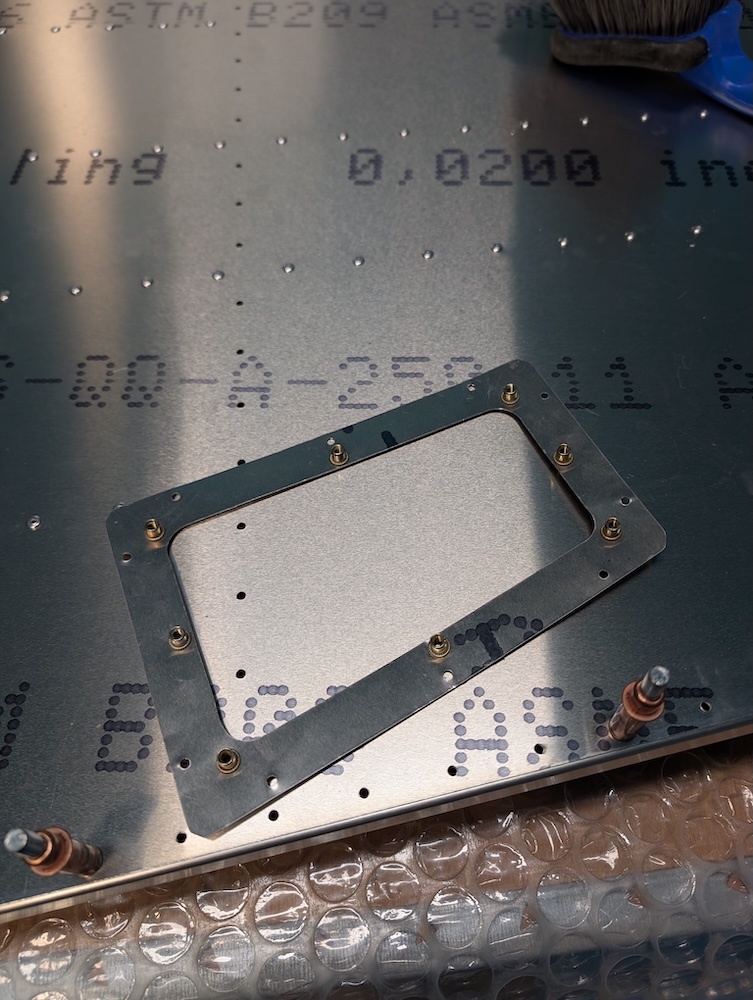 Inspection hatch frame rivnuts installed.
 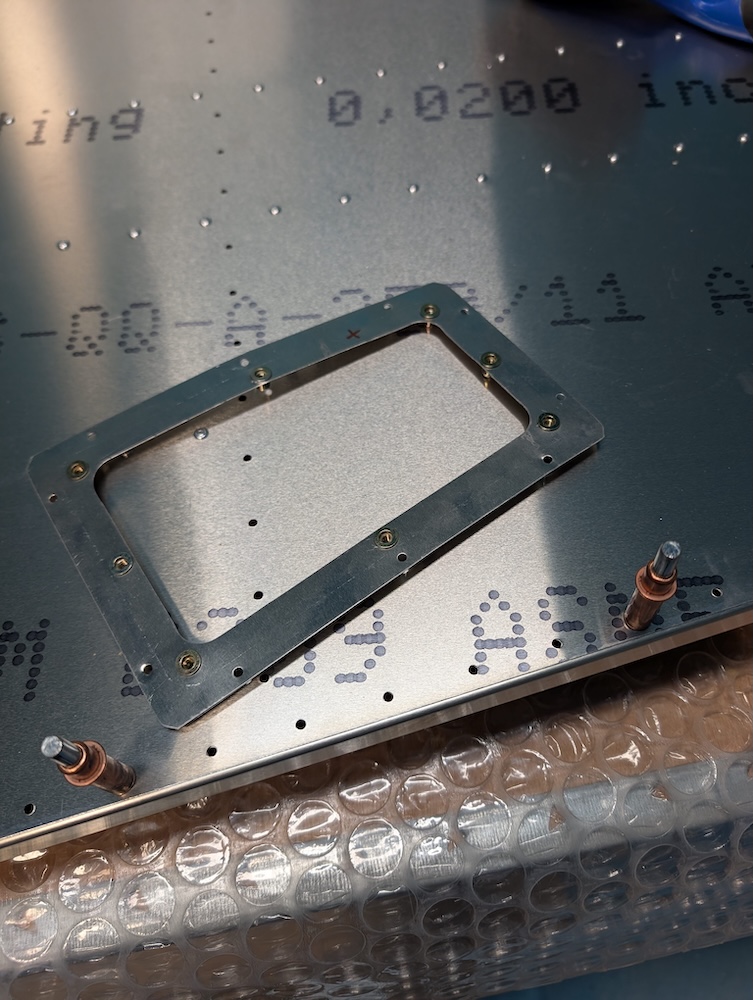 Inspection hatch frame rivnuts installed.
  Inspection hatch frame riveted to the skin.
 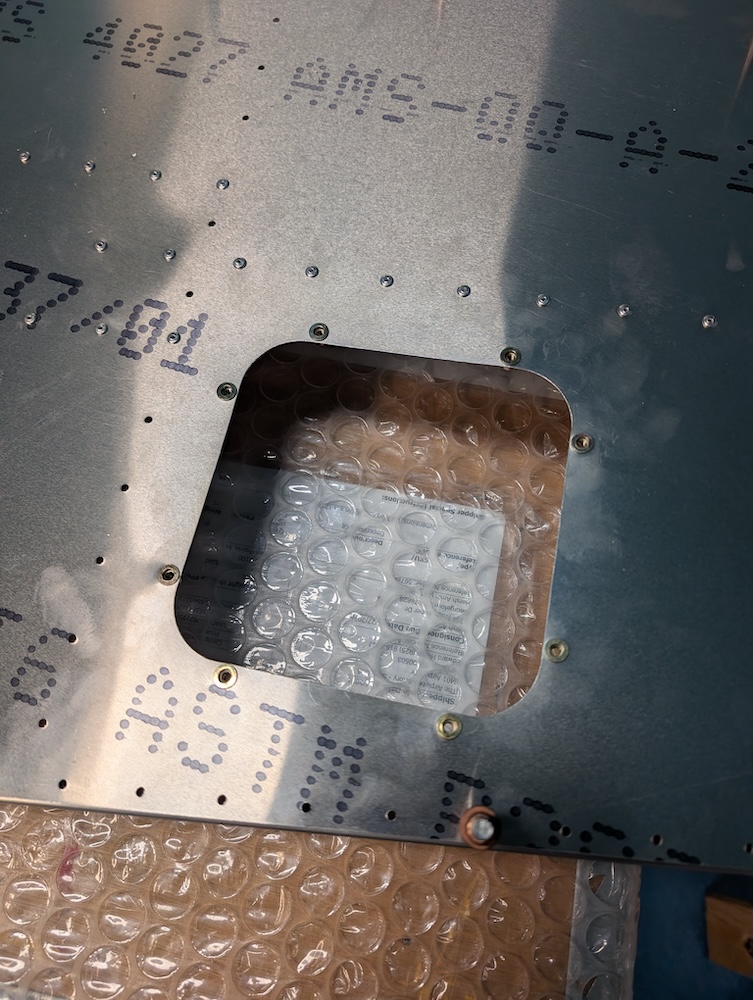 Inspection hatch rivnuts installed on the skin.
 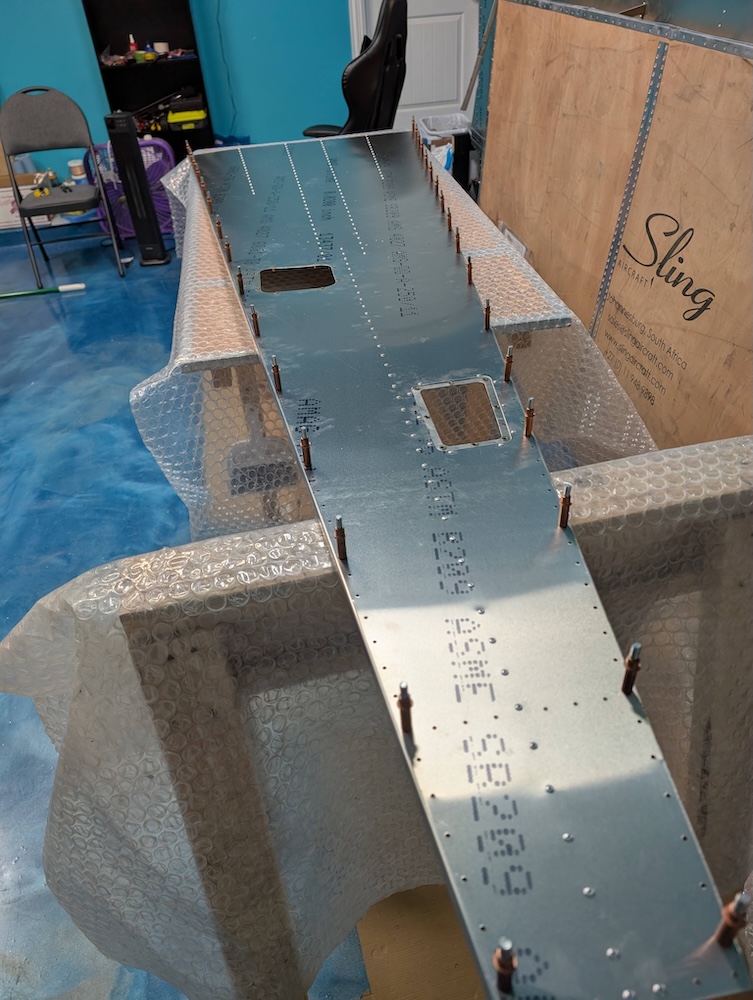 Rear floor assembled.
This post is licensed under CC BY 4.0 by the author.