Rear Fuselage Rib Assembly 1
Rear fuselage rib assembly 1 was completed.
We started assembling the fuselage, starting with the rear fuselage, as per the instructions. This post talks about rib assembly 1 in the rear fuselage.
Rib 9
Rib 9 was straightforward, only thing which required some tricky efforts was adding nut plates where the vertical and the horizontal plates meet. Additionally, extra hole had to be drilled to account for the 180 degree nut plates provided, the holes were originally made for 90 degree nut plates. 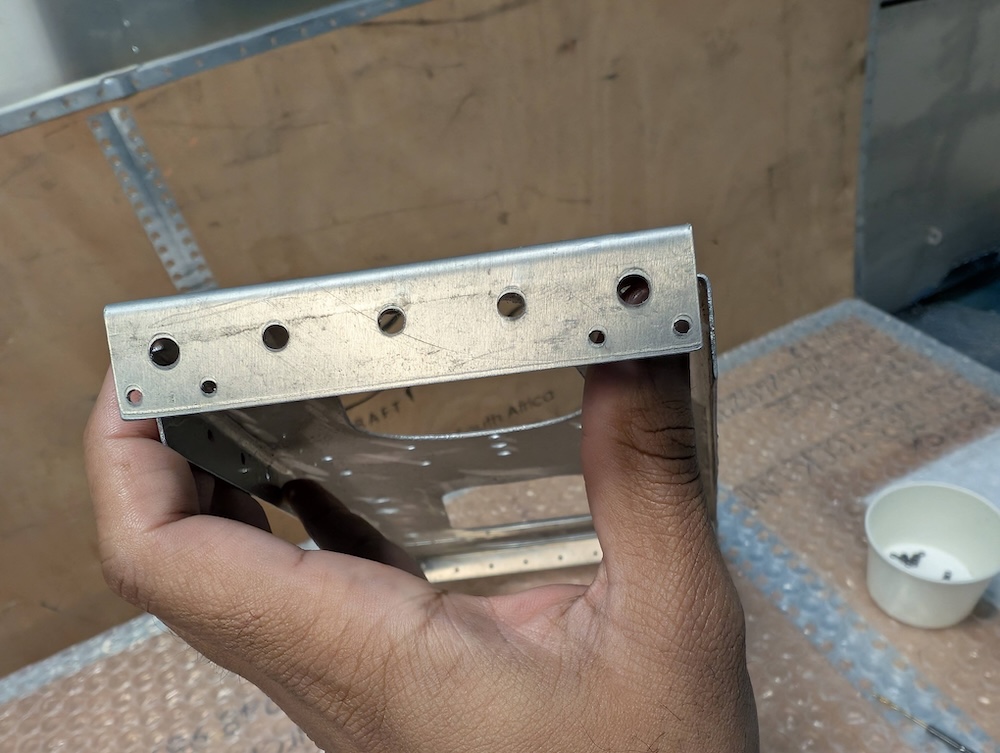 Original holes for 90 degree nut plates.
 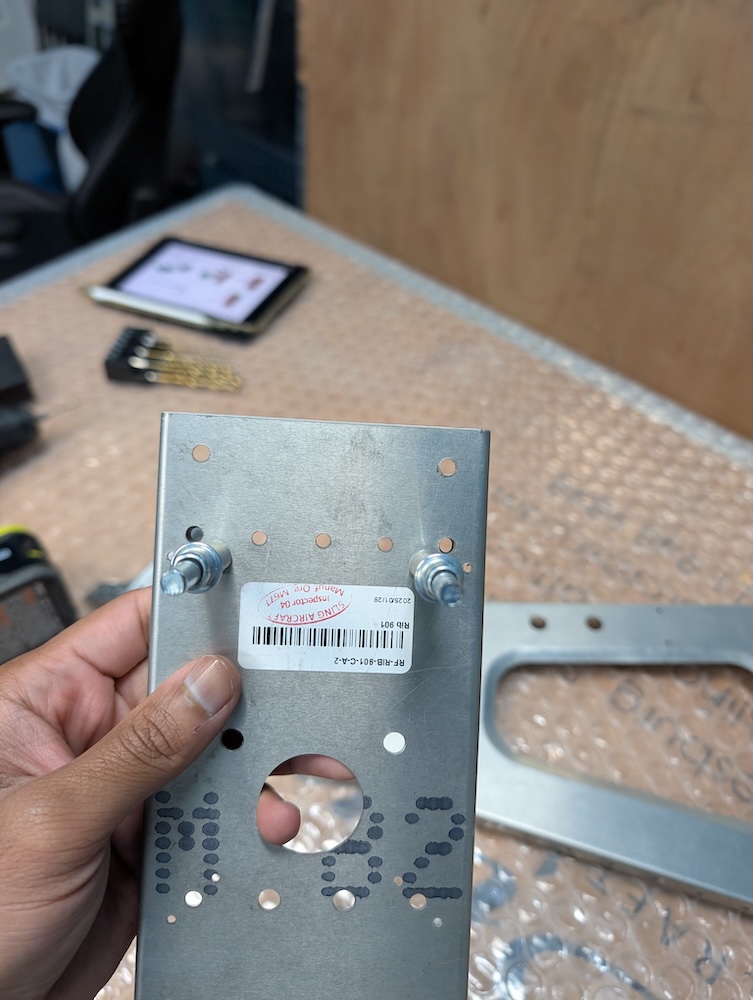 Original holes for 90 degree nut plates.
 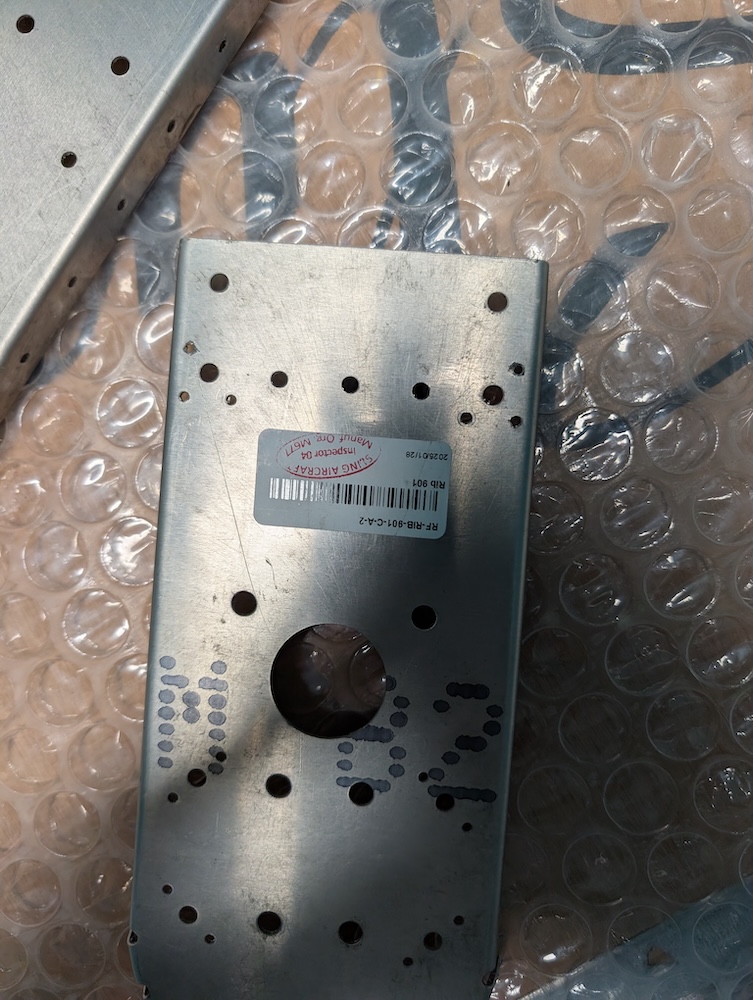 Extra holes drilled for the provided 180 degree nut plates.
 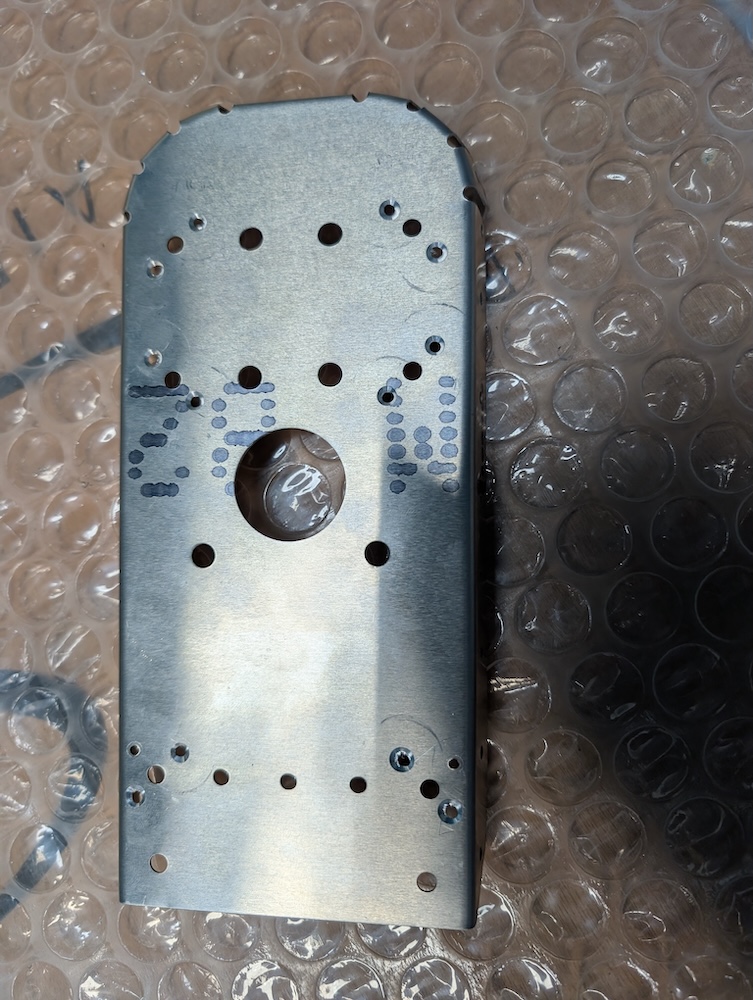 Nut plate rivet holes countersunk.
 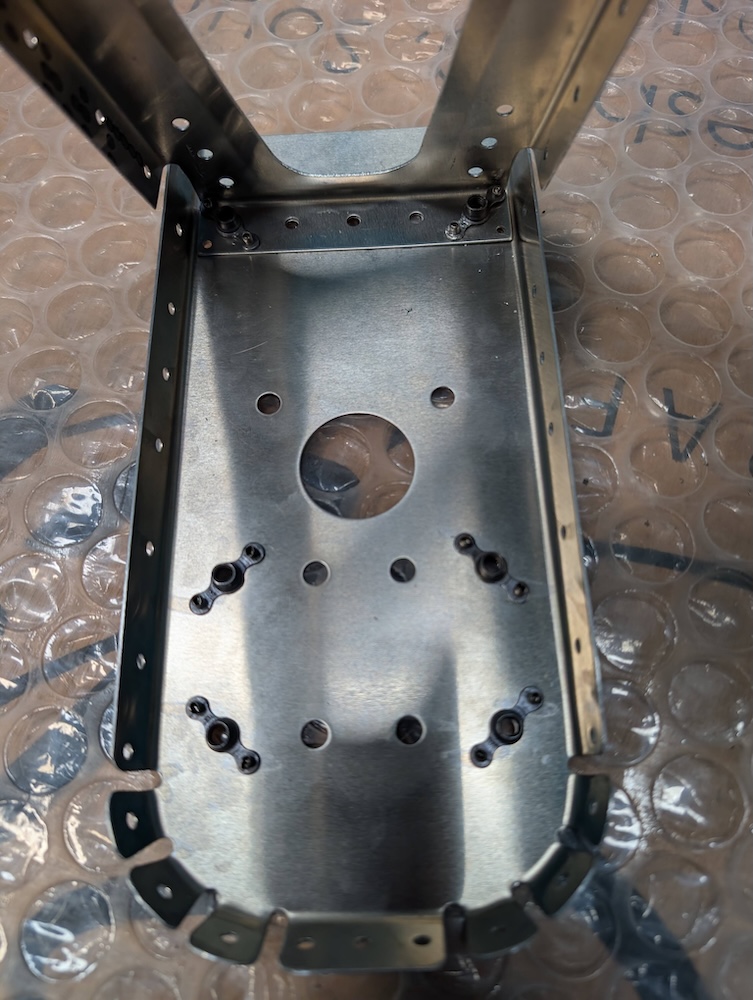 Nut plates riveted.
  Rib 9 assembly riveted.
 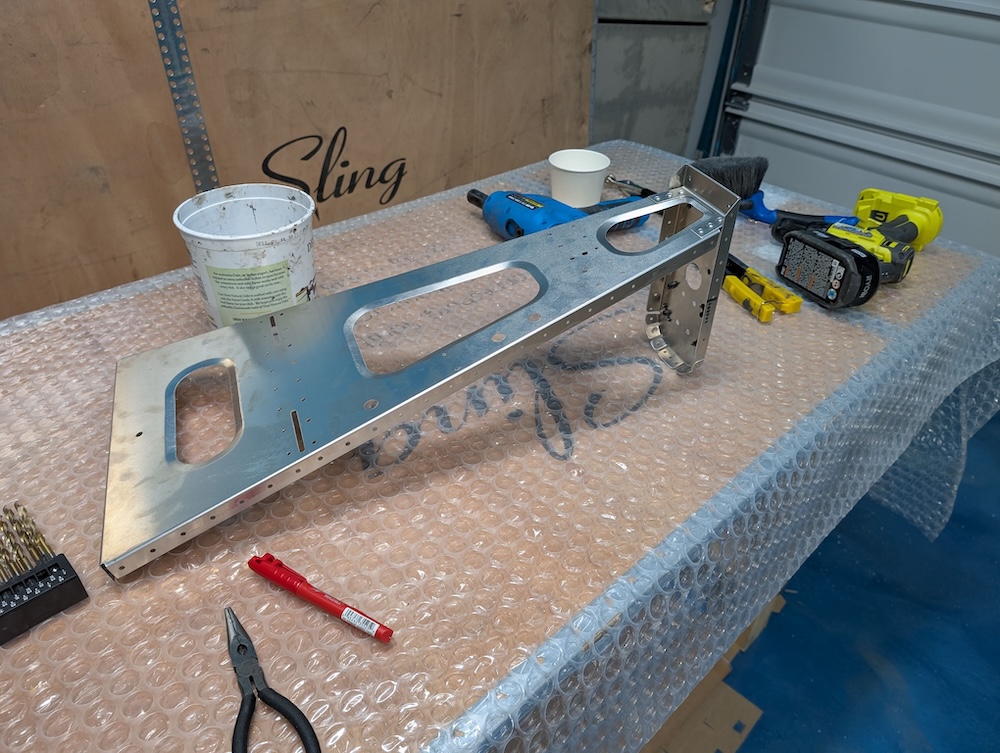 Rib 9 assembly riveted.
Rib 8
Rib 8 was straightforward to assemble, it was mostly using clecos and rivets. 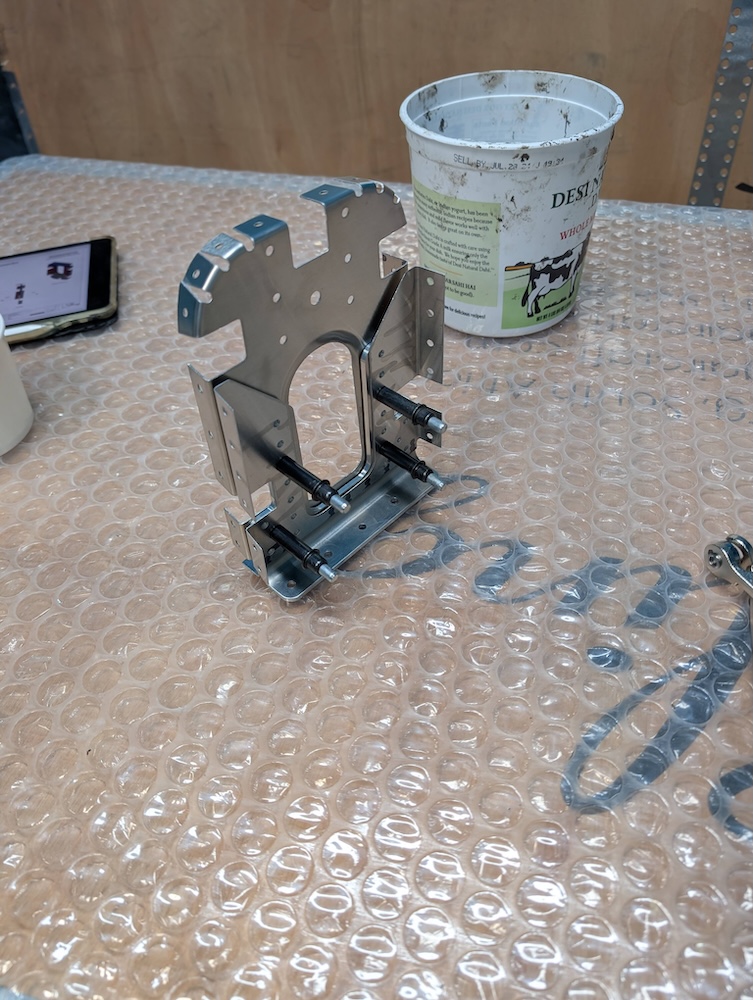 Rib 8 assembly clecoed.
 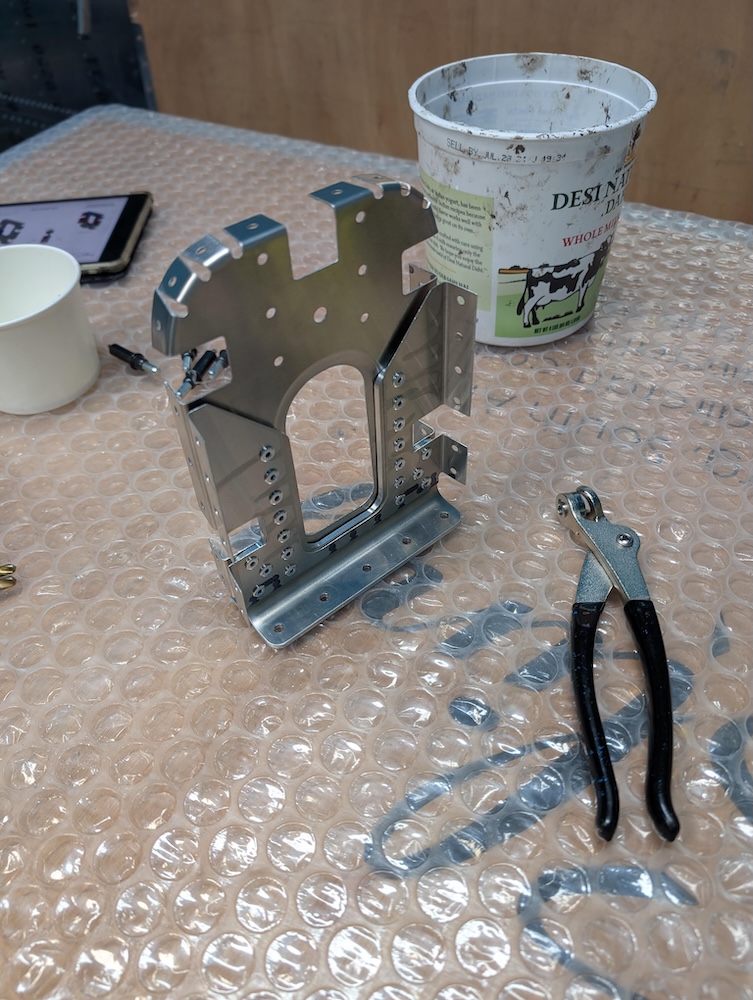 Rib 8 assembly riveted.
 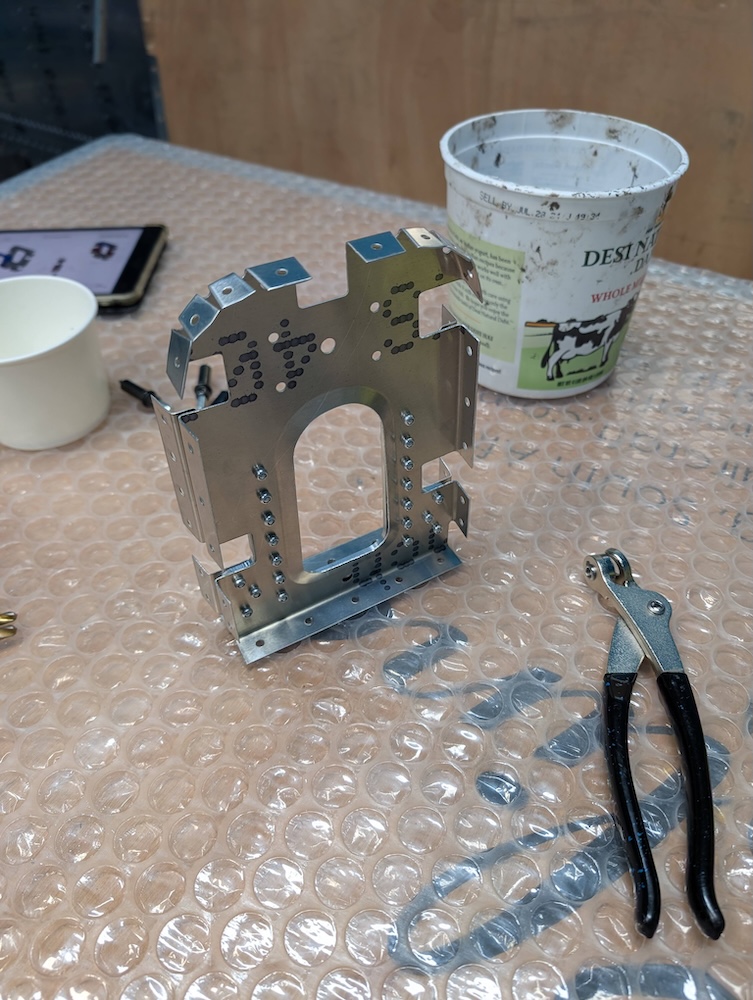 Rib 8 assembly riveted.
Rib 7
Rib 7 was straightforward to assemble, it was mostly using clecos and rivets. 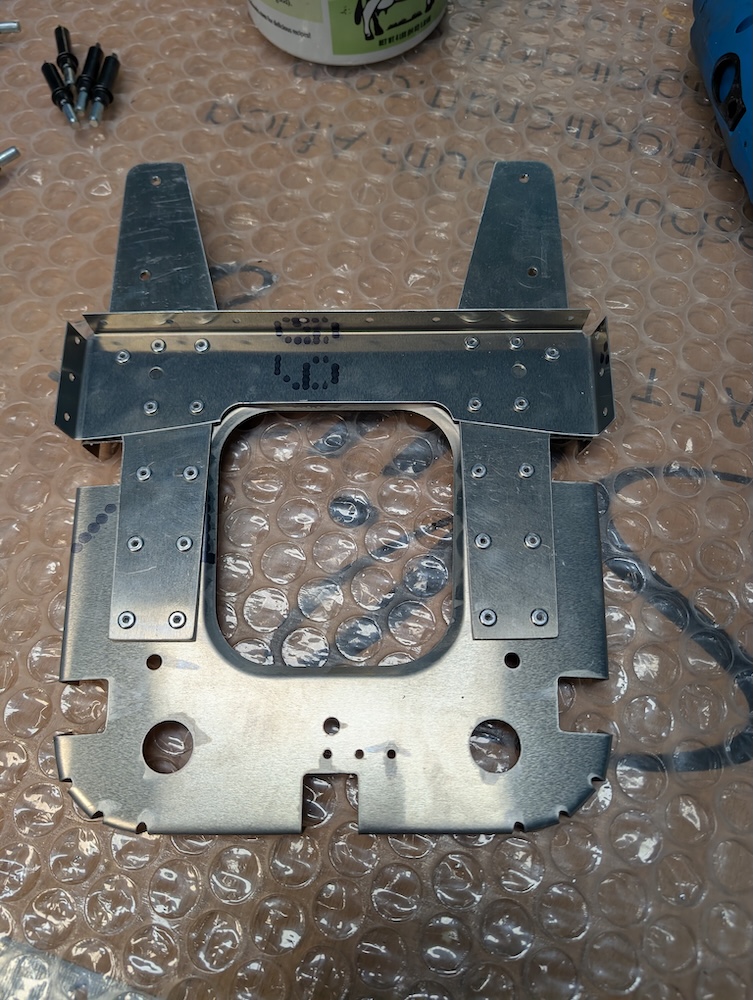 Rib 7 assembly riveted.
 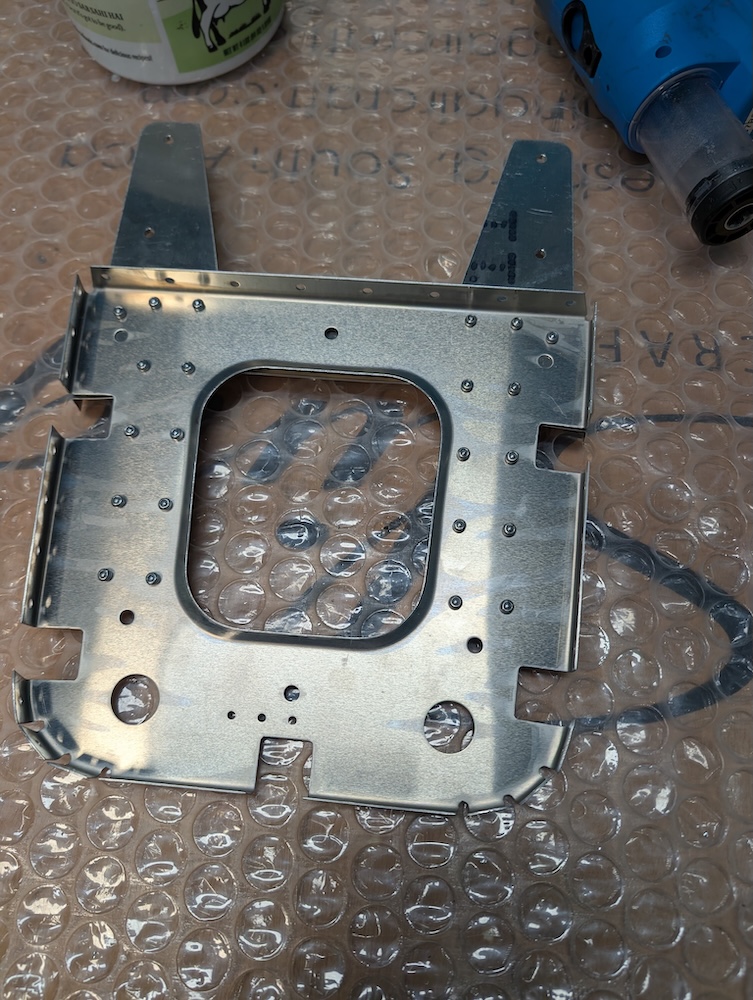 Rib 7 assembly riveted.
Rib 6
Rib 6 was straightforward to assemble, it was mostly using clecos and rivets. 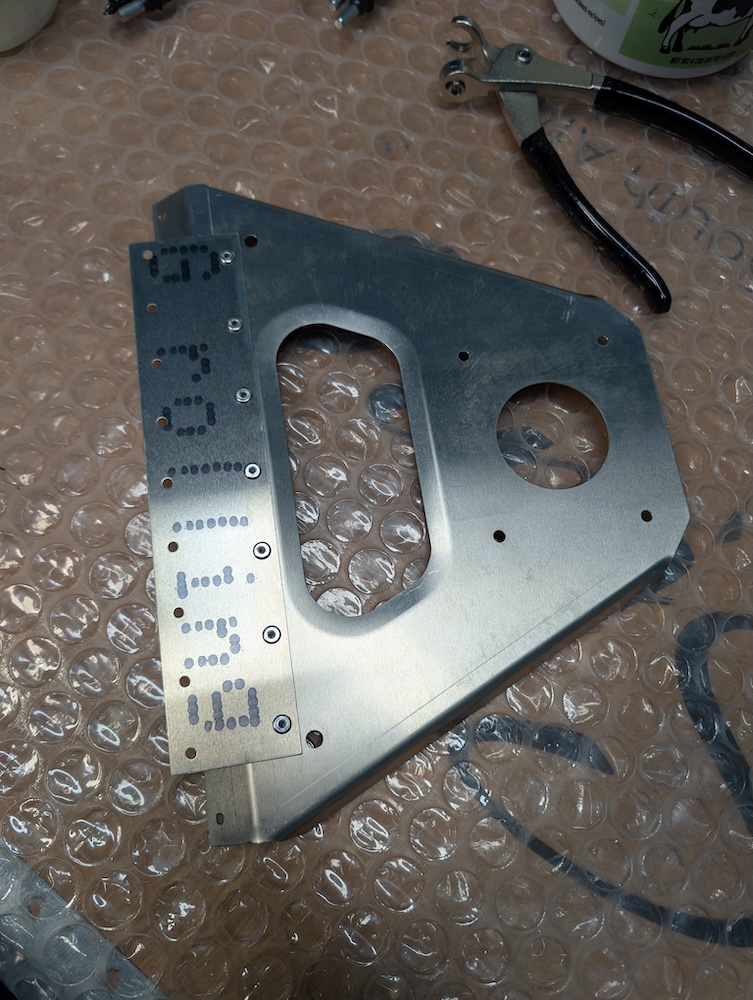 Rib 6 sub-assembly riveted.
 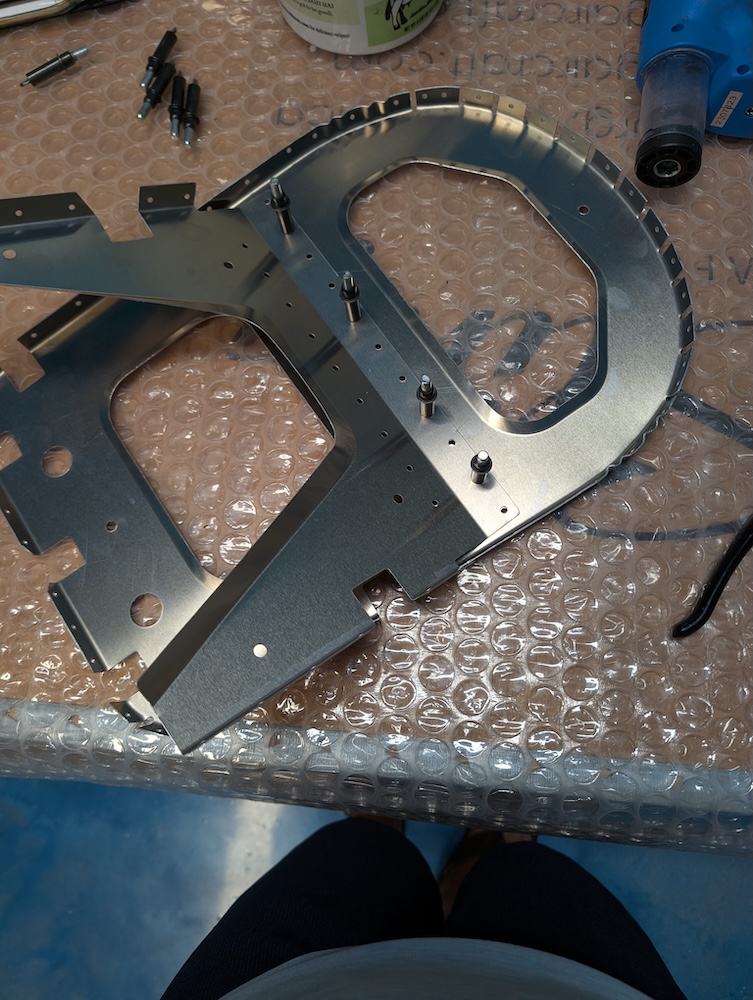 Rib 6 sub-assembly clecoed.
 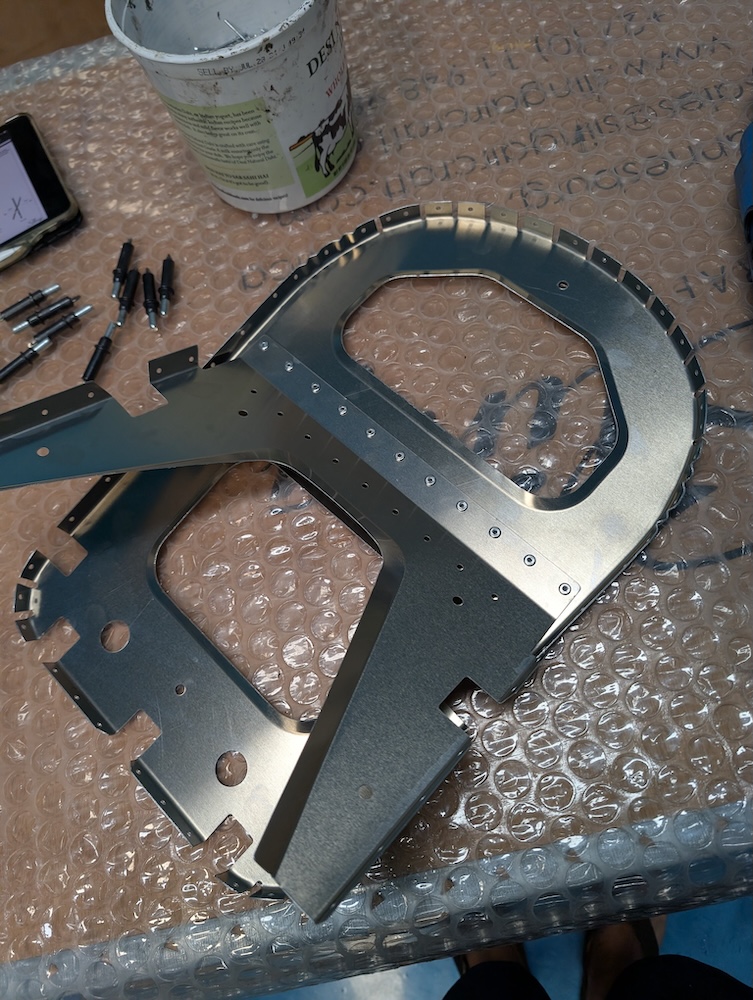 Rib 6 sub-assembly riveted.
 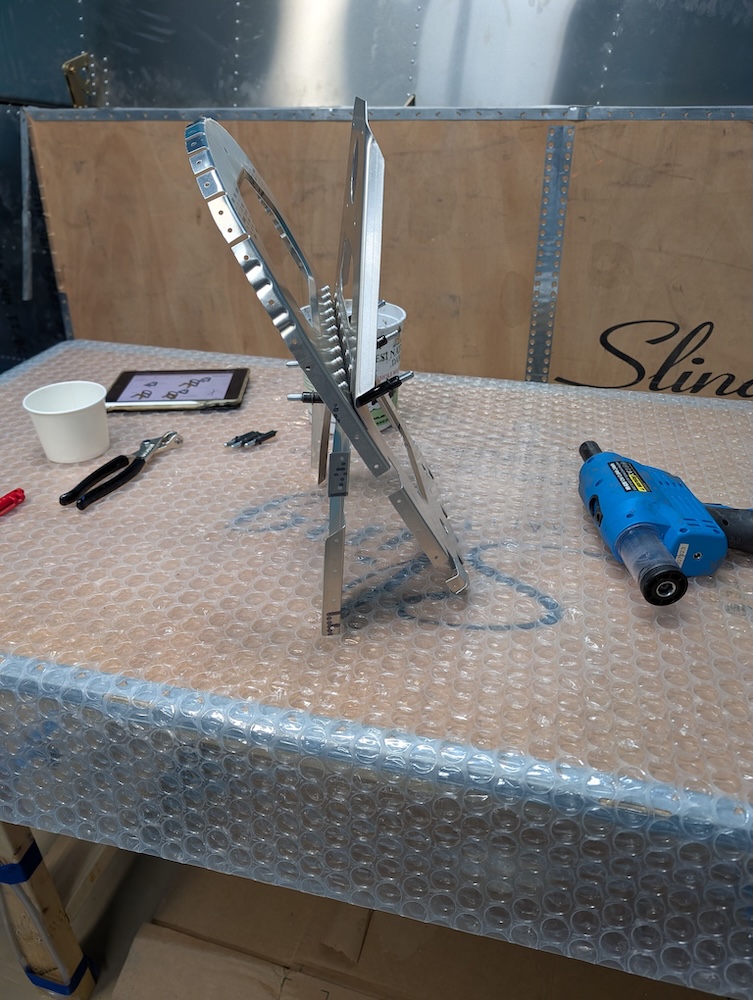 Rib 6 assembly clecoed.
 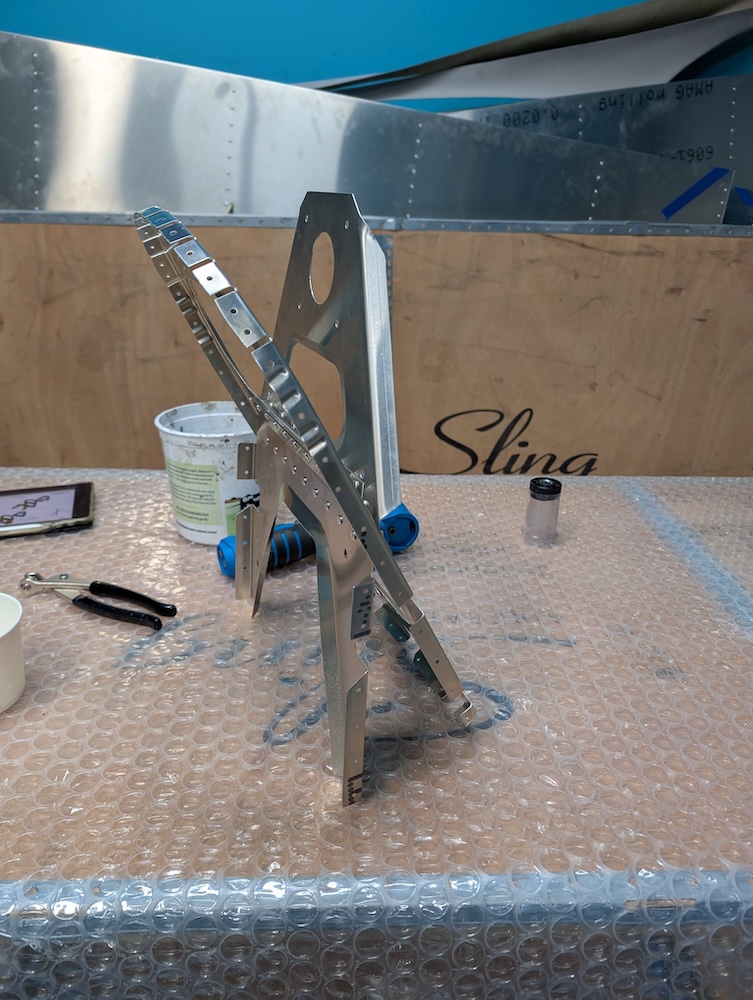 Rib 6 assembly riveted.
Final Assembly
Final assembly of the Rear rib assembly 1 required riveting all the previous sub-assemblies listed here, which was pretty straightforward. One rib required adding 2 bolts with the correct torque settings. 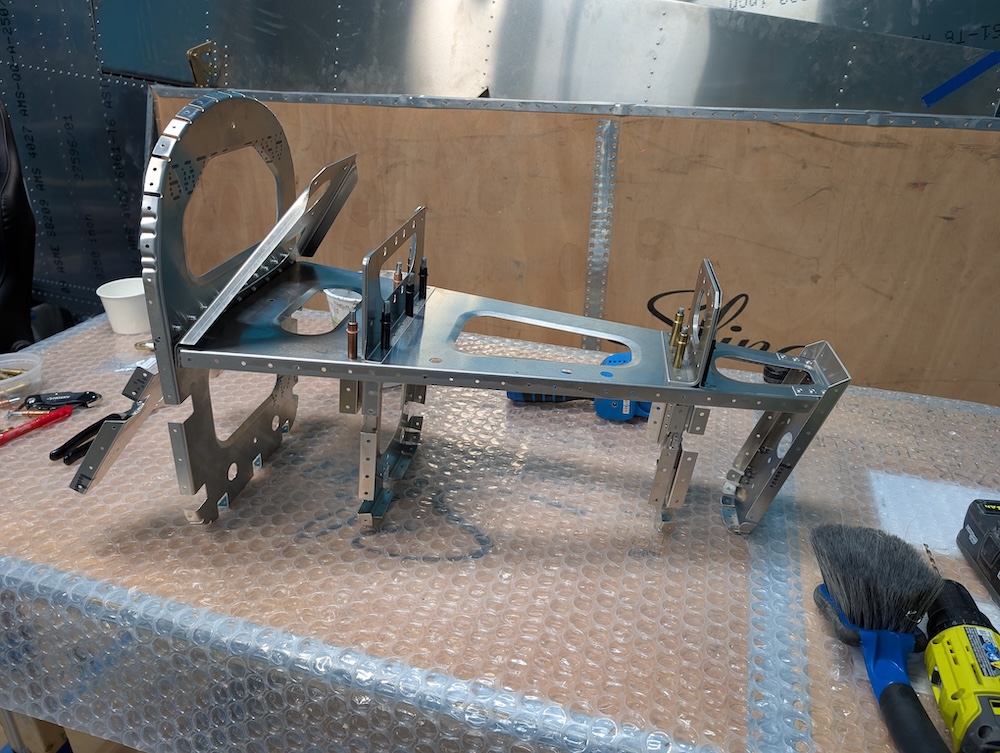 Final assembly clecoed.
 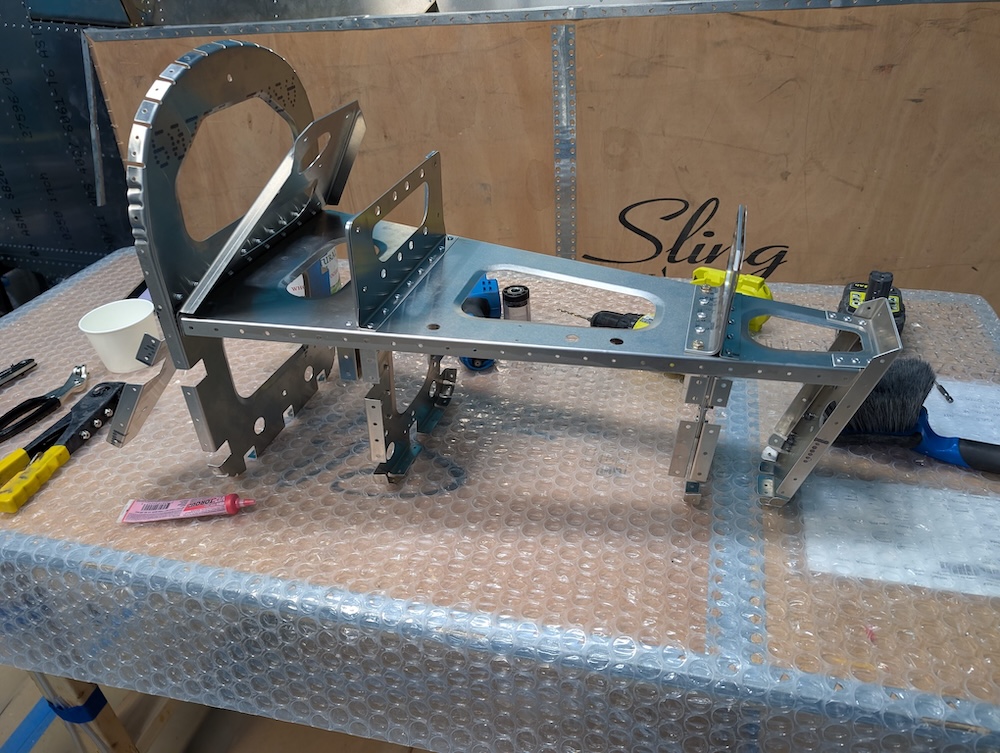 Final assembly riveted and bolted.
 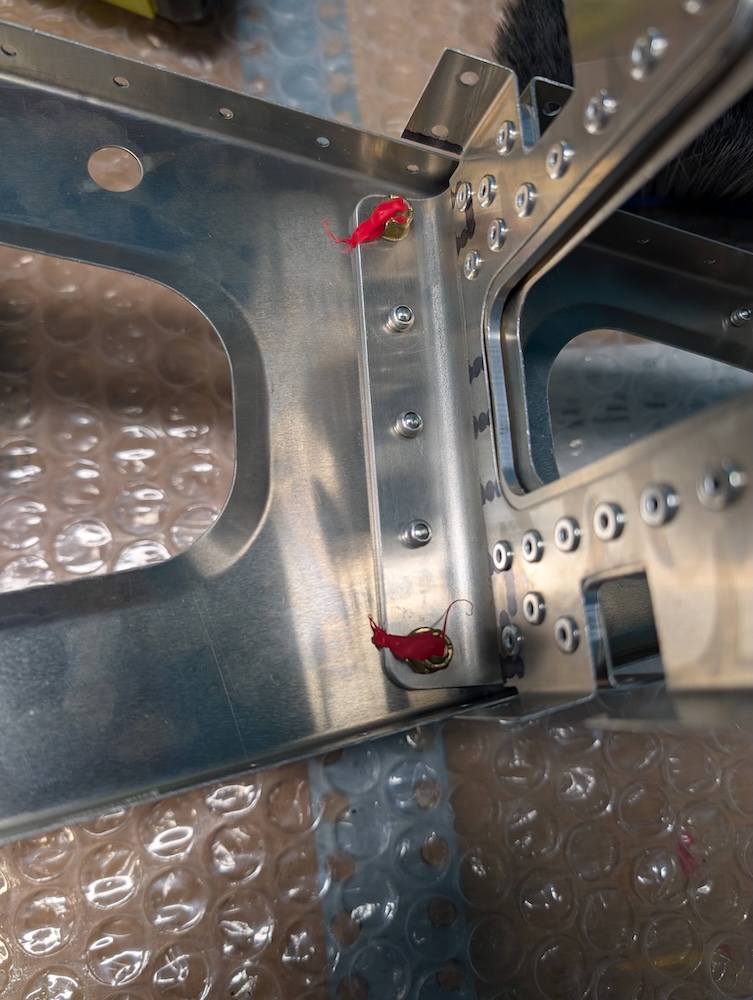 Torque seal for the 2 required bolts.