Right Fuel Tank Assembly
Right fuel tank has been assembled, riveted, and sealed.
We assembled, riveted, and sealed the right wing fuel tank. It was a very long process, and a small test was done in between as well, with some water. The tank will be curing for about a week before doing a pressure test. Also, before riveting the tank, it was temporary clecoed on to the wing in order to clear drill the holes.
Photos
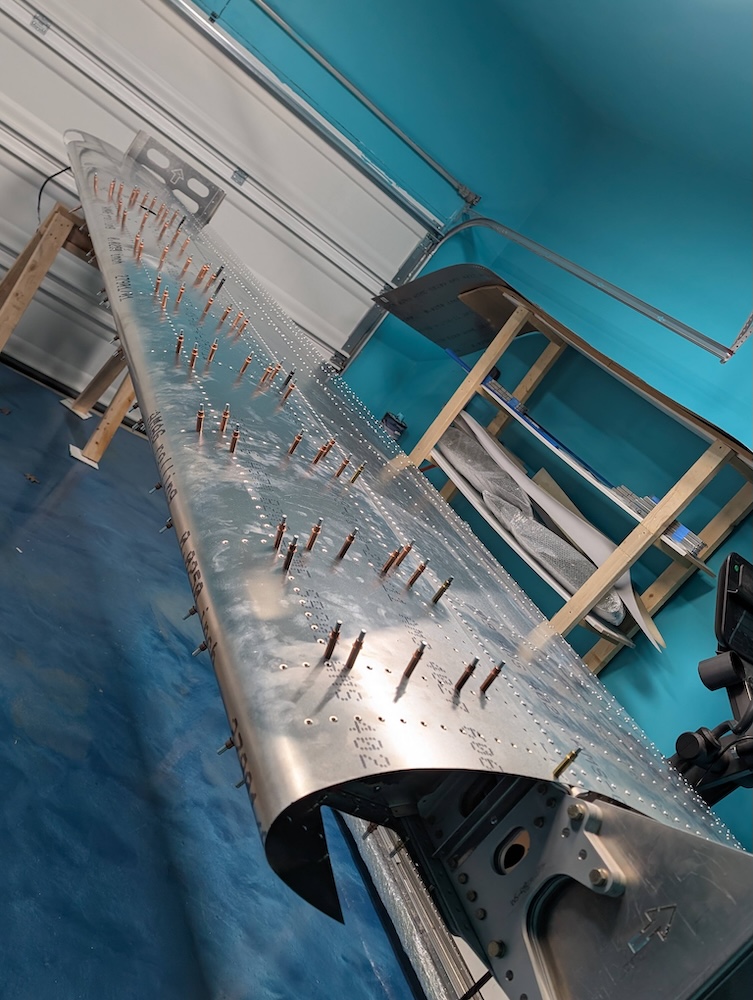 Mounting assembly on the wing to clear drill.
 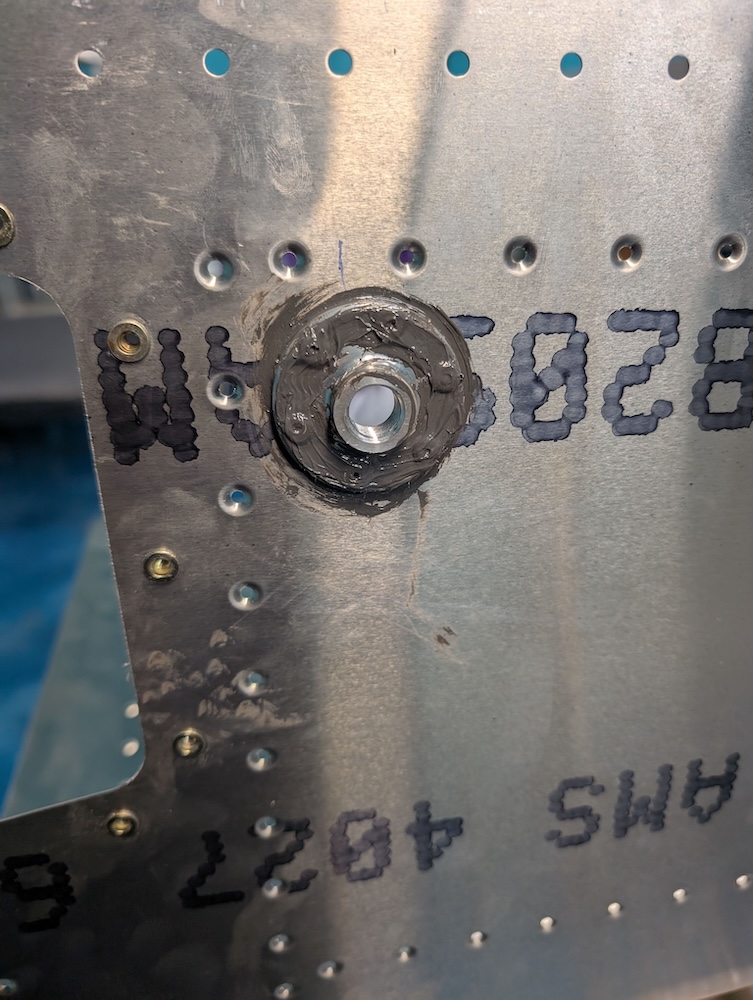 Fuel tank drain sealing.
 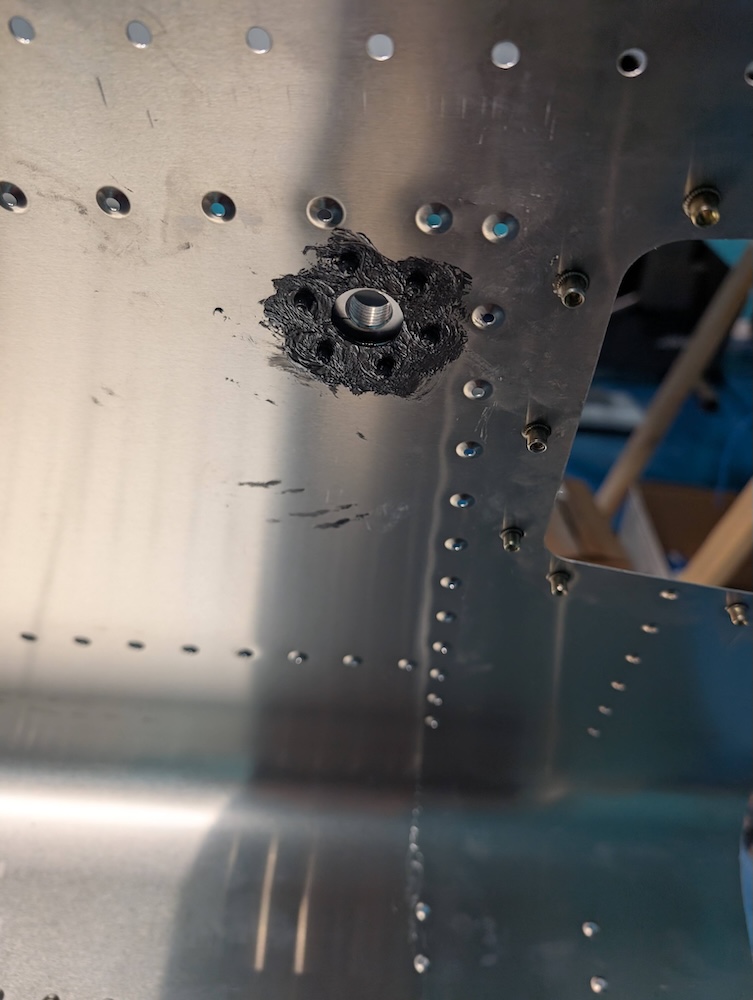 Fuel tank drain sealing.
 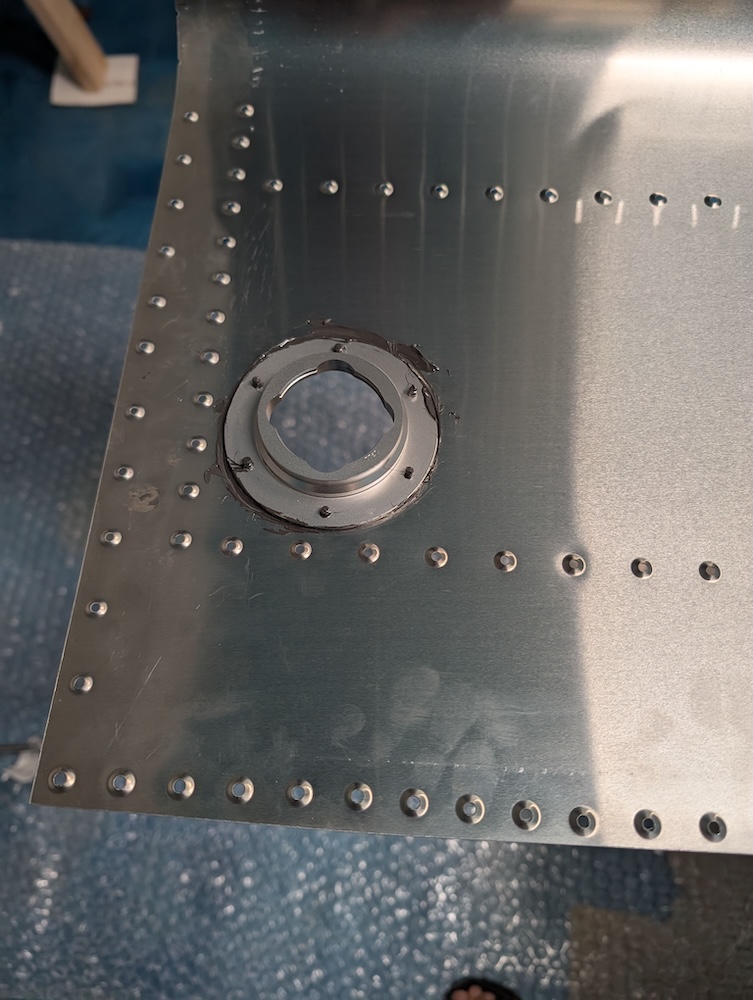 Fuel tank cap sealing.
  Riveting the fuel tank after mounting on the wing.
 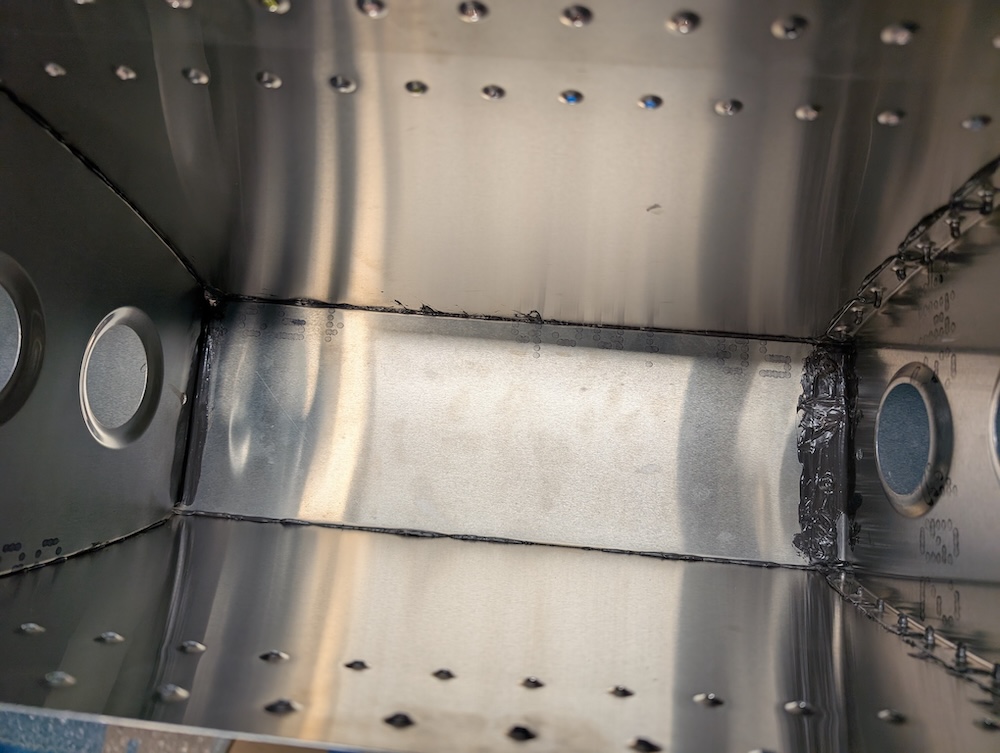 Fuel tank leading edge sealed.
 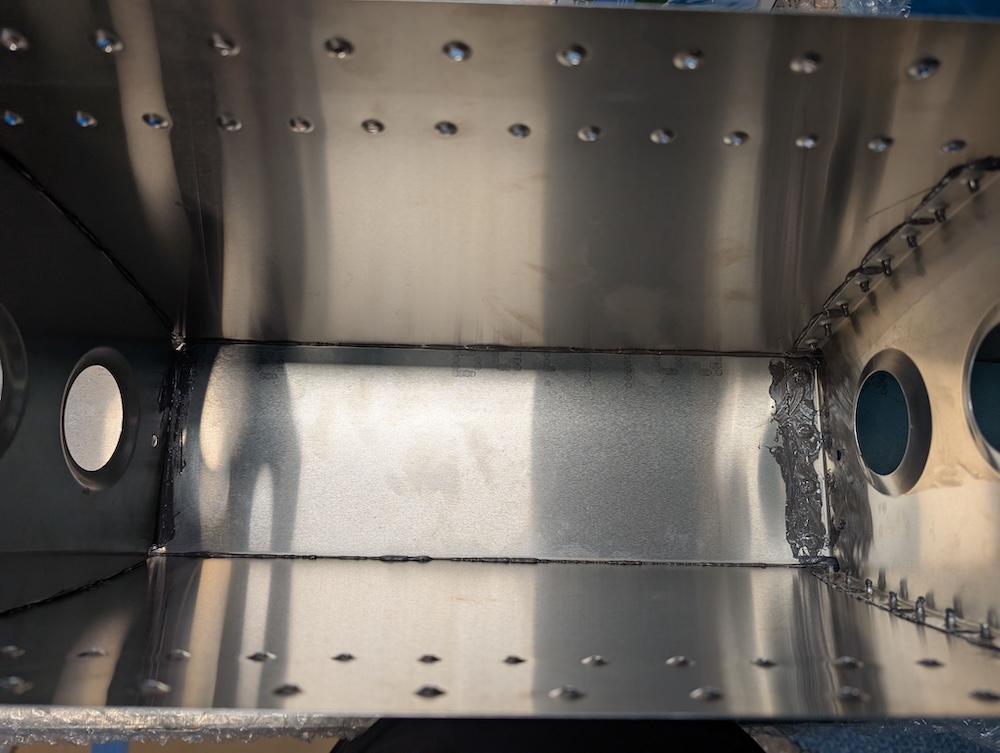 Fuel tank leading edge sealed.
 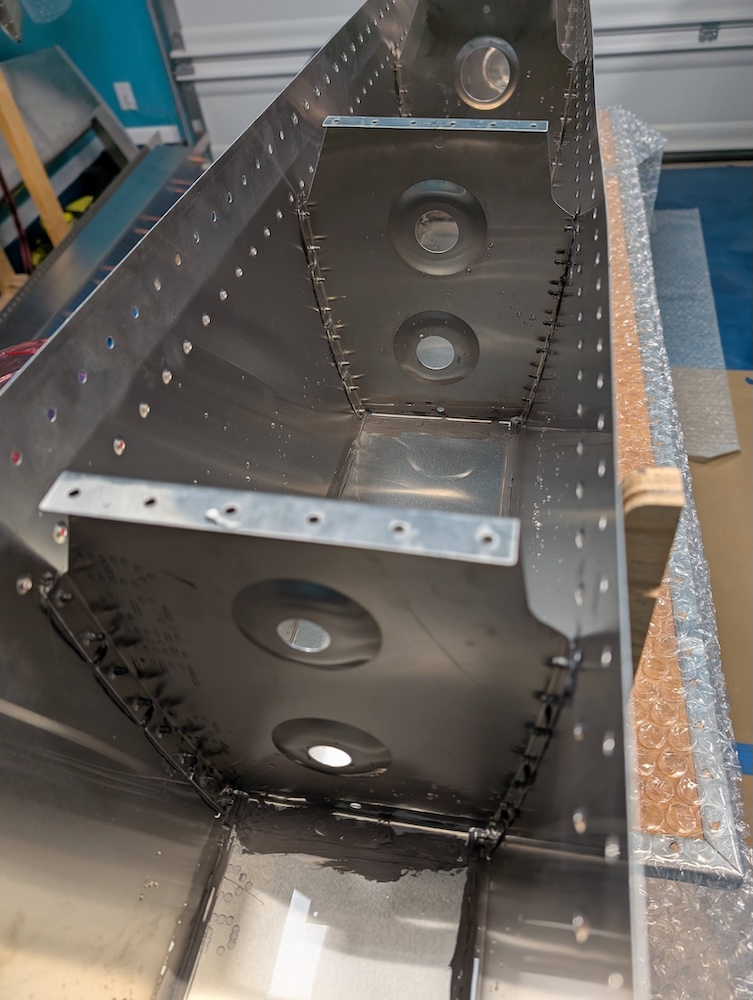 Leading edge seal test with water.
 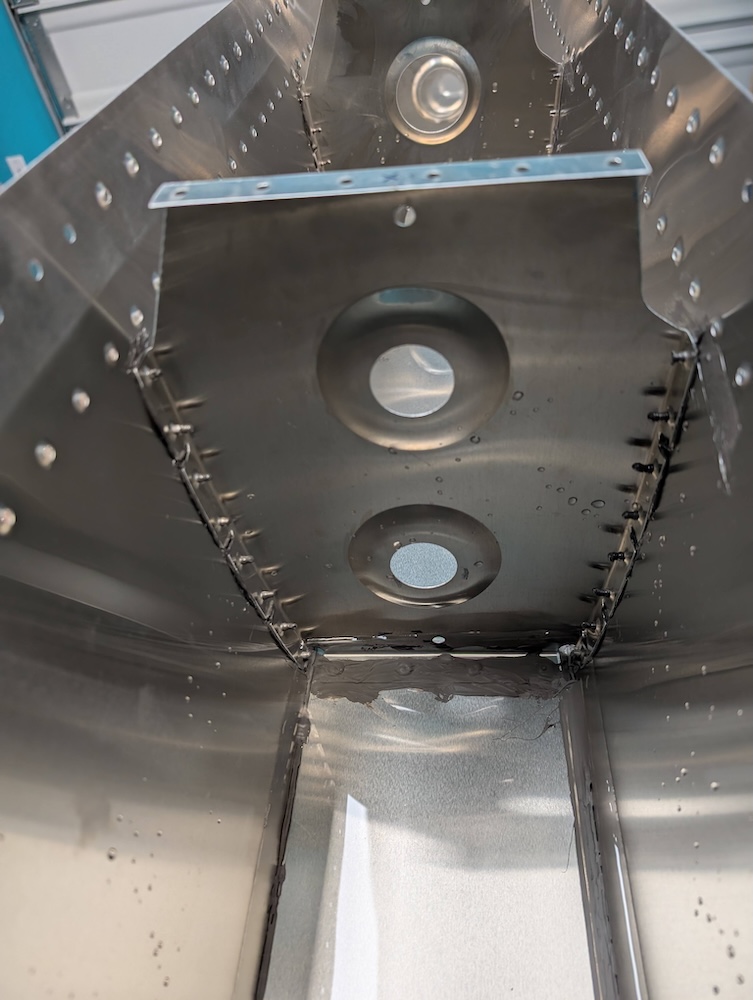 Leading edge seal test with water.
 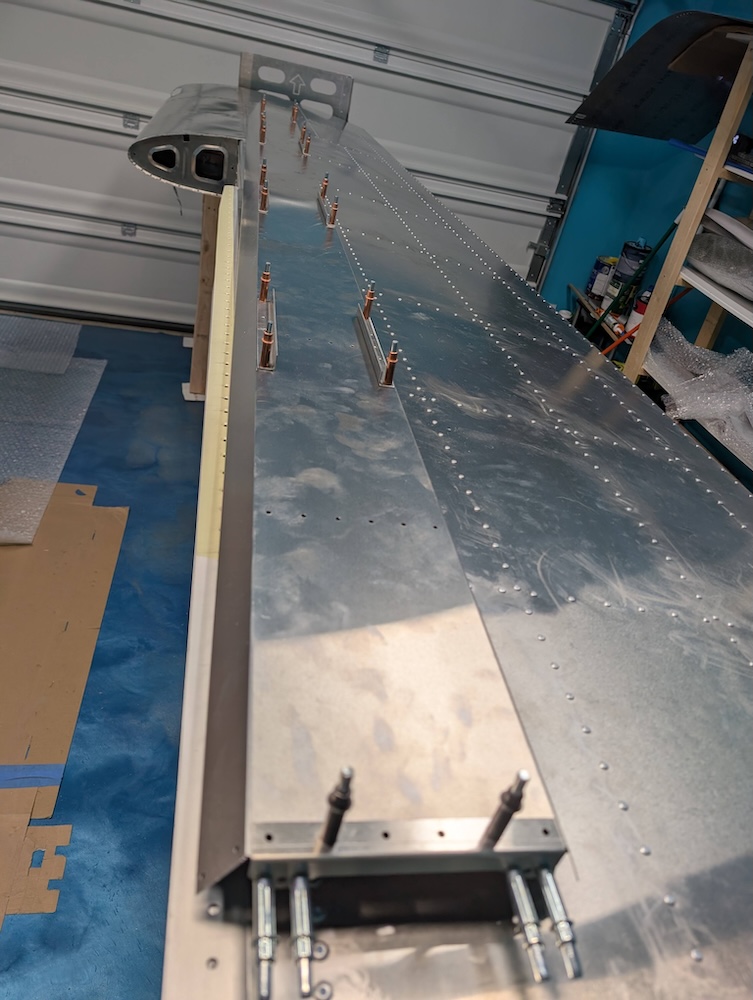 Clecoing the trailing edge channel.
 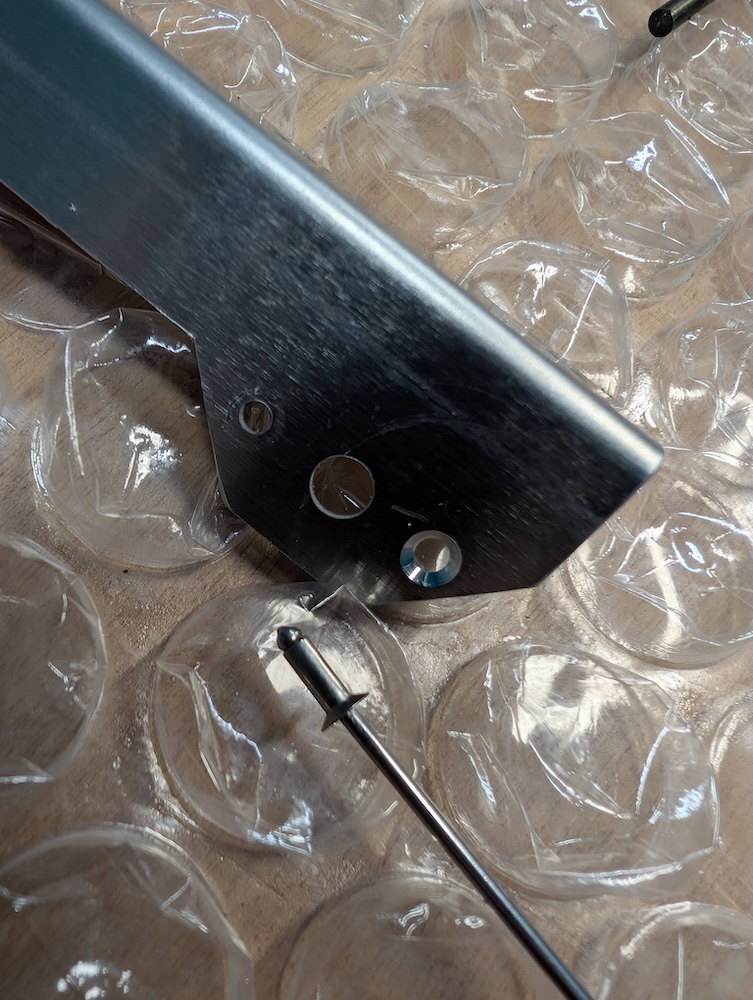 Root bracket nut plates
 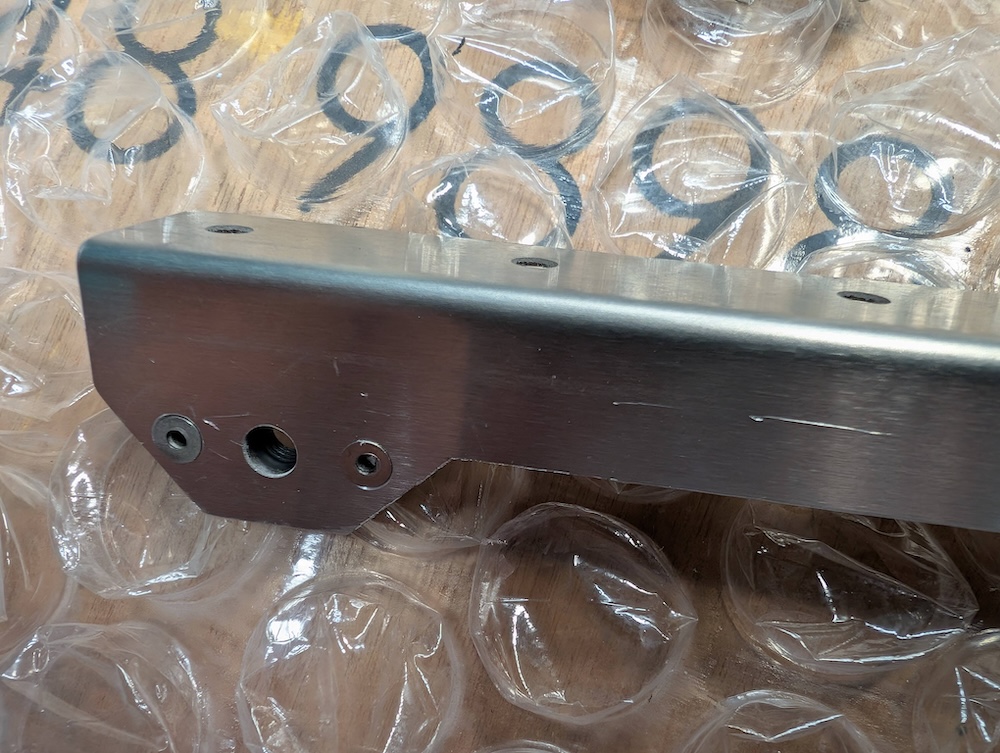 Root bracket nut plates.
 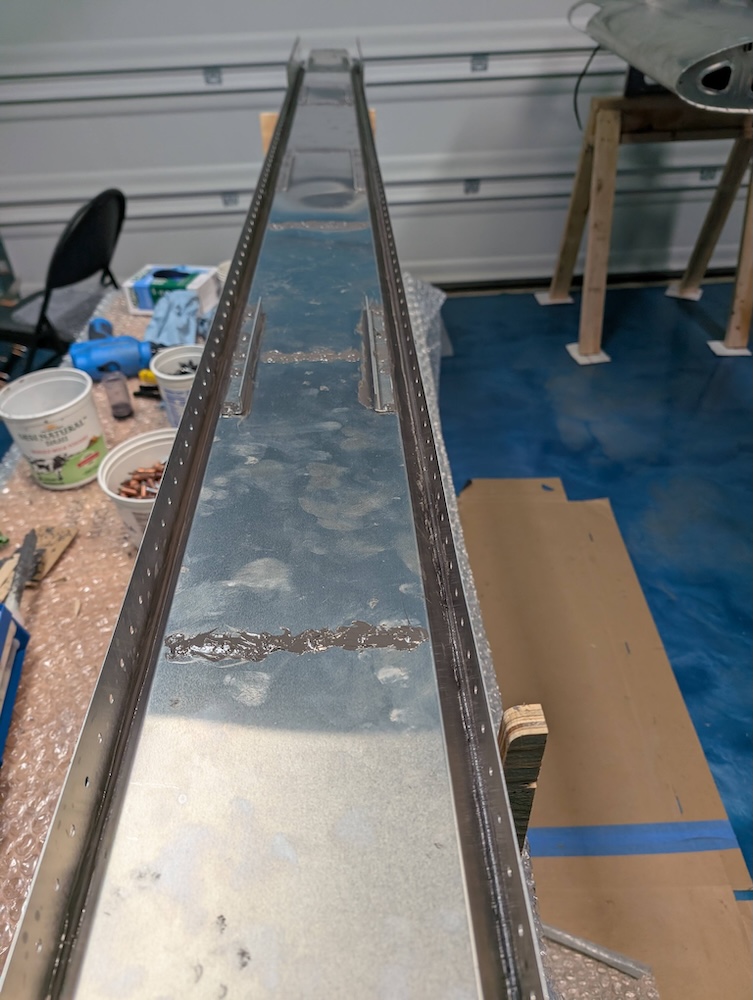 Sealing the trailing edge channel.
 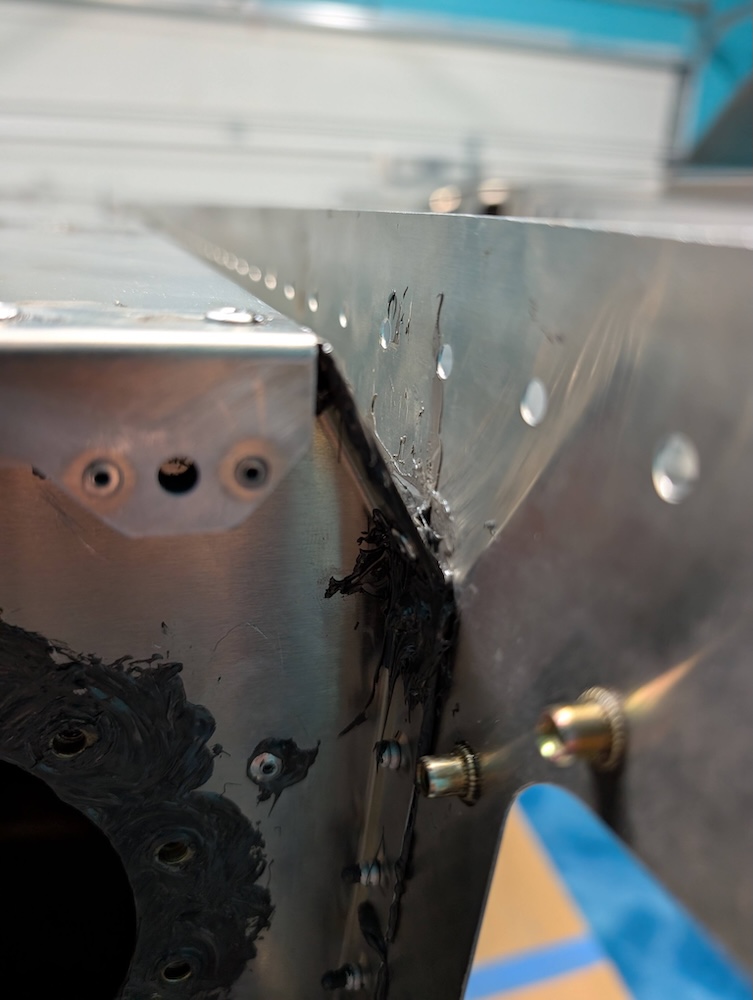 Trailing edge channel and skin gap sealing.
 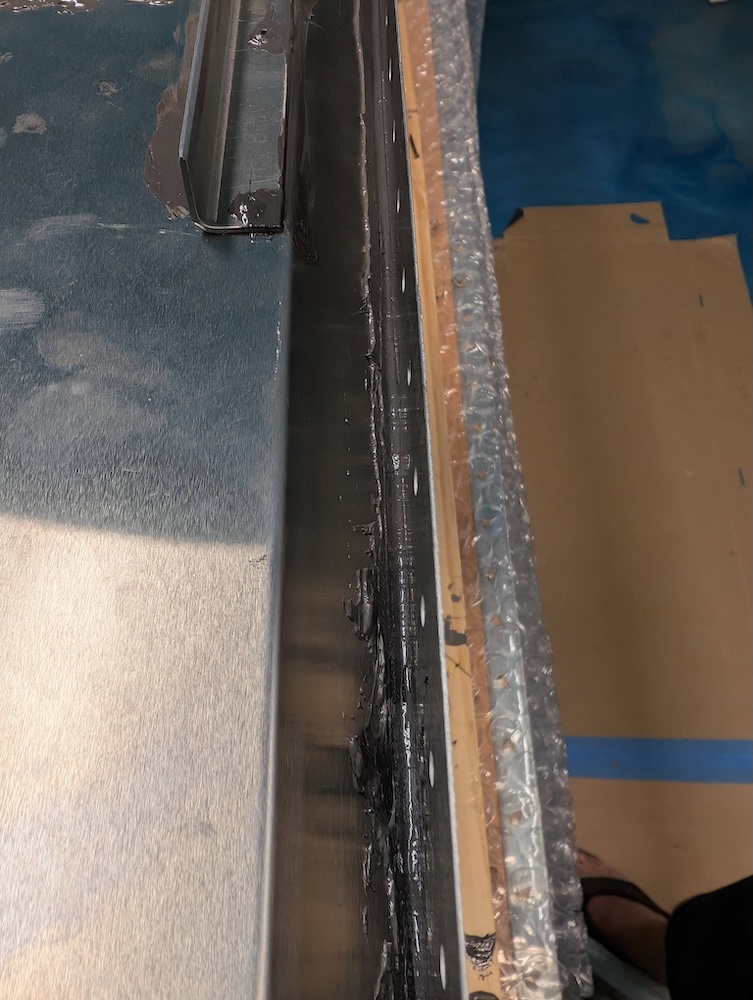 Trailing edge channel and skin gap sealing fillet.
 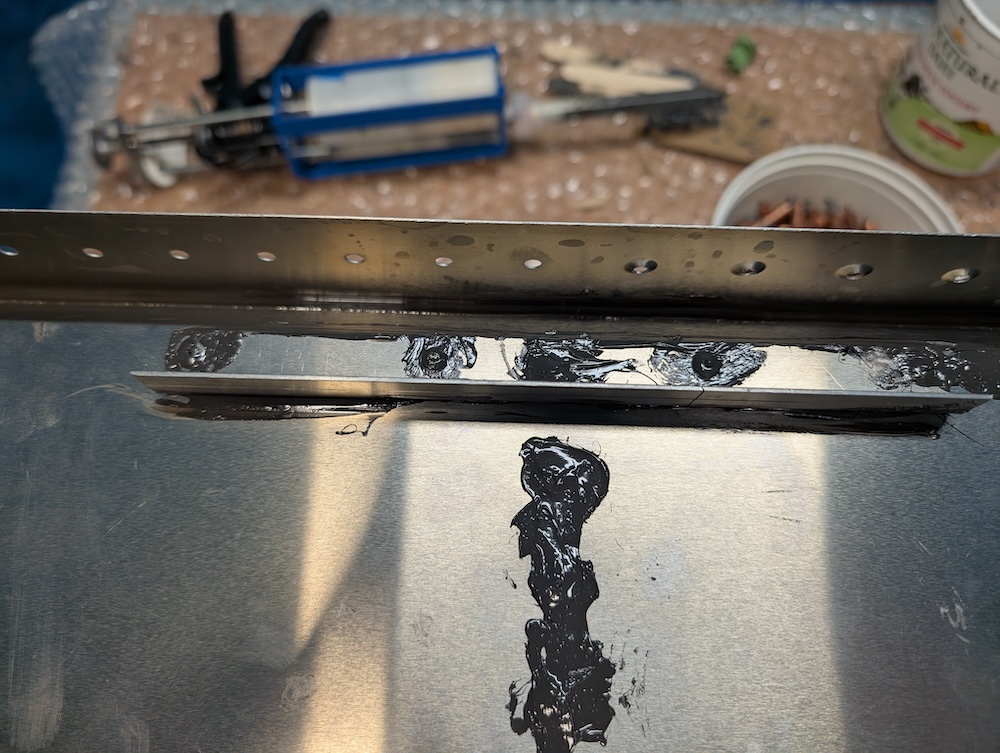 Pro-seal on top of trailing edge rivets for extra sealing.
 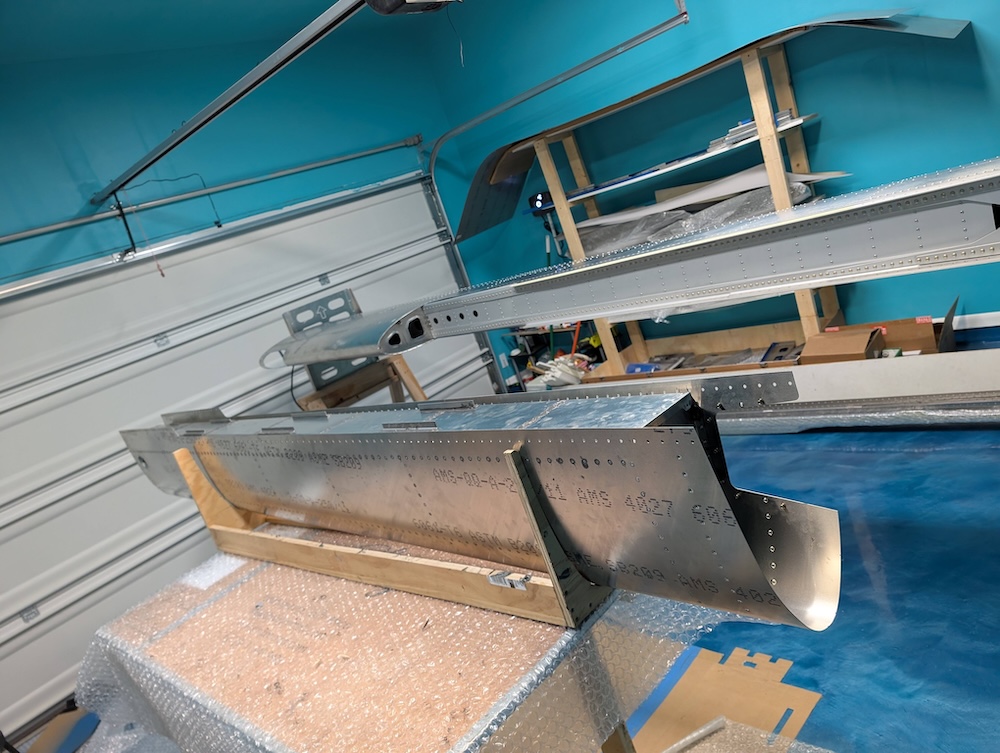 Fuel tank sealed and assembled.
Tools
- Pro-seal: https://www.aircraftspruce.com/catalog/appages/ps890.php
- 250ml 10:1 Mixing Cartridge: https://www.perigeedirect.com/products/medmix-mixpac-sulzer-200ml-f-system-empty-10-1-ratio-2-part-empty-cartridges-starter-kits-af-200-10-10-01
- 10:1 Mixing Nozzle: https://www.perigeedirect.com/products/medmix-mixpac-sulzer-mfqx-10-24t-116044f-system-square-quadro-mixing-nozzle-for-10-1-4-1-ratio-larger-2-part-cartridges-490ml
- Mixing Dispenser: https://www.perigeedirect.com/products/cox-vbm-200x-mr-manual-2-part-adhesive-dispenser-for-200ml-multi-ratio-1-1-2-1-4-1-10-1-cartridge-sizes-aka-m200xmr