Right Tank Attached
Right tank has been attached to the right wing, in the process a few things had to be taken care of, but the attachment was a very tight fit, by design.
The right wing tank has been attached to the right wing. In the process, a bracket had to be bent to make room for the tank to attach, since it was a very tight fit by design. Additionally, for the root rib, one of the angles which rivet to the skin was broken, so it had to be fabricated from a spare part.
Attaching the tank
Attaching the tank was a very tight fit, mostly due to the angle brackets on the inside. This is by design so that the load of the tank gets transferred over to the main carry-through spar. In order to attach the tank, a bracket had to be bent temporarily, so the tank can slide left or right a bit to make sure the brackets go inside the main spar channels. To bend it back, it was harder, since it did not return to the original shape, but the structural integrity was still good. Additionally, one of the bolts was not screwing in, so multiple 3.2mm rivets were used instead. 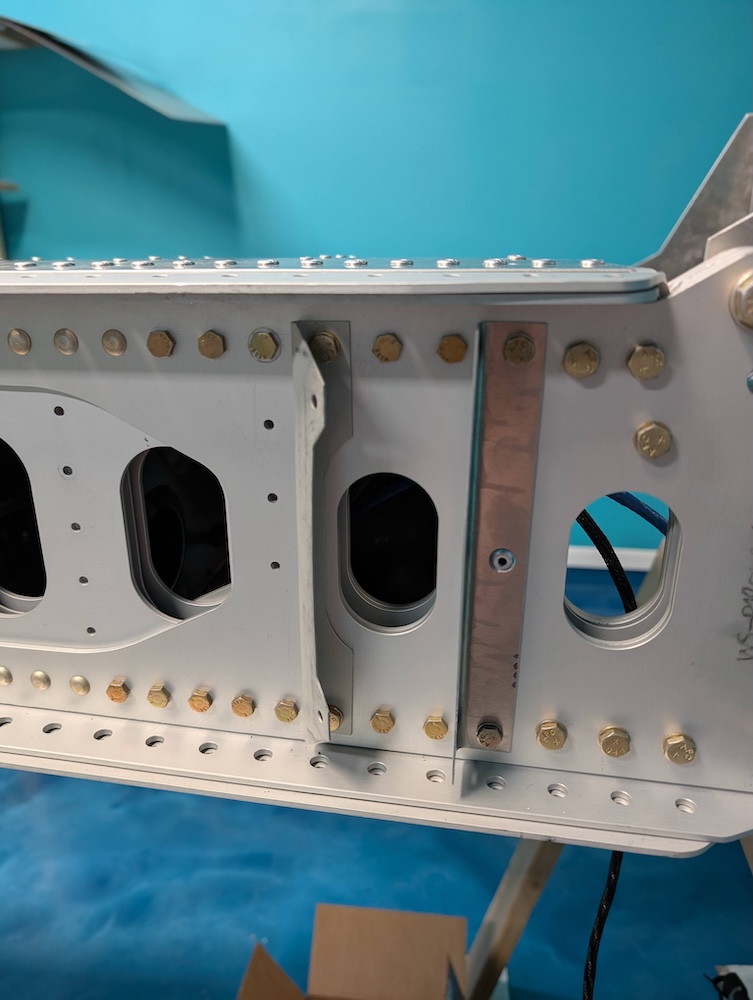 Bracket which was bent to make sure the tank can slide left or right a bit.
 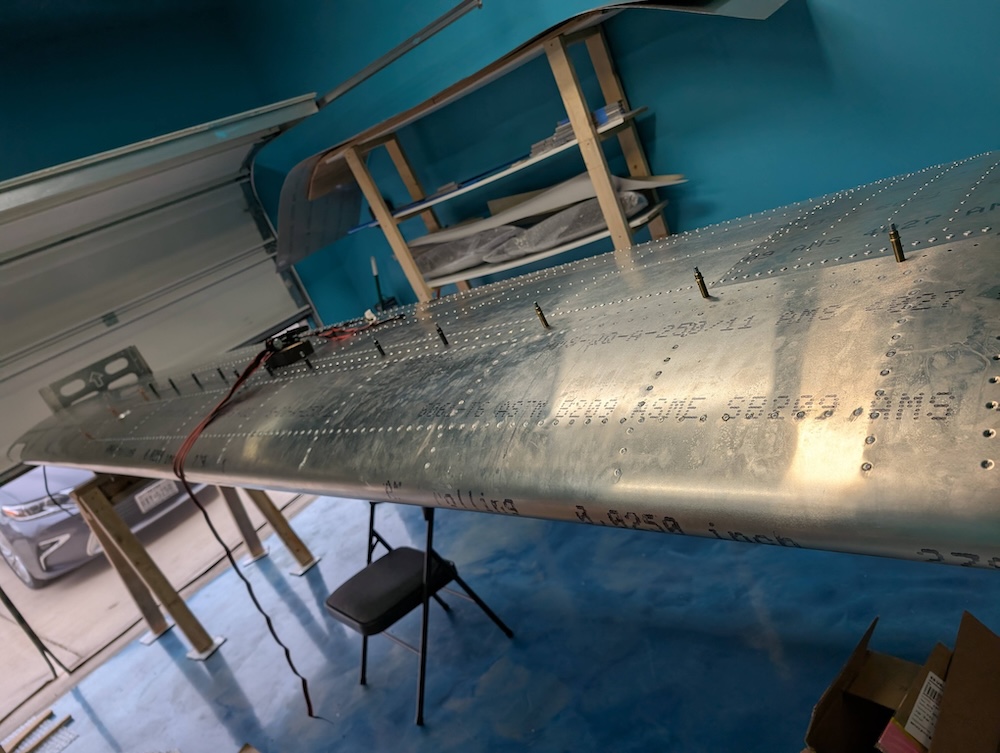 Tank attached to the main spar, a ratcheting strap had to be used.
 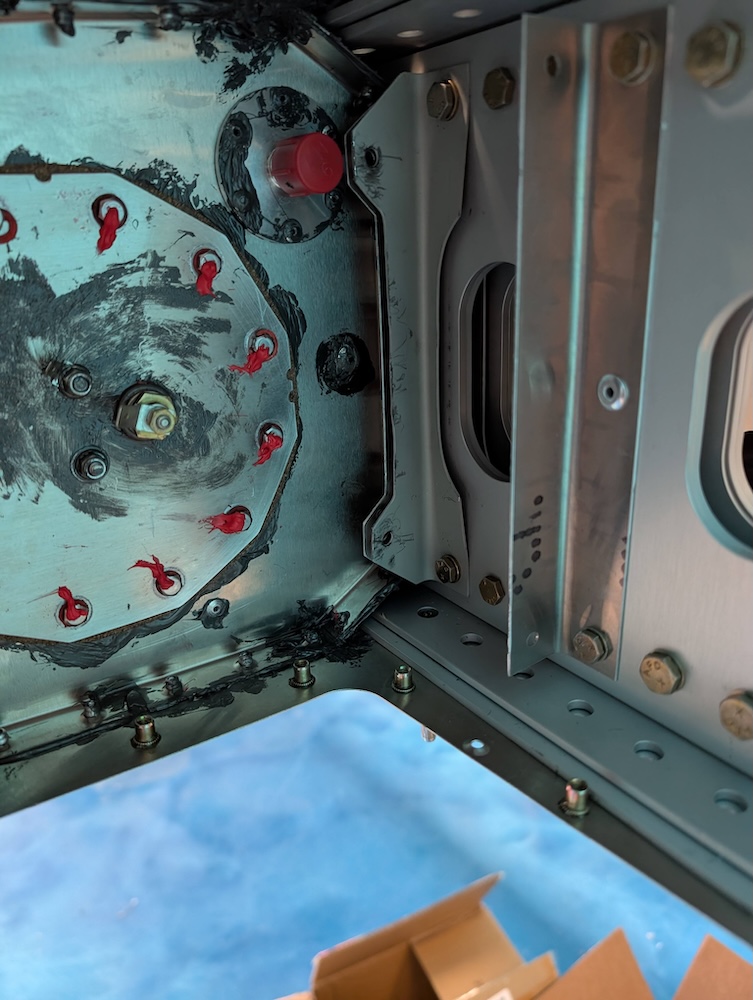 Trying to bend the bracket back into its original orientation.
 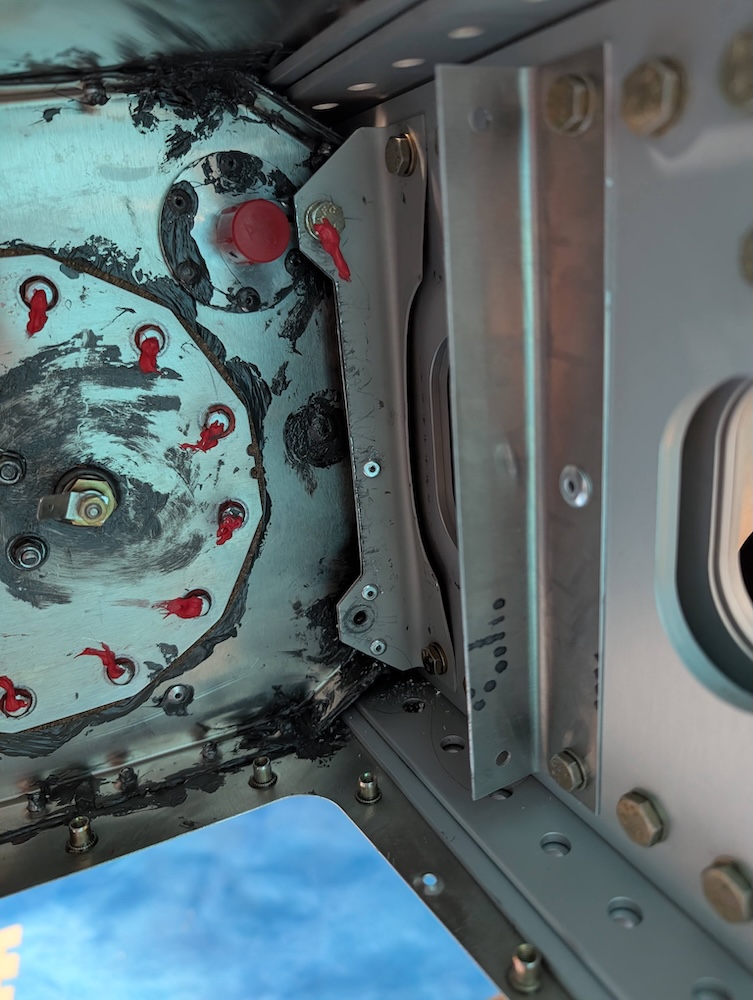 Bolt and rivets instead of bolts on the bracket.
 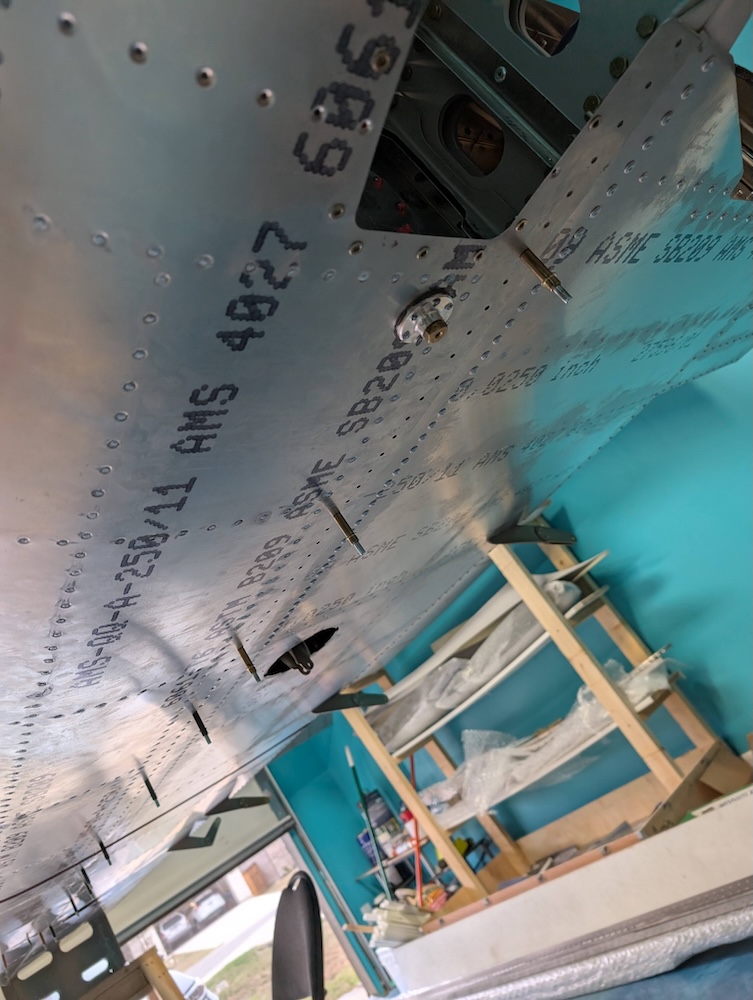 Tank clecoed to the main wing.
 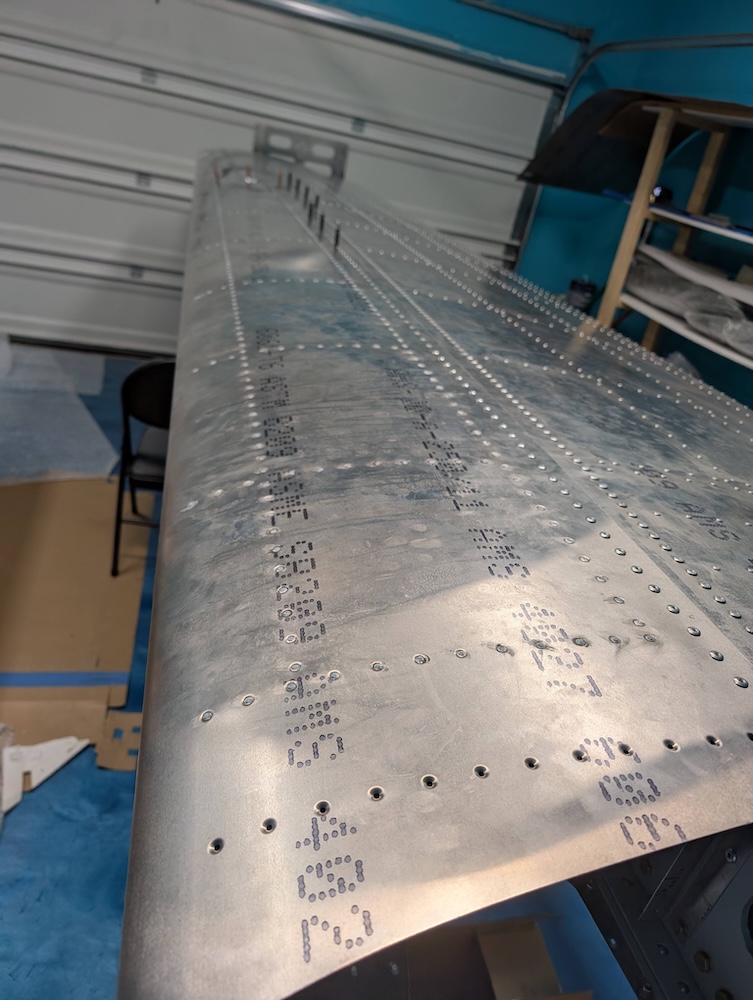 Riveting the tank attachment points, from root to tip.
 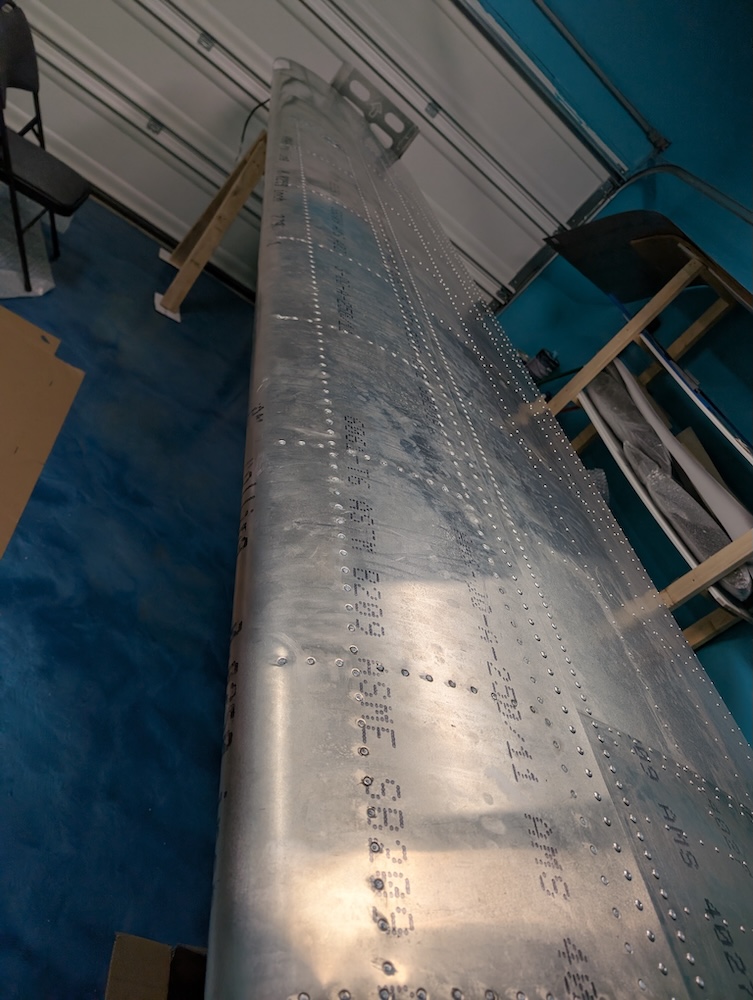 Tank riveted to the wing.
 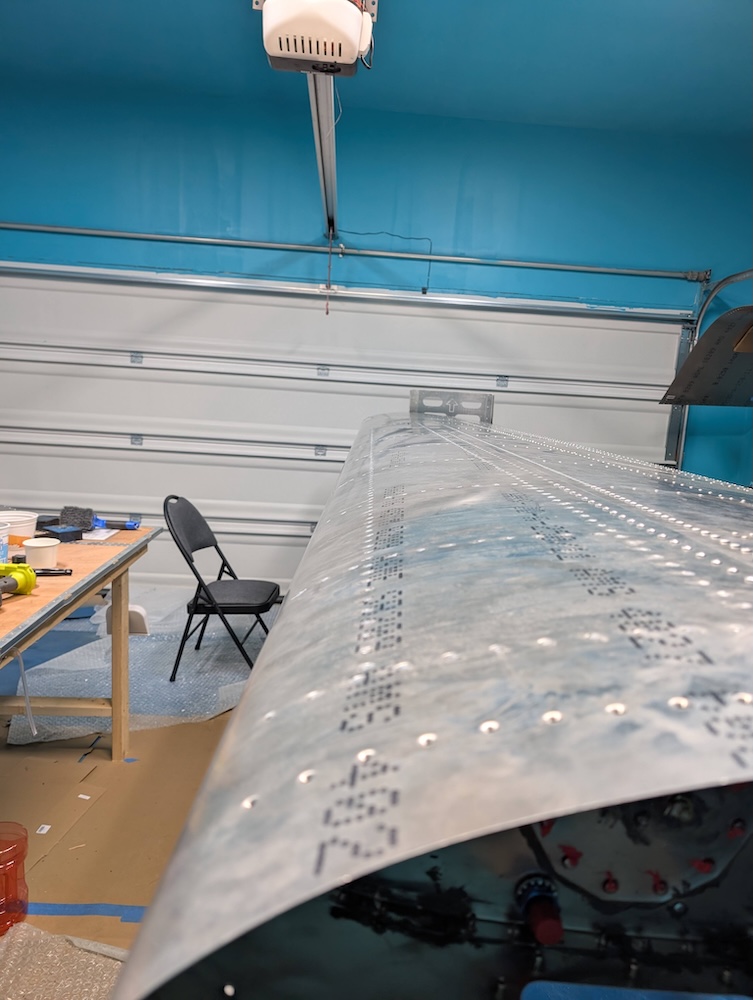 Tank part of the wing, no noticeable discrepancies in wing twist.
Installing the root rib
Installing the wing root rib was straightforward, however it was a little tricky to get the rib in place, but since the metal is flexible, it was not problem. Additionally, one of the broken points on that rib, which rivet to the skin, had to be fabricated as an L bracket, from a spare piece. 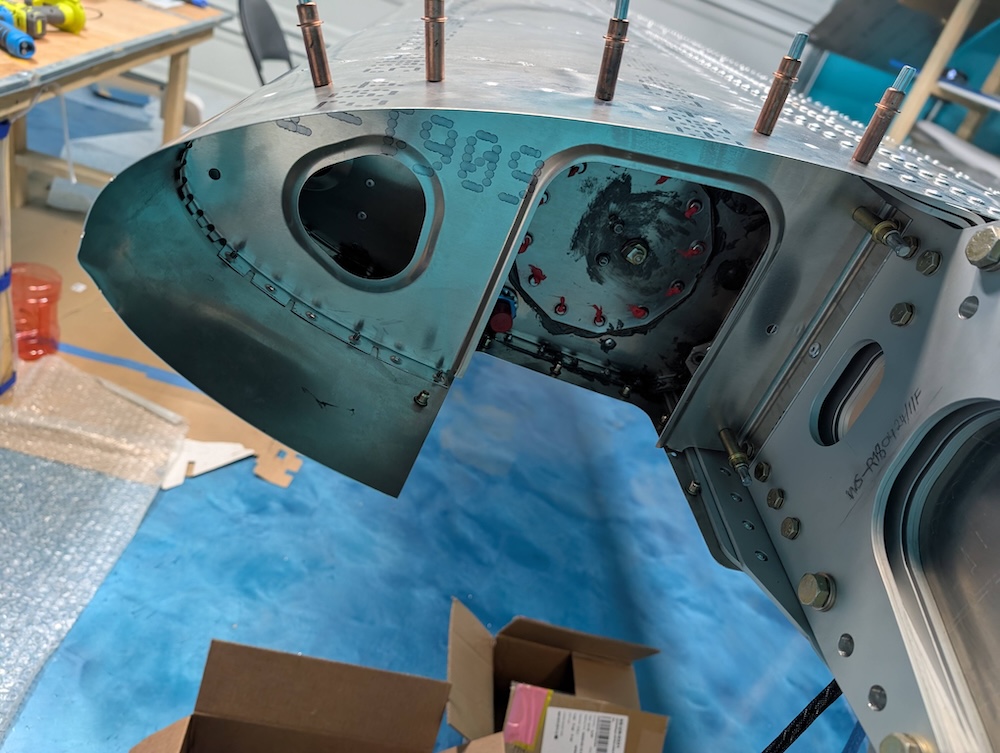 Root rib clecoed to the tank skin.
 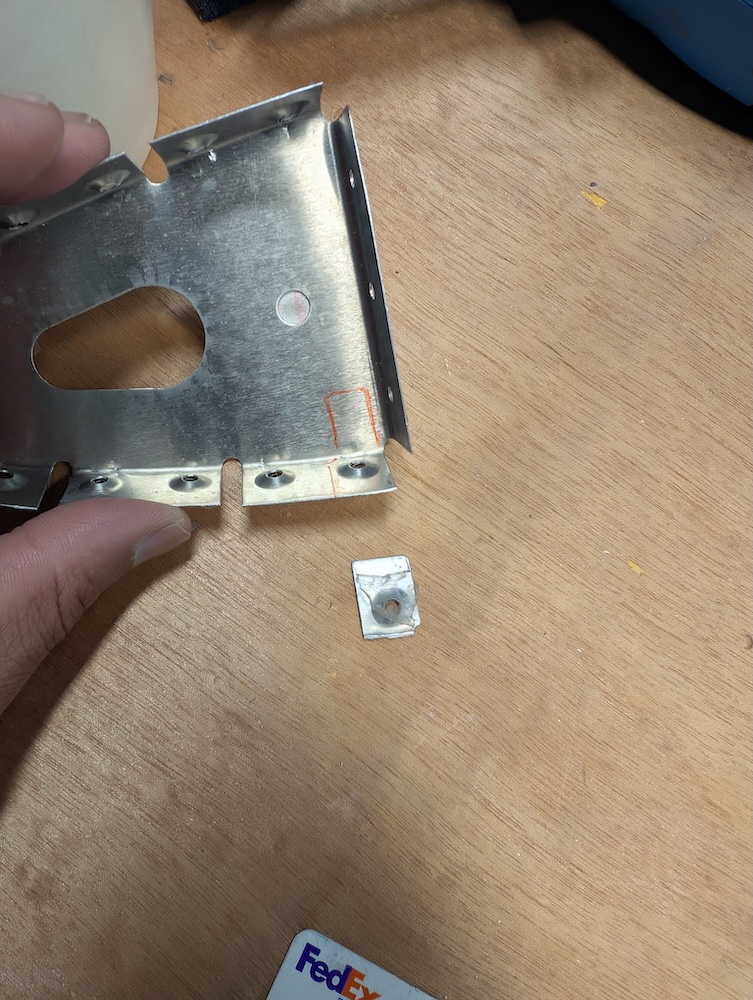 Cutting L bracket from a spare rib.
 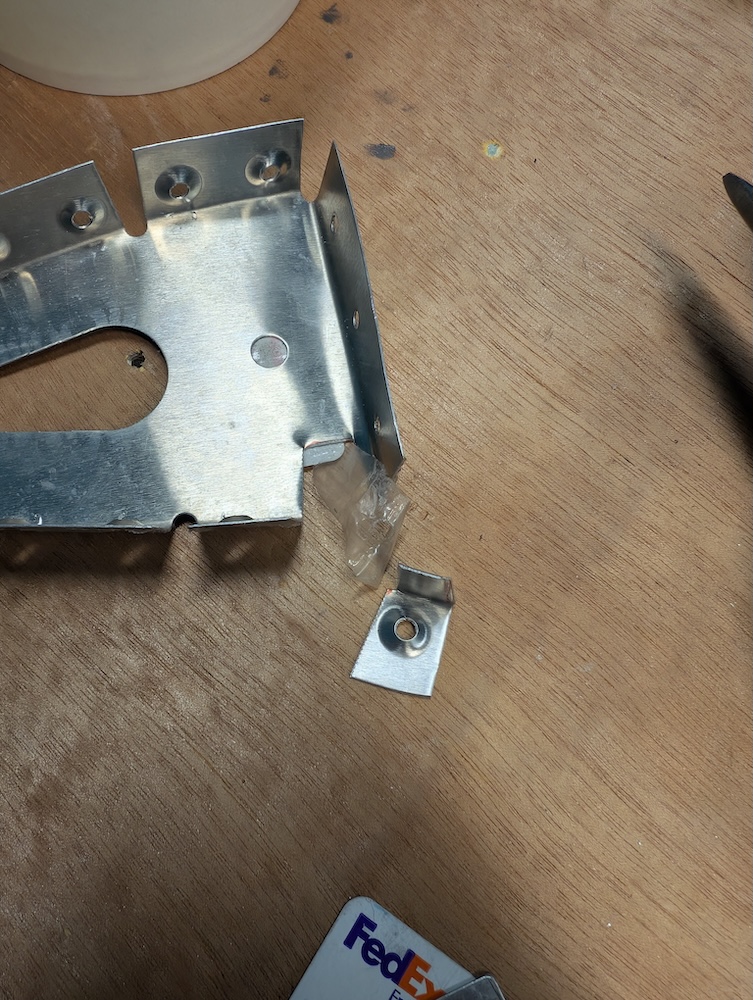 Cutting L bracket from a spare rib.
 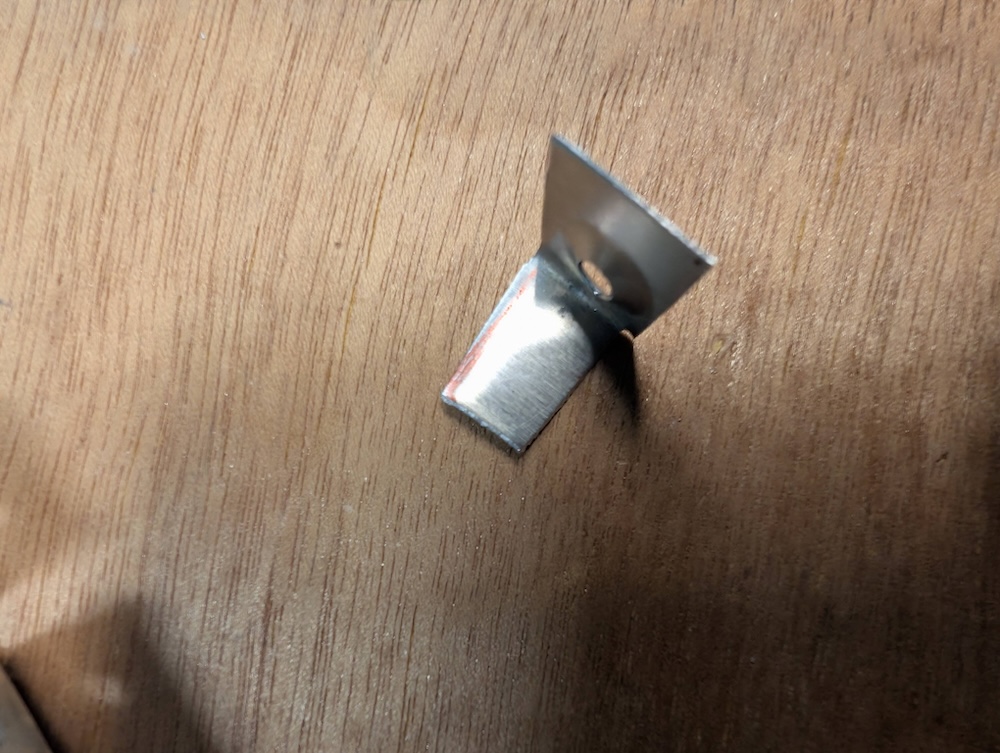 L bracket cut from a spare rib.
 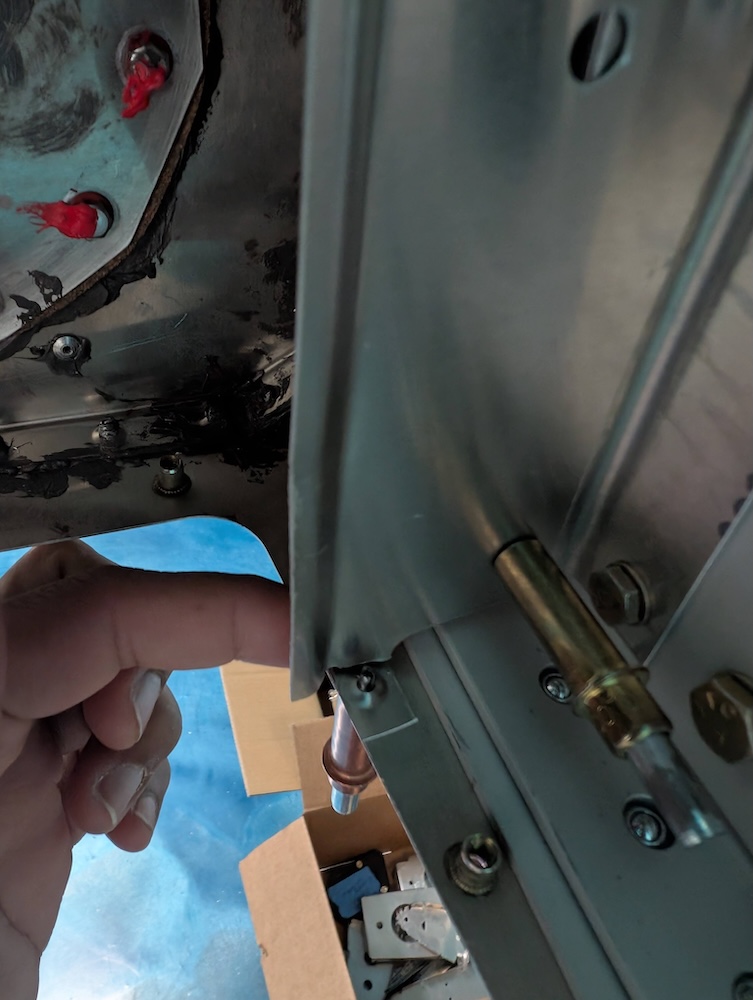 L bracket clecoed to the skin.
 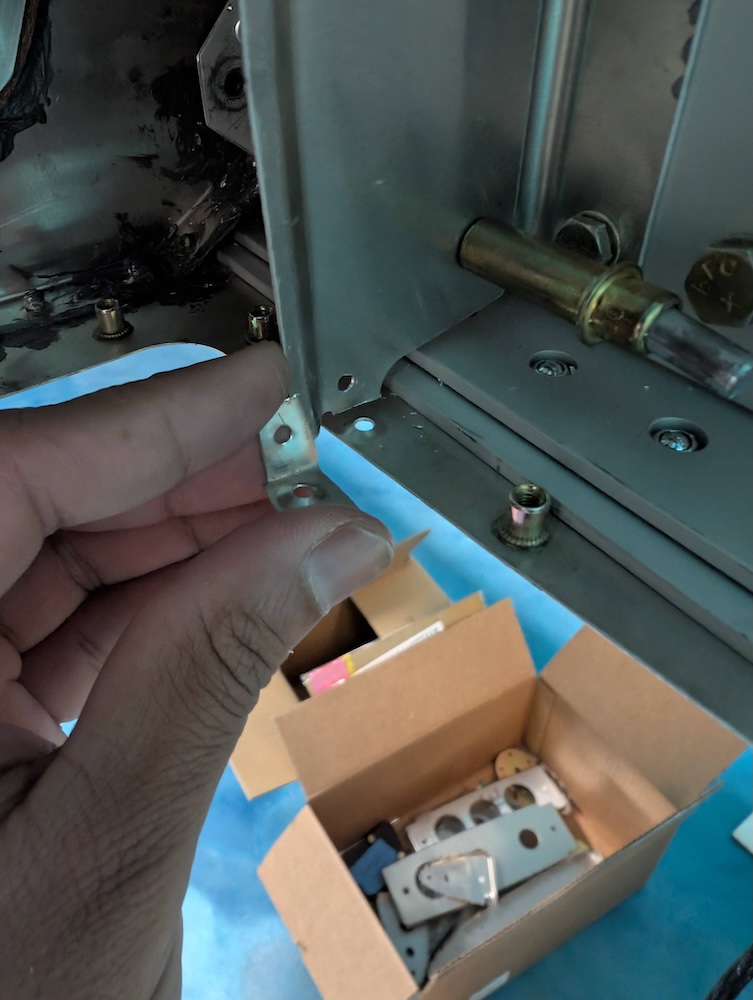 Hole cut in the L bracket as well as the root rib.
 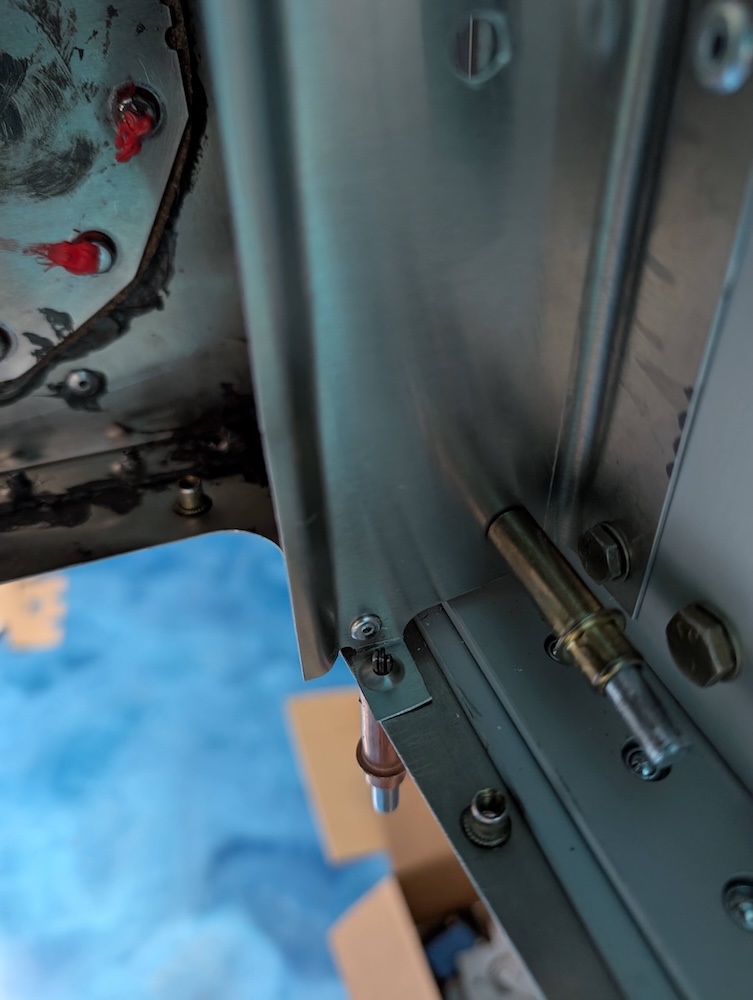 L bracket riveted to the rib itself.
 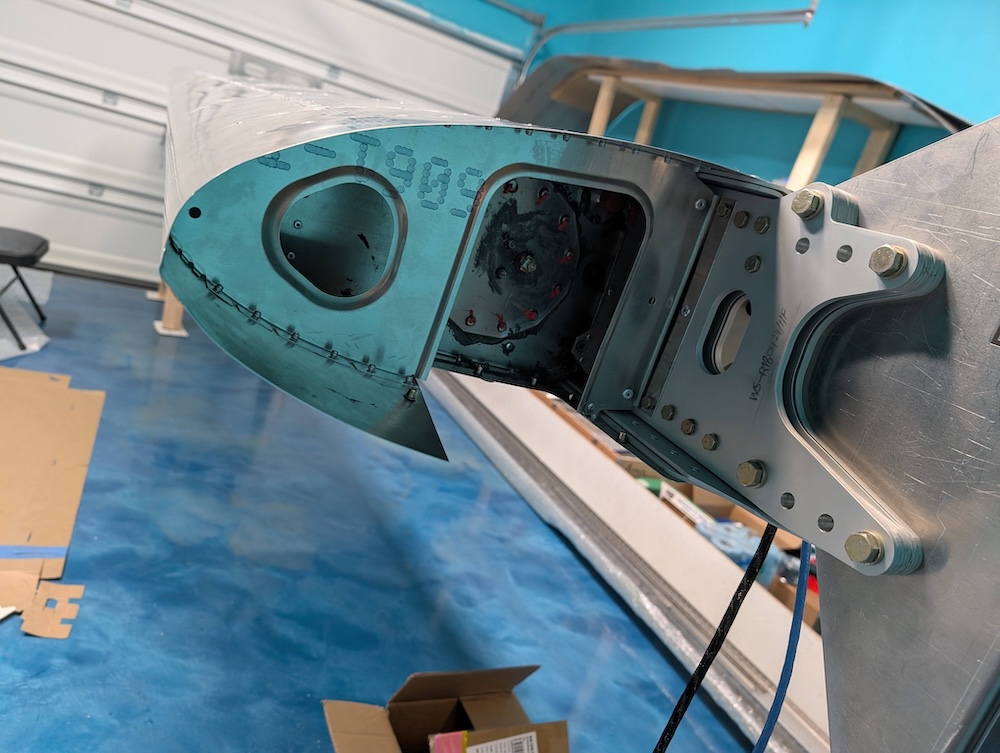 Root rib riveted to the tank skin.
Sealing the rivet holes
The rivet holes were sealed in the end, nothing new here, but doing that as we go instead of all at once. 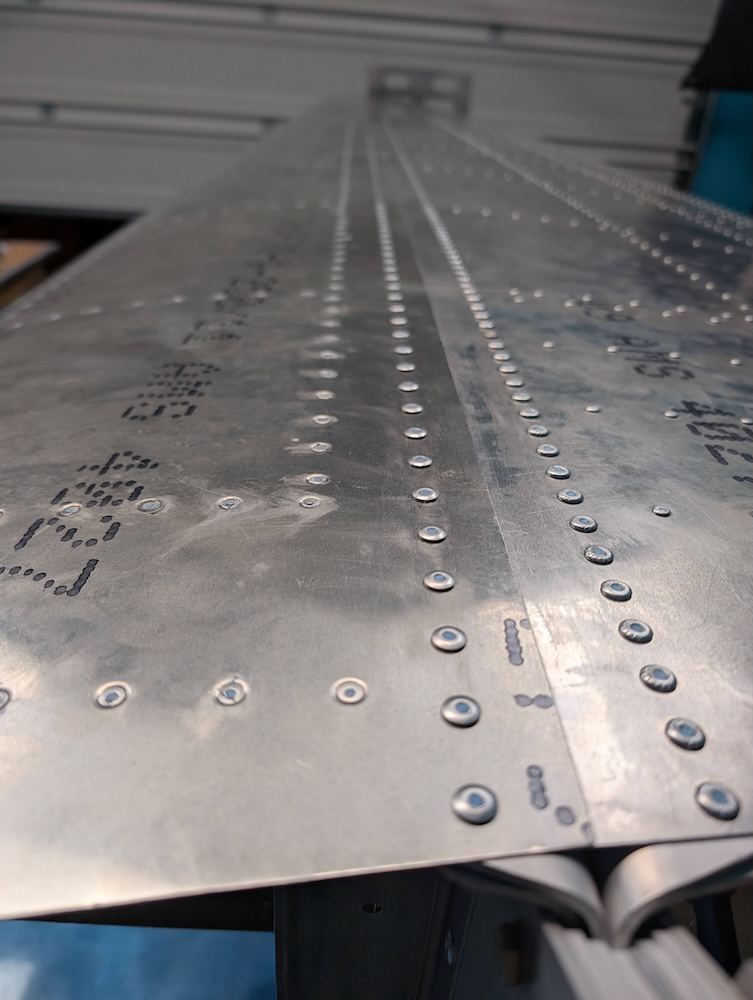 Tank attachment rivet holes filled.