Right Tank Testing
Testing of the right tank has been completed, in the process a few patches had to be made.
The testing of the right tank has been completed, it was done using a compression fitting on the vent tube with a low pressure gauge and covering the fuel intake and return lines with an6 block off fittings. Additionally, a bicycle pump was used to pressure the tank. Some assemblies were wrapped up as well such as screwing the fuel drain port as well as torquing the sender plate bolts to 20 in-lb.
Photos
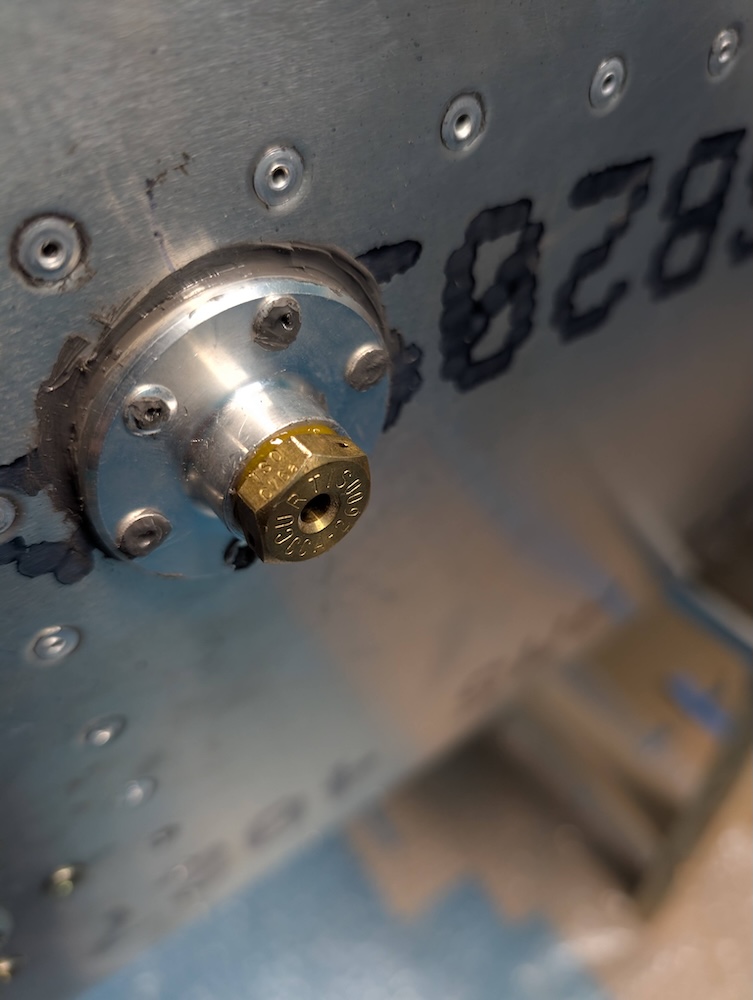 Screwing fuel drain port with loctite.
 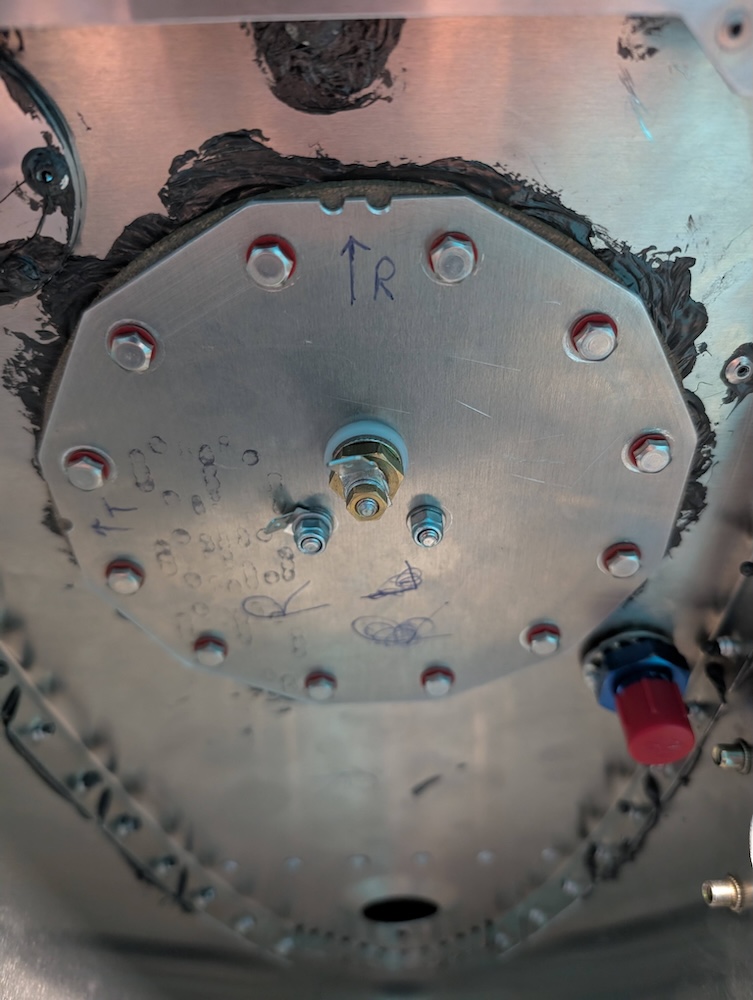 Fuel level sender plate with bolts and cork gasket.
 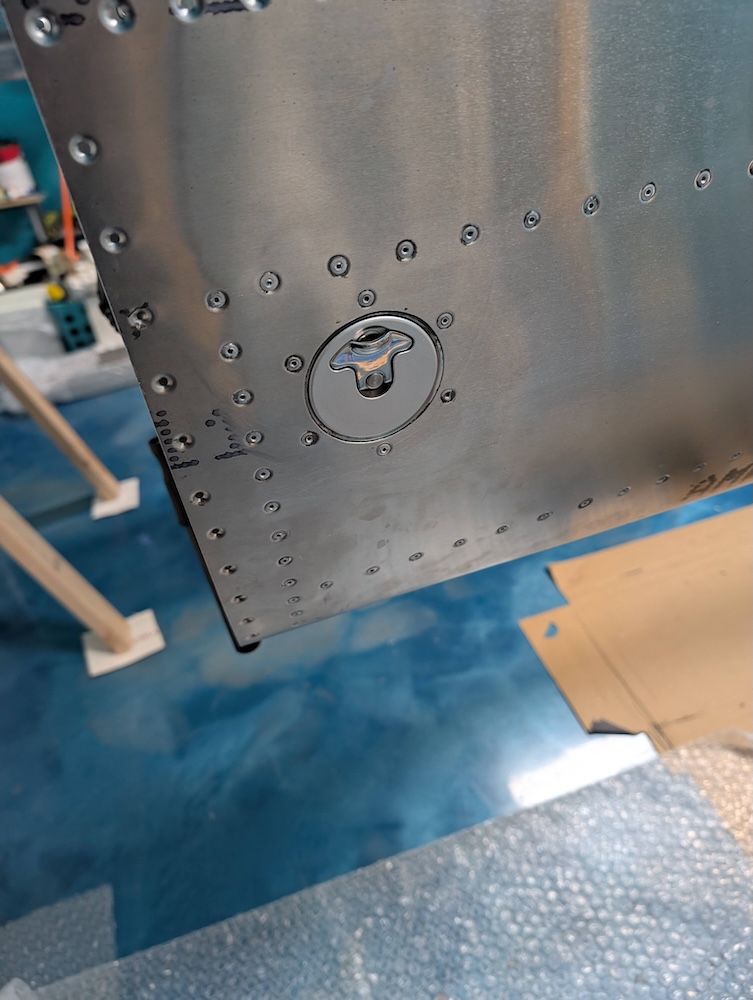 Fuel cap.
 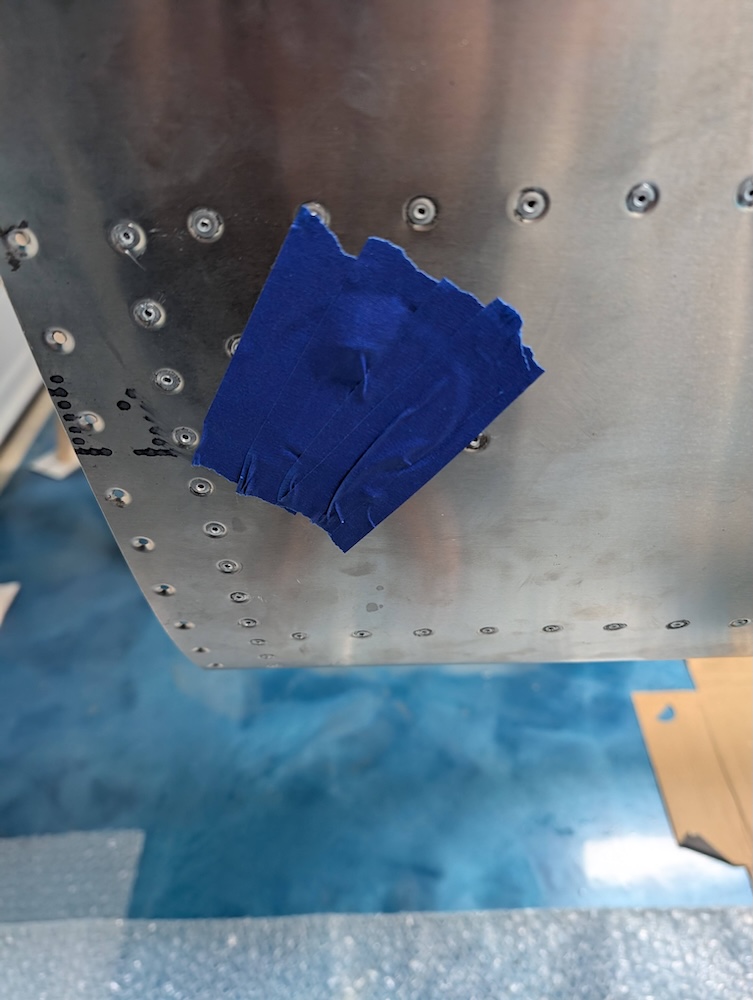 Covering fuel cap for testing.
 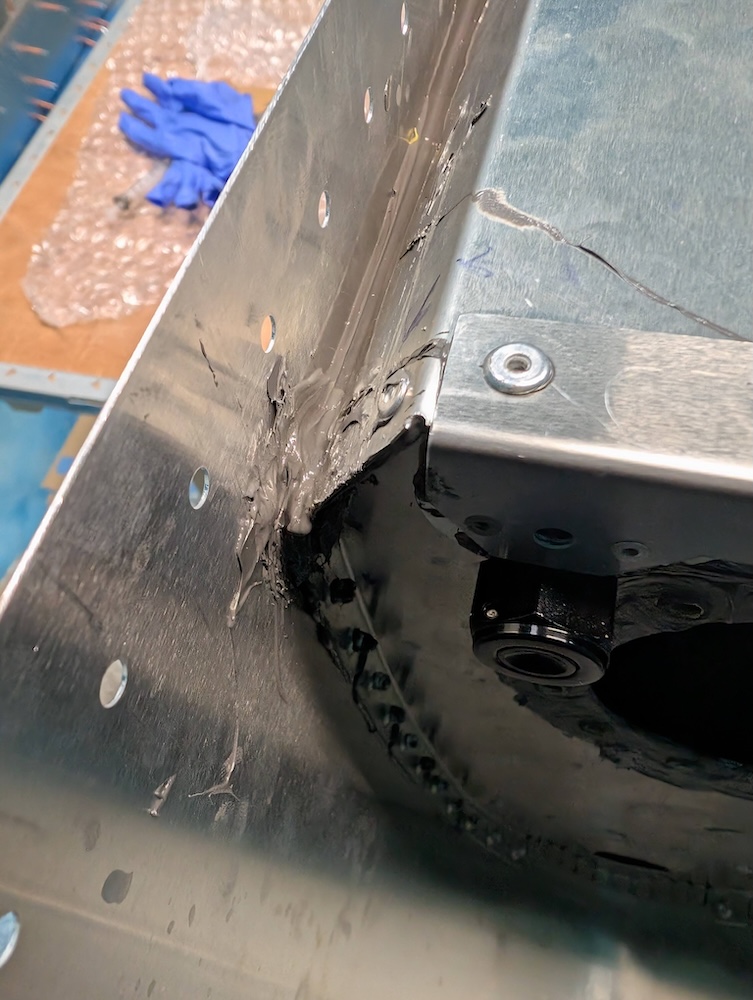 One of the corners where extra sealant was needed.
 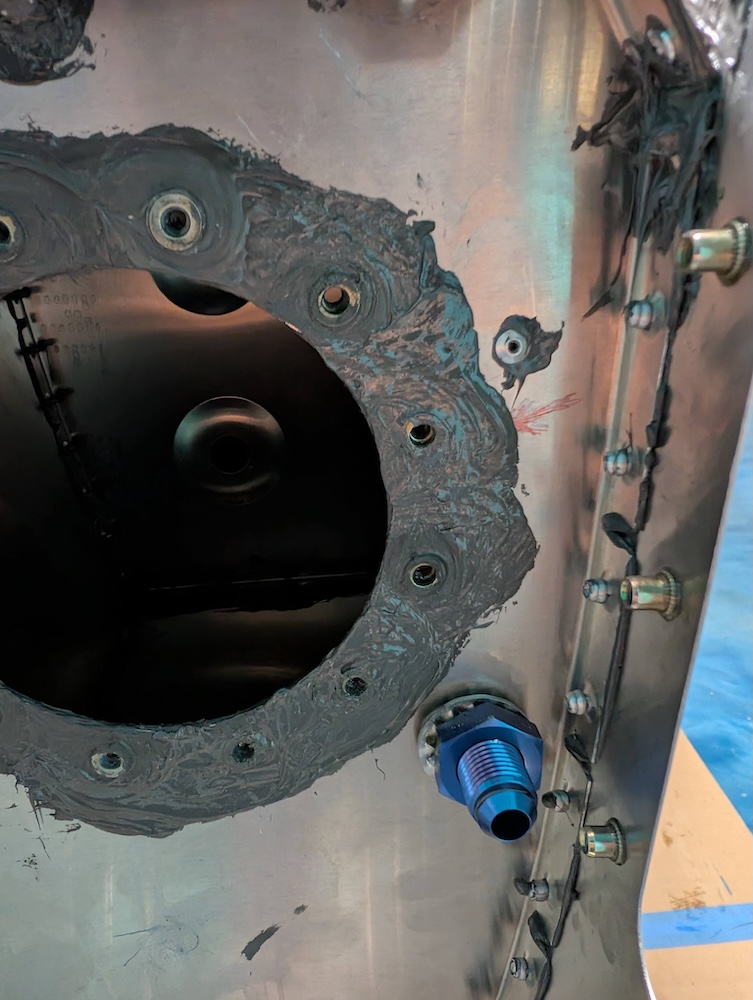 Extra sealant was needed between the sender plate and tank.
 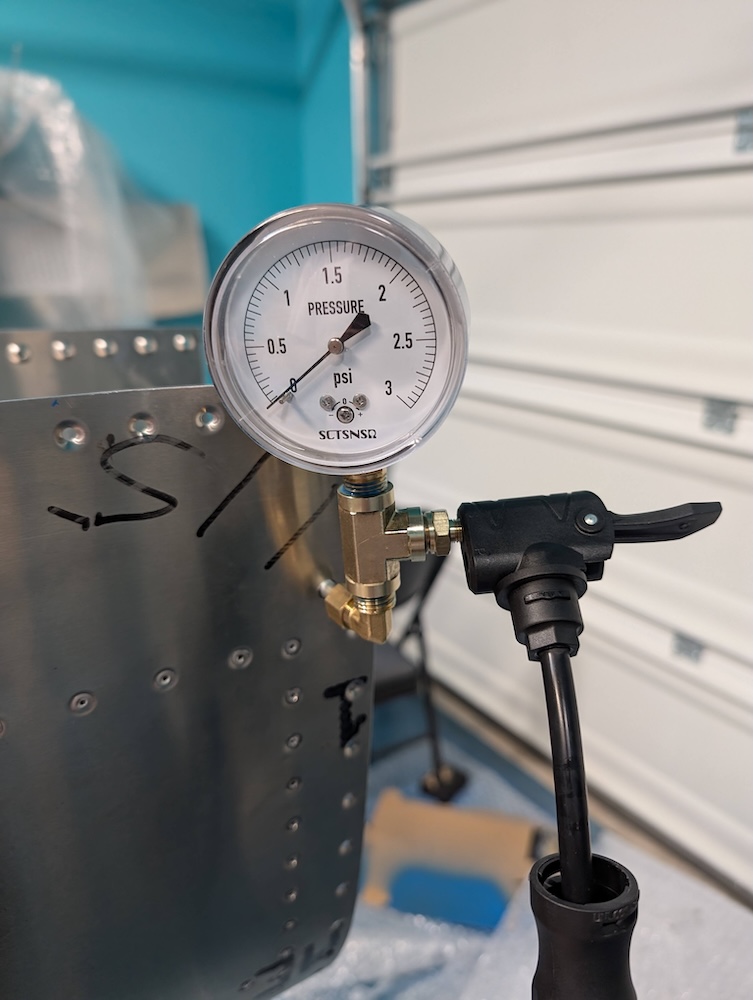 Testing setup on the fuel vent tube.
 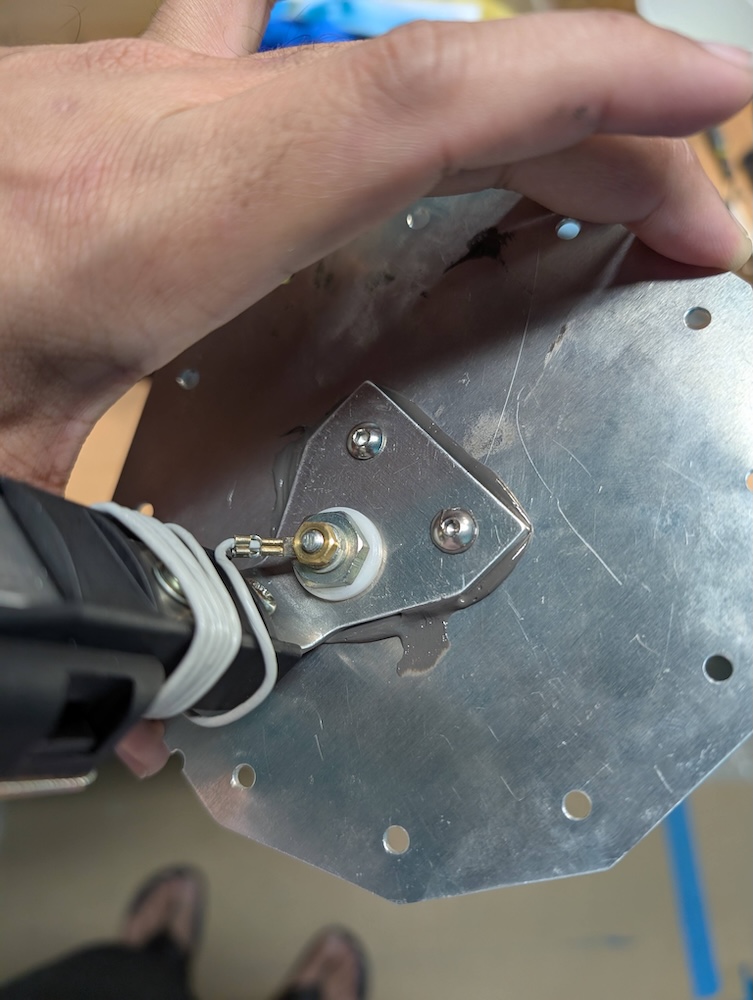 Fuel tank sealant between the sender and the sender plate.
 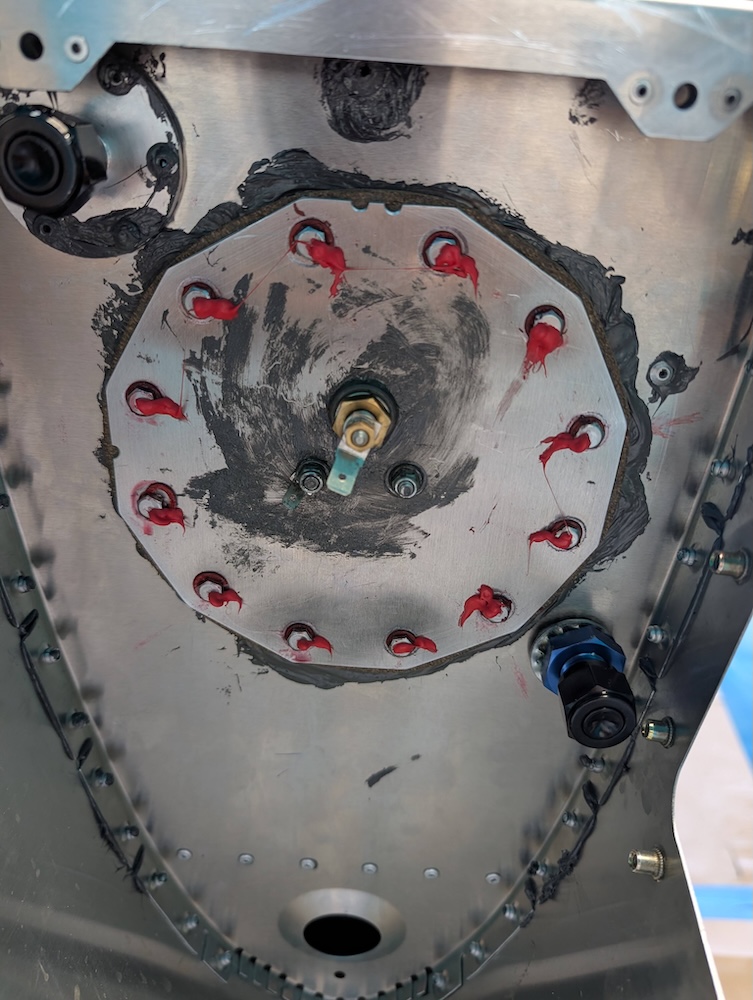 Torque markers on the fuel sender plate bolts.
 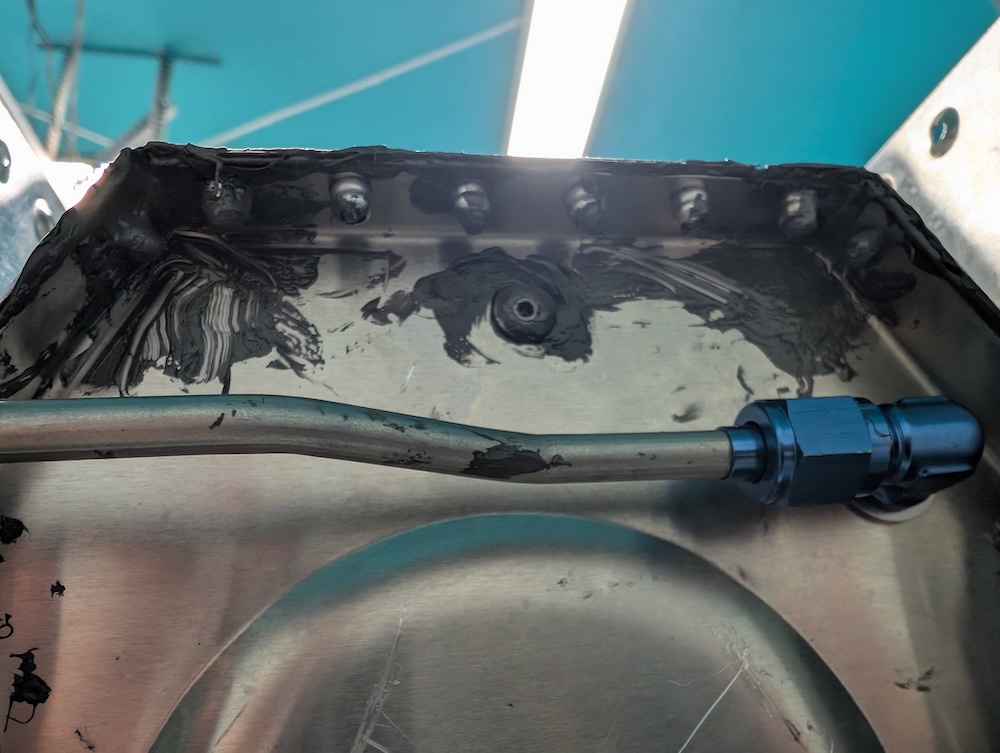 Extra sealant was needed on the corners at the top.
 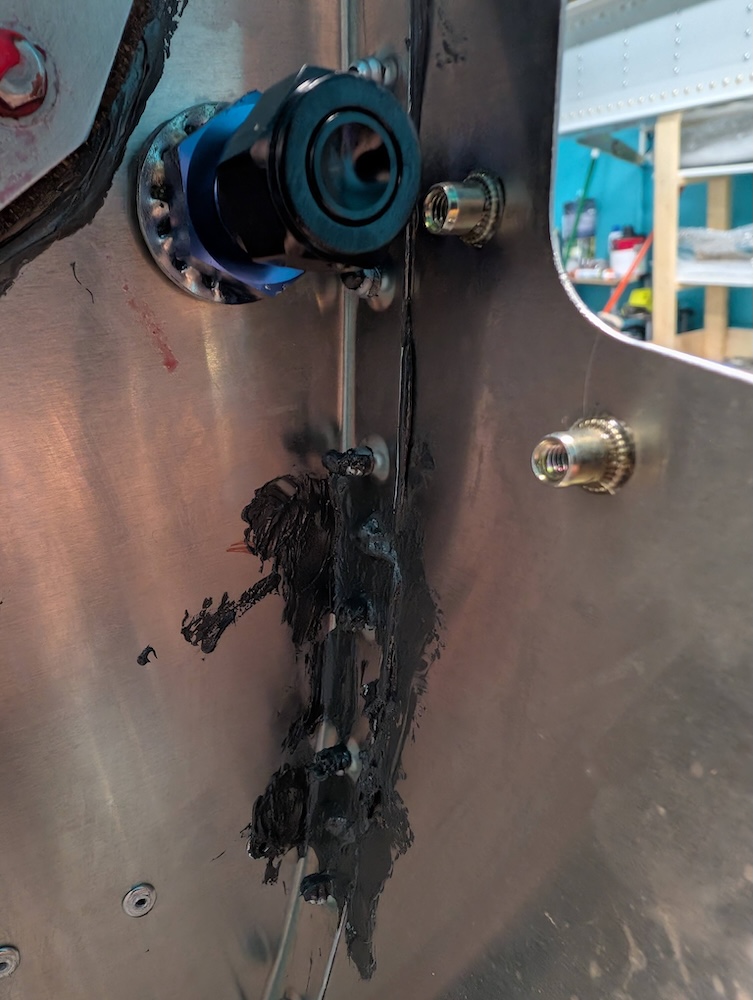 Extra sealant was added on some corners.
 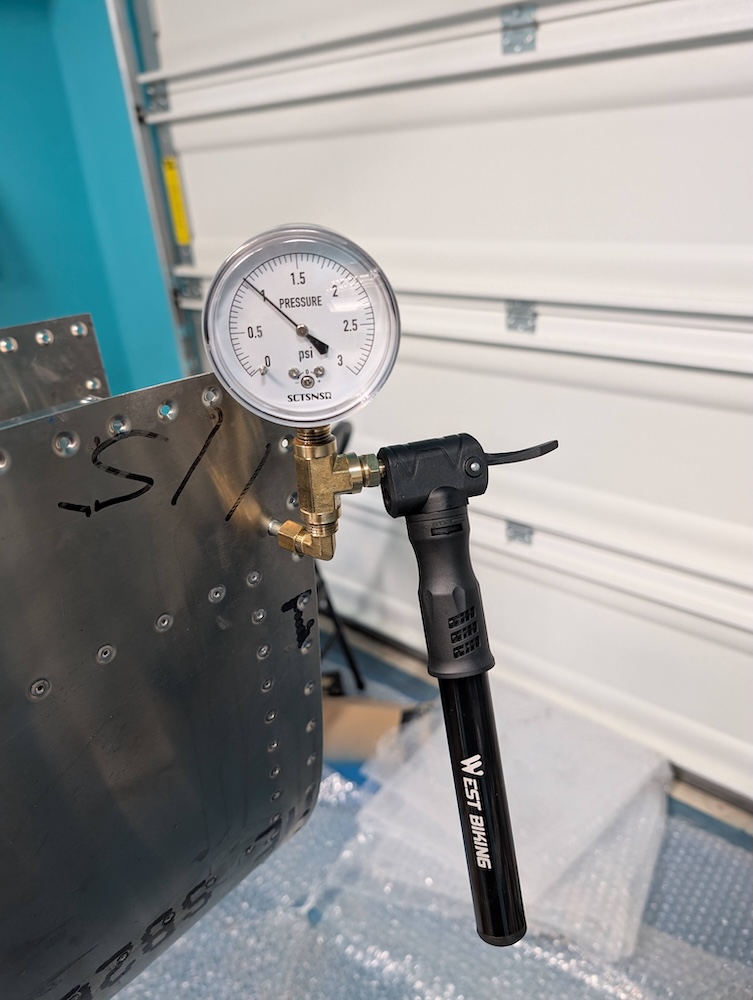 Tank pressurized to 1 psi.
 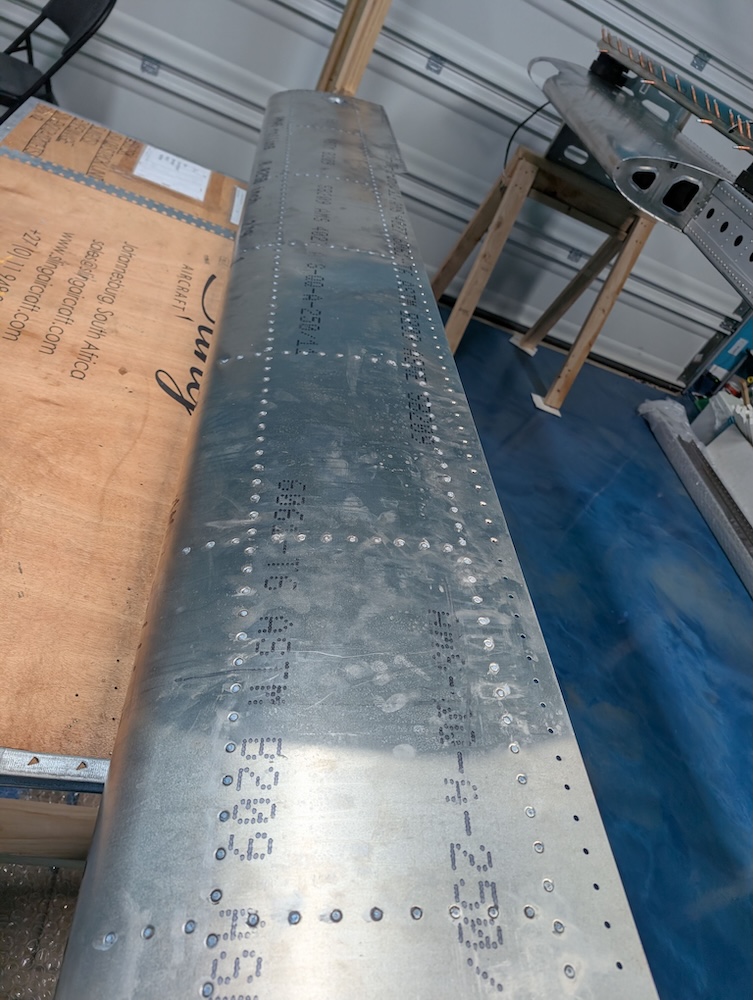 Tank rivet holes sealed with superfil.
Tools
Several tools for testing have been used for this, they are listed below:
- Pressure gauge: https://www.amazon.com/dp/B0CRBH5FQV
- Compression fitting: https://www.amazon.com/dp/B000WW7ORS
- T fitting: https://www.amazon.com/dp/B07FY9QN2G
- Bicycle pump: https://www.amazon.com/dp/B0BXS83LMH
- Schrader valve: https://www.amazon.com/dp/B0D1BYZGLJ
- AN6 block off fittings: https://www.amazon.com/dp/B0895RQ8QH