Attaching Right Wing Bottom Skin
The bottom skin for the right wing has been riveted to the skeleton structure.
We finished attaching the bottom skin to the right wing skeleton structure. The assembly was very straightforward. With the wing jig in place, it was very easy for the skin pieces to attach section by section.
Dimpling
Before attaching the skin sections, they were dimpled according to the instructions 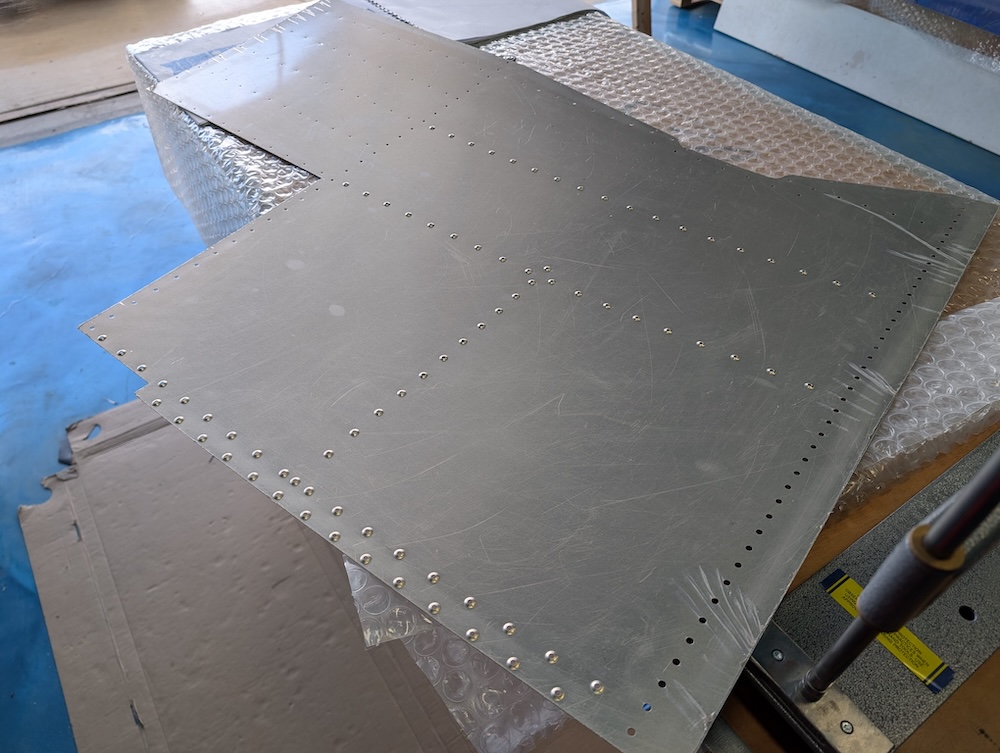 Root skin section.
 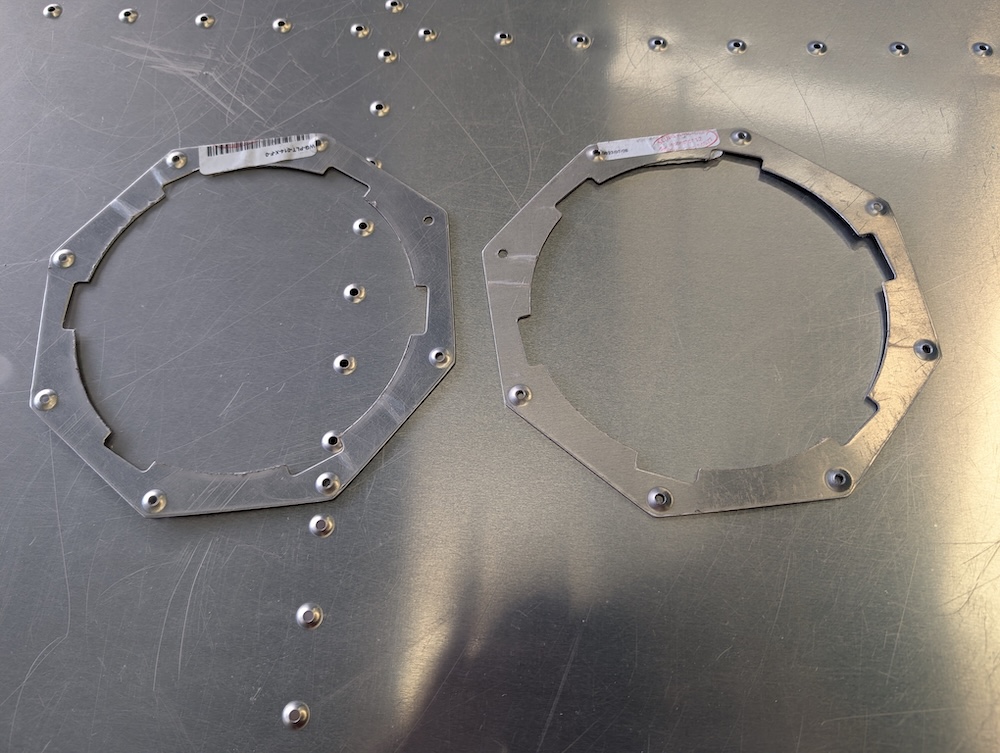 Inspection hatch frame.
 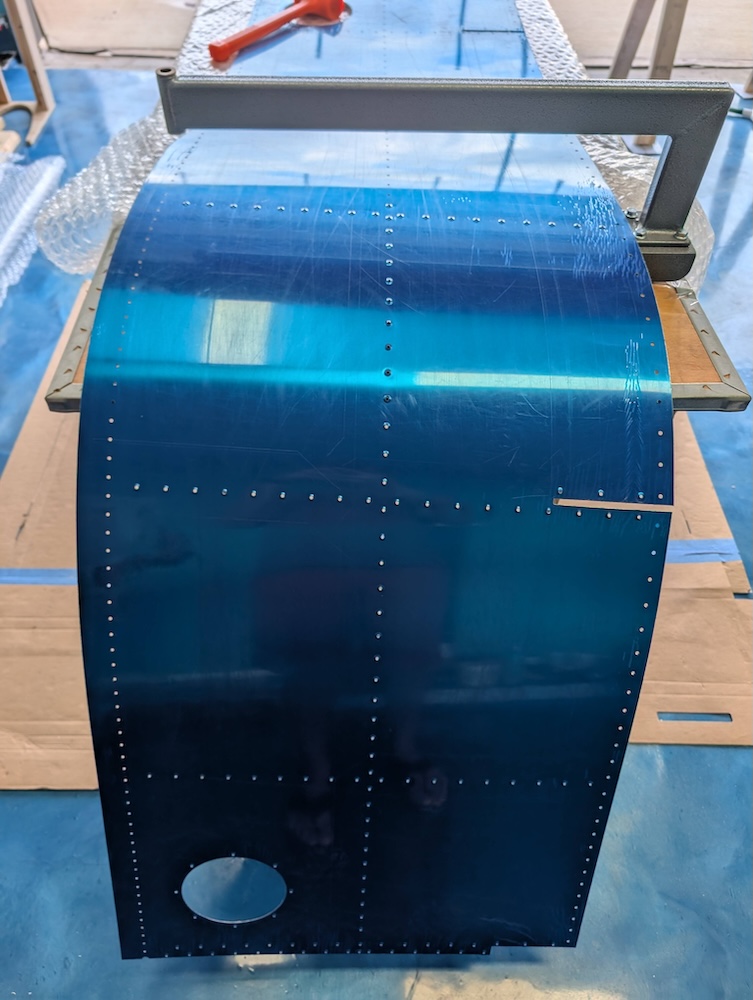 Root-Tip skin section.
 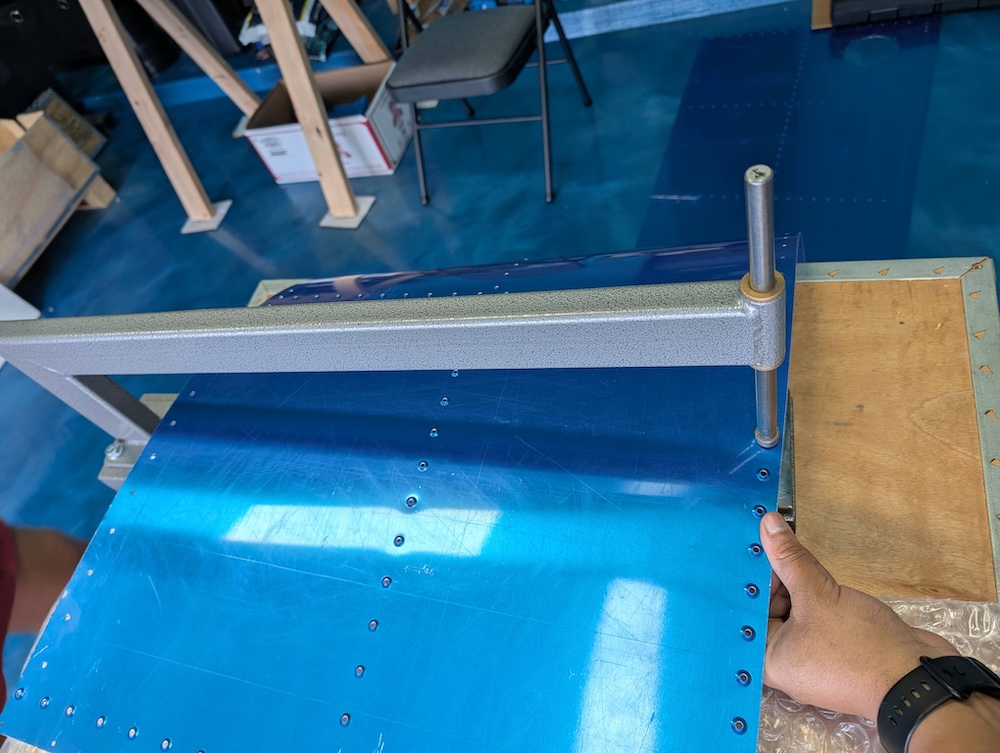 Root-Tip skin section.
 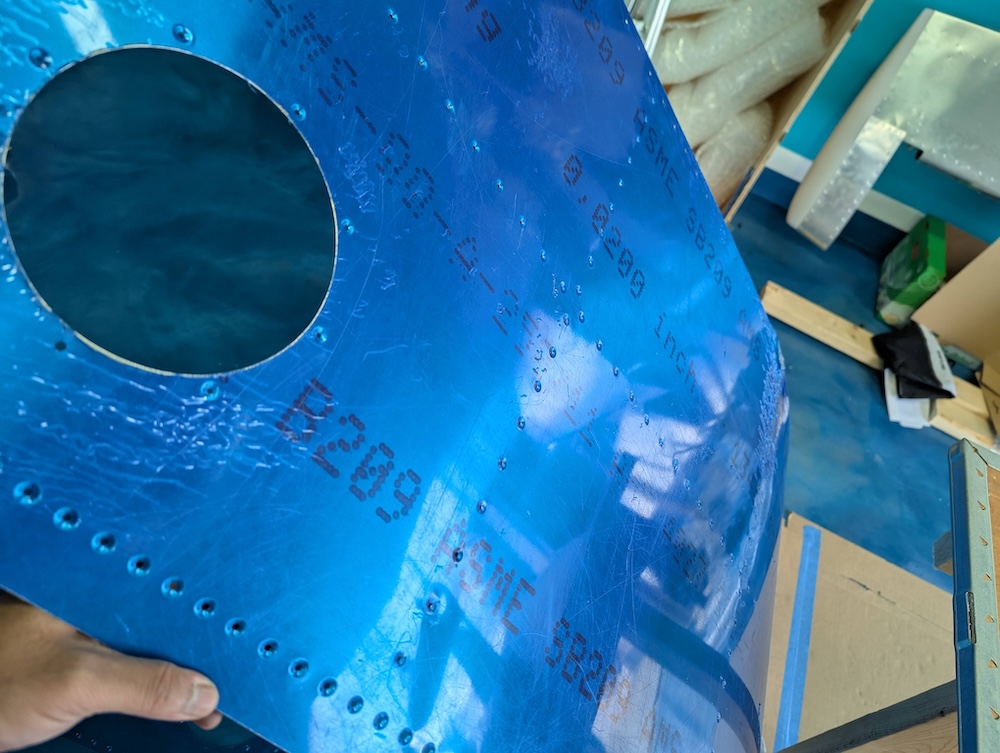 Root-Tip skin section.
Assembly Process
The sequence of riveting was from root to tip, section by section. Each section in this case is defined as the rectangular area between 2 ribs. The assembly was straightforward, there was one rivet which required shortening due to obstruction created by the rib supporting the bell crank mechanism for the ailerons. 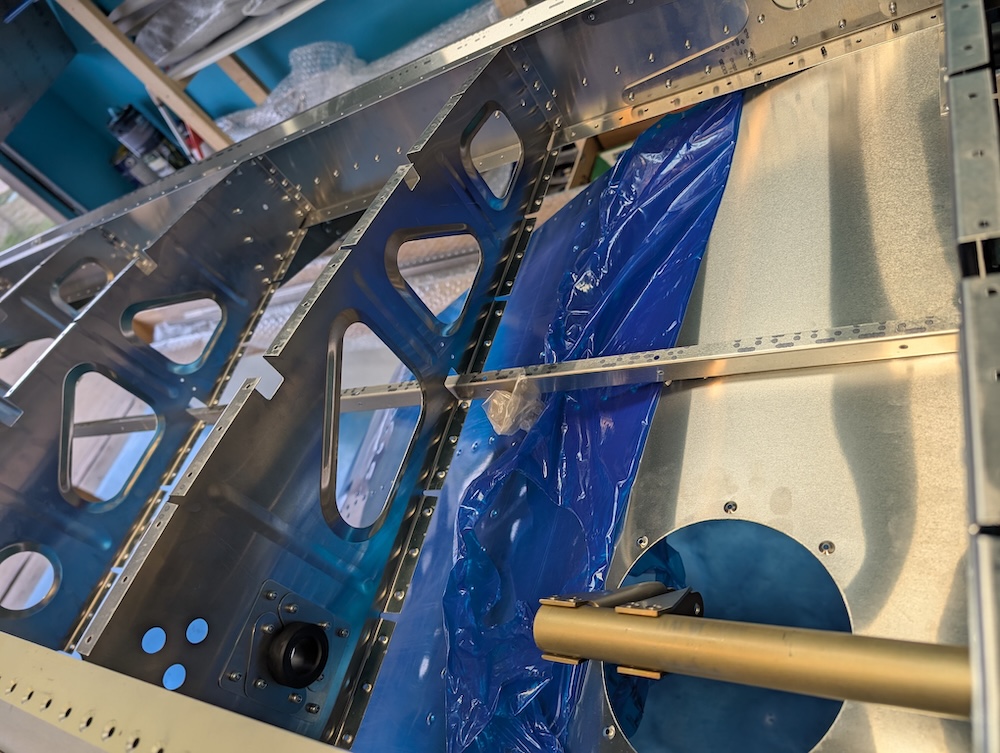 Peeling the protective layer section by section.
 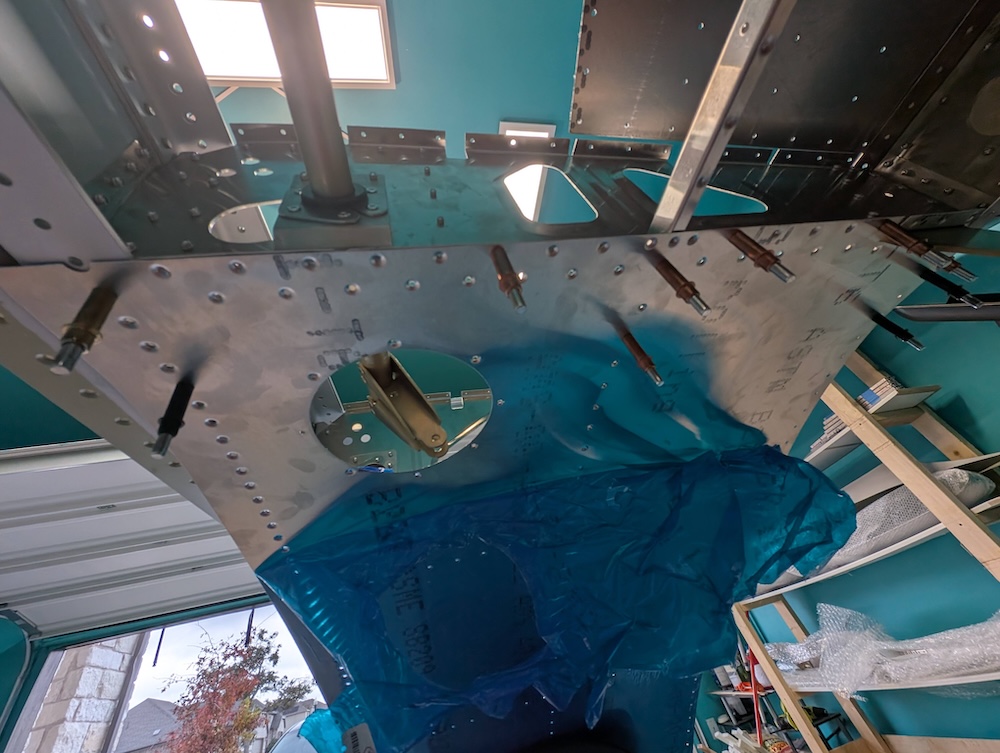 Peeling the protective layer section by section.
 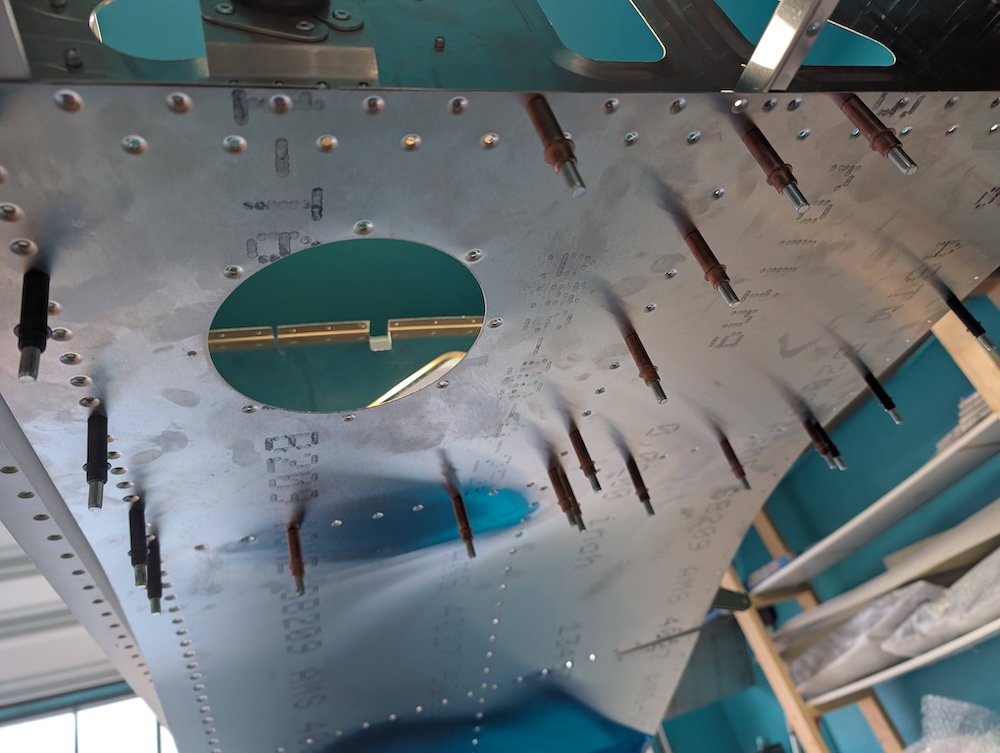 First section clecoed.
 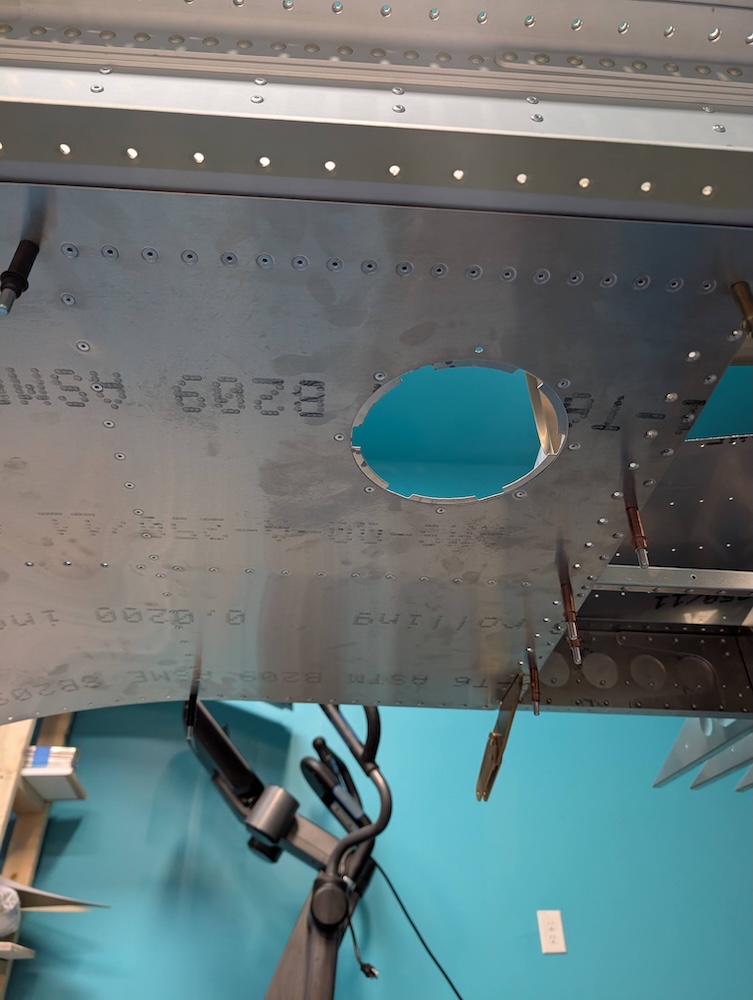 First section riveted.
  First section riveted.
 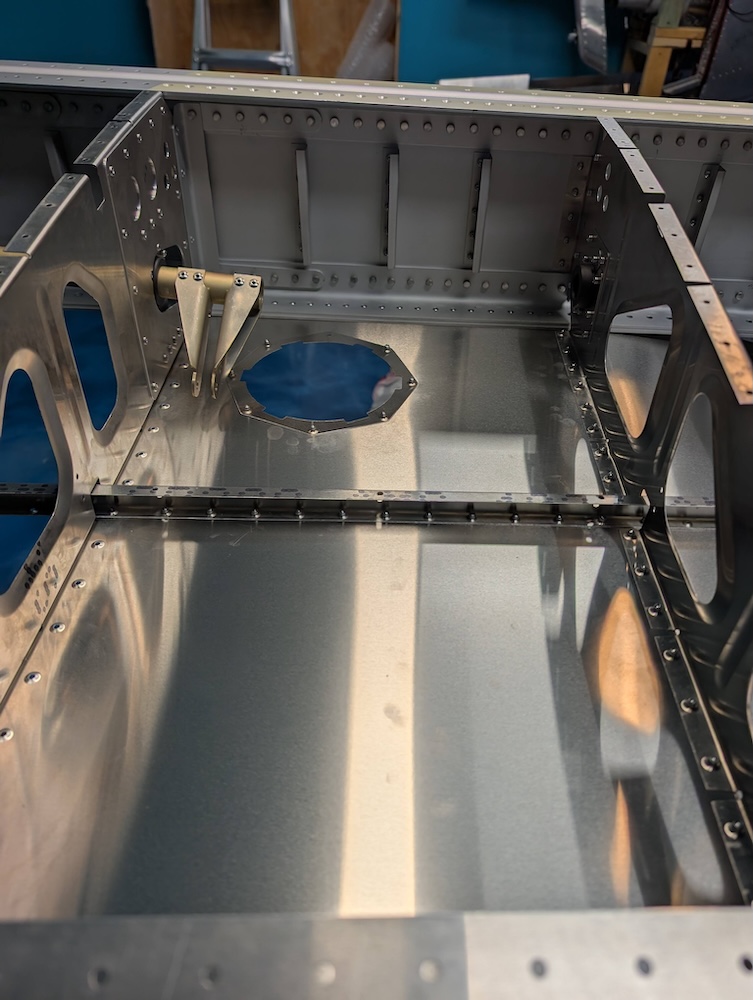 Inspection hatch frame riveted.
Big Picture
Overall layout of the right wing bottom skin is shown in the pictures below. 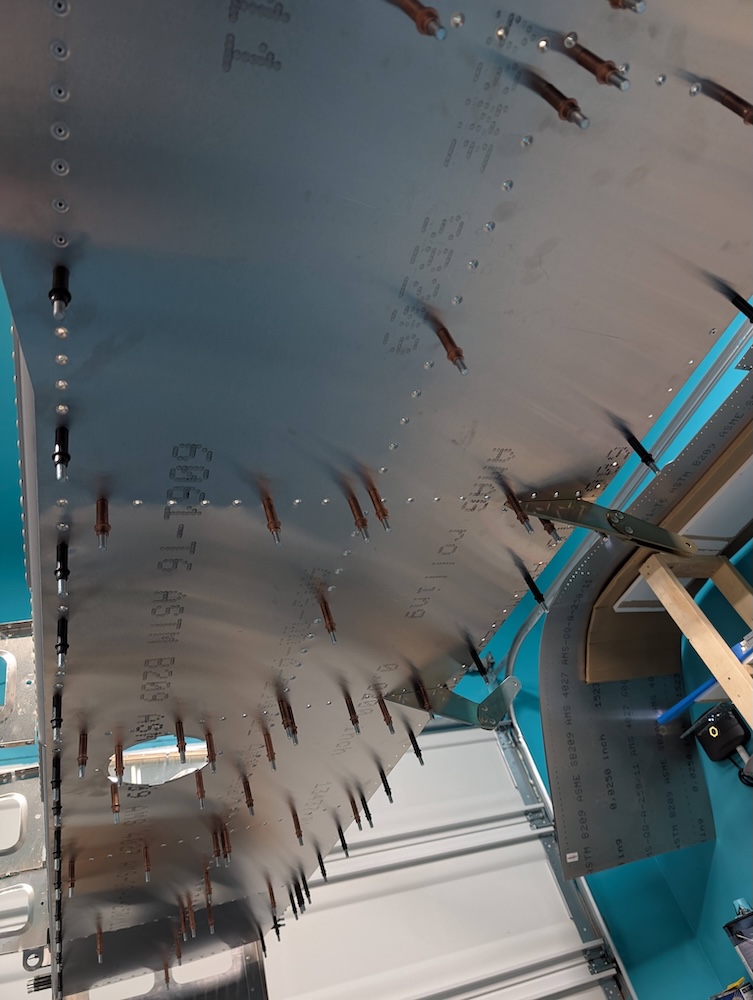 Root-tip section clecoed.
 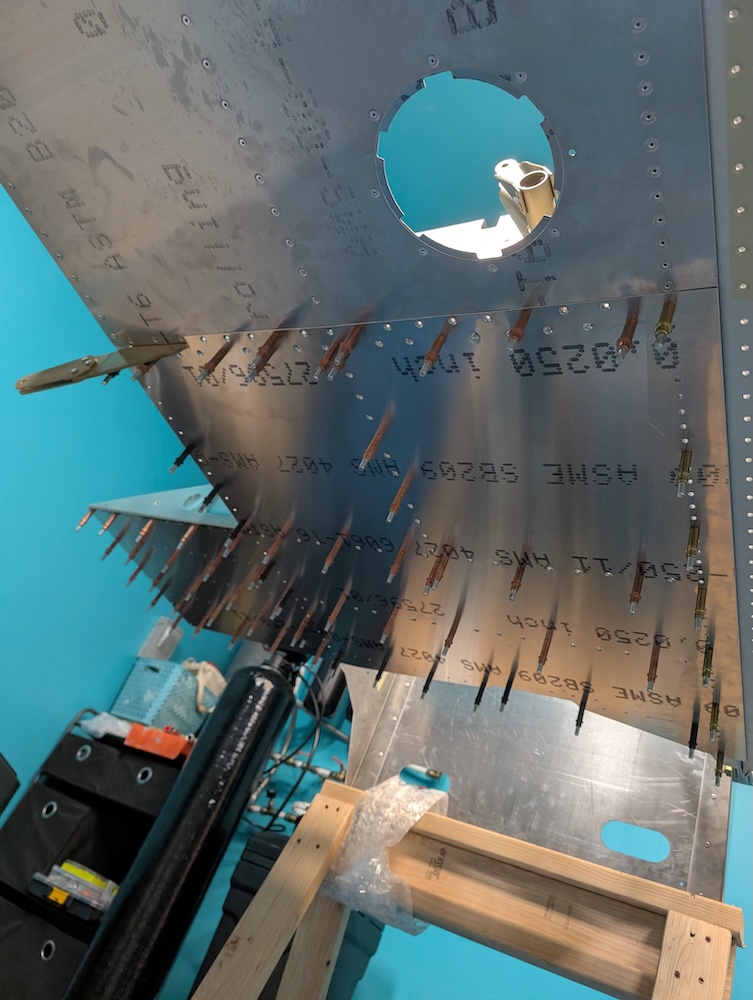 Root section clecoed.
 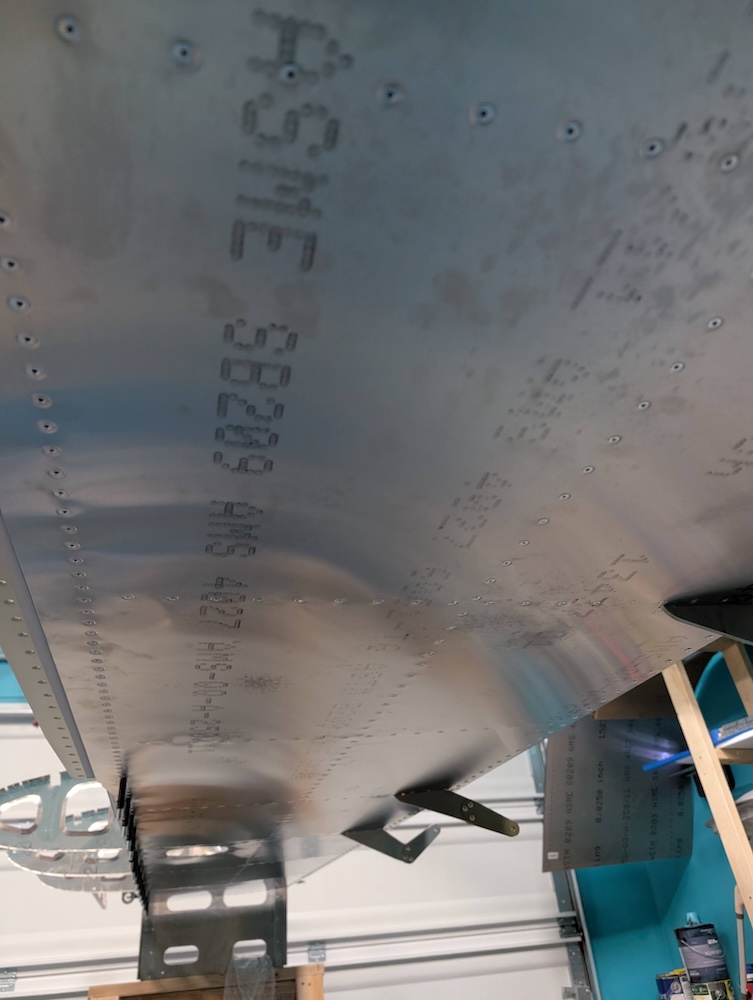 Root-tip section riveted.
 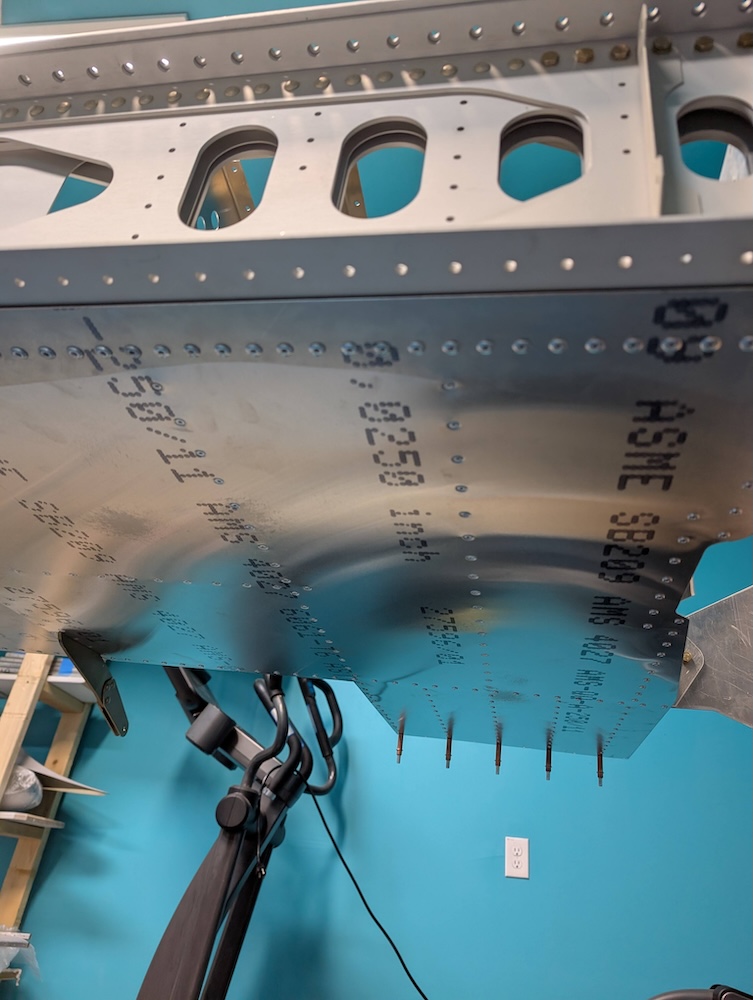 Root section riveted.
 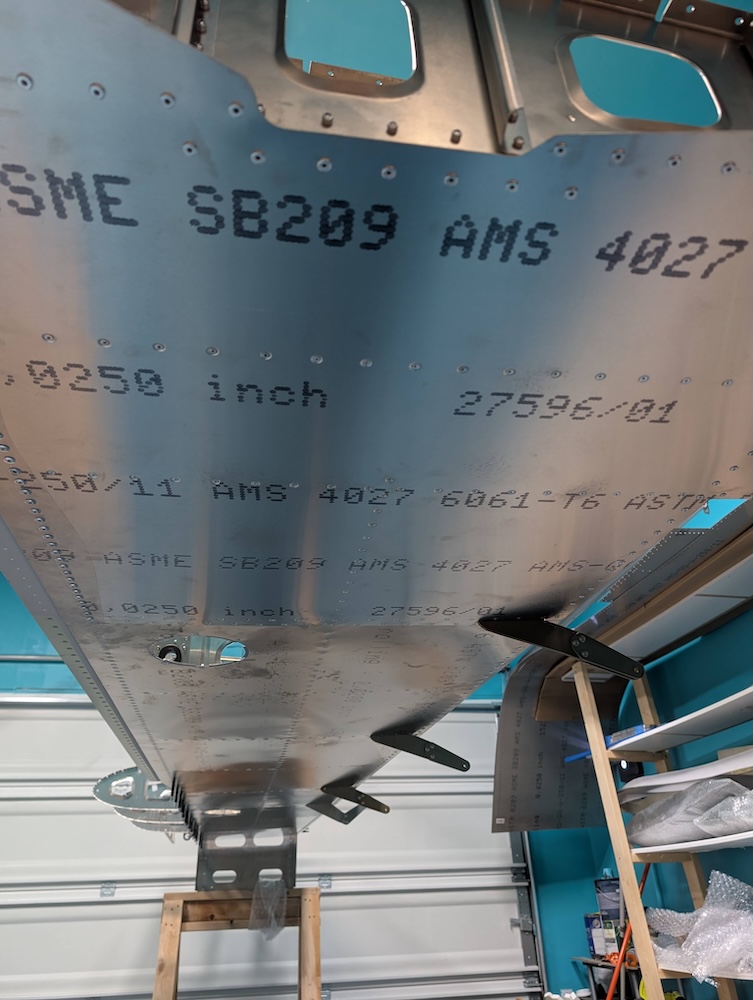 Right wing bottom view.
 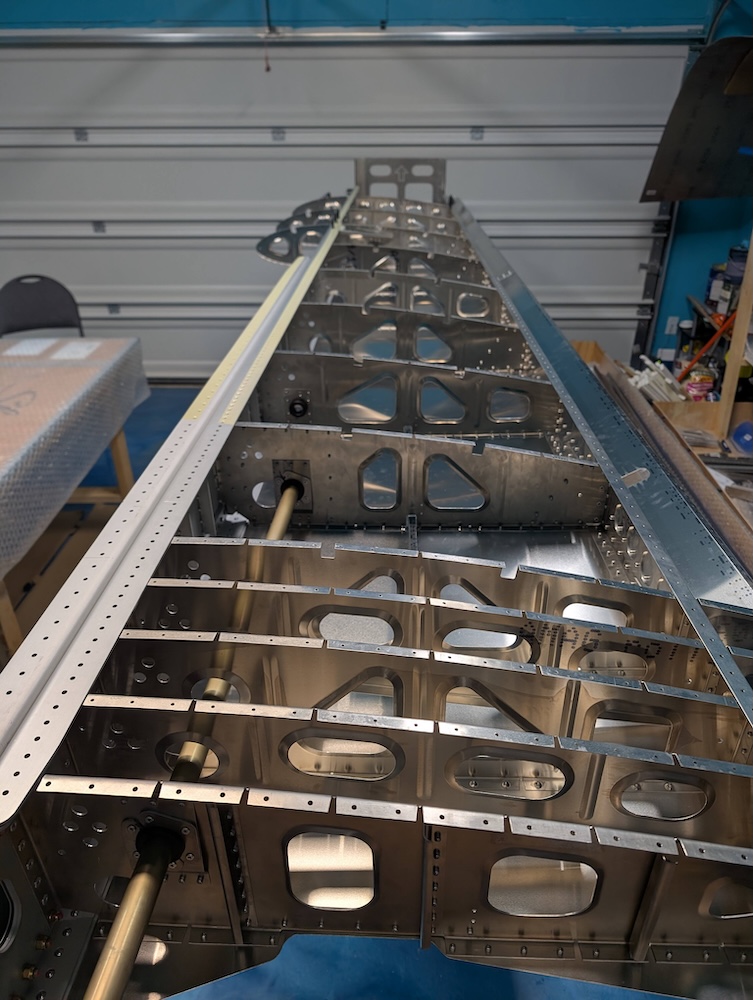 Right wing top view.