Right Wing Control Surfaces Alignment + Inspection Hatches Assembly
Right wing control surfaces have been aligned, along with installing inspection hatches.
Right wing control surfaces were aligned after performing a temporary installation at their final locations on the hinges. The alignment procedure for it is described in details in its respective section. Additionally, the inspection hatches were also dimpled, and assembled.
Aileron and Flap alignment
Aligning aileron and flap was pretty straightforward, according to the KAI, the instructions were to start with a rivet from the center, then move outwards on both the sides, leaving about 4 holes in between. Additionally, check alignment while doing it. Once one round is done through the end of both the sides, additional rivets can be installed from the center then to both the sides, basically repeating the pattern from center through the sides, alternating the sides for each rivet pulled. 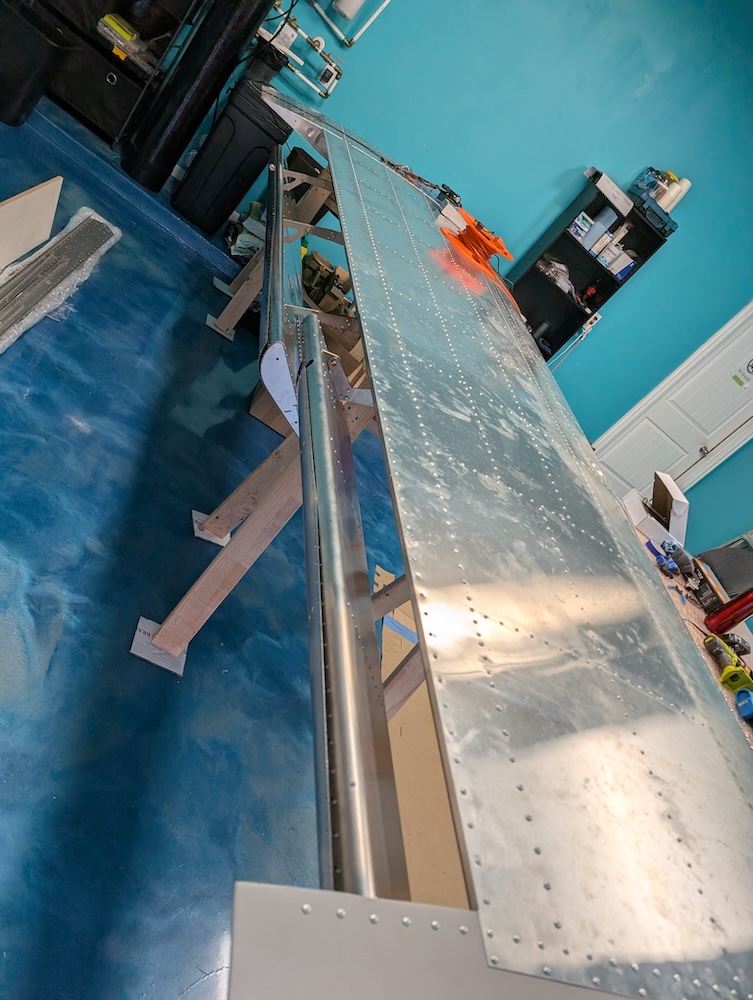 Aileron and Flap bolted to the hinges.
 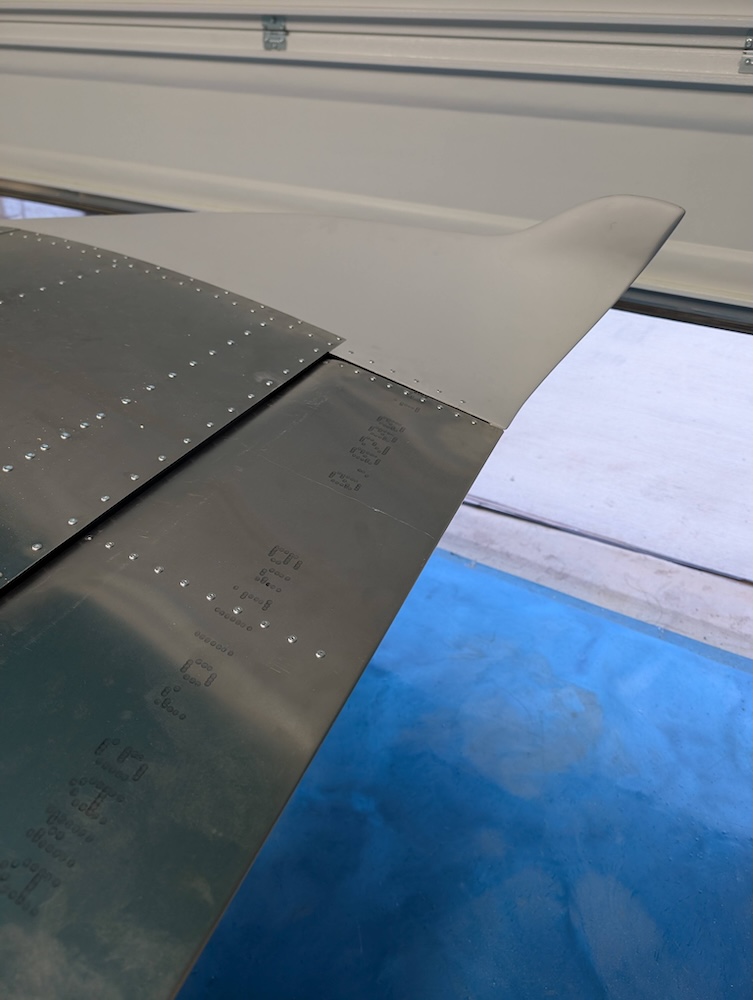 Checking Aileron and Flap alignment before riveting, view from tip.
 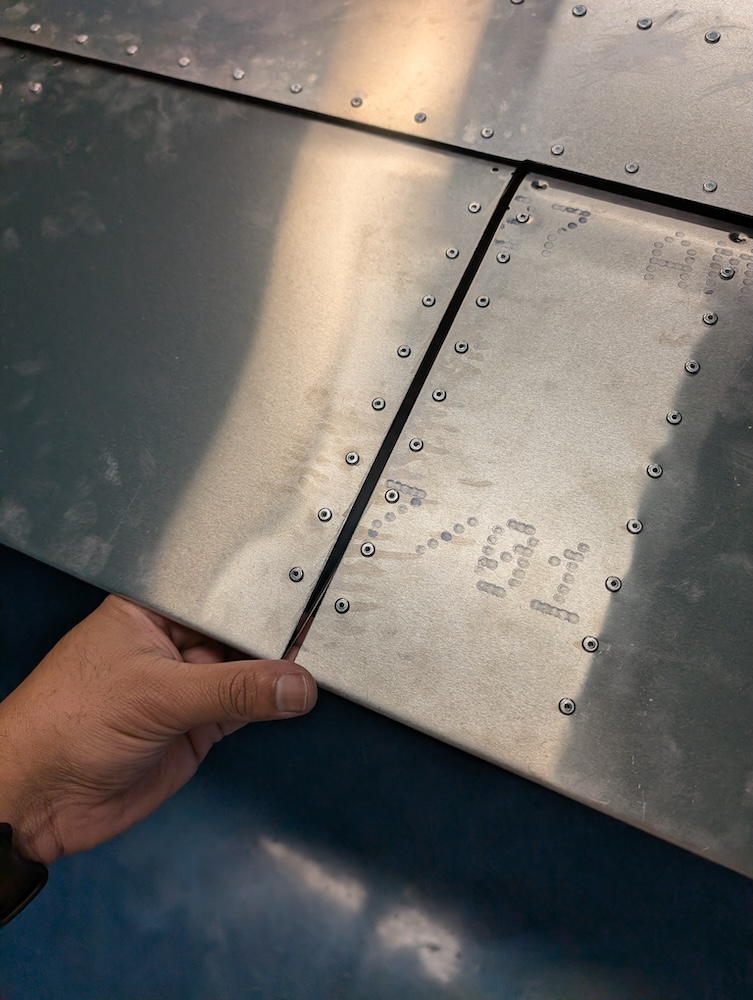 Checking Aileron and Flap alignment before riveting, view from center.
 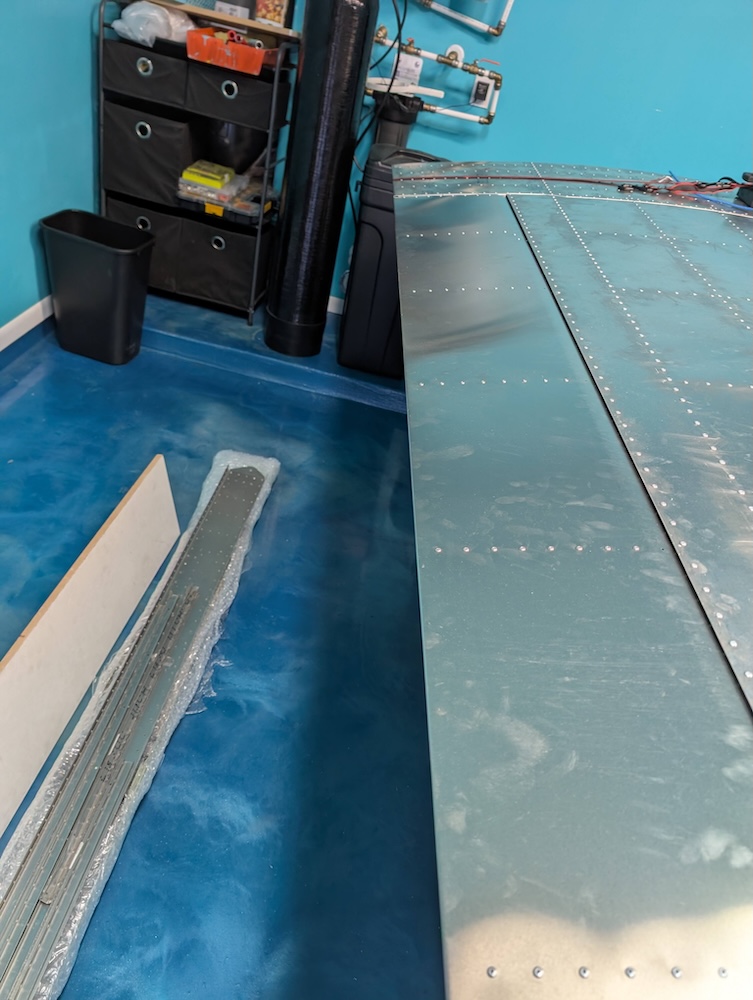 Checking Aileron and Flap alignment before riveting, view from root.
  Aileron riveted and aligned.
 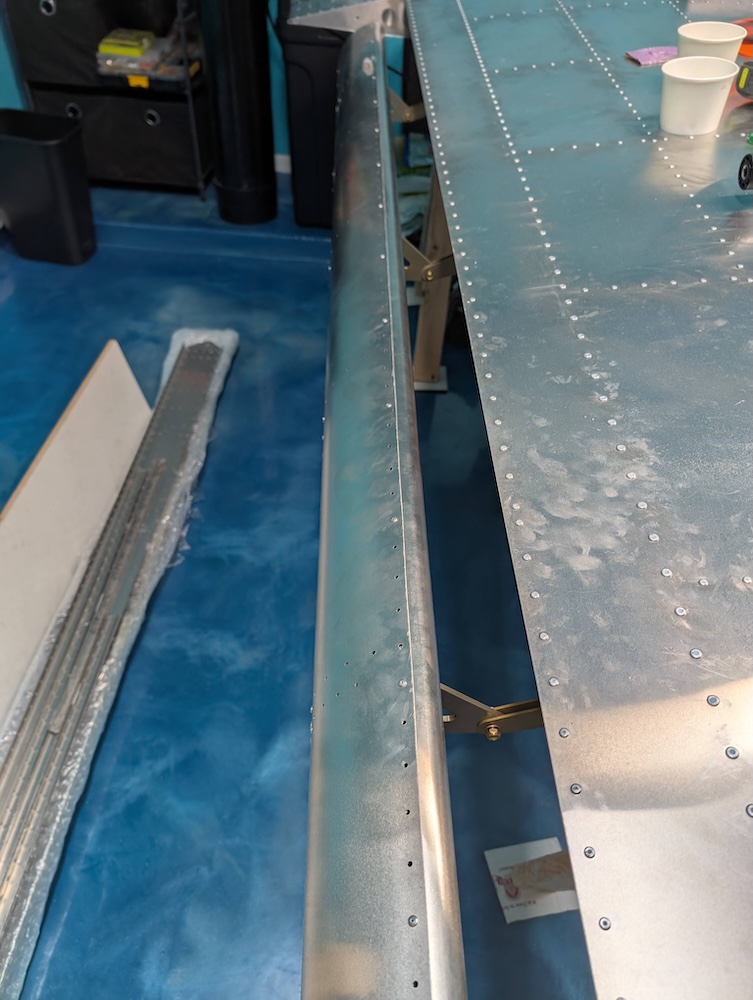 Initial riveting for flaps, leaving 4 holes in between.
 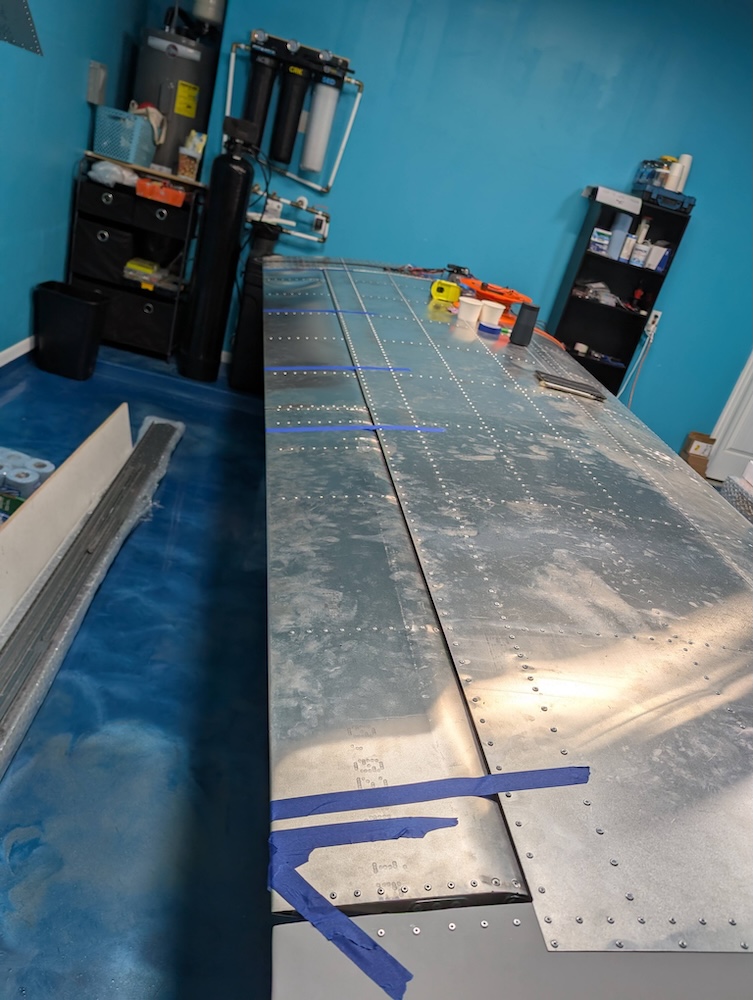 Aileron and Flap riveted.
 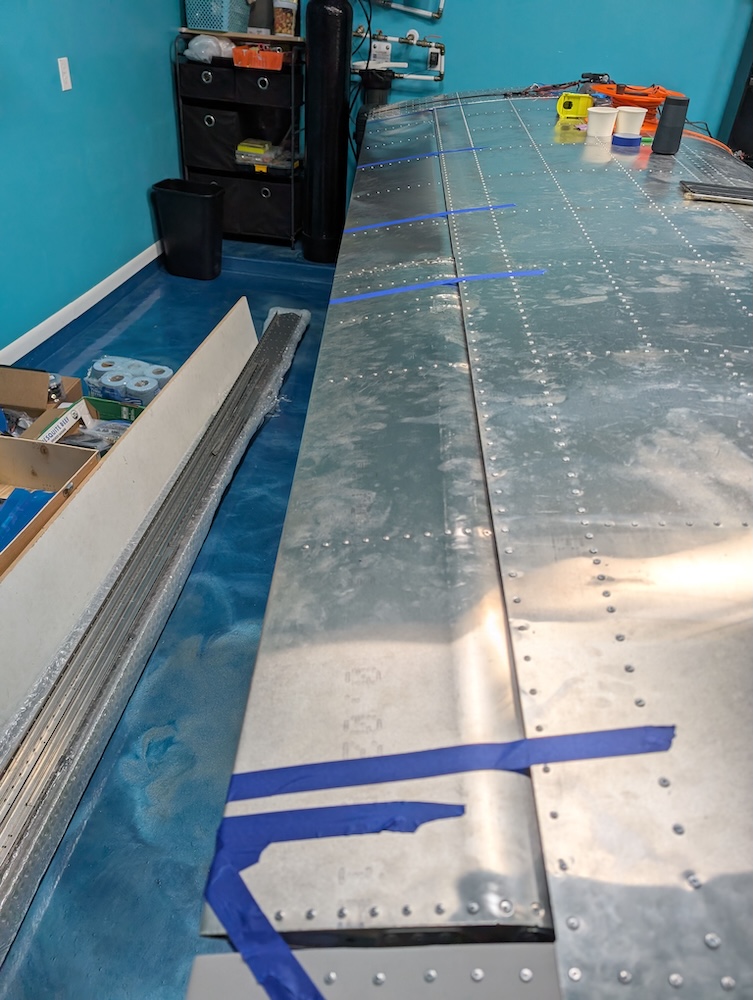 Aileron and Flap riveted.
Inspection Hatch
Assembling and installing the inspection hatch was pretty straightforward, similar to what was done for the elevator inspection hatch. Except this required dimpling the holes since it is at the bottom of the wings. 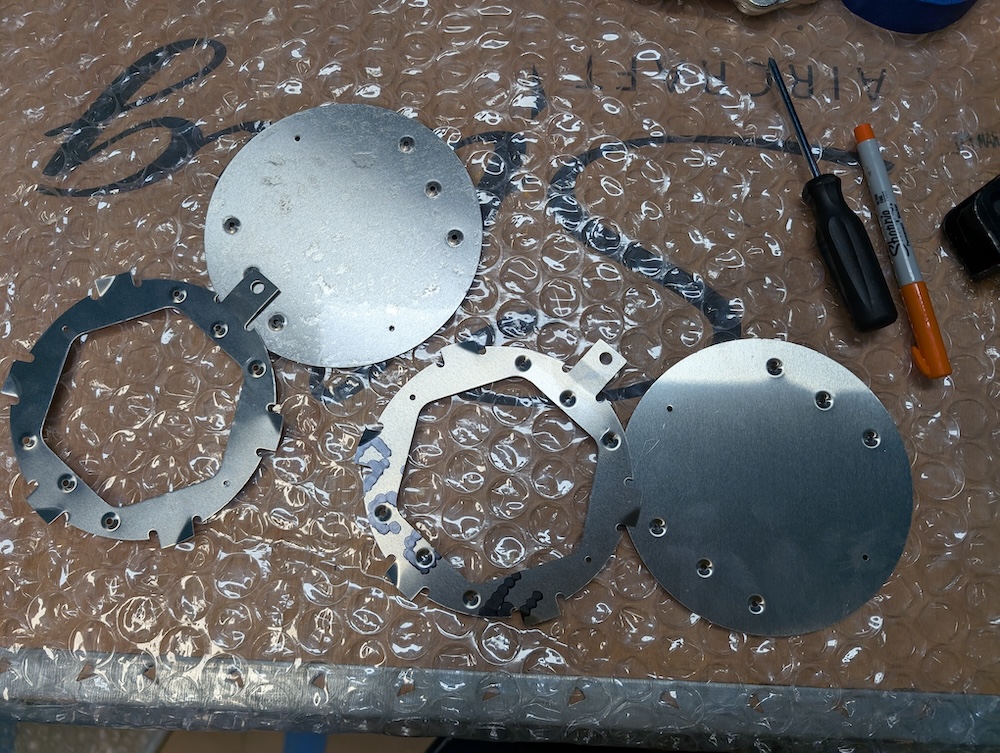 Inspection hatch dimpled, with vinyl sheet on the inside.
 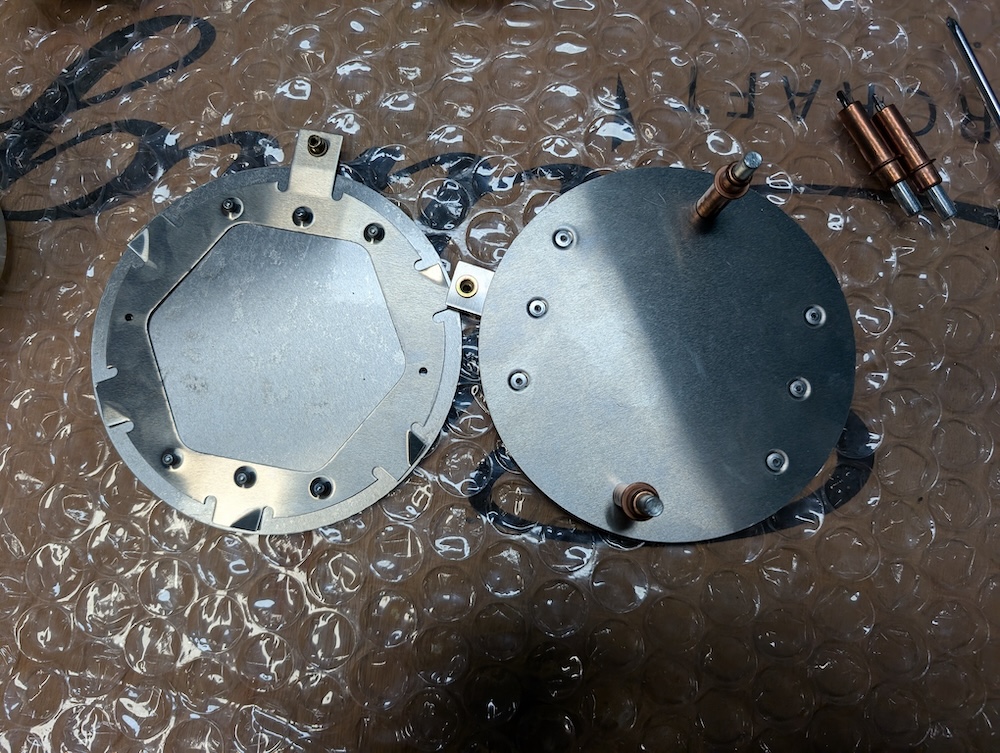 Inspection hatch dimpled, using 2 copper clecos to open and close it.
 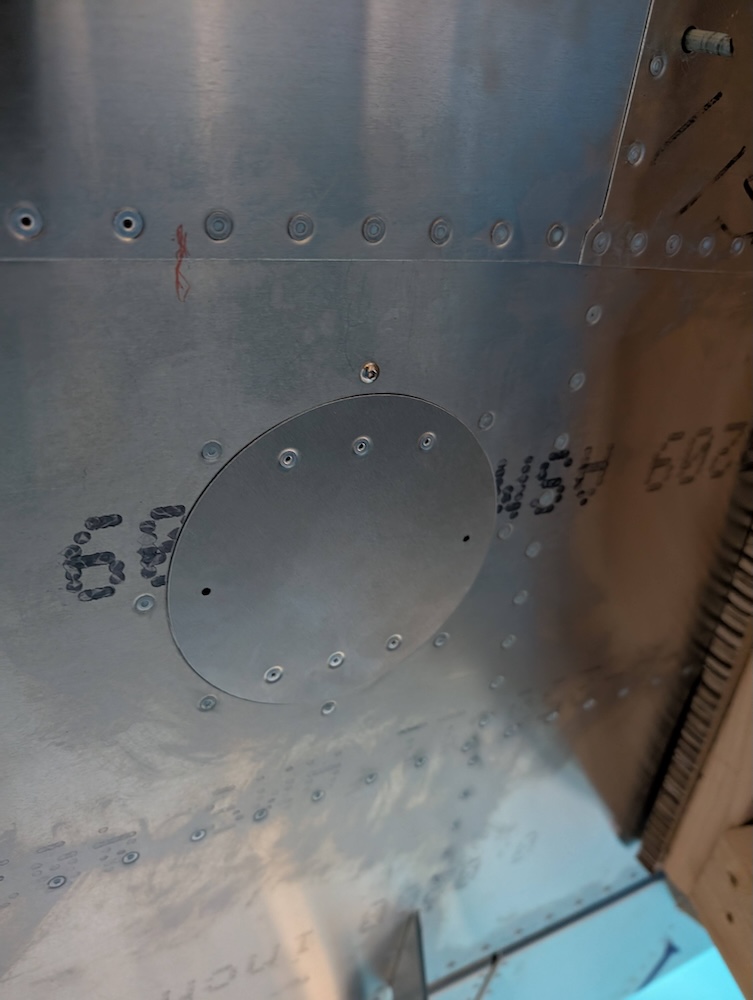 Inspection hatch installed on the wing.