Right Wing Landing + Taxi Light Installation
Right wing landing and taxi lights are installed, and tested.
Right wing landing and taxi light have been installed, it was pretty straightforward, required some additional tools such as a gel based superglue to put the springs in place while the lights are getting installed. Additionally, crimp + heat shrink ring terminals were used at the end of the wires to attach them to the lights. Also, since the holes where the light cover was installed were dimpled, a non-traditional method had to be invented to remove the dimples, more in the photos section.
Photos
 Using silver clecos to shape the metal strip to reinforce the landing light cover.
 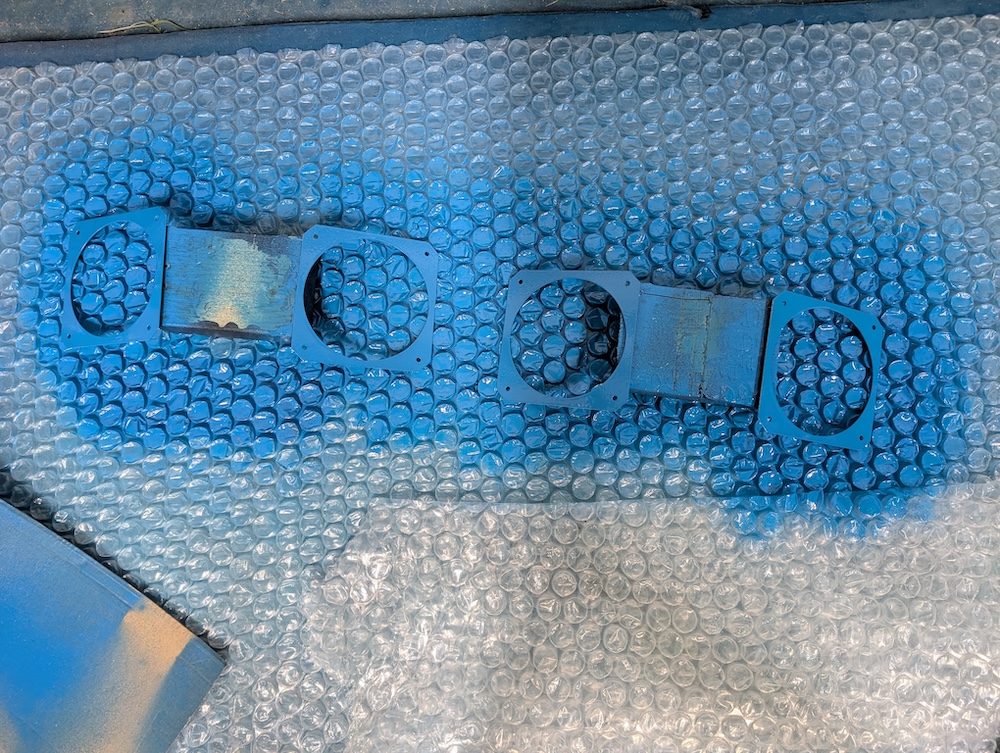 Painting the front and rear plates for the lights.
 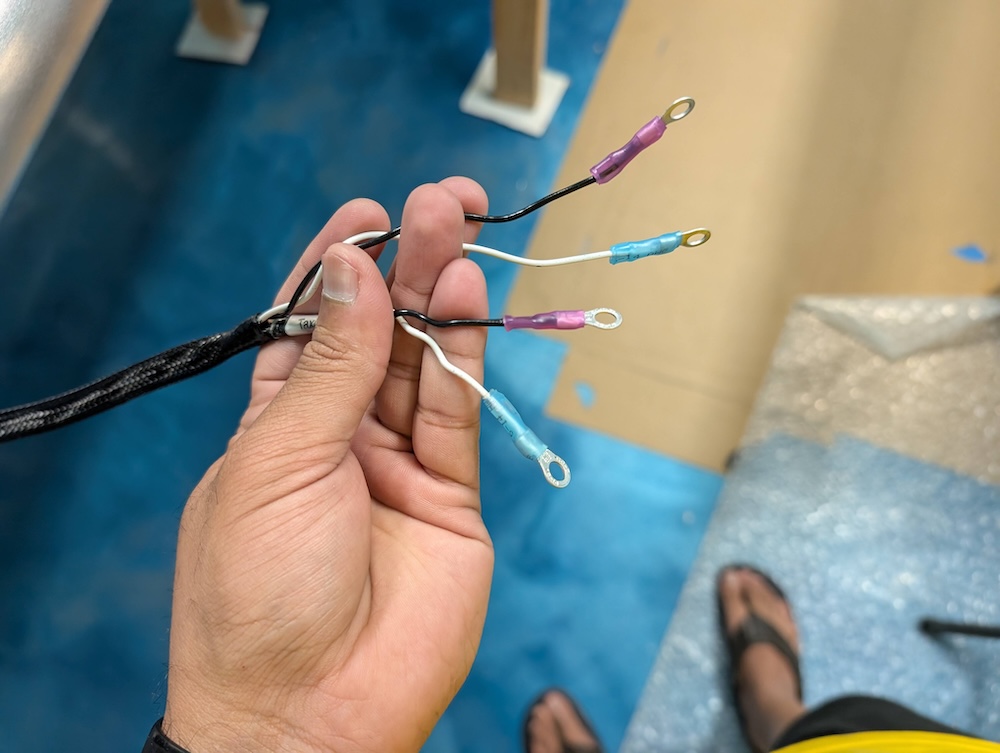 Ring terminals attached to the light wires.
 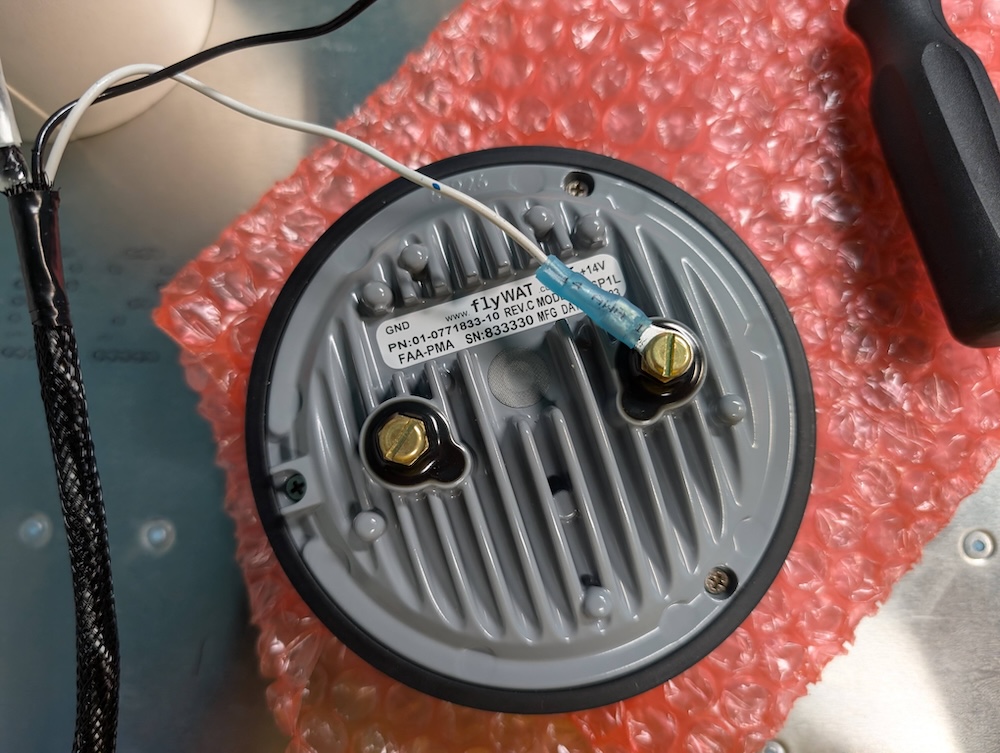 Attaching the wires to the lights.
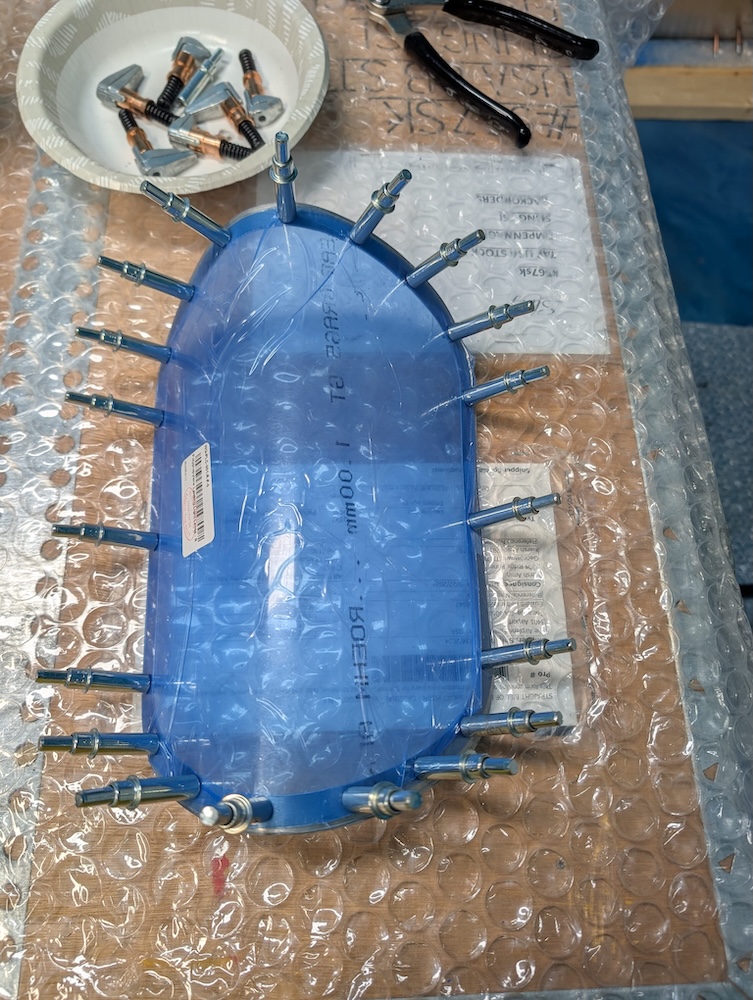
 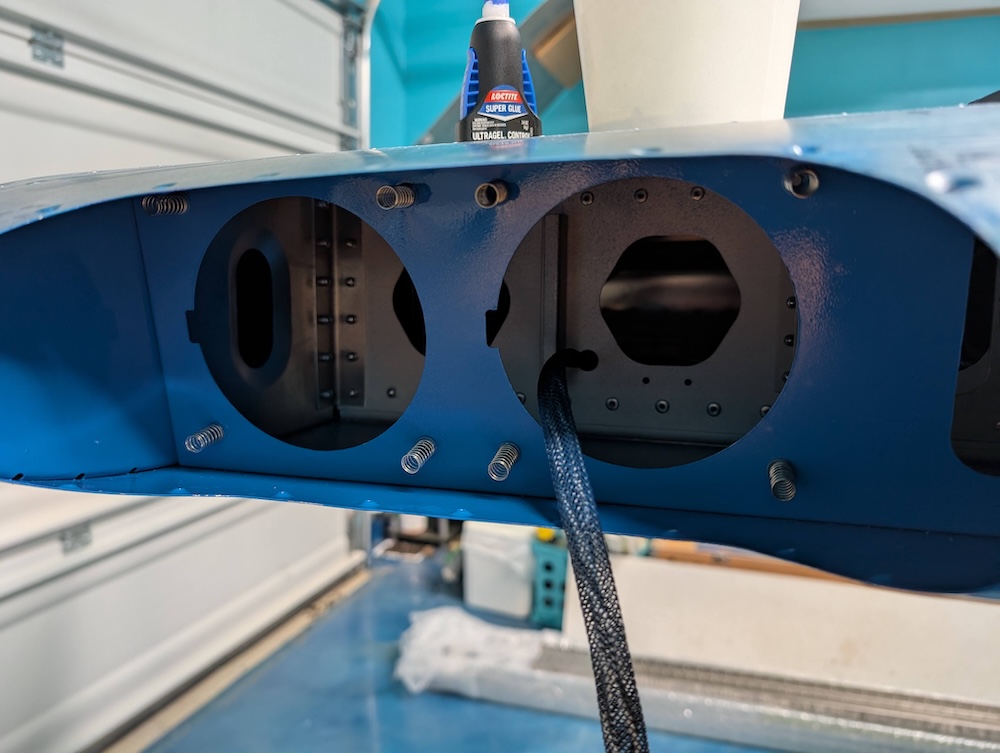 Springs superglued to the frame to keep them in place during installation.
 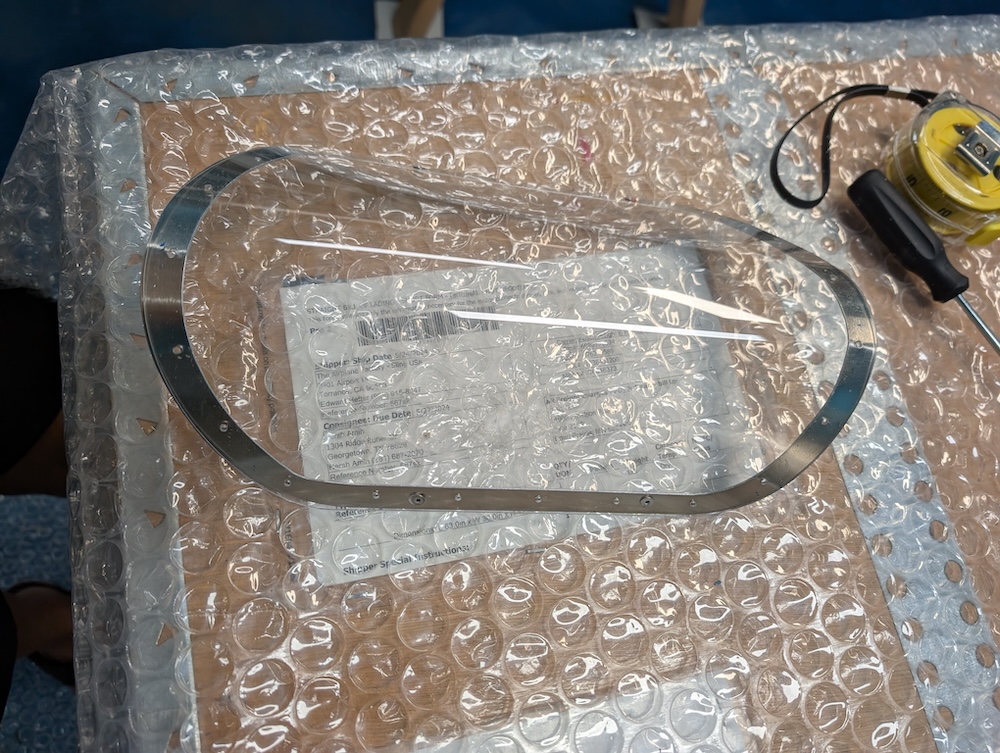 Countersunk rivets added on both the sides to keep the lens and the metal strip together.
 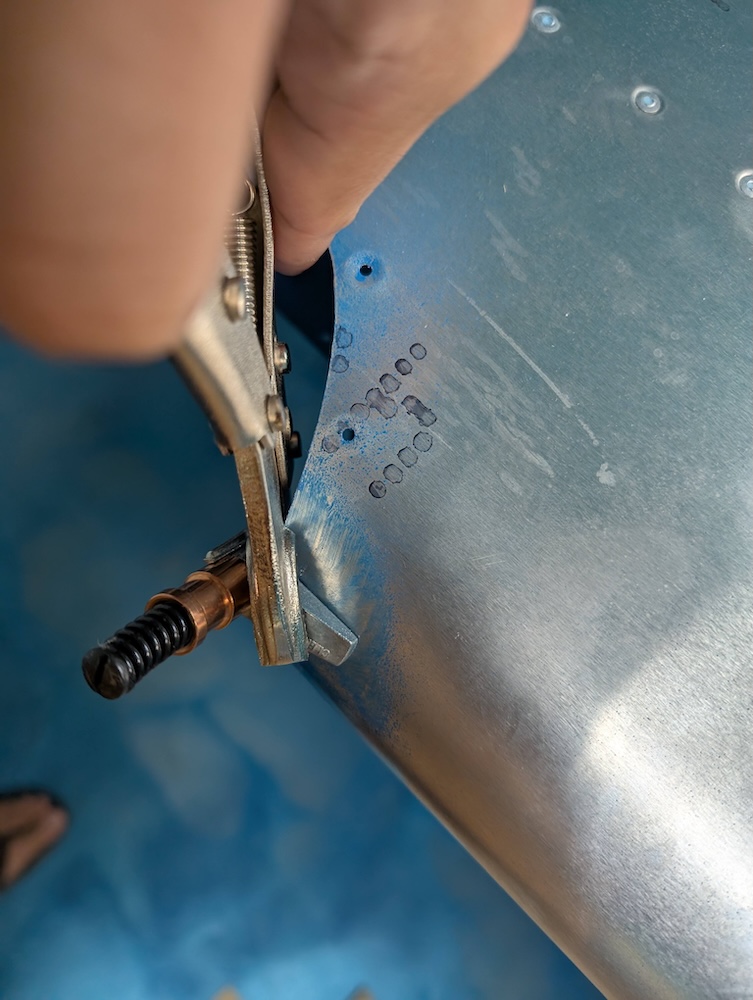 Flatenning the dimpled area of the skin using a flat cleco and pliers.
 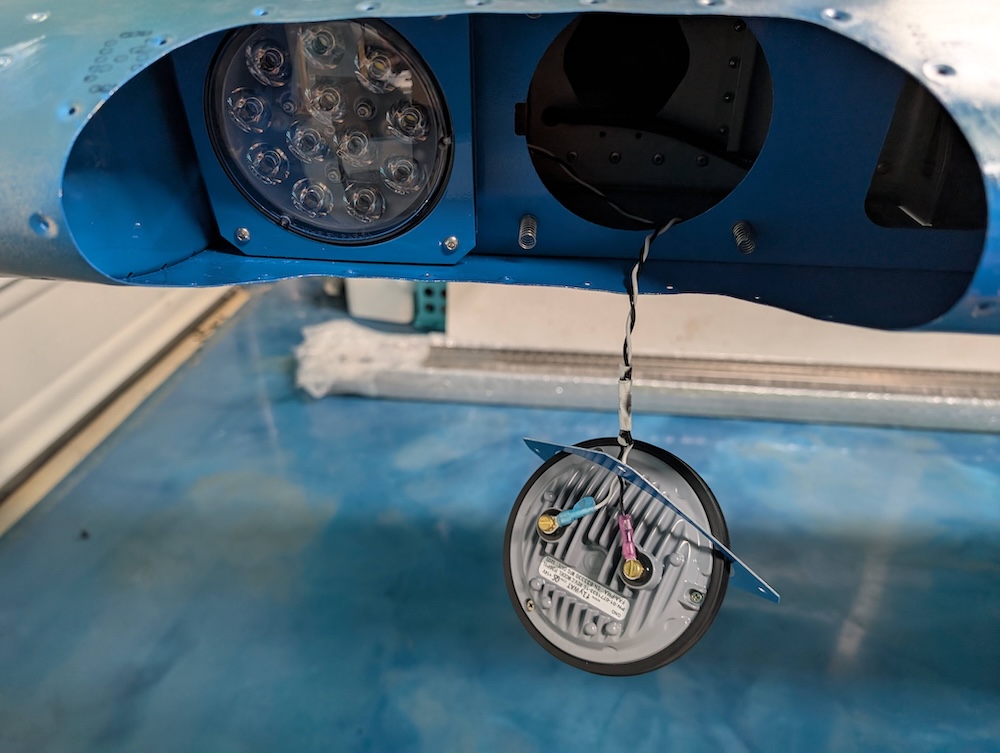 Landing light installed, installing taxi light.
 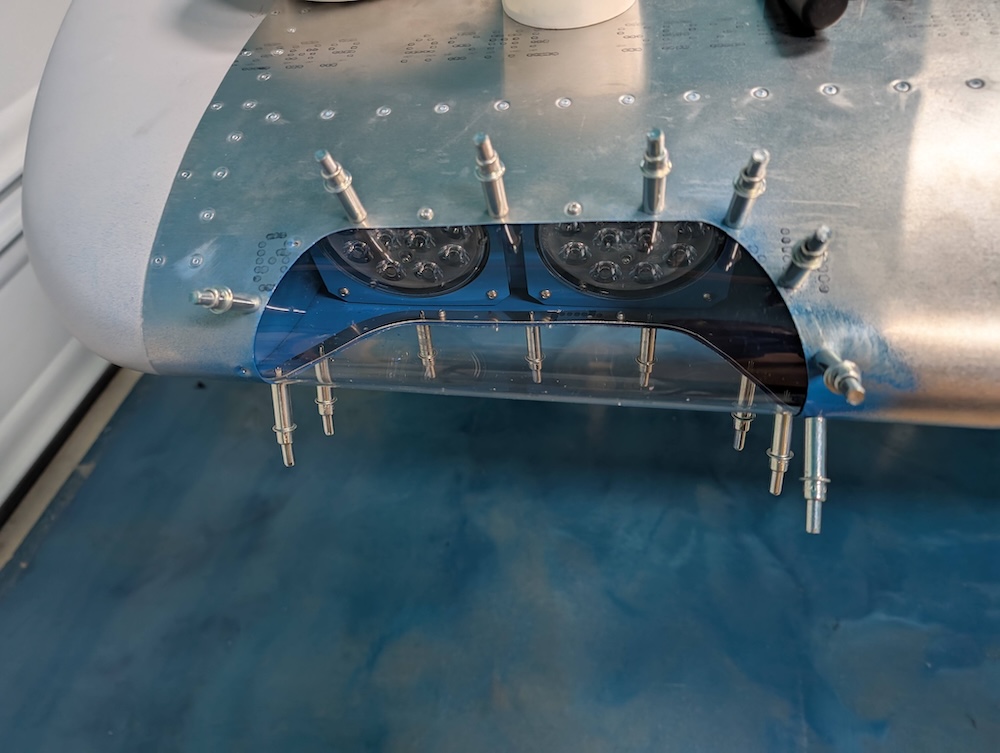 Landing and taxi light installed.
 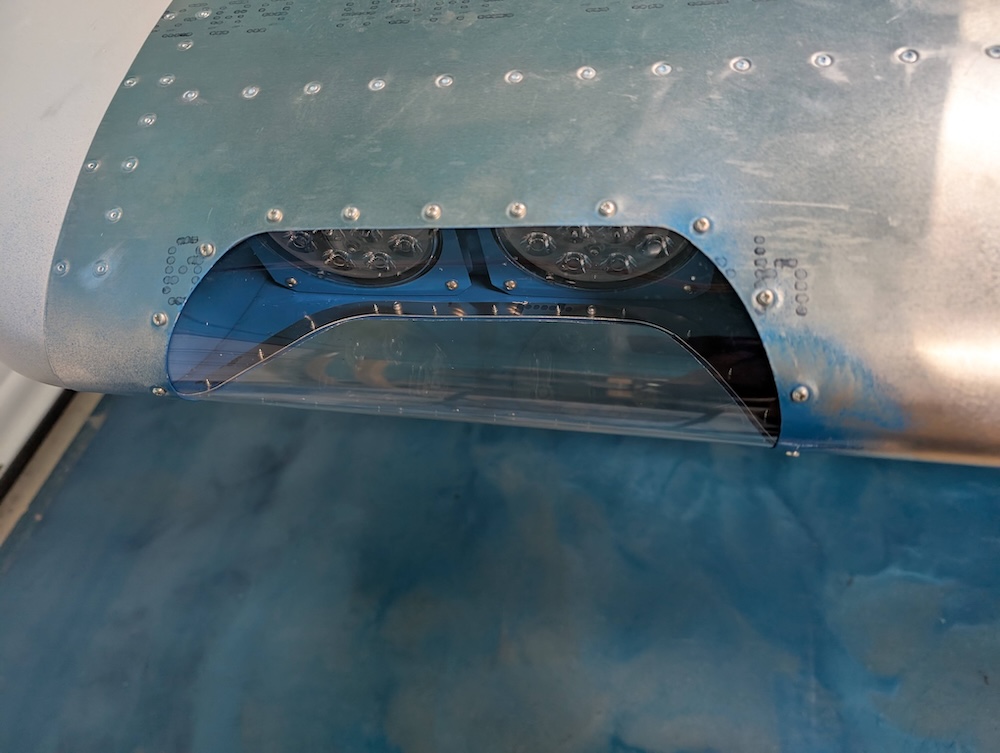 Light cover installed using self-tapping screws.
Tools
- Gel based superglue to keep the springs in place: https://www.loctiteproducts.com/products/central-pdp.html/loctite-super-glue-ultra-gel-control/SAP_0201DGL029X9.html
- Ring terminals to attach the lights to the wires: https://www.amazon.com/dp/B086Z2Y1D6