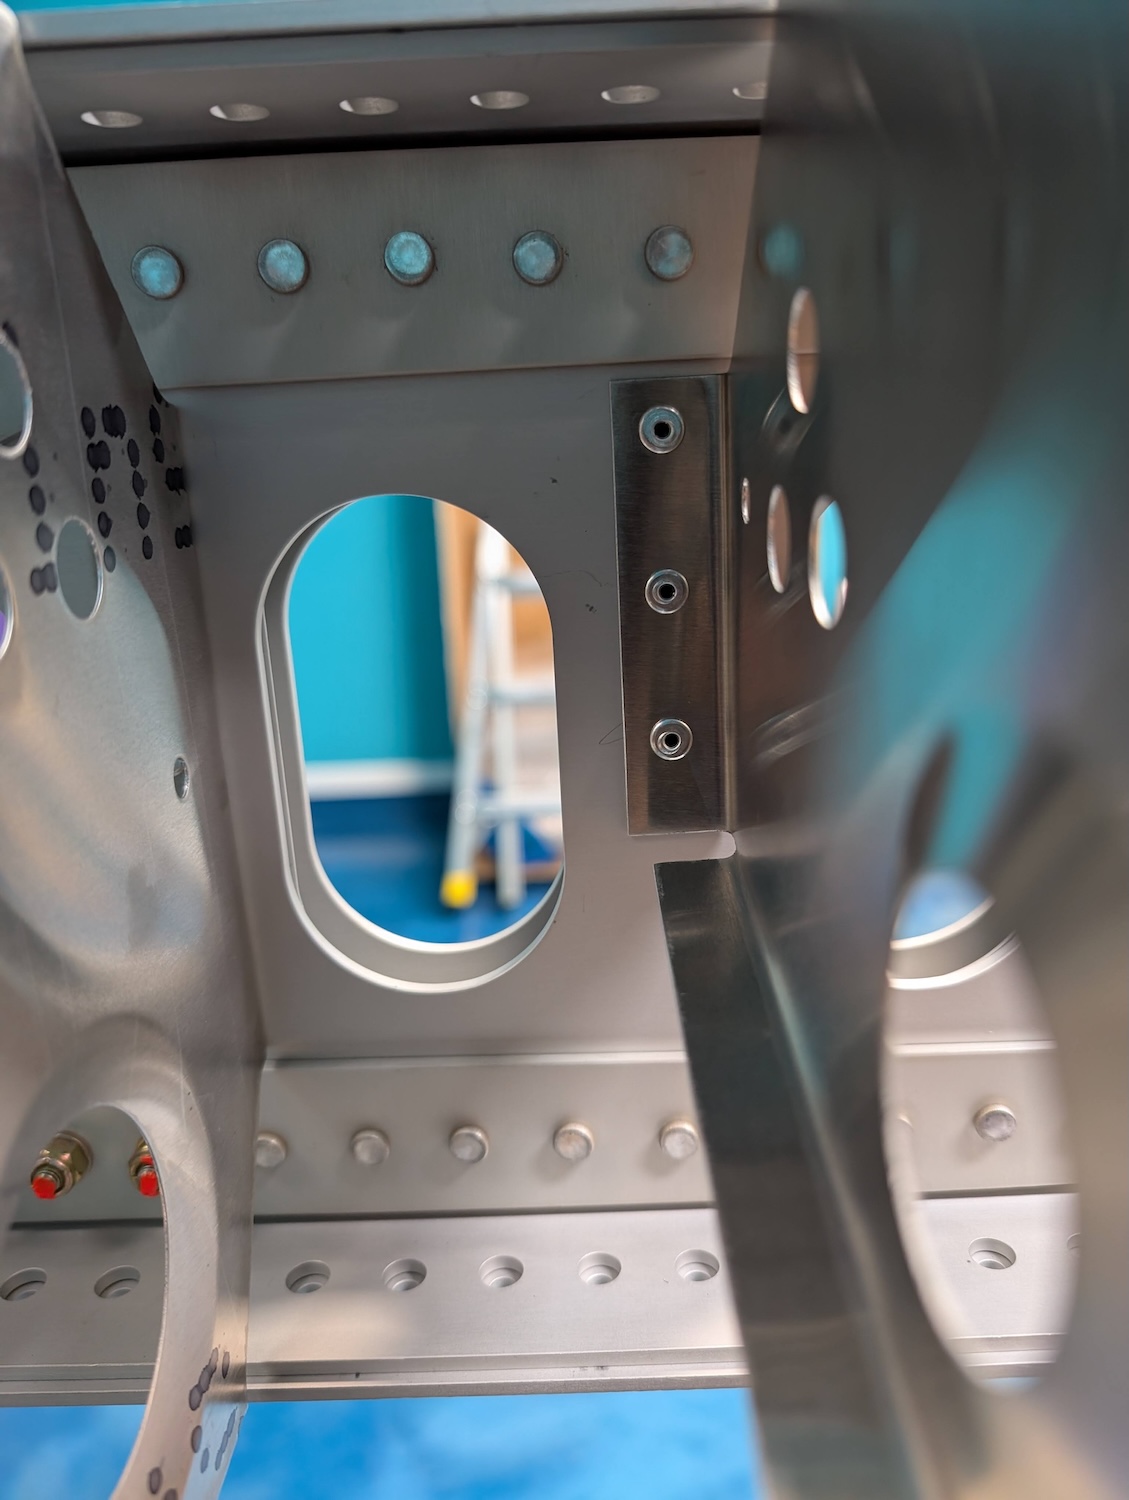
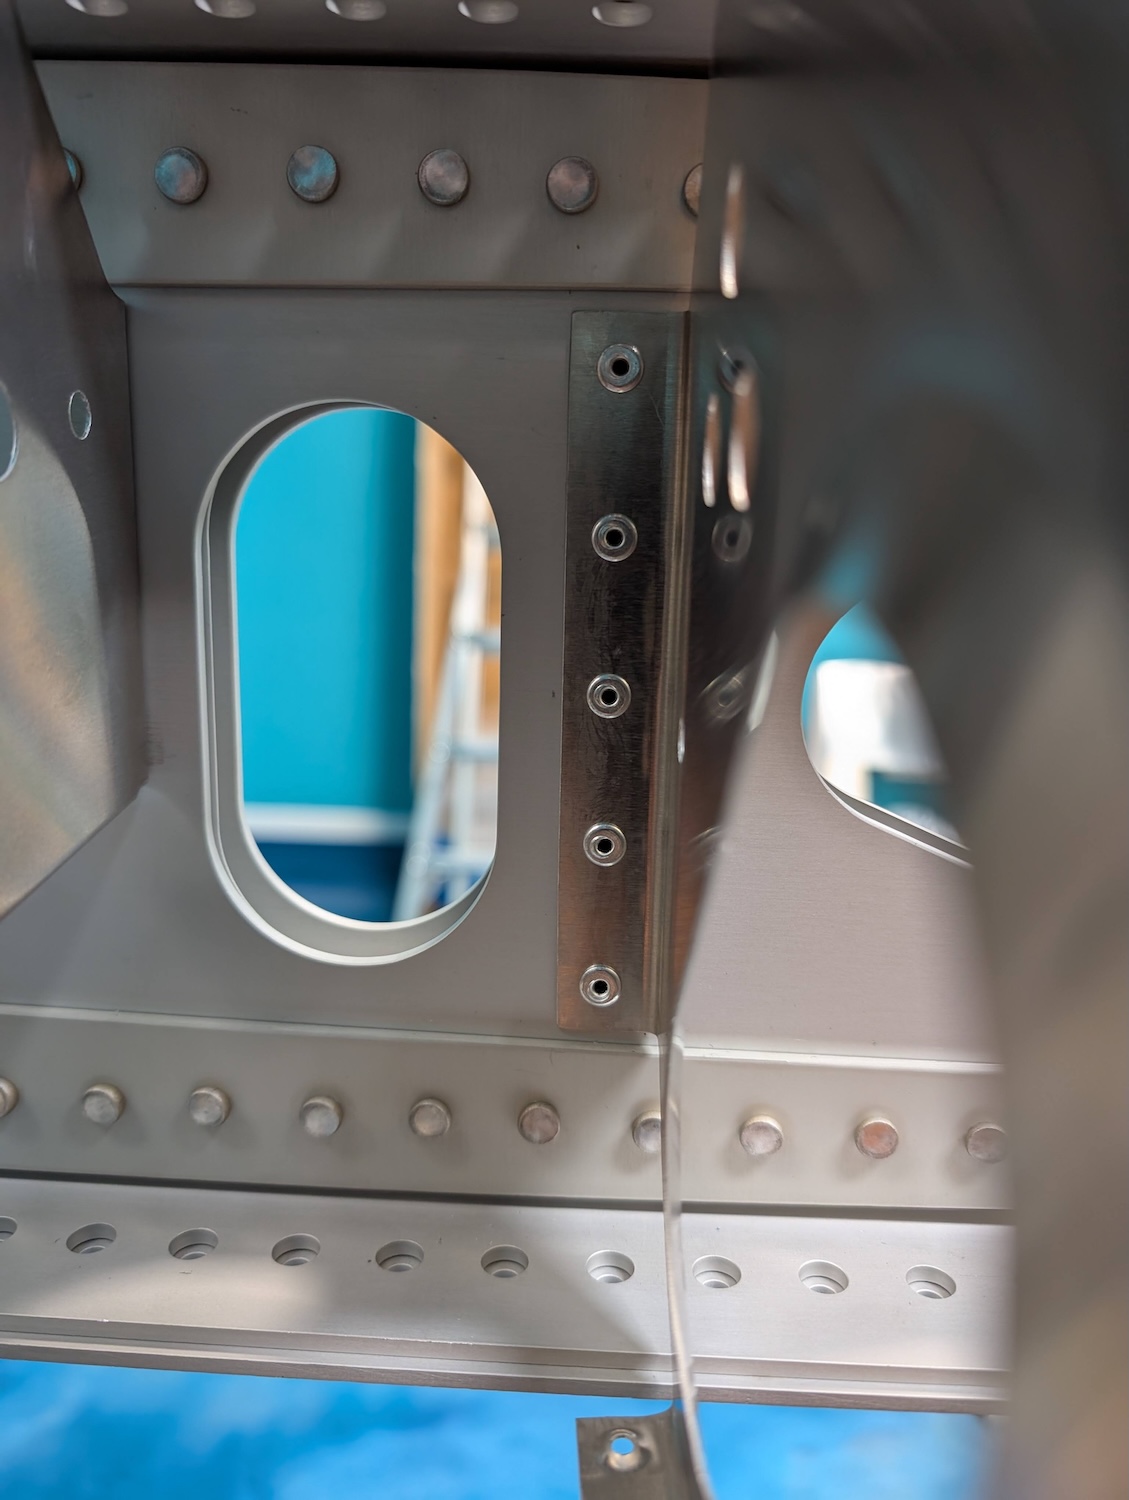
Attaching Right Wing Ribs (Part 1)
Some of the right wing ribs starting with the root have been attached to the front spar.
We installed rib 1 thru 6 for the right wing. Additionally, flap torque tube was also installed. Most of it was straightforward with a slight caveat for the flap torque tube bushings.
Ribs
Installing the ribs was pretty straightforward, some places required some creativity with the riveting tools, but it was achieved. One way is to use the manual riveter, which can be a workout for 4mm and above rivets. However, it can be partially pulled with the hand riveter, then the rest with the electronic rivet gun. 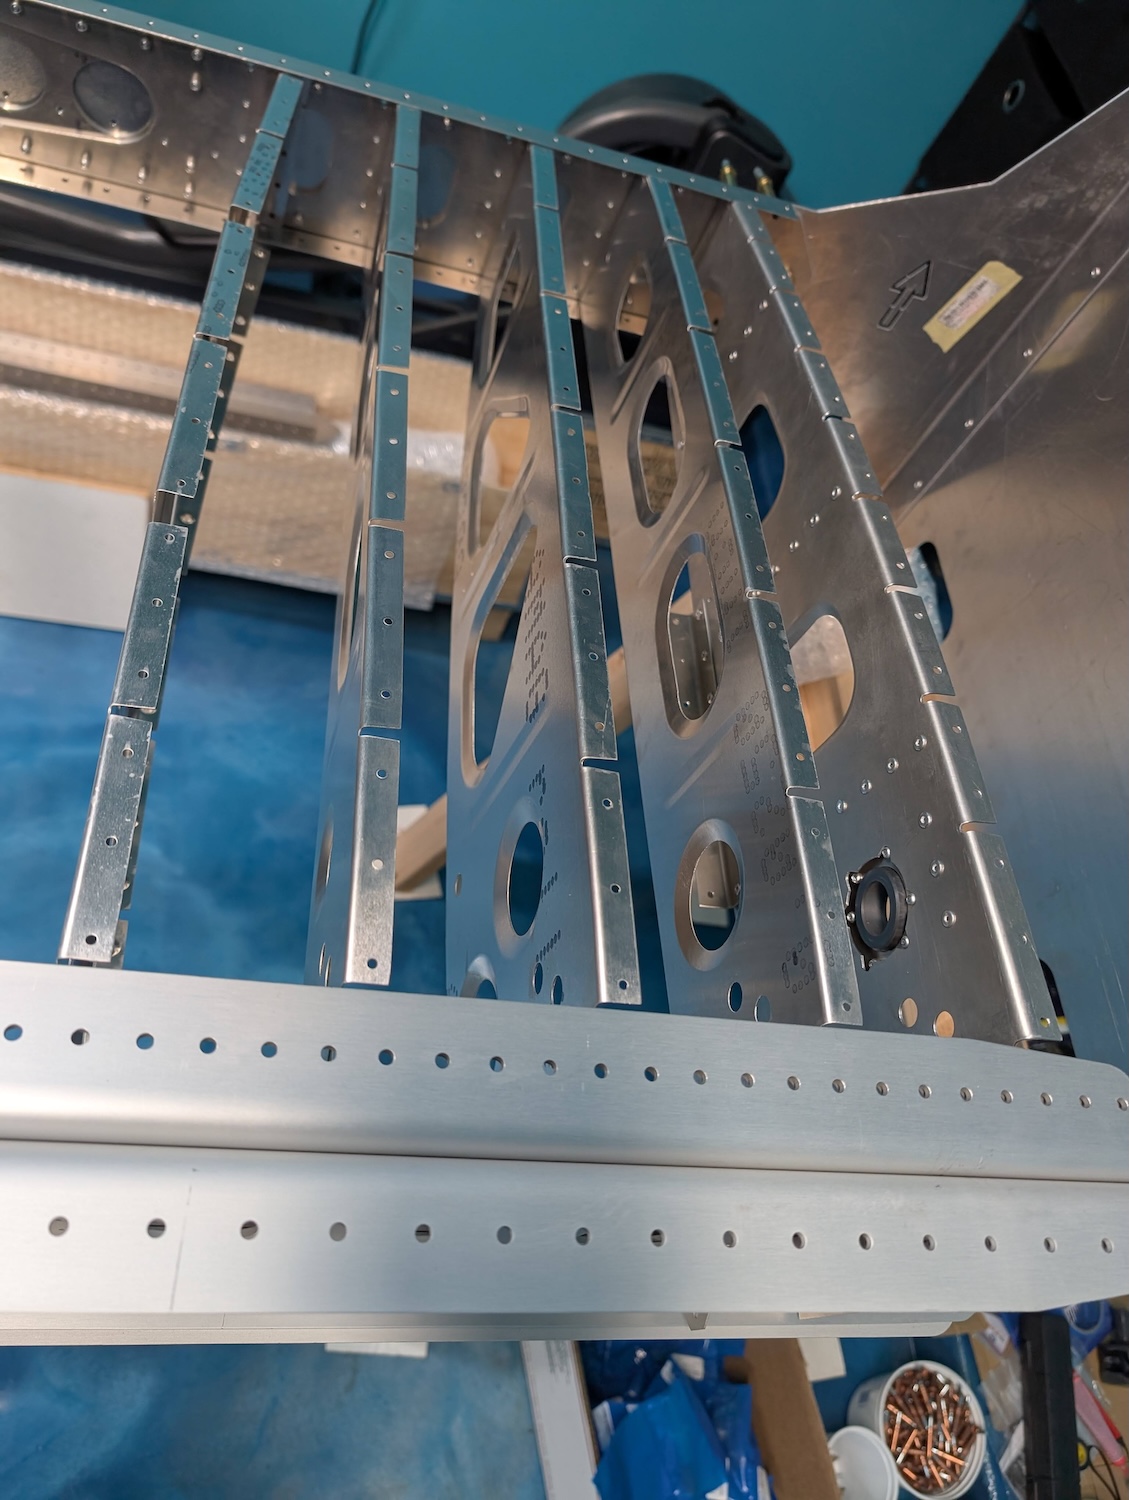 Rib 1 thru 5 overall view.
Rib 1
This was at the root, a slightly thicker rib, and less flexible as a result which made it harder to move in place even slightly for the rivet gun. The bolts were torqued at the right settings before applying the torque seal. 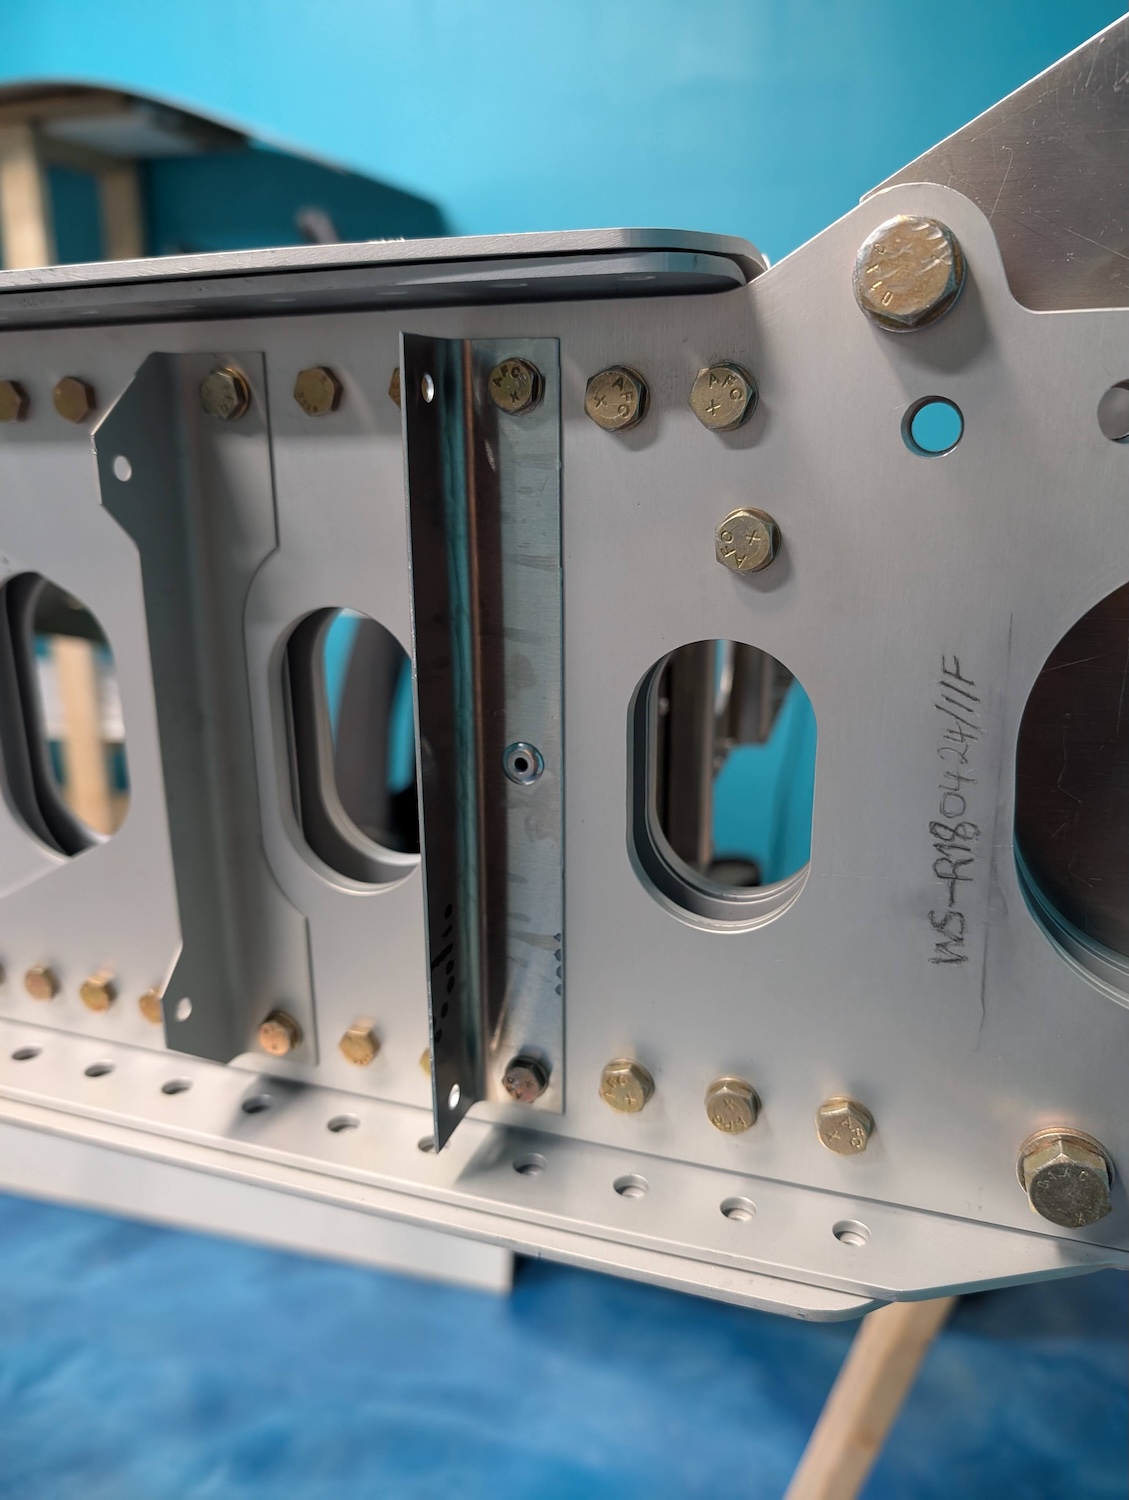 Rib 1 front view.
 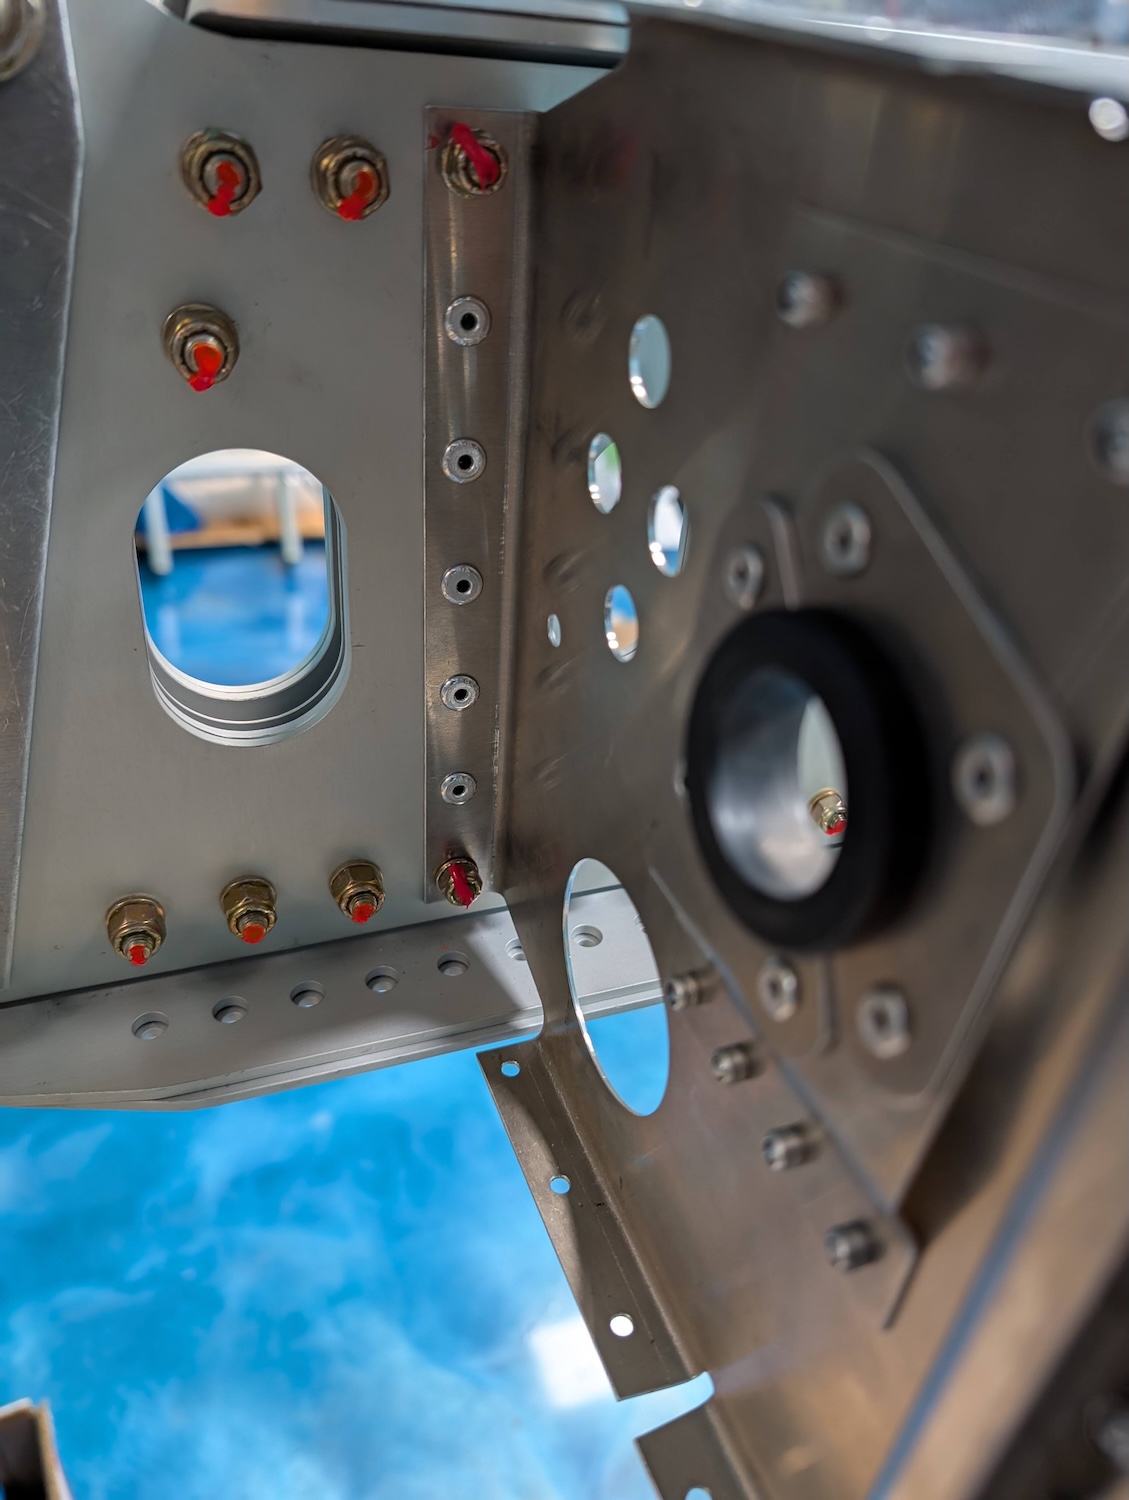 Rib 1 rear view.
Rib 2
Rib 2 was pretty straightforward, other than the rivets, required one bolt to be torqued at the proper settings. 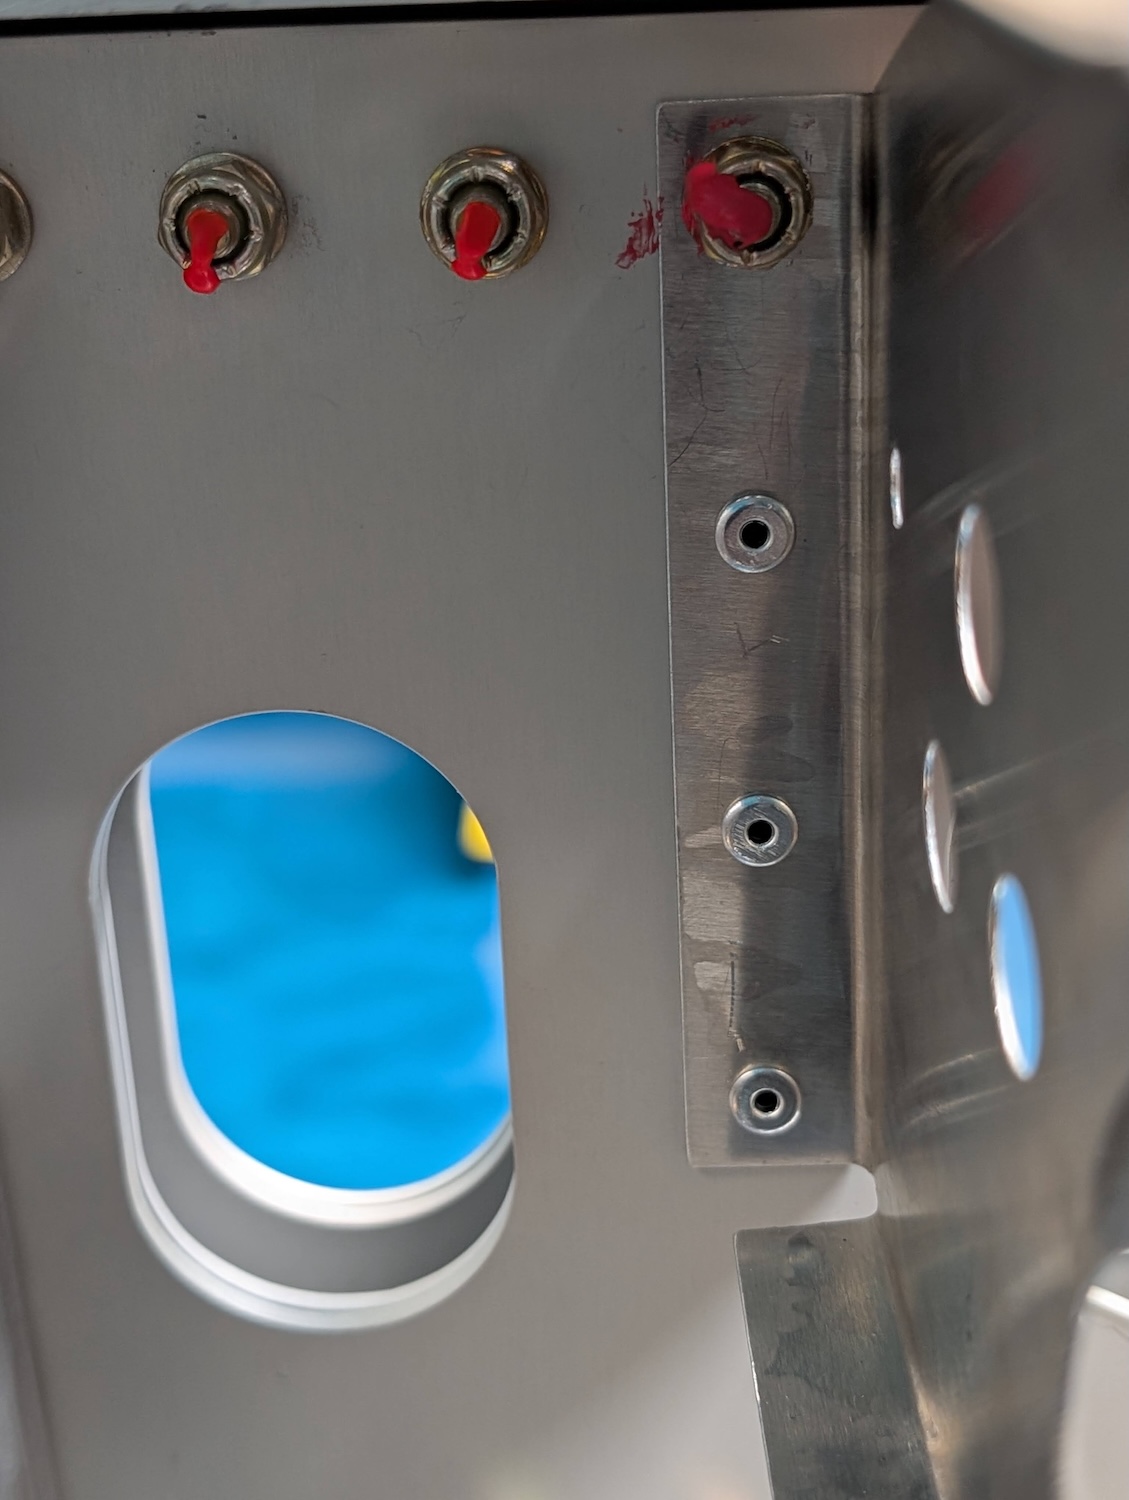 Rib 2 rivets and bolt.
Rib 3
Rib 4
Rib 5
Rib 6
Rib 6 had some extra reinforcement angle bracket with the front spar. 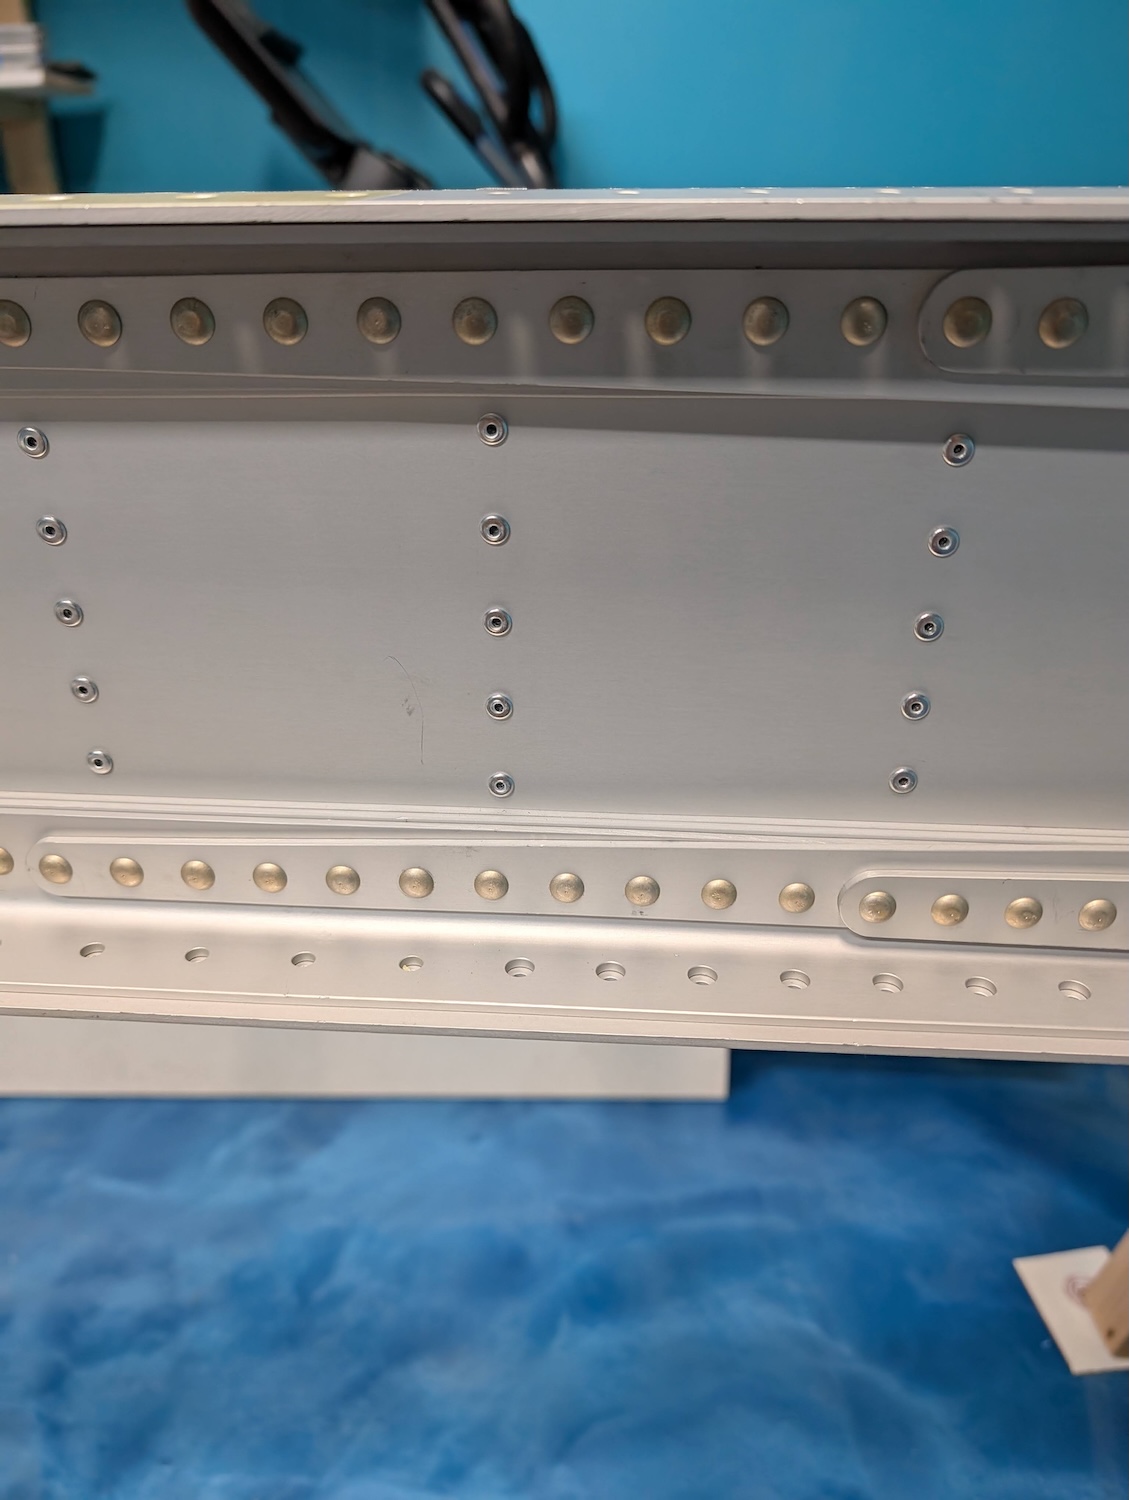 Rib 6 front view.
 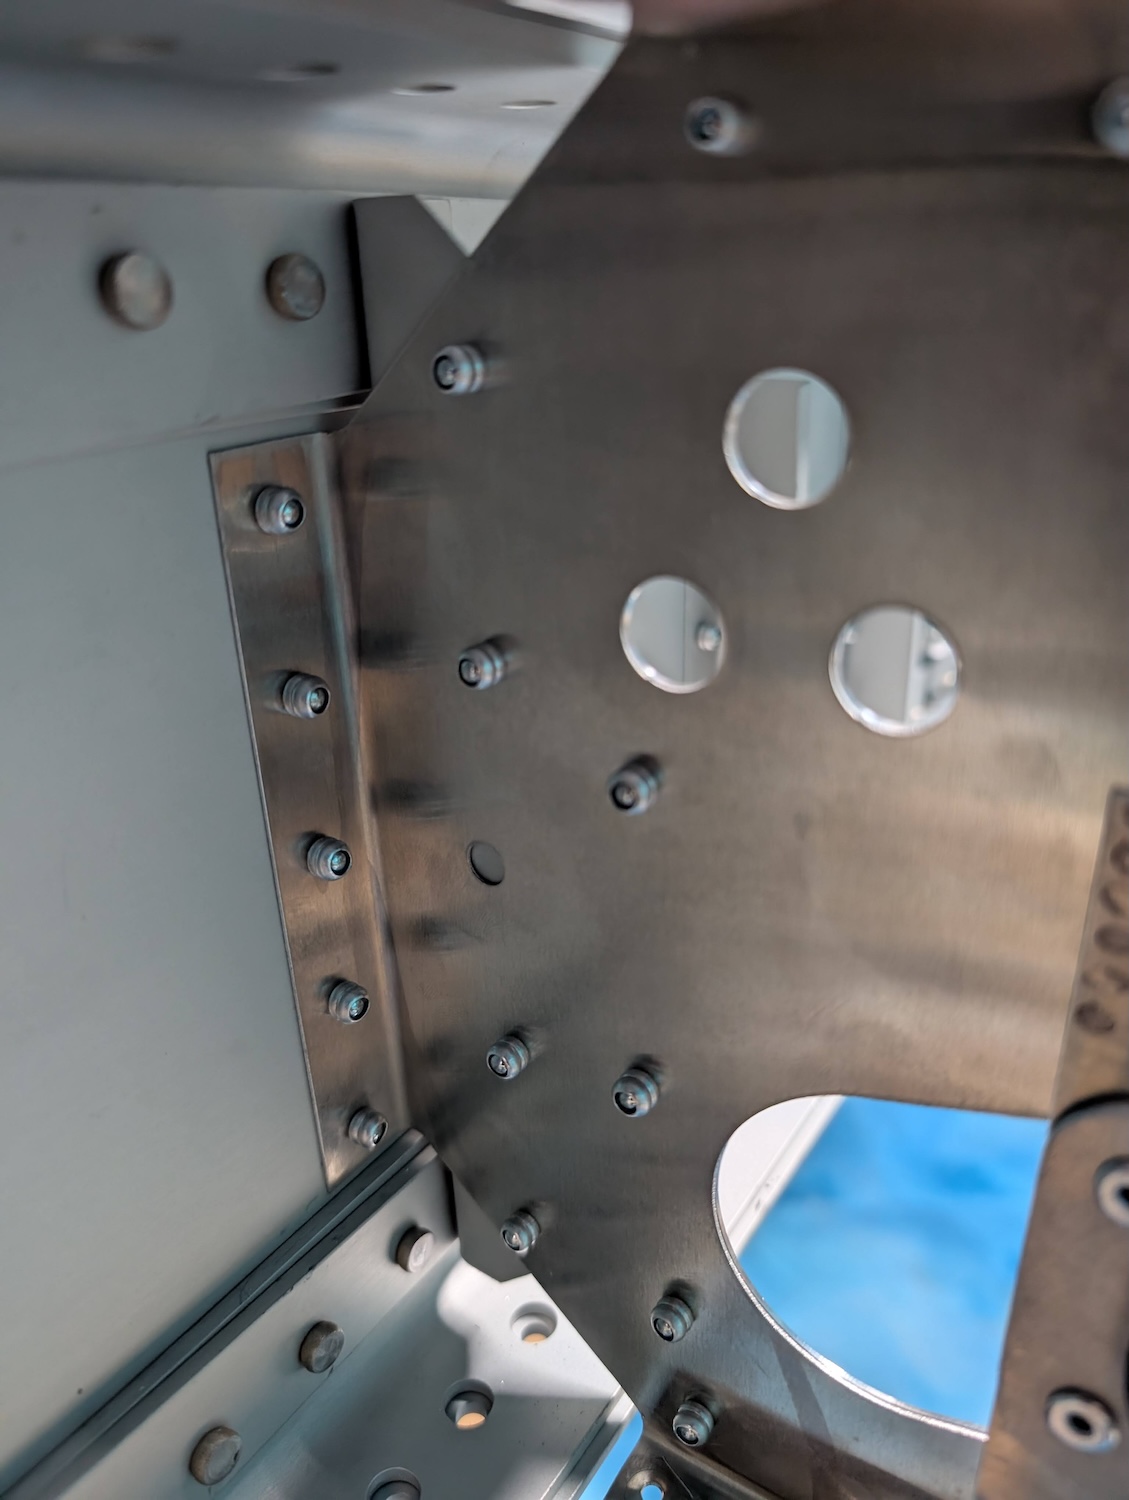 Rib 6 rear view.
Flap Torque Tube
Flap torque tube was installed in the vesonite bushings already in place in the relevant ribs. However, the bushings were rotating within the rib assemblies. When we reached out to technical support, they mentioned the bushings should not rotate within the assembly, so in order to solve that some JB Weld was added in between the rib and the bushing using a syringe with a blunt 14ga needle. Additionally, while applying the epoxy, the bushing was rotated for an even application on all sides of the bushing. 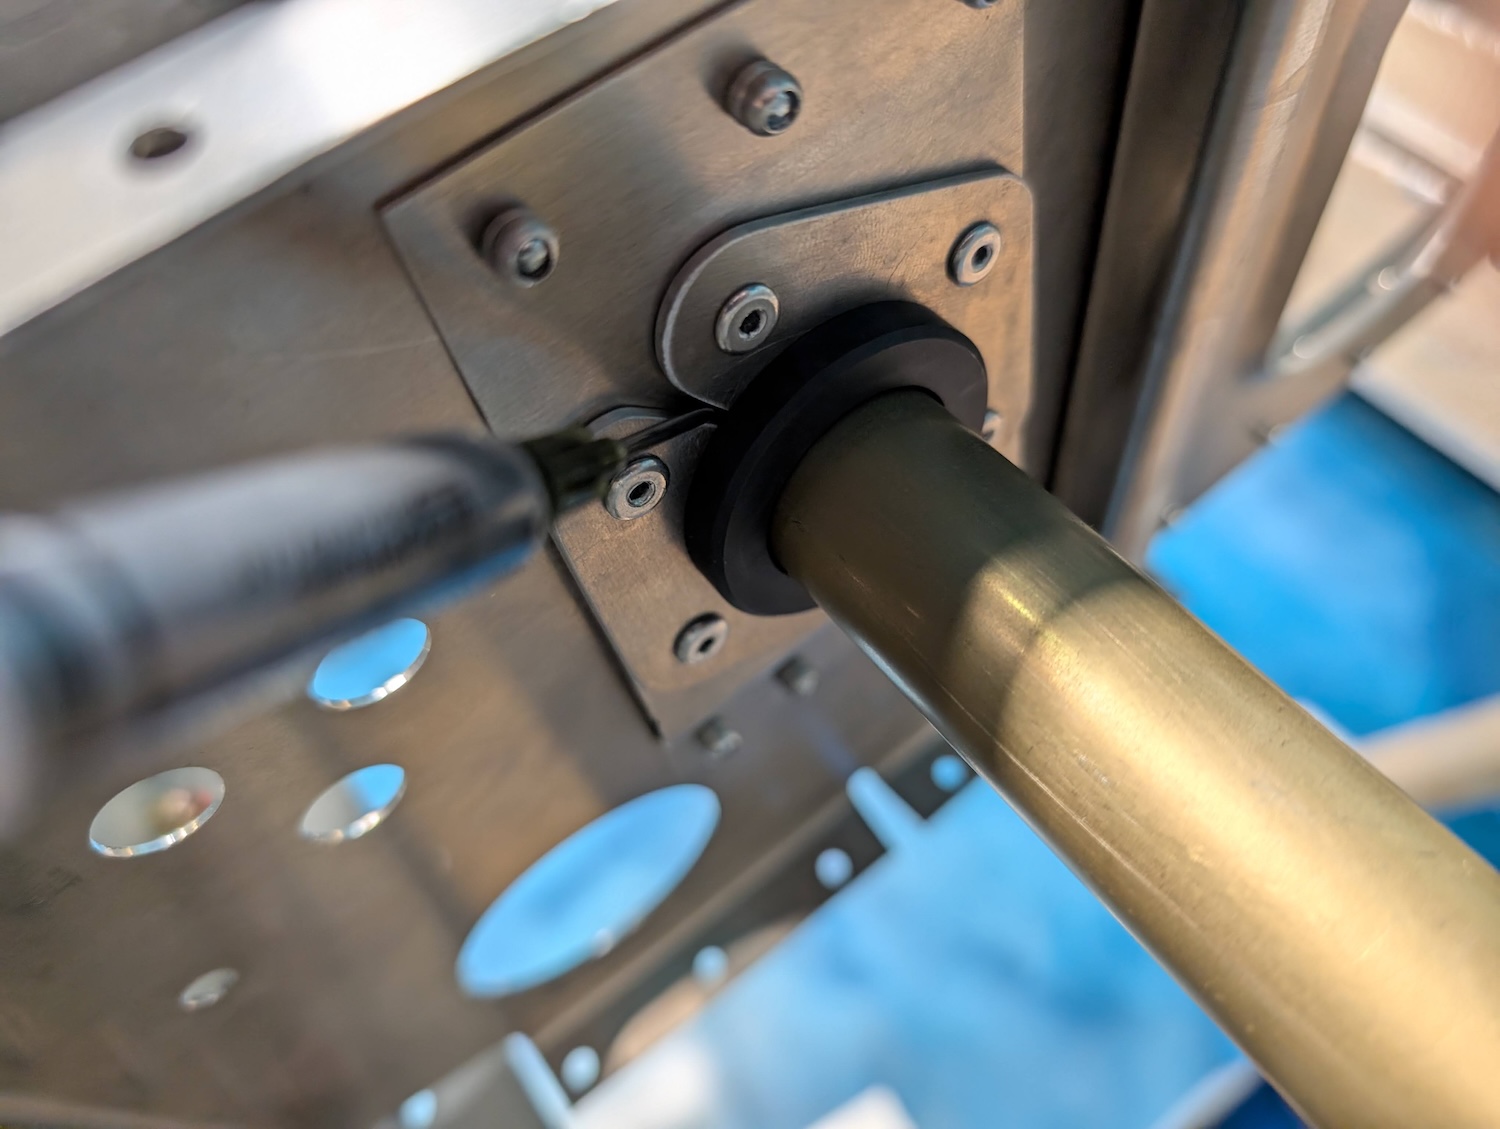 Syringe and needle used to inject JB weld thru the opening.
 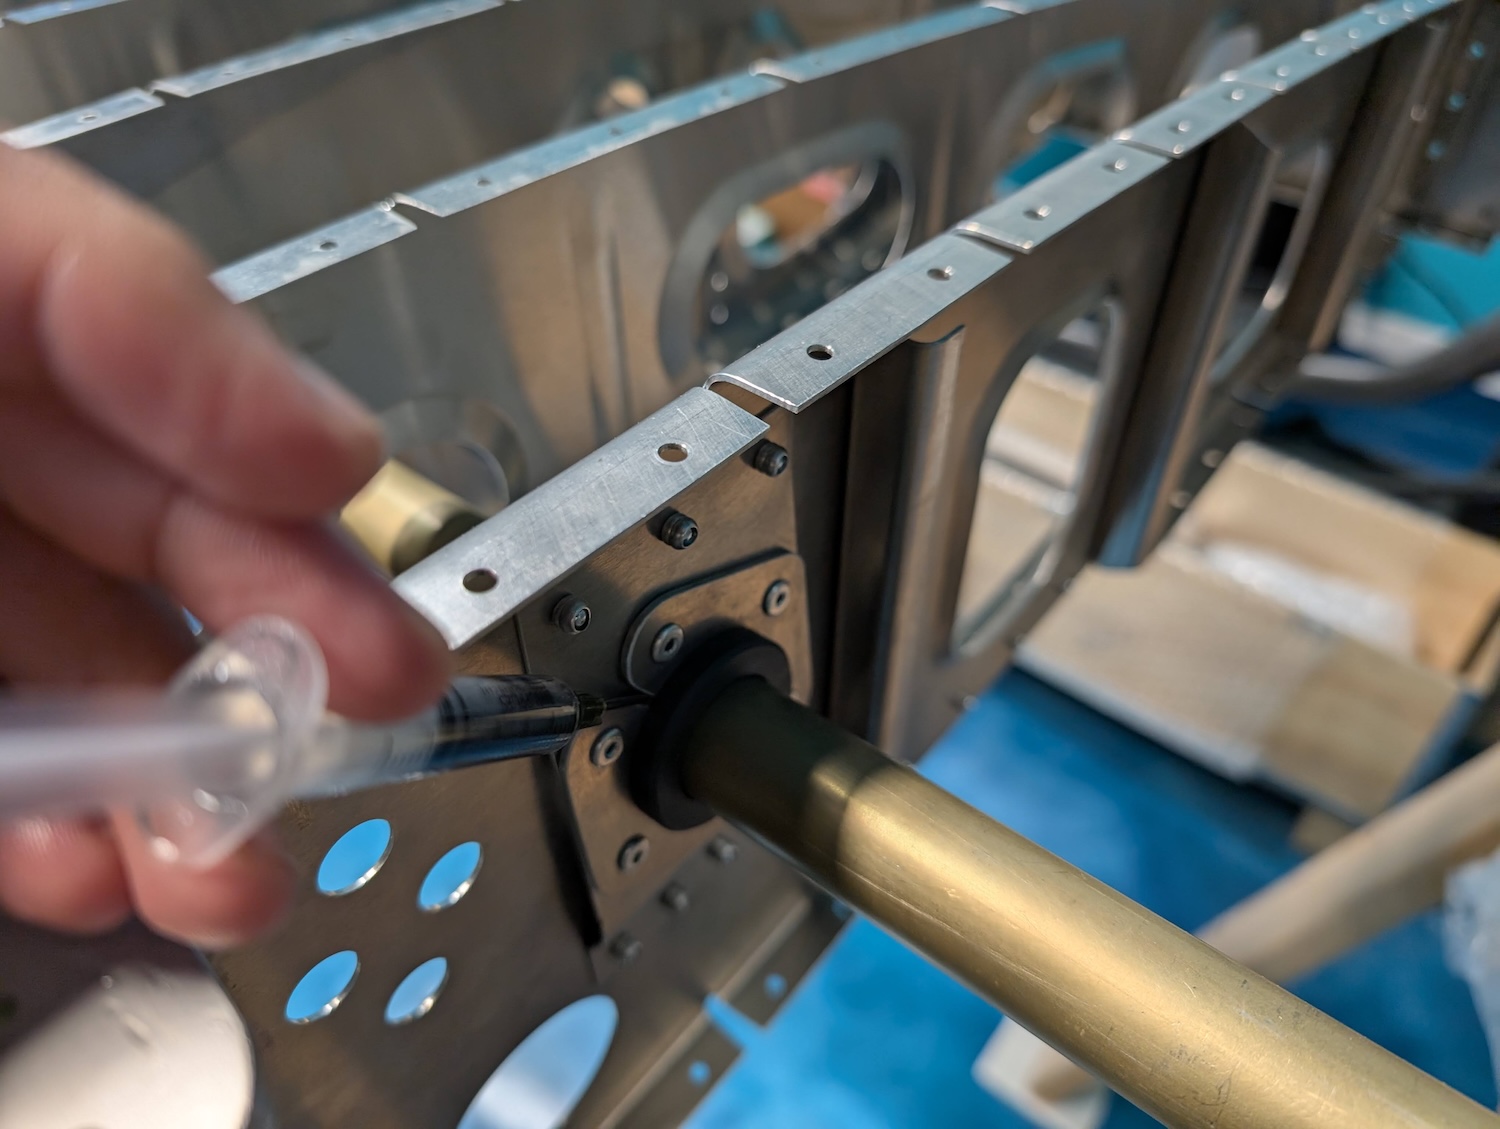 Syringe and needle used to inject JB weld thru the opening.
 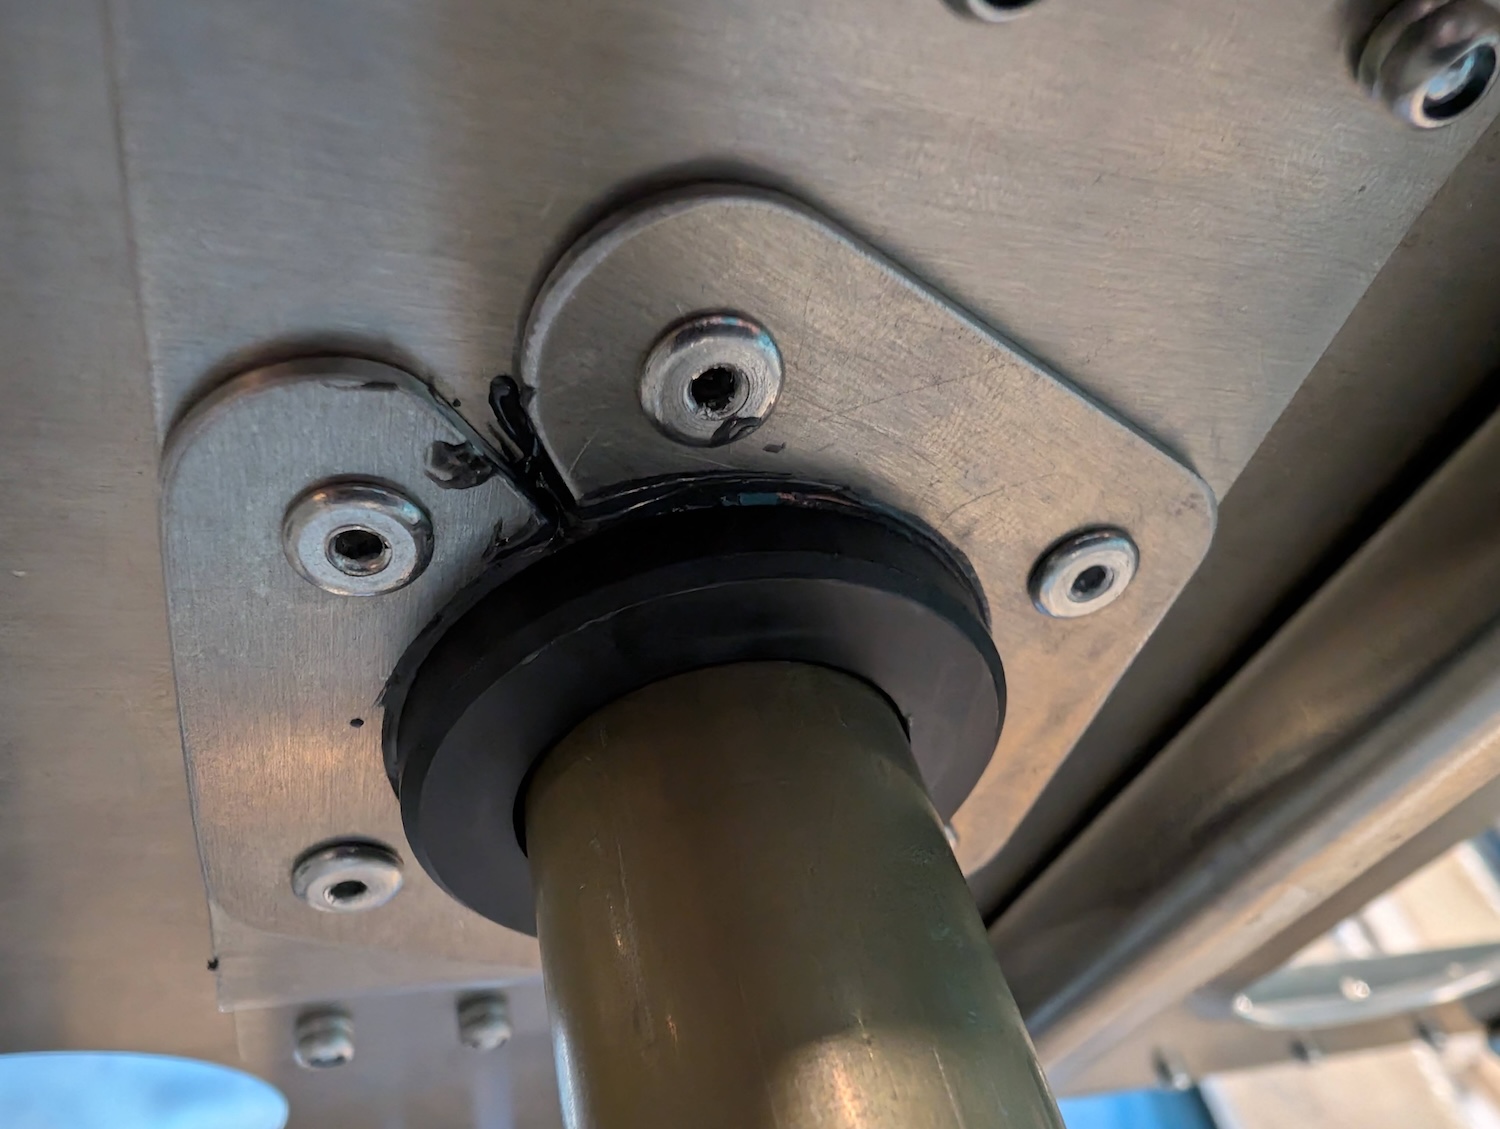 Even bead of epoxy between the bushing and the rib.
 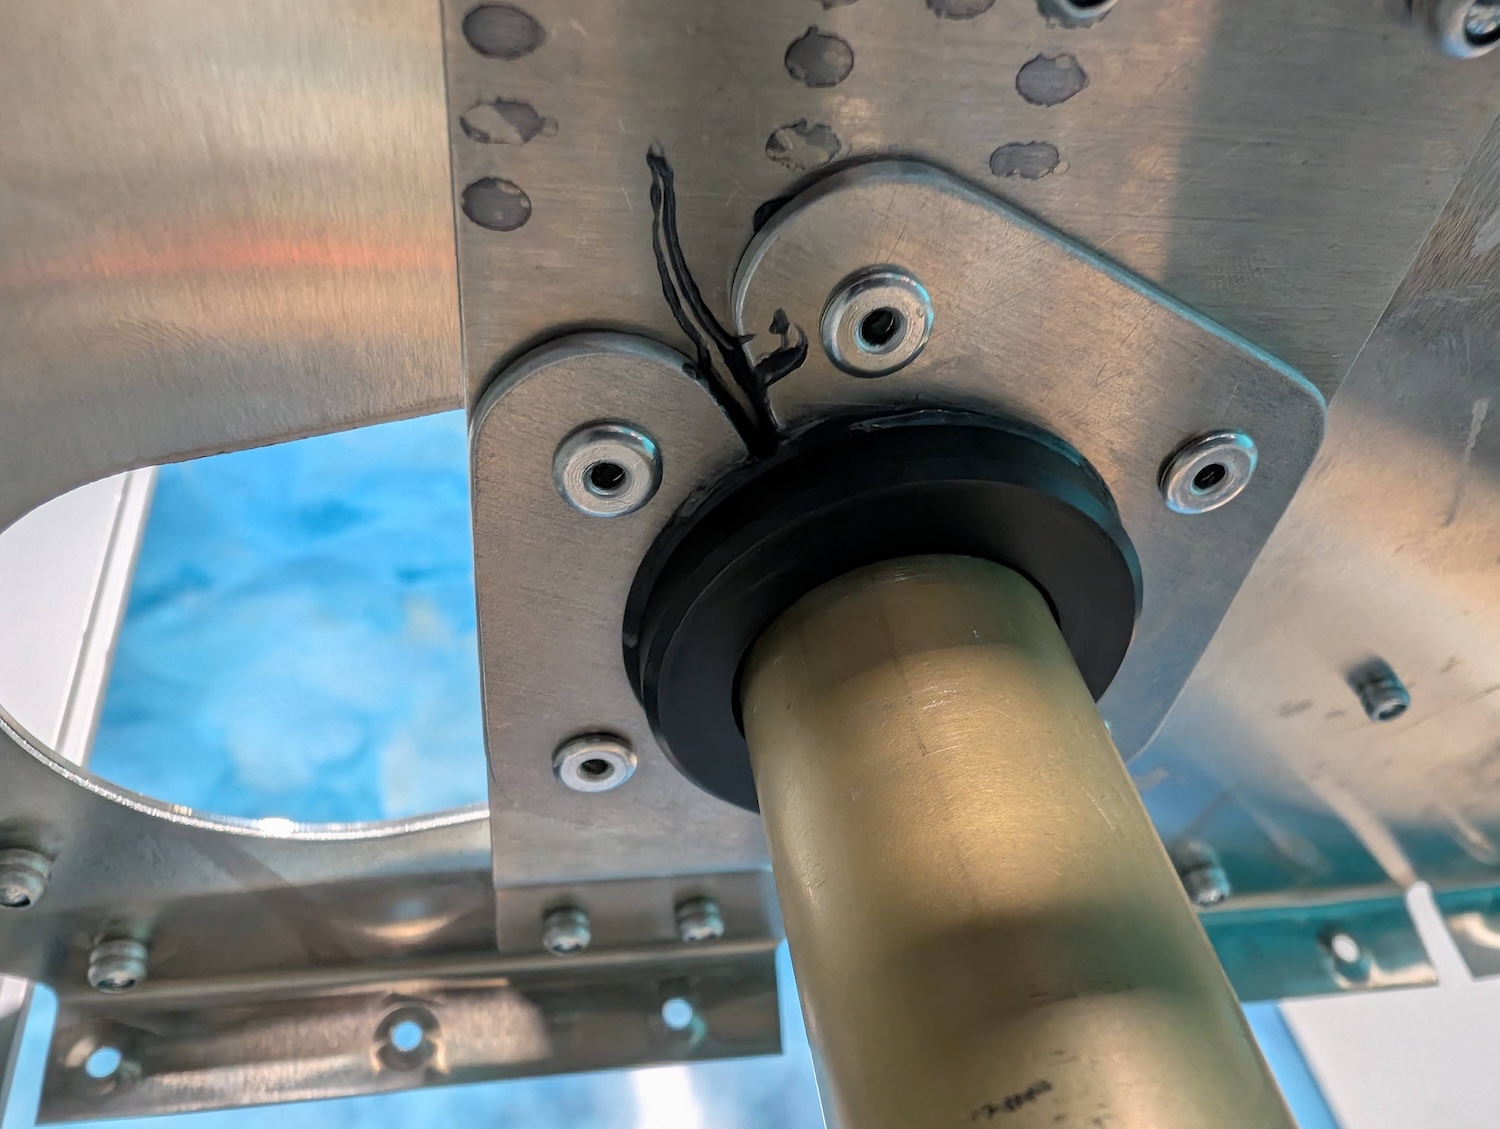 Even bead of epoxy between the busing and the rib.
Tools
A syringe and a blunt needle was used for applying JB weld between the flap torque tube bushing and bushing assembly on the rib itself. 100 pack is fairly cheap and a lot will be used considering this will be needed to fill the rivet holes as well before painting.
- 3ml syringe: 100 pack on Amazon
- 14ga blunt needle: 100 pack on Amazon

