Rudder Skin Riveting Part 1 + Installing Counterweight
Most of the rudder skin is riveted, and the rest of it is prepped for riveting along with installing the counterweight.
We riveted most of the rudder skin, other than the top part, however that part of the skin is also prepped for riveting after the tail light beacon gets installed. The process was pretty straightforward, a few holes needed to be cleaned up though. In preparation for the top skins to be riveted, dimpling and countersinking the fiberglass tip is finished.
Bottom Skin Installation
Installing the bottom skin was mostly straightforward as described in the subsections below.
Assembly
To cleco the top skin, one side was done at a time, for the other side, it required stretching the skin a bit due to precision cut holes, which is a great problem to have. 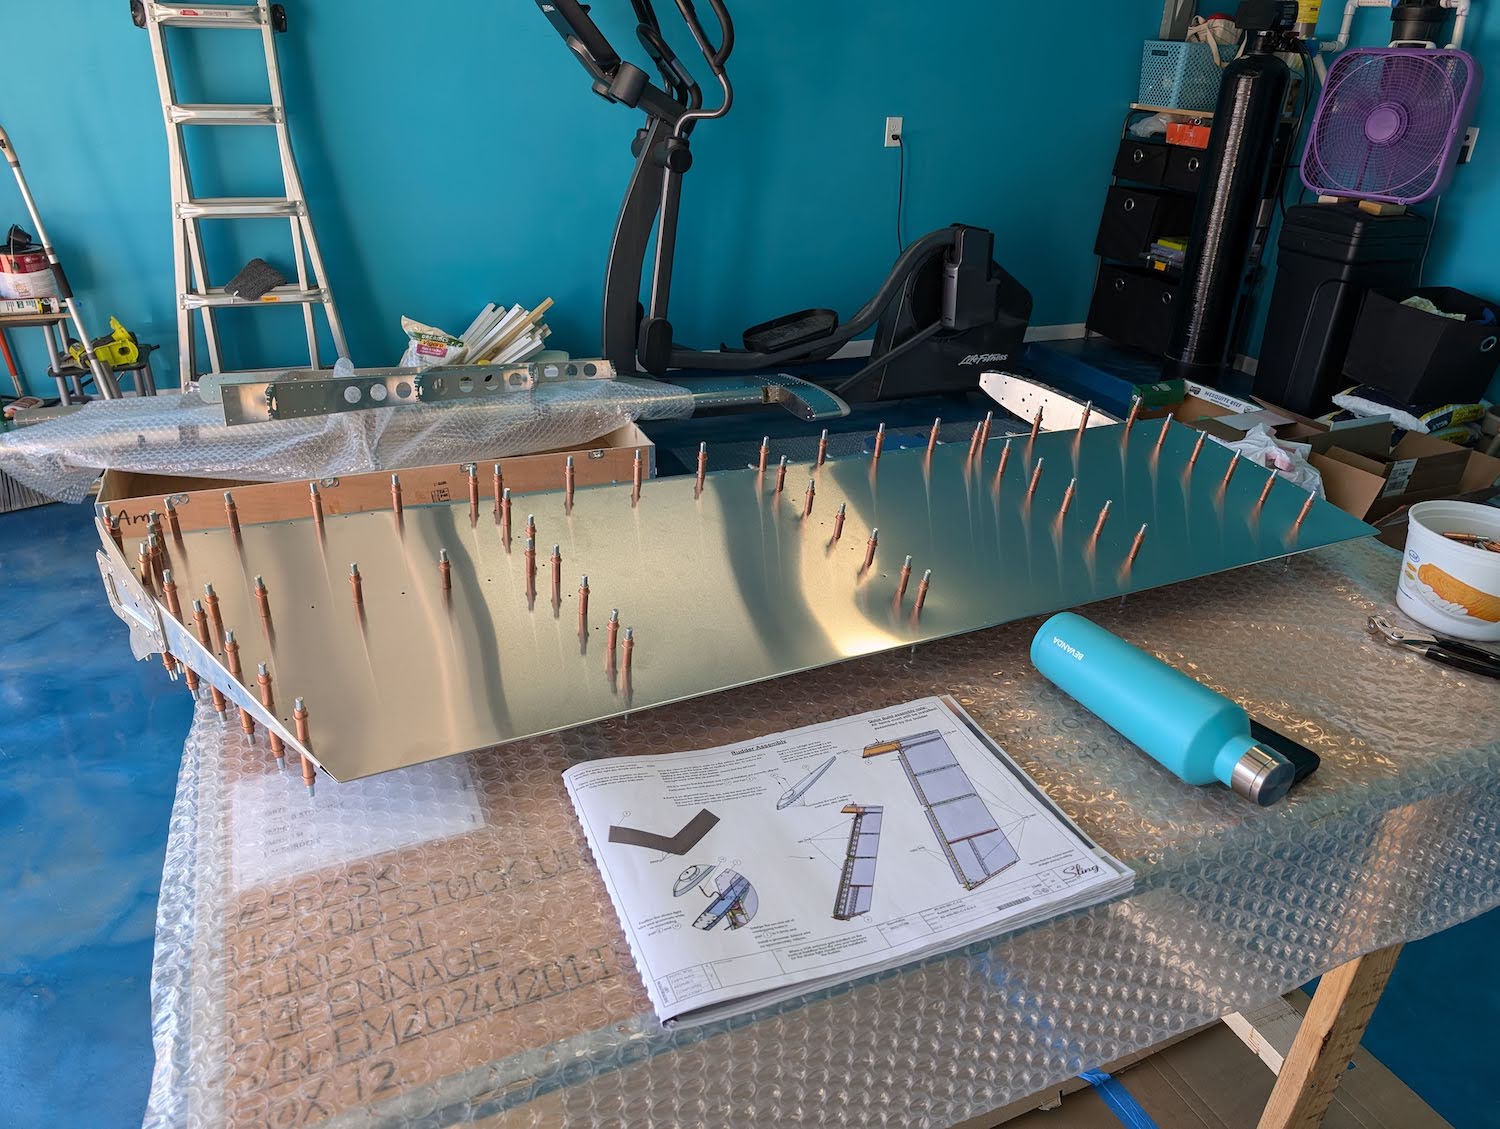 Clecoing the bottom skin.
 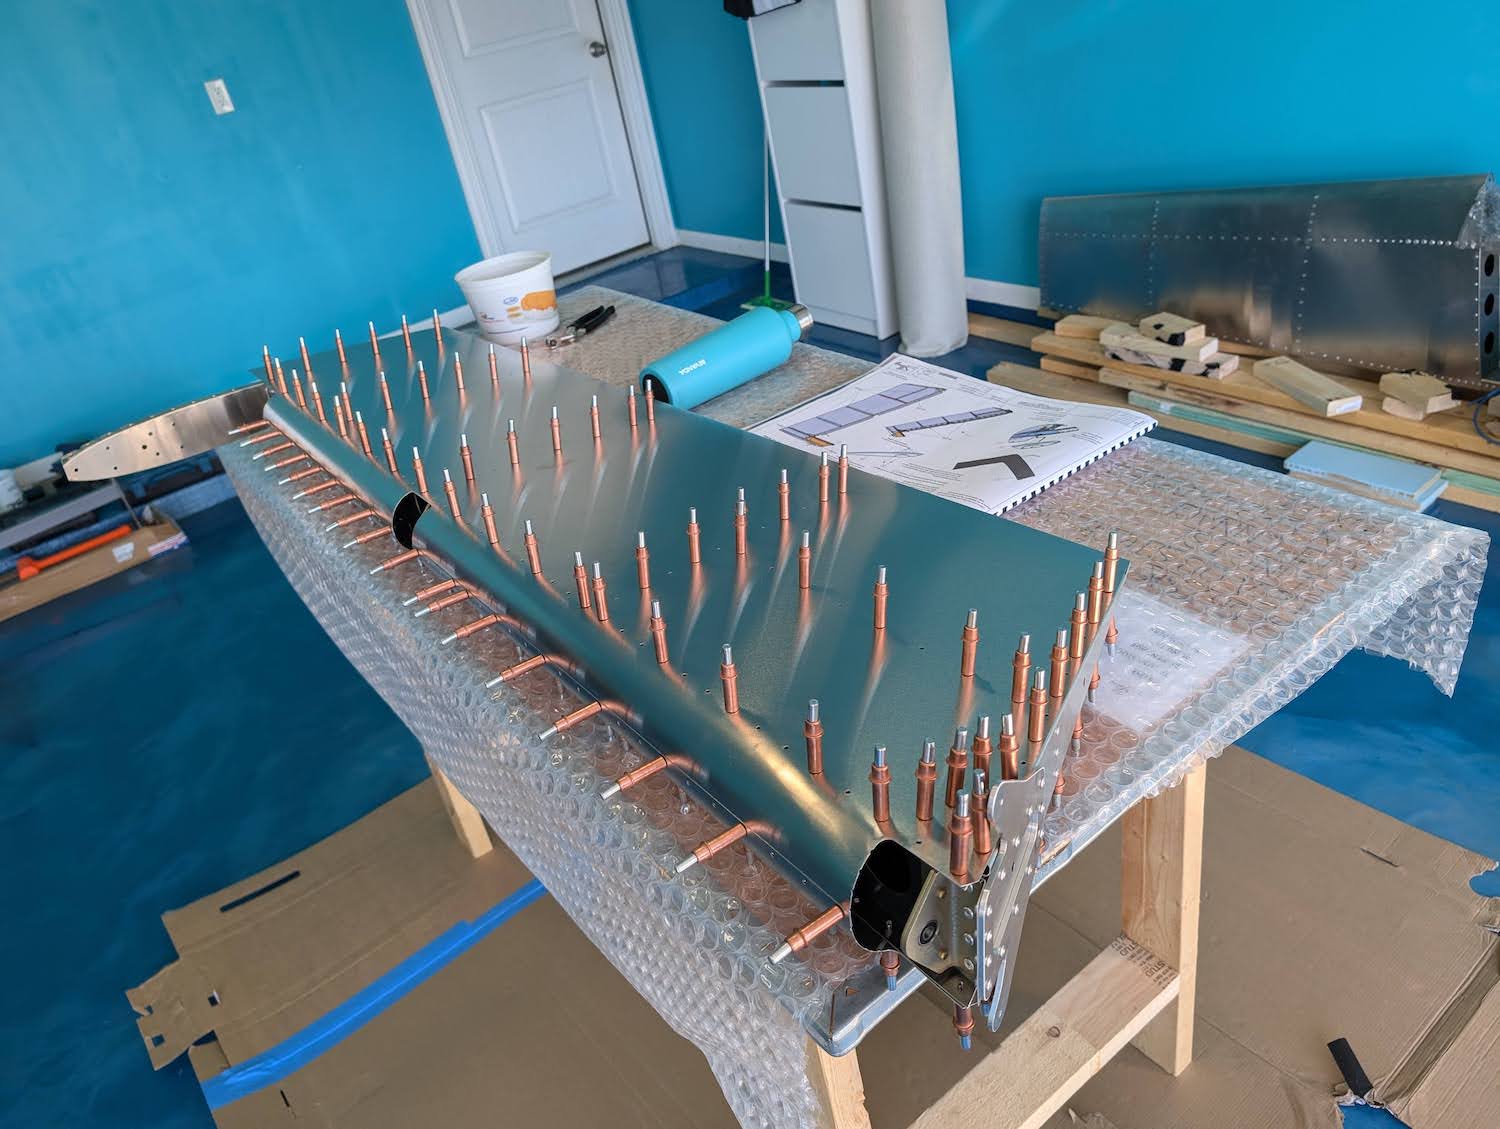 Clecoing the bottom skin.
Riveting
Once the clecos were in place, riveting was very straightforward. 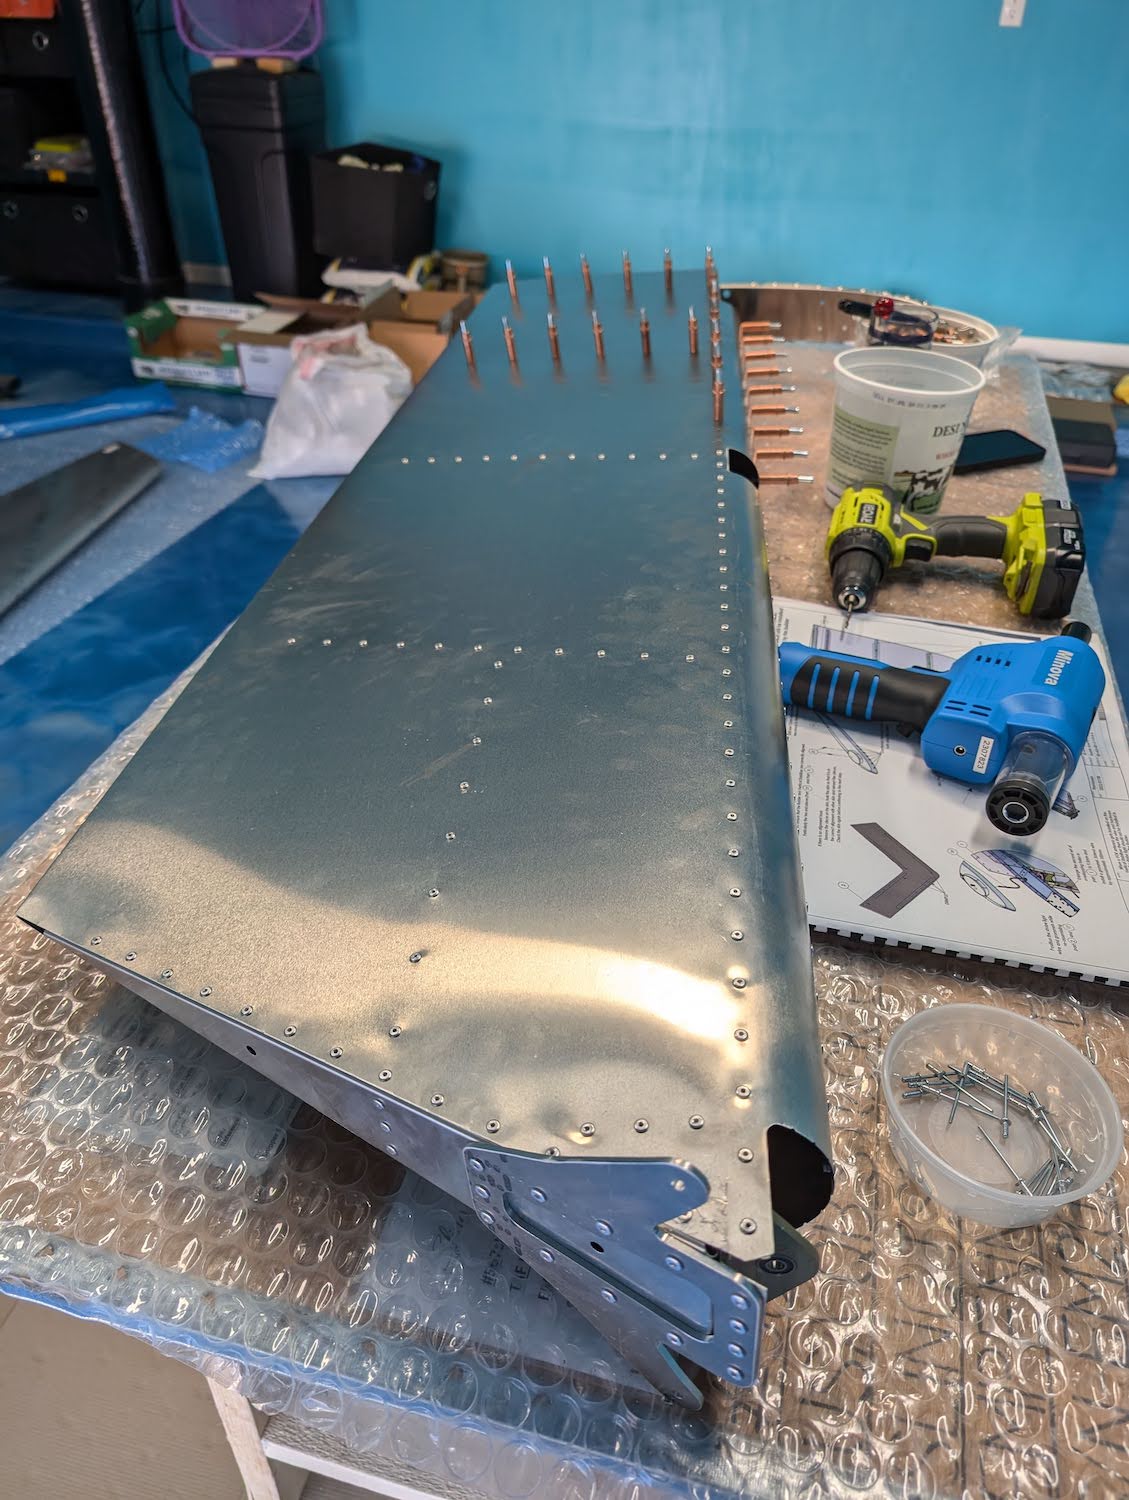 Bottom skin riveted.
 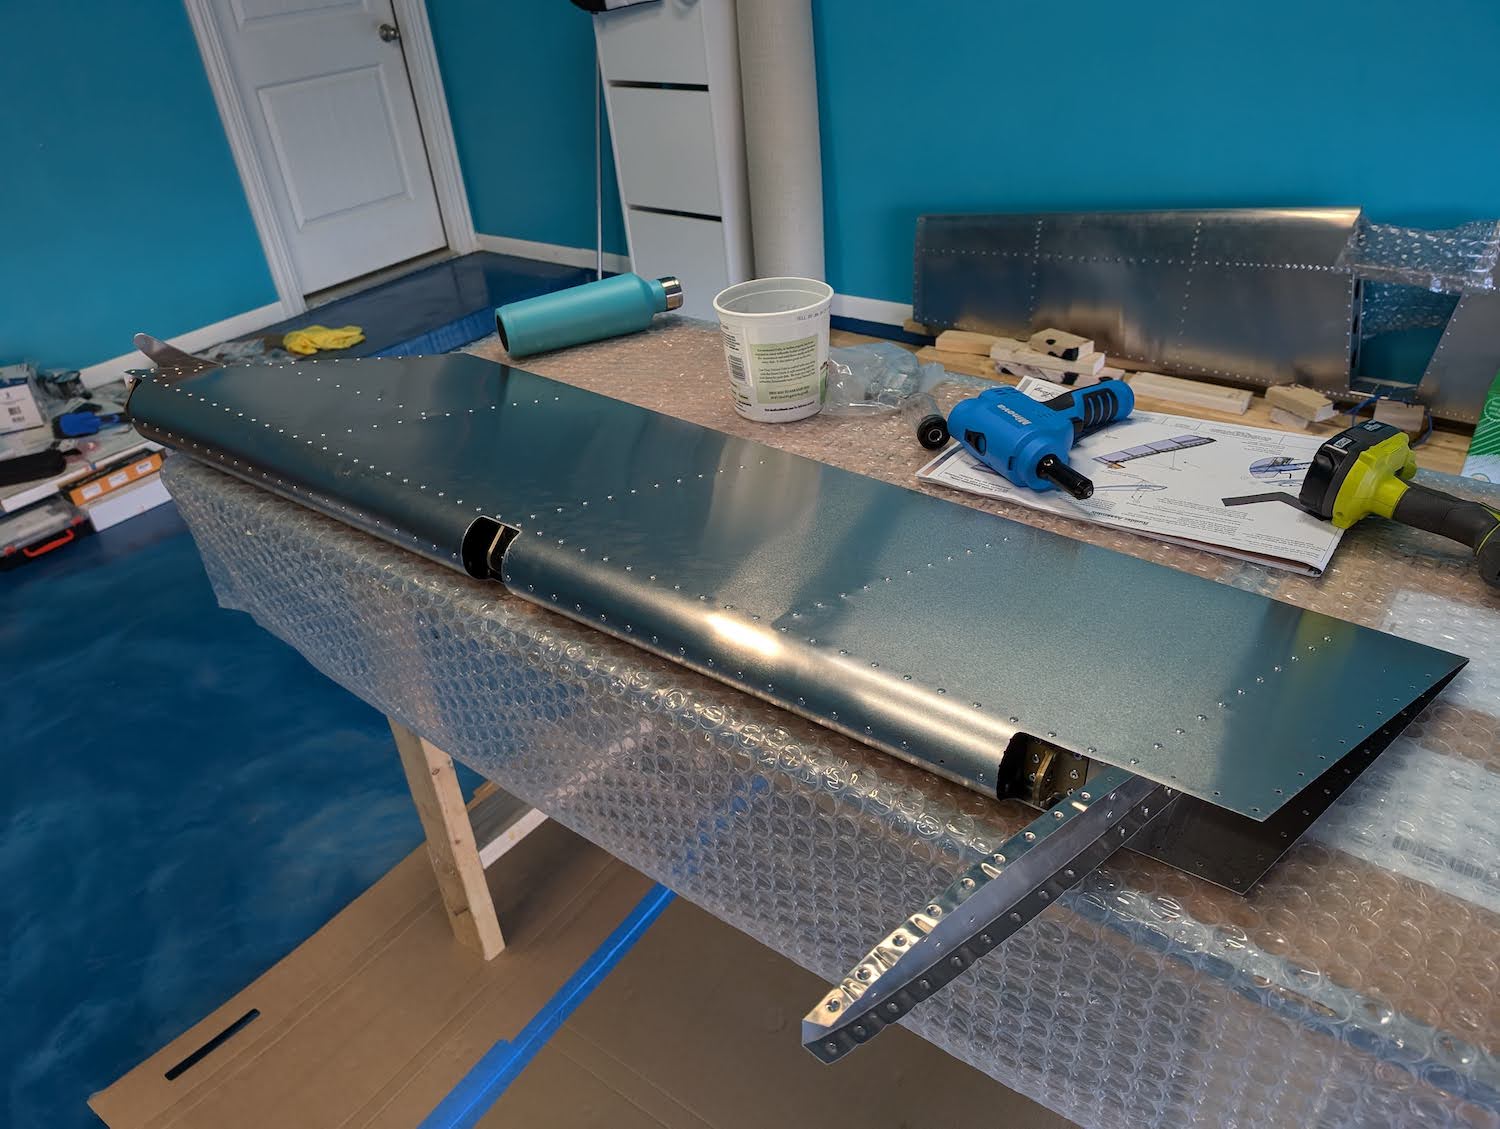 Bottom skin riveted.
Installing Counterweight
Installing the counterweight required some cleaning up of the holes, before riveting. 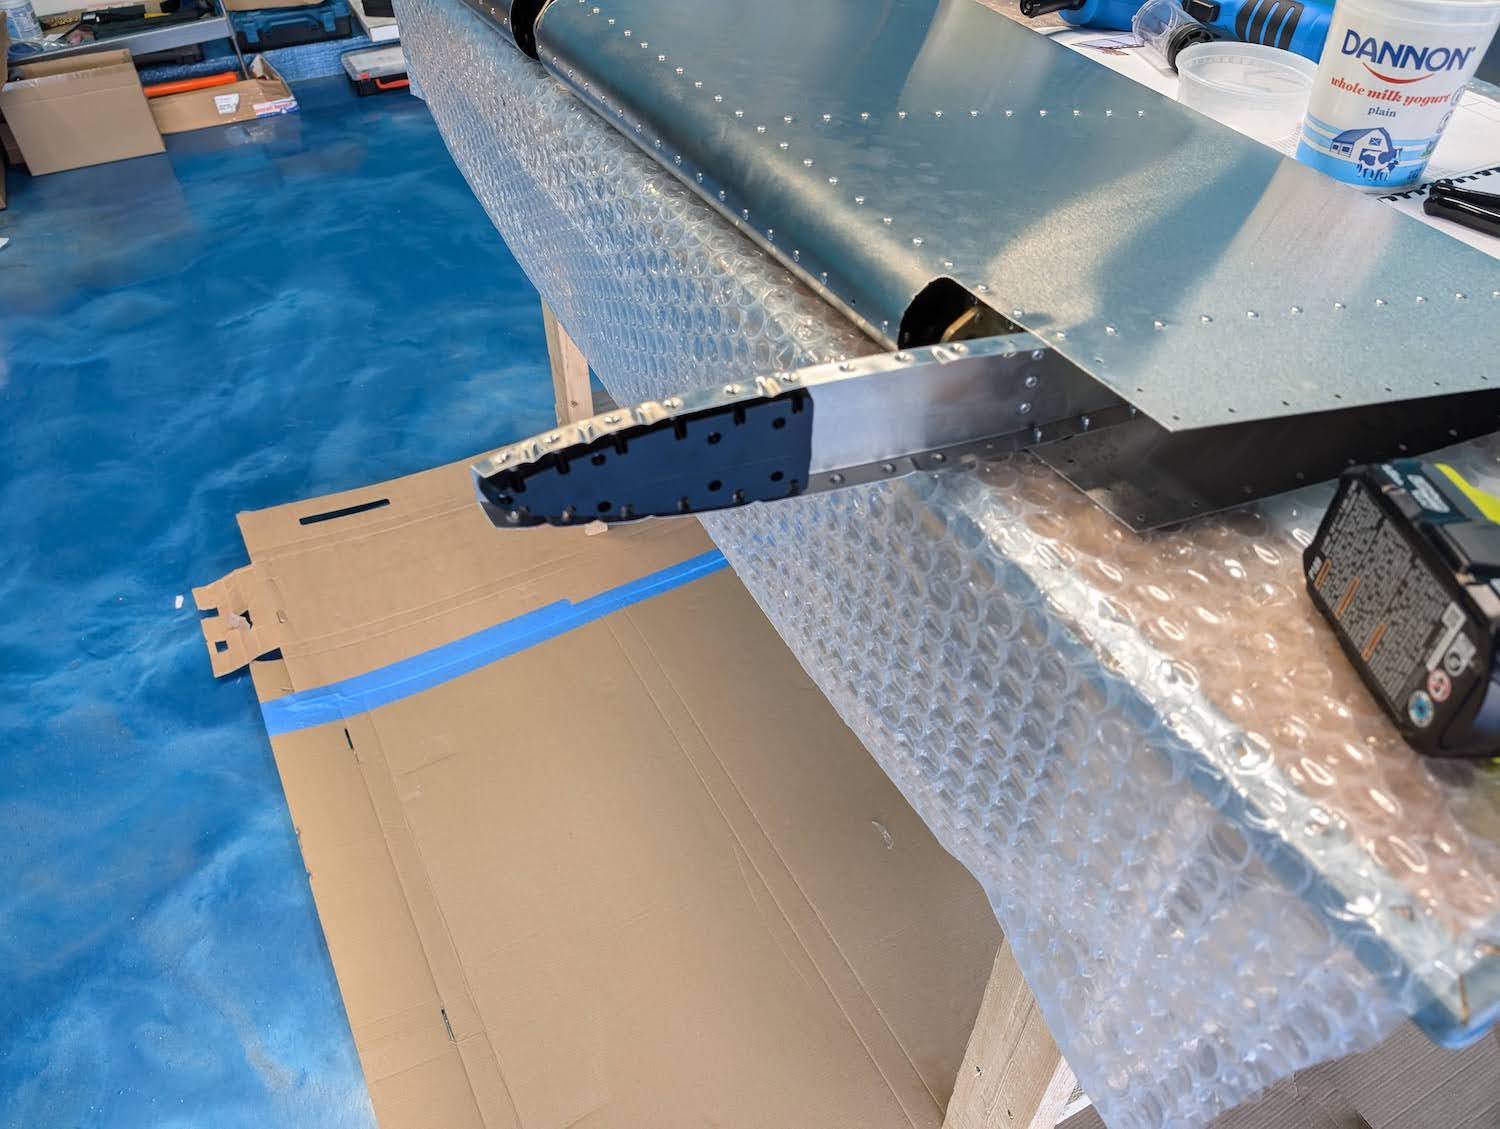 Counterweight riveted on the top rib.
 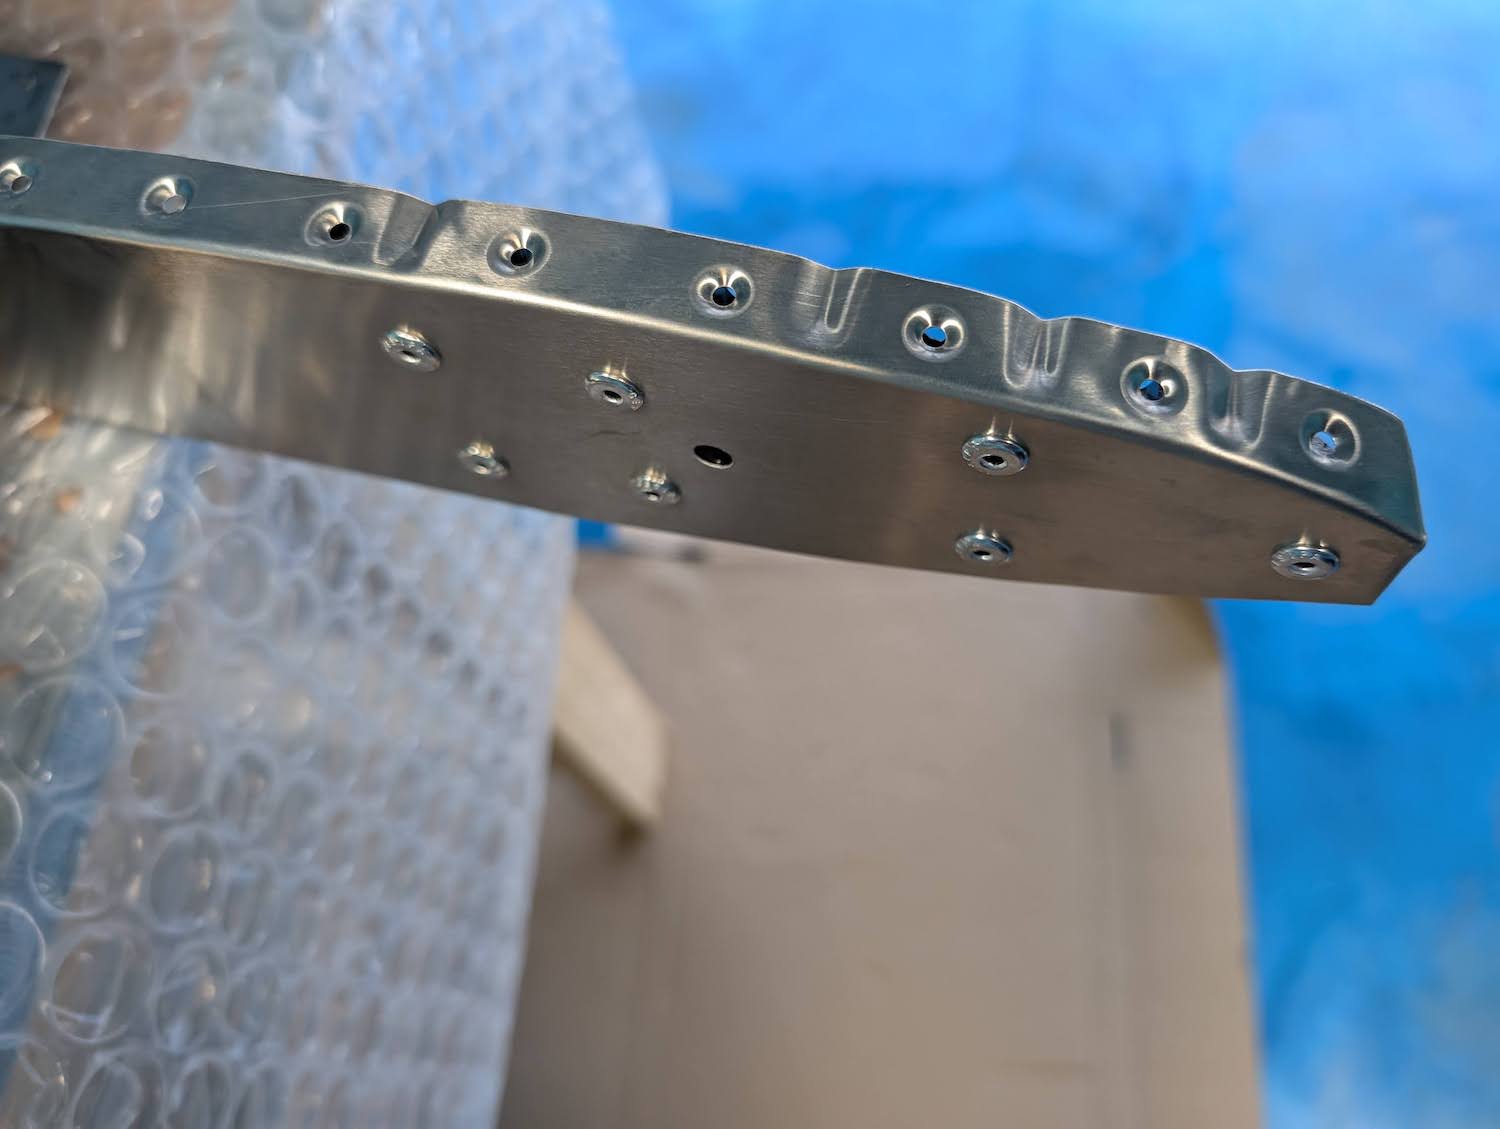 Counterweight riveted on the top rib.
Top Skin Preparation
Top skin preparation involved some countersinking as well as dimpling. Additionally, the fiberglass tip also needed holes which were drilled one after the other, while using clecos to keep the holes already drilled in place. Dimpling was done in the end after drilling the holes.
Dimpling
Dimpling was done using the impact dimpler tool as usual. 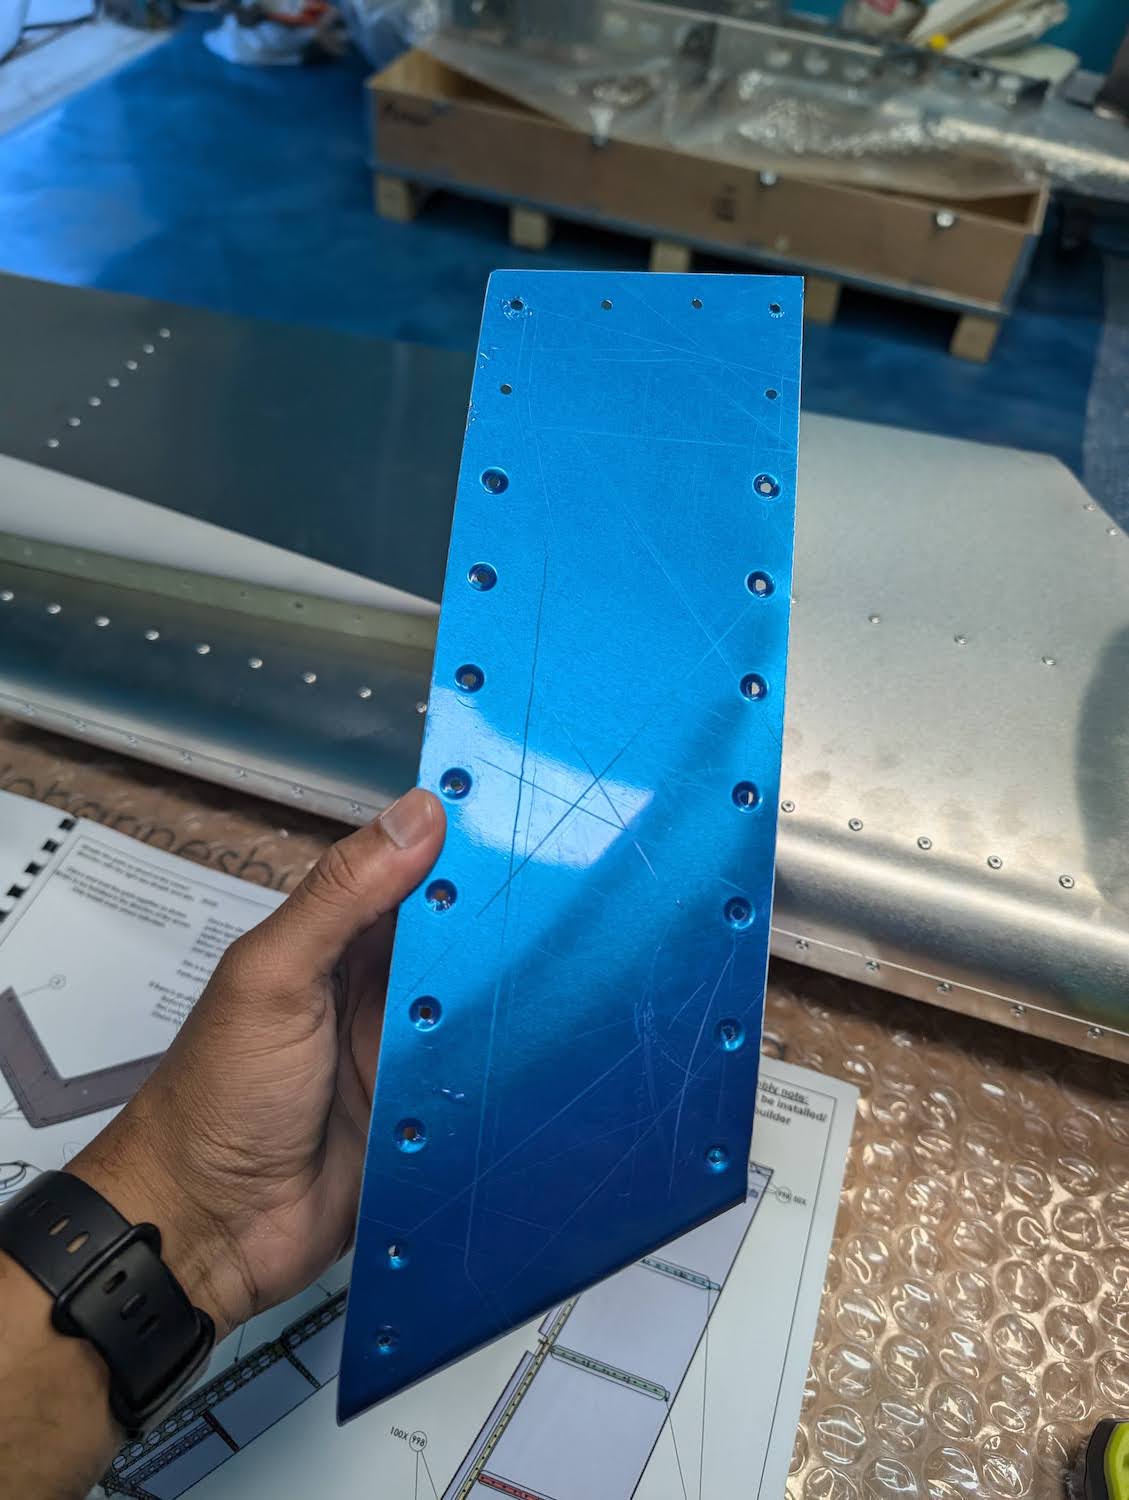 Top skin dimpled in preparation for riveting.
Countersinking
Countersinking was done using the usual counterstop tool. 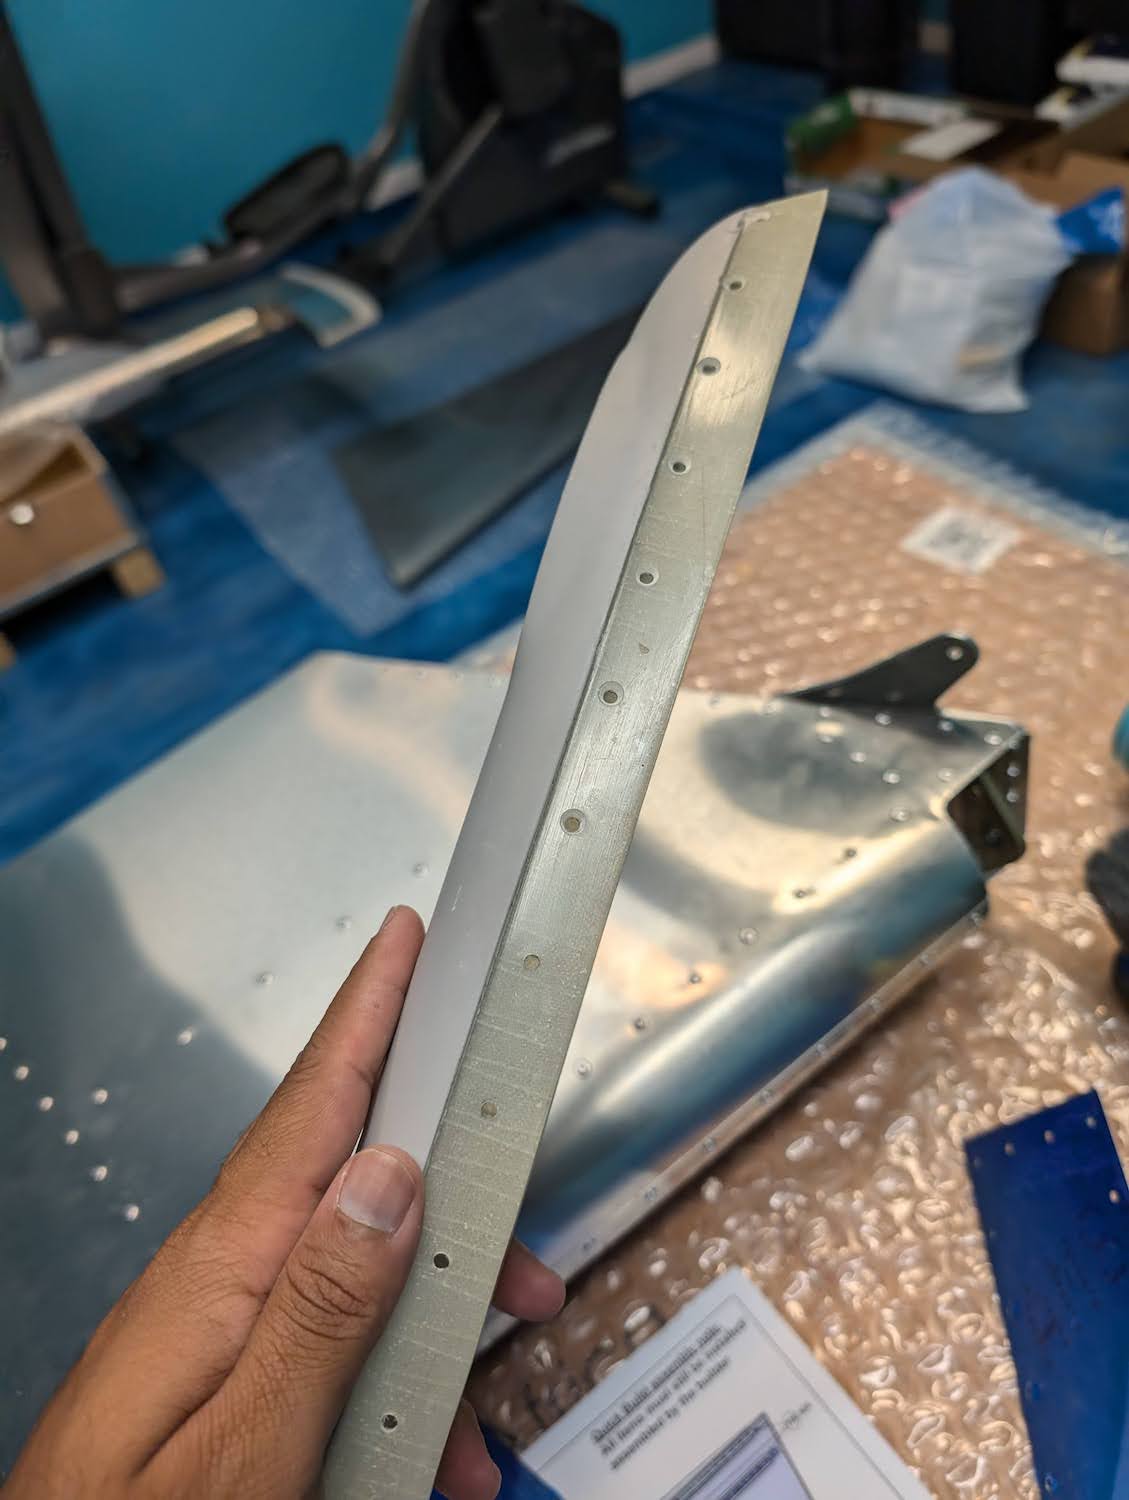 Fiberglass tip countersinking.
Assembly
The top skins were assembled temporarily using clecos, in preparation for riveting after the tail beacon wiring has been finished.  Top skin assembled temporarily.
Tools
We ended up ordering a new rivet gun which is very effective so far, especially in collecting the mandrill. Here is the link