Wing Rib Sub-Assemblies
Wing ribs that required some subasseblies are complete.
We finished sub-assemblies for some of the wing ribs that needed that, and in the process we ended up doing it for both the right wing and the left wing. For one of the ribs, the bracket for the flaps was bent in the wrong direction, so the parts department at Torrance has been notified to send a replacement.
Rib 1 Assembly
Rib 1 sub-assembly was pretty straightforward, some holes required cleaning up as usual. The flap torque tube bushing rotates within the rib assembly, which I sent a note to sling technical for clarification. 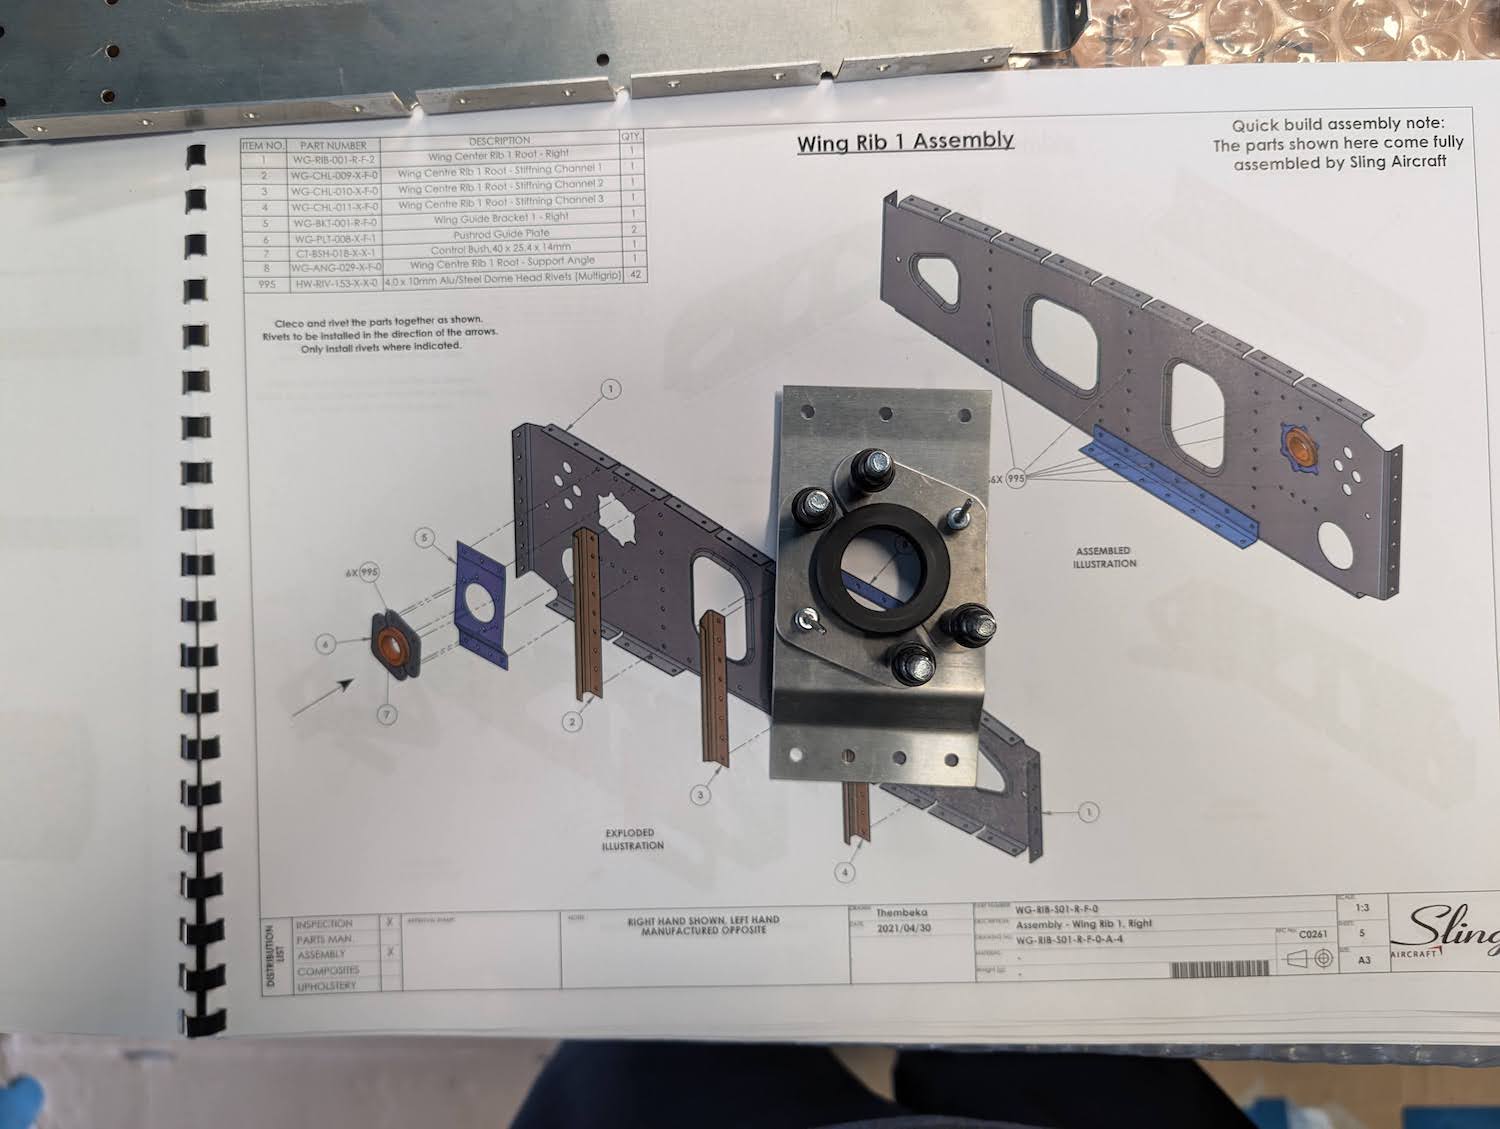 Flap torque tube bushing assembly clecoed.
 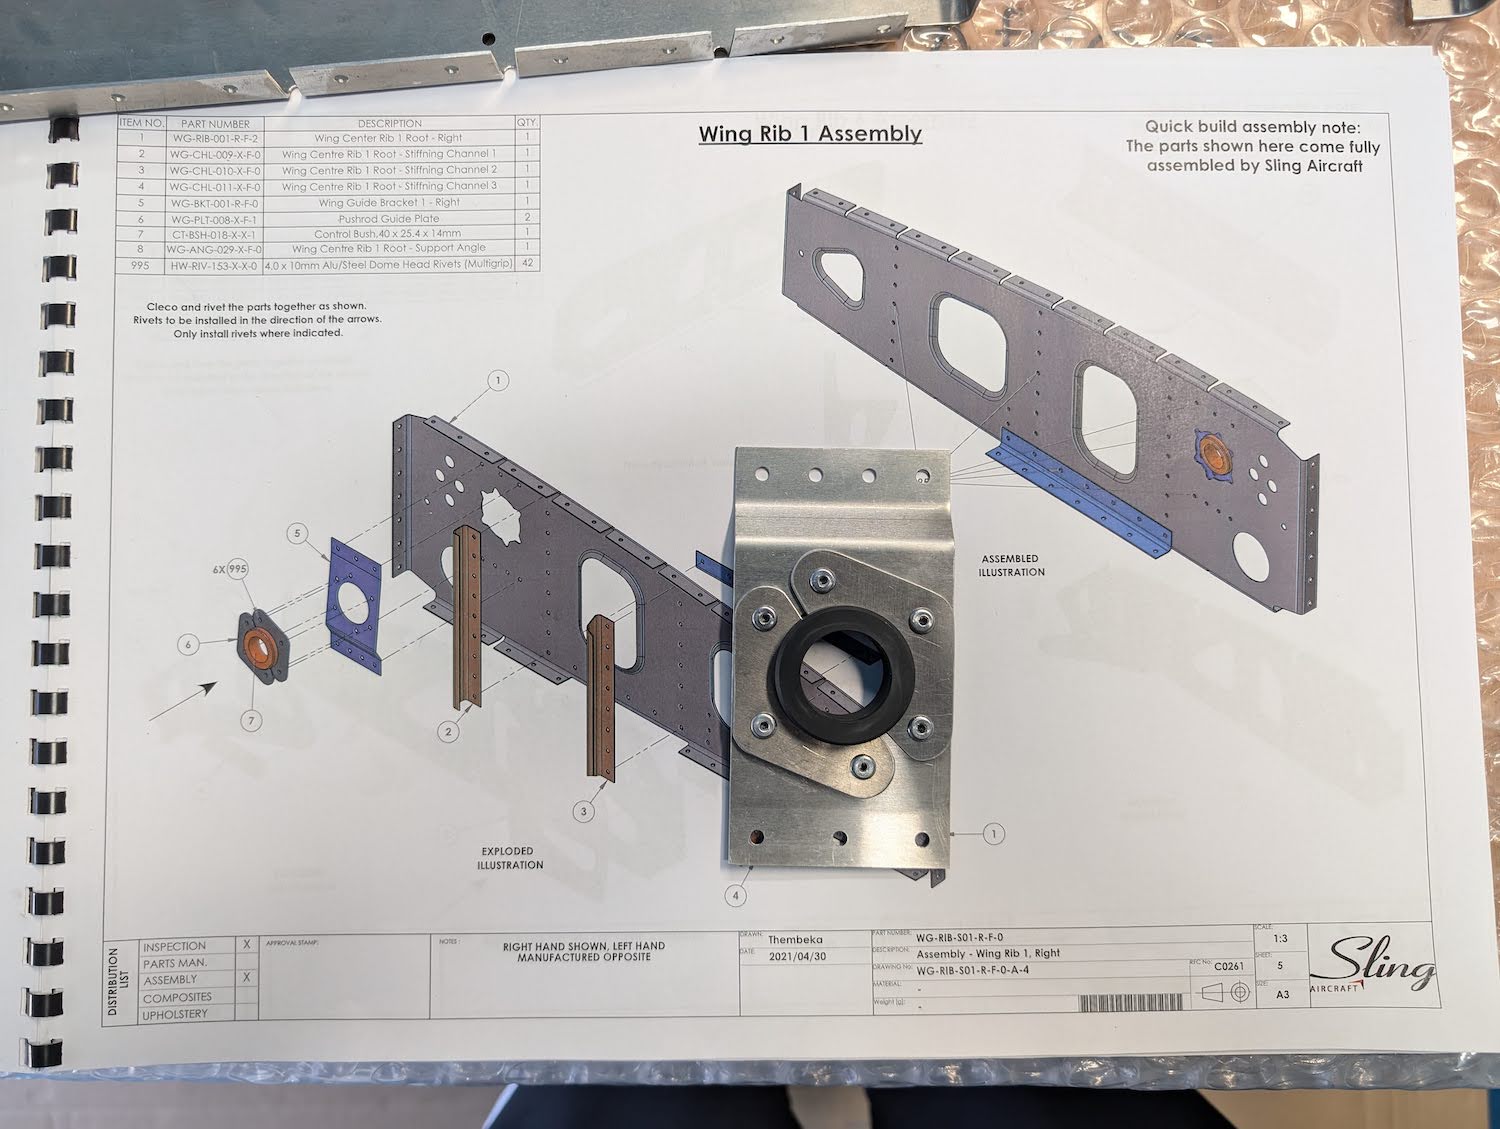 Flap torque tube bushing assembly riveted.
 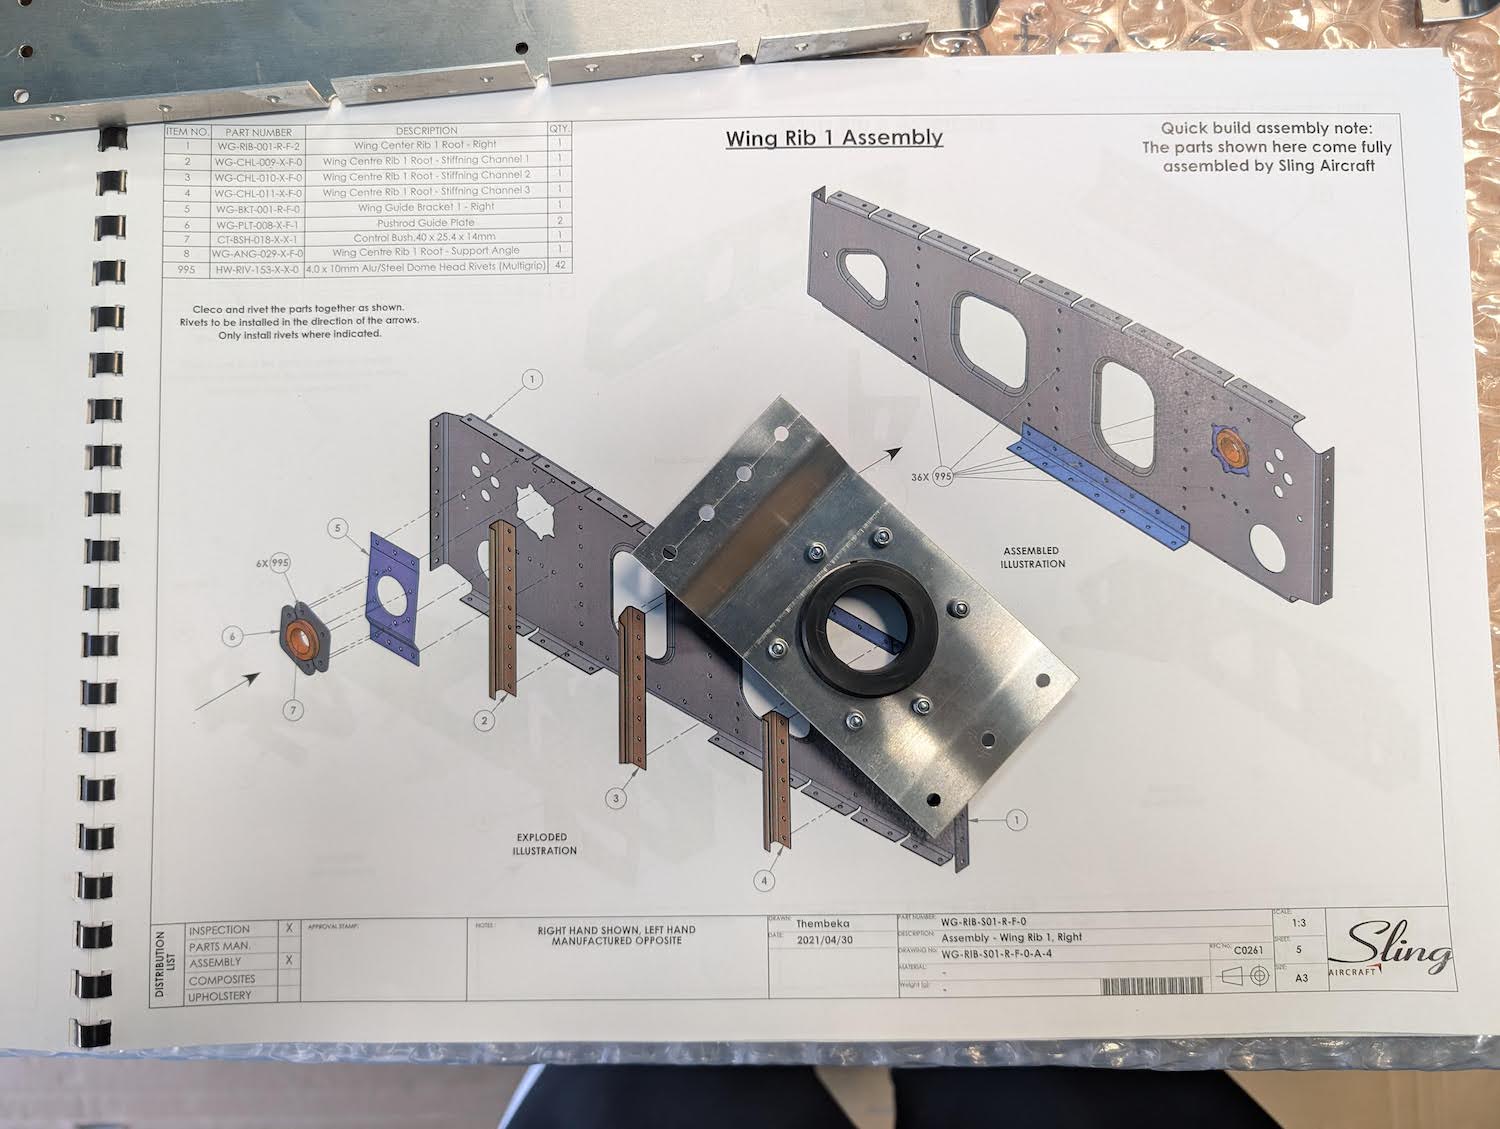 Flap torque tube bushing assembly riveted.
 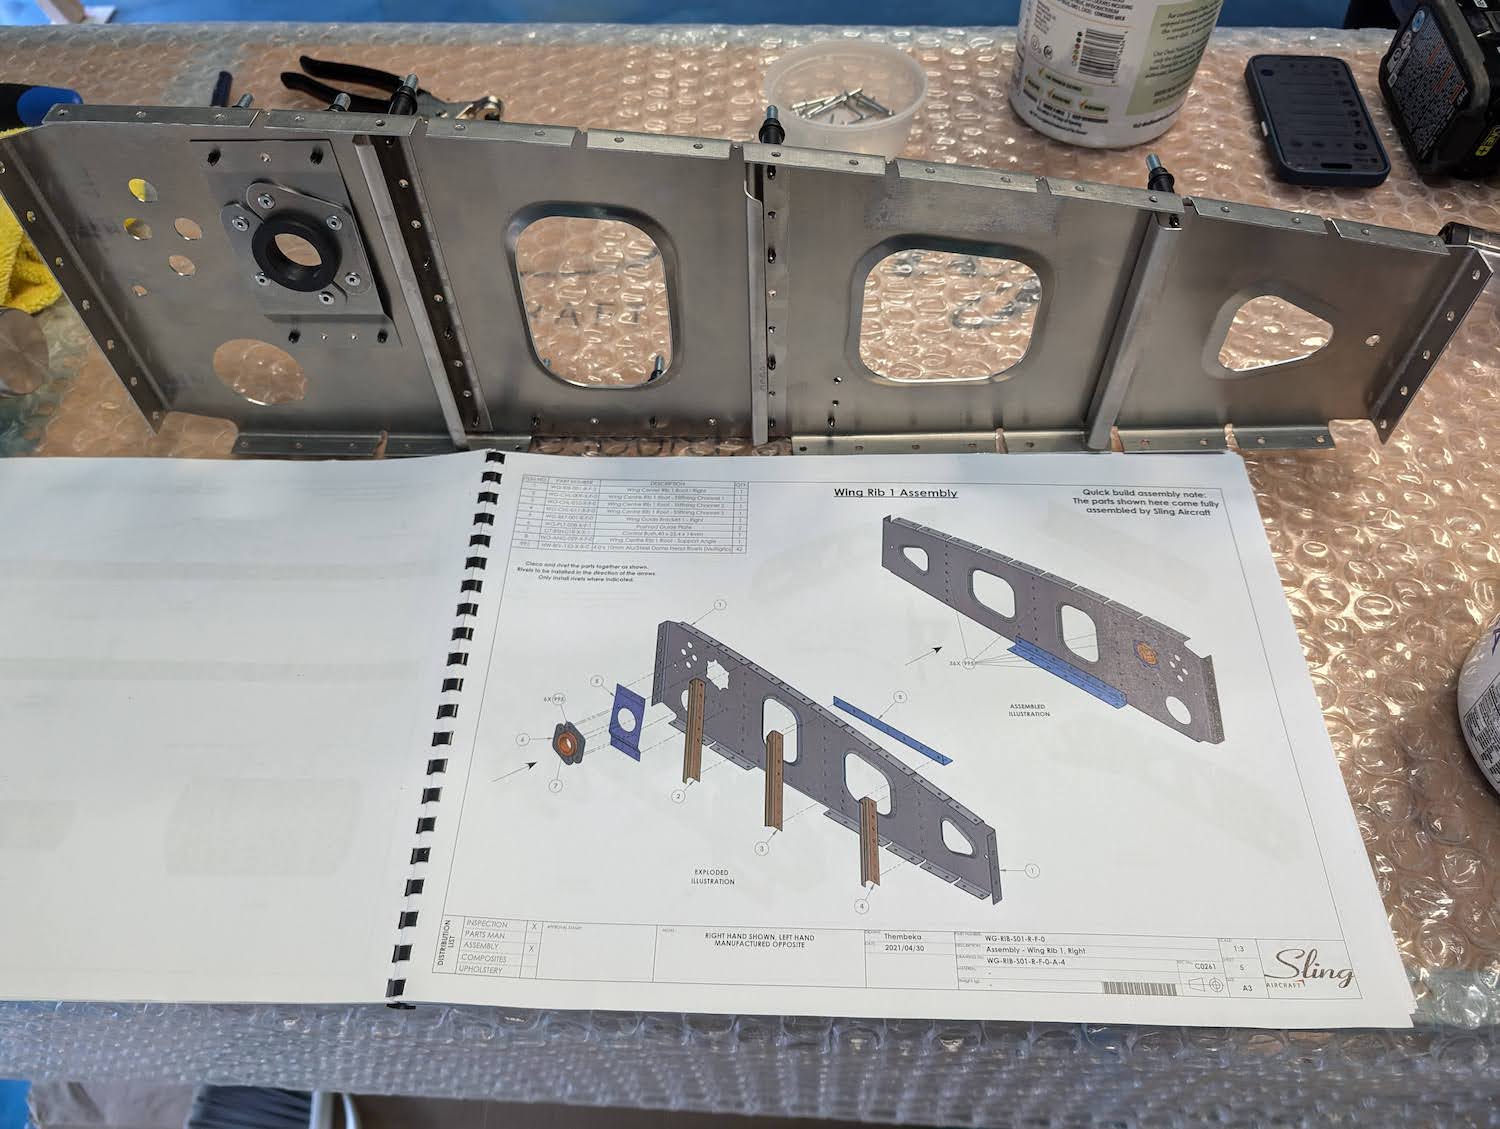 Rib clecoed.
 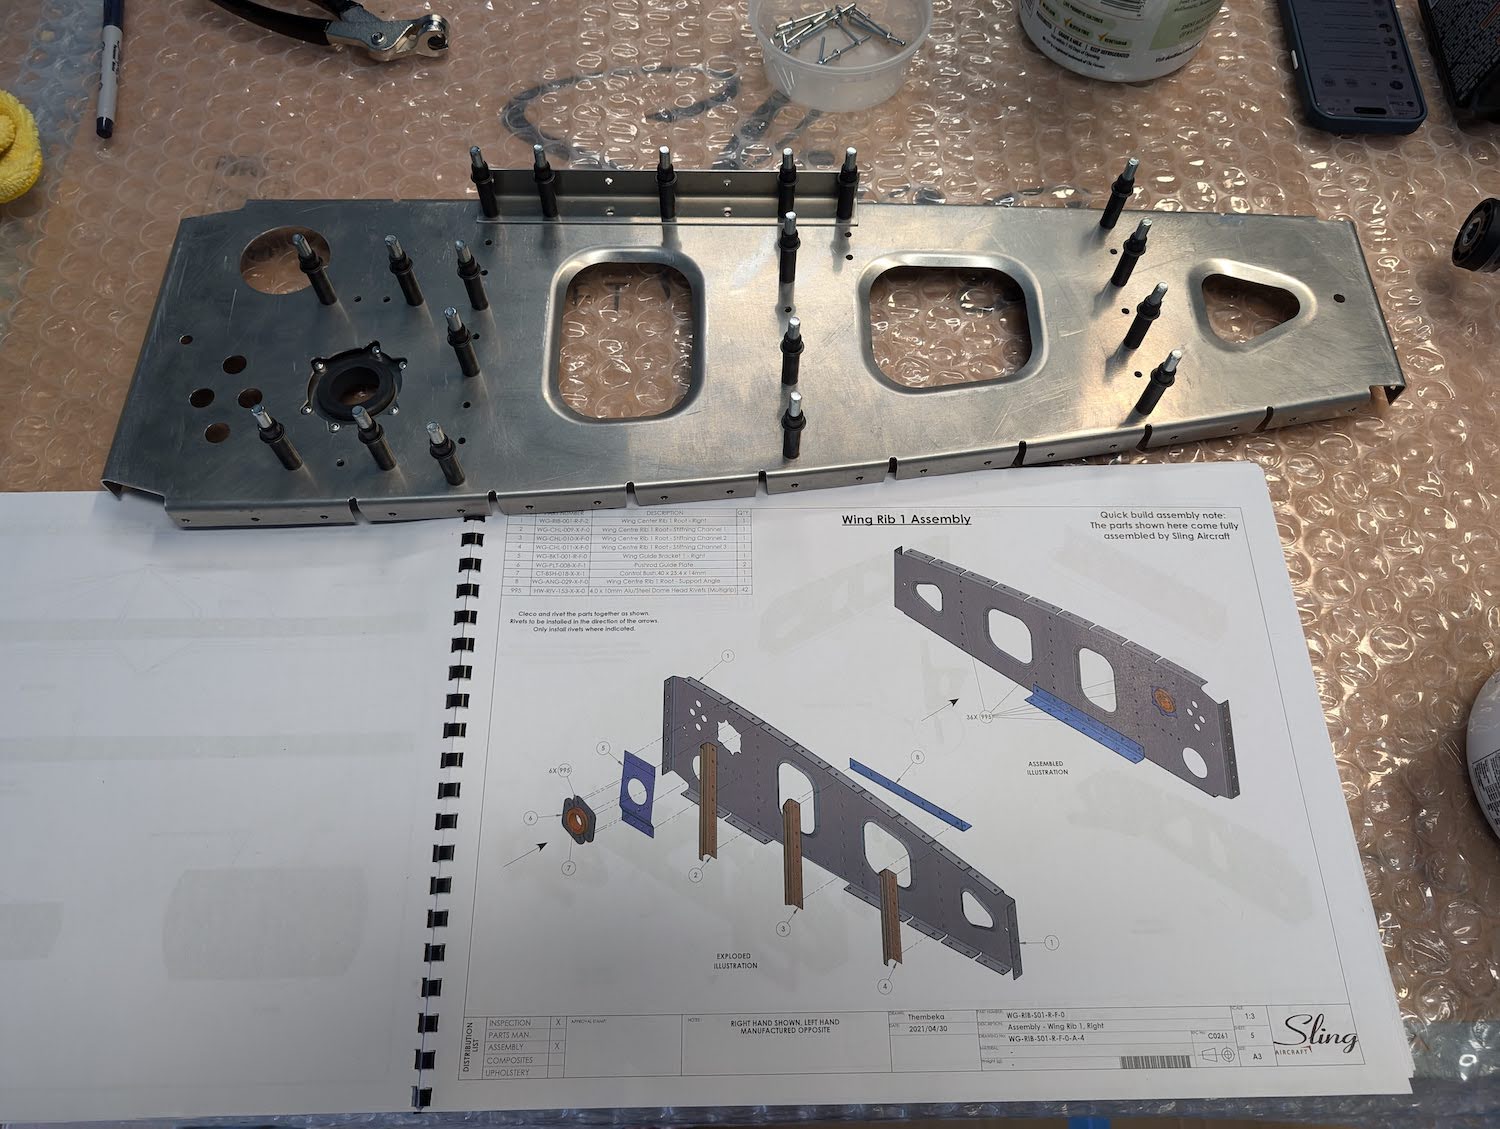 Rib clecoed.
 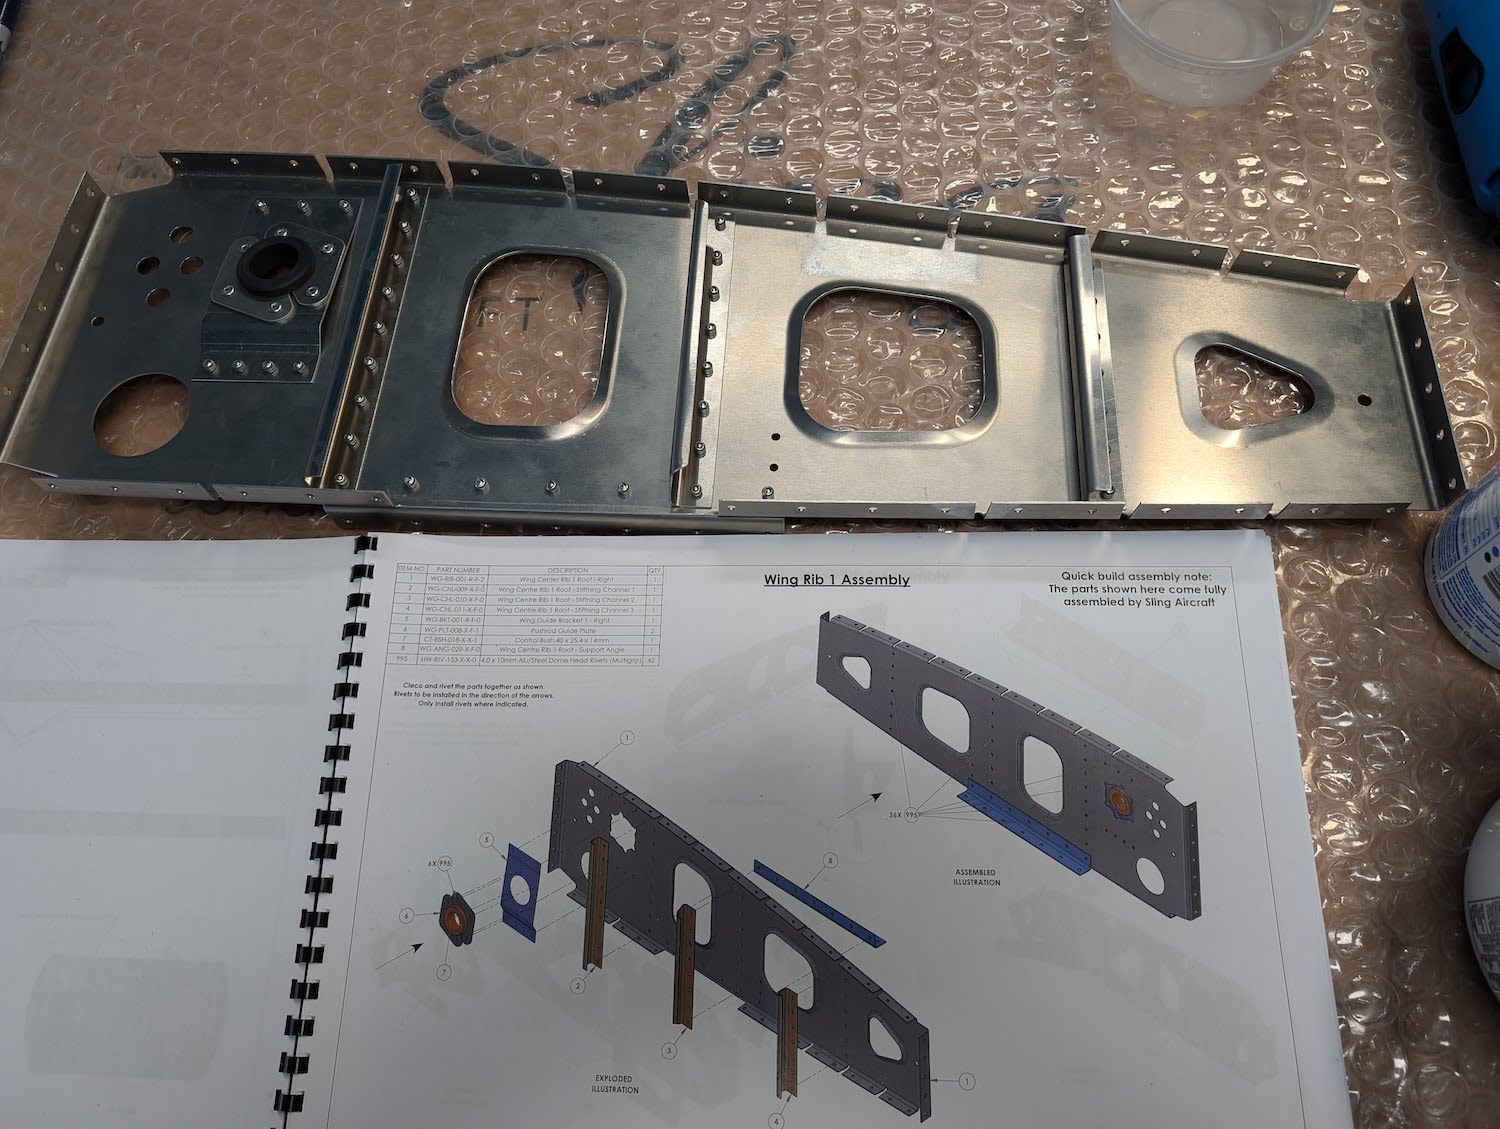 Rib riveted.
 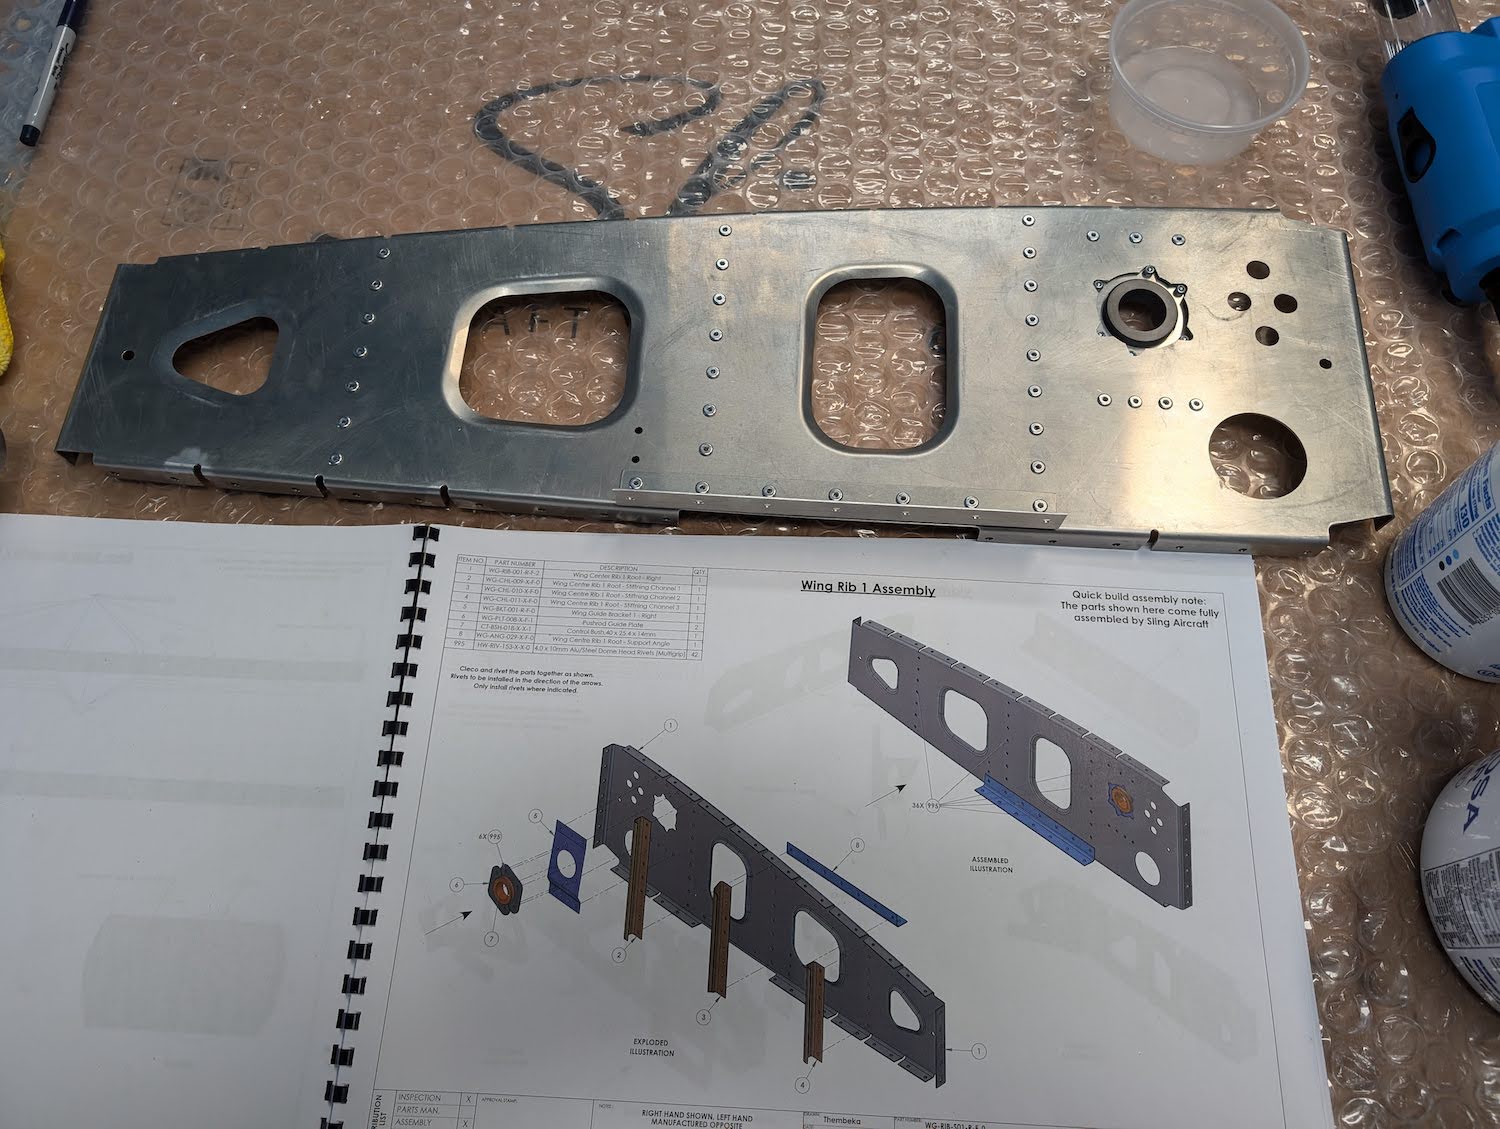 Rib riveted.
Rib 6 Assembly
Rib 6 sub-assembly was pretty straightforward, some holes required cleaning up as usual. There was some dimpling involved as well. The case for the torque tube bushing is same as Rib 1. 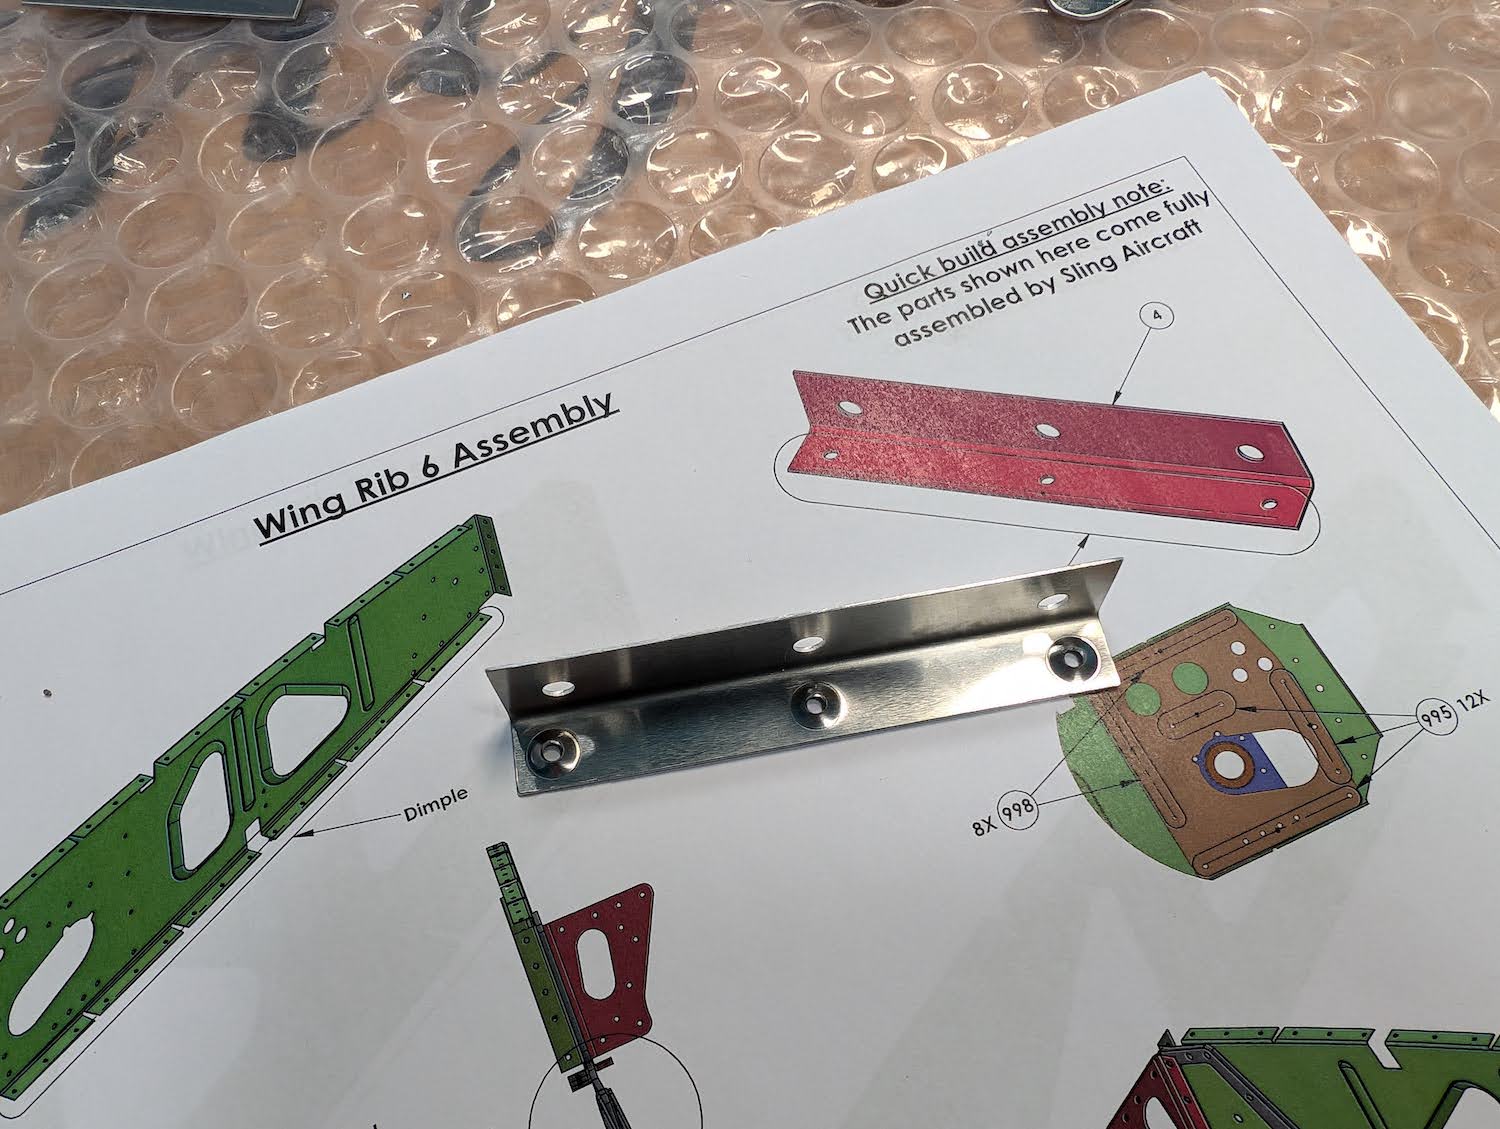 Rib to skin angle bracket dimpled.
 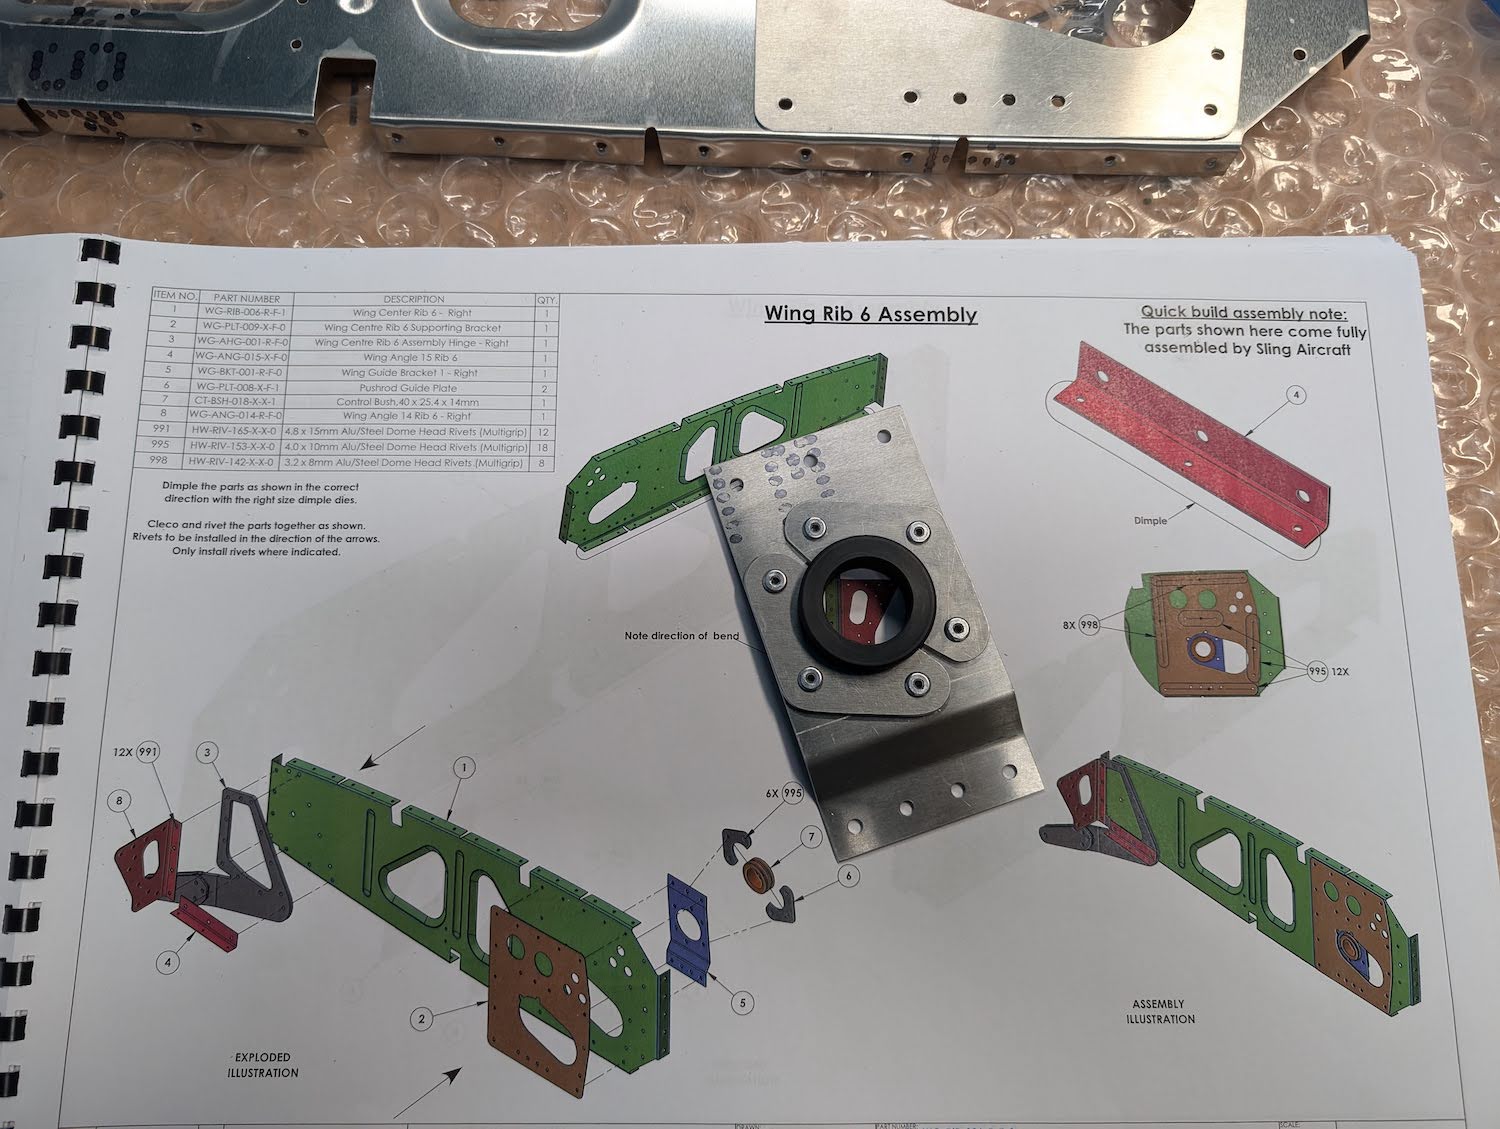 Flap torque tube bushing assembly riveted.
 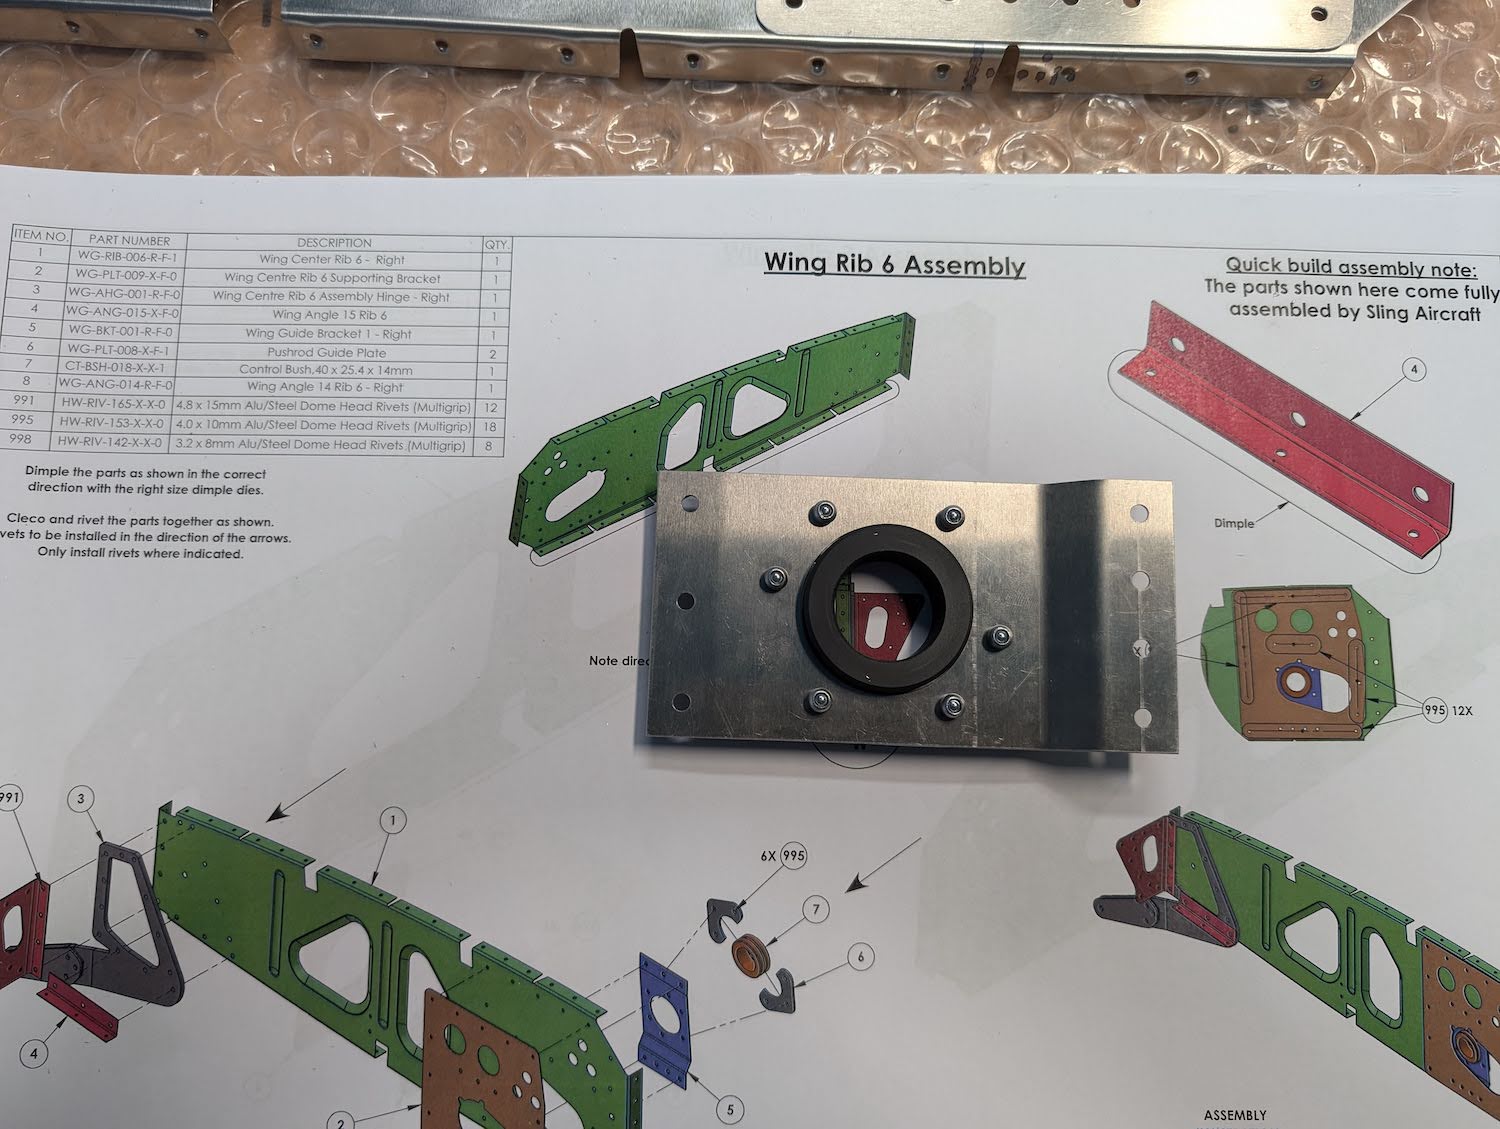 Flap torque tube bushing assembly riveted.
 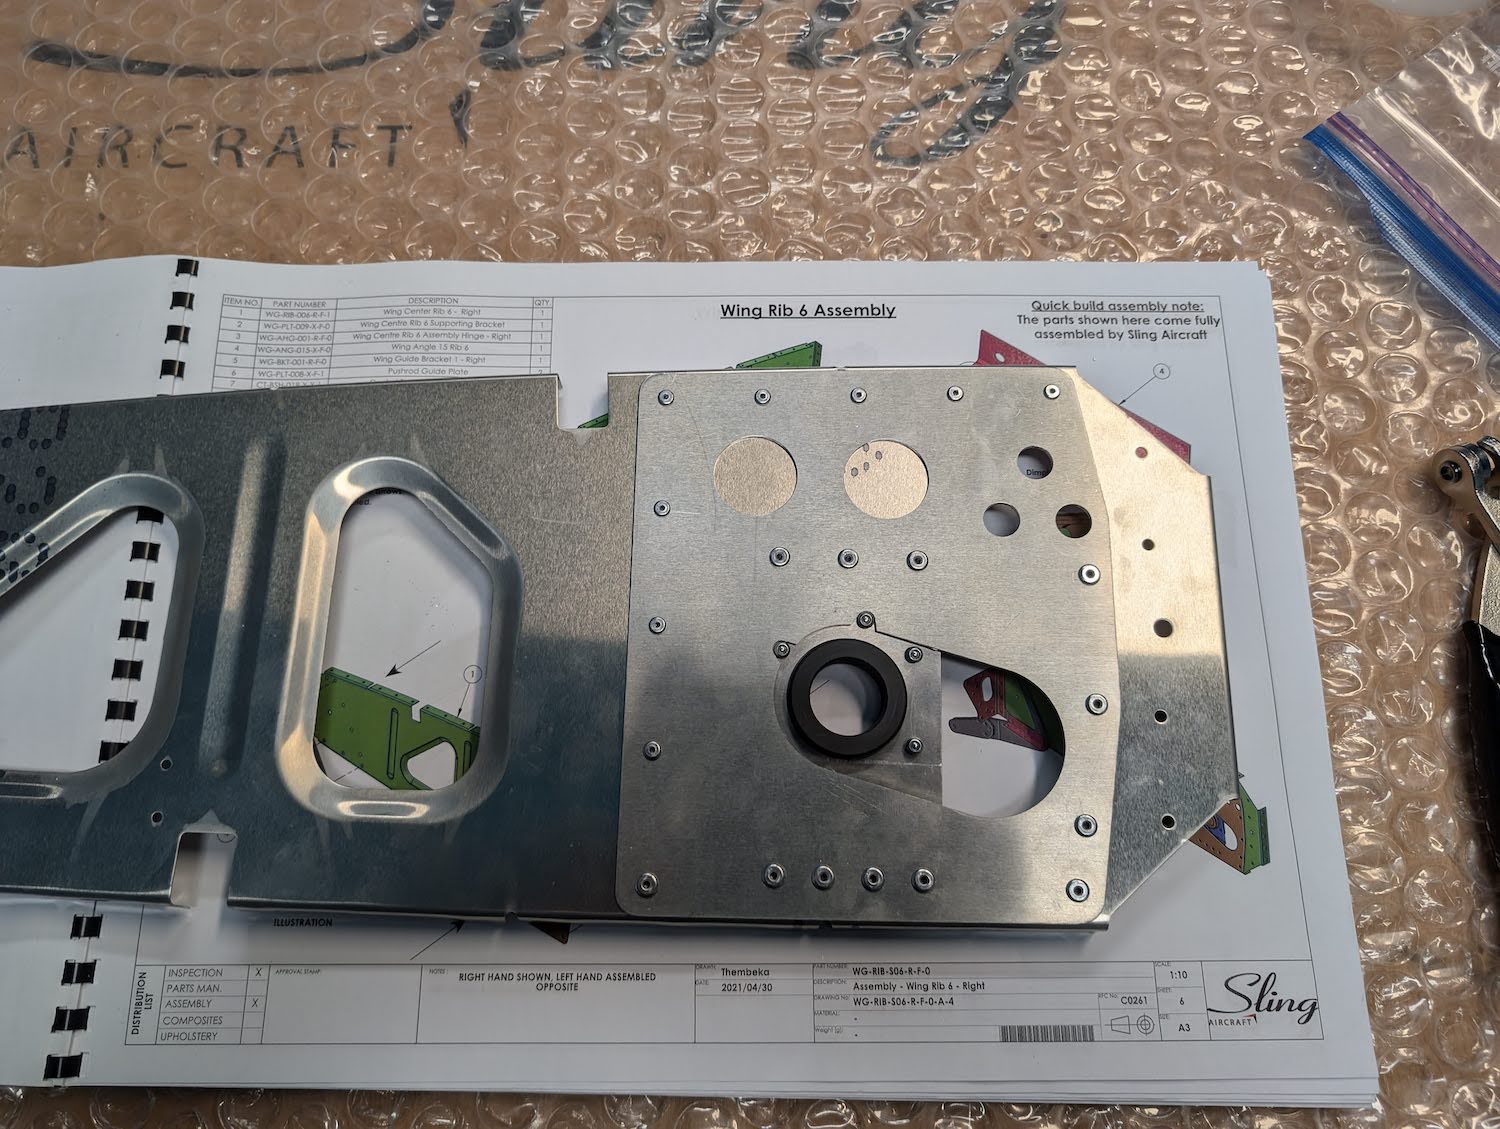 Rib leading edge assembly riveted.
 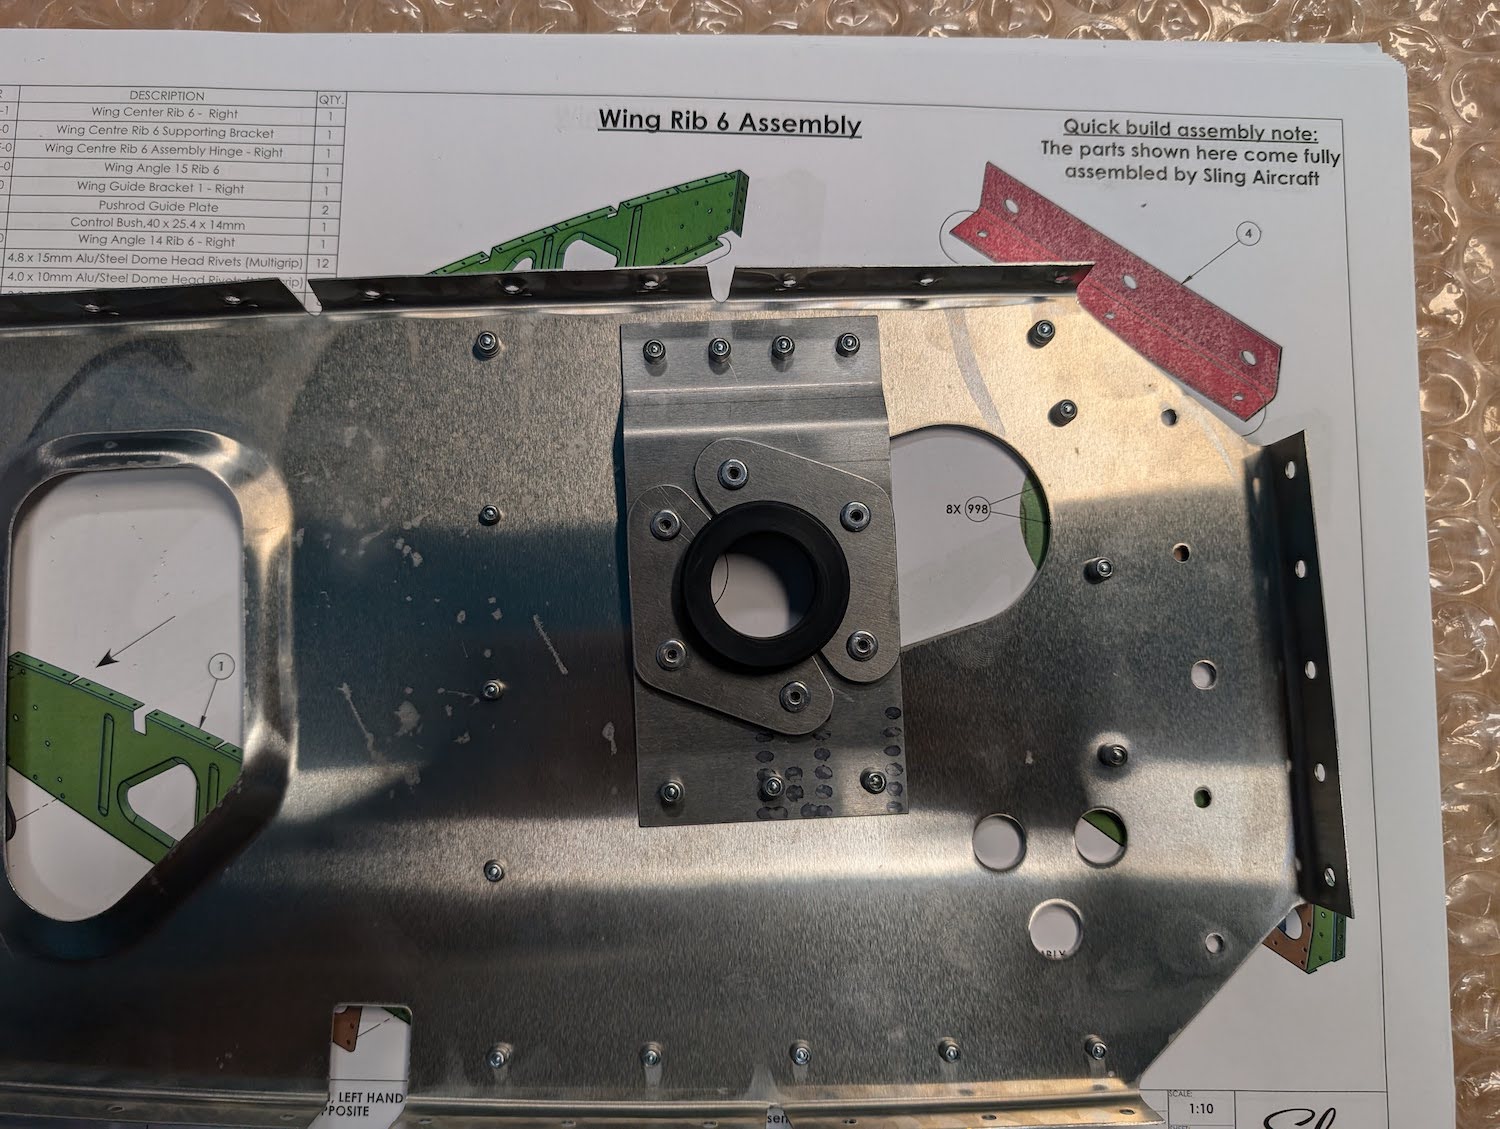 Rib leading edge assembly riveted.
 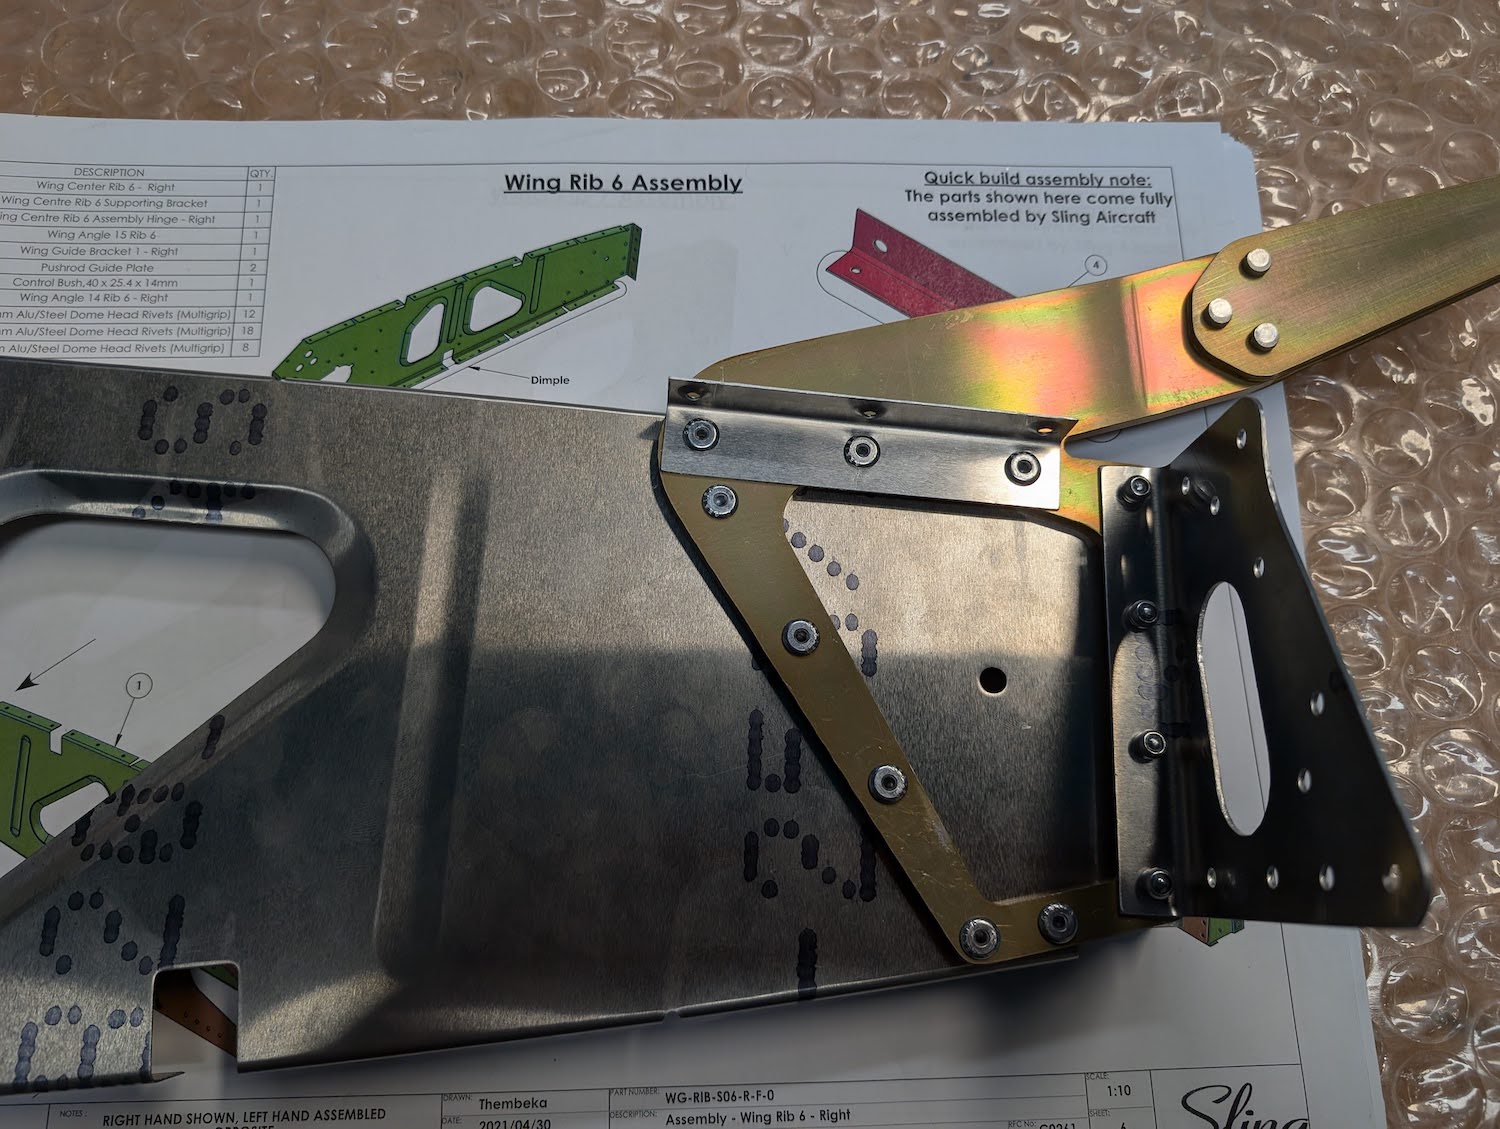 Rib trailing edge assembly riveted.
 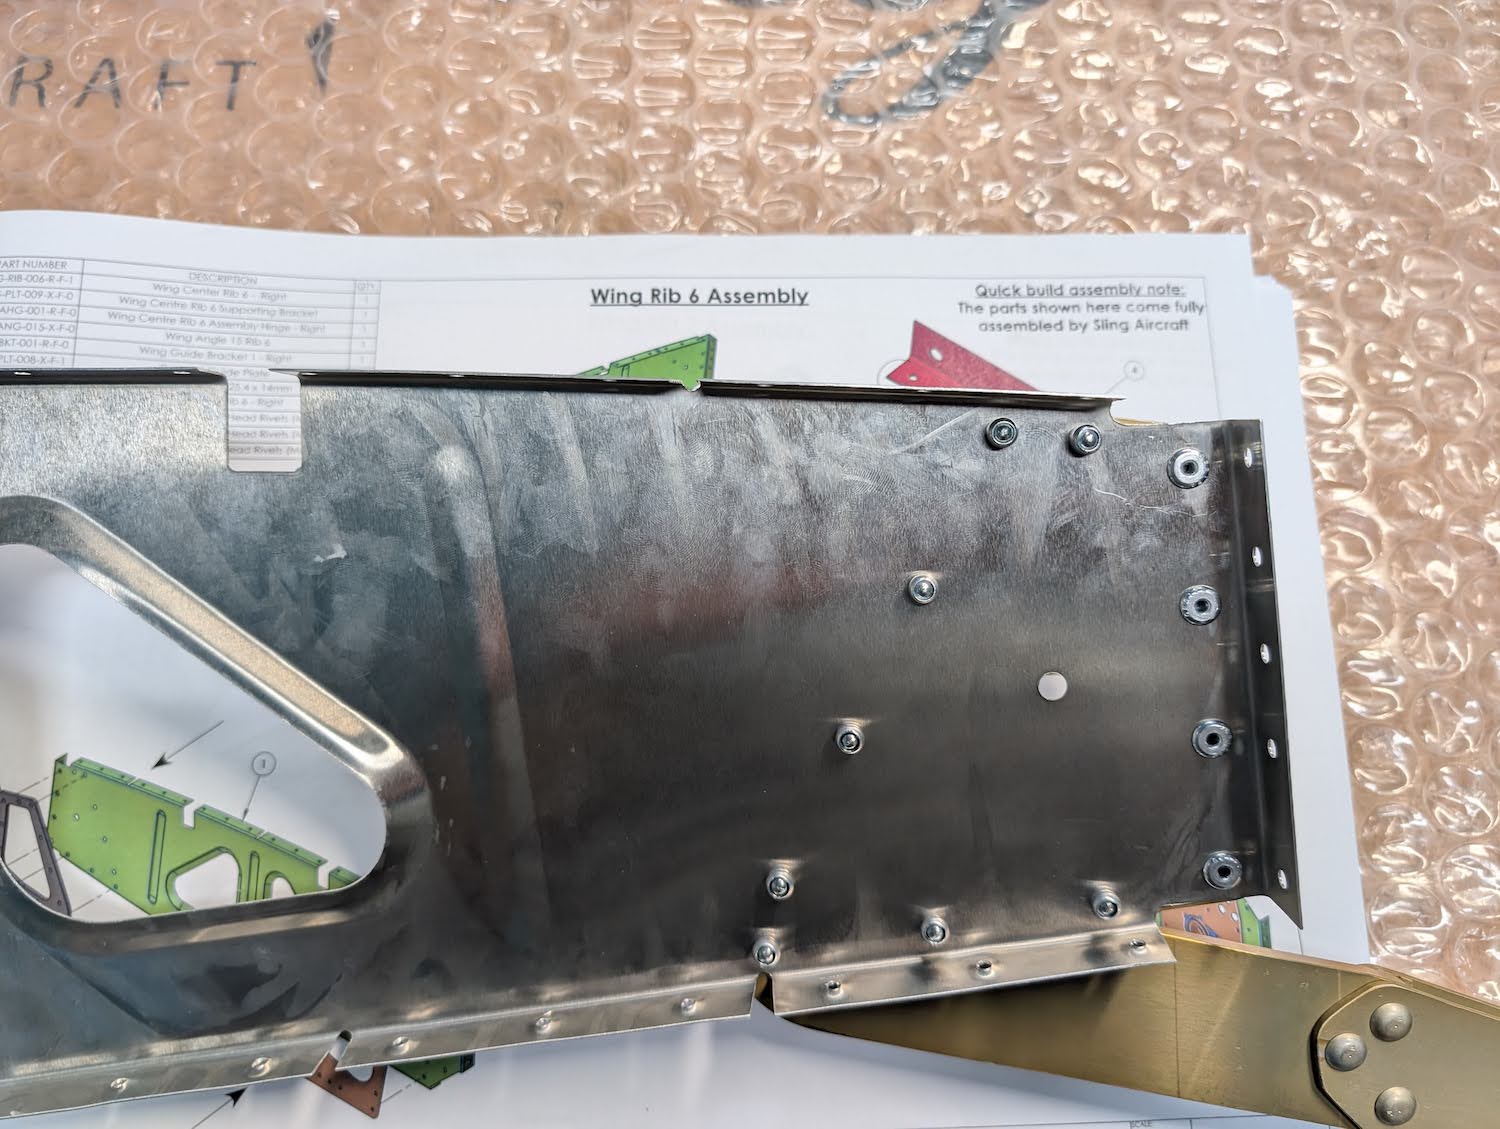 Rib trailing edge assembly riveted.
Rib 7 Assembly
Rib 7 sub-assembly was pretty straightforward, some holes required cleaning up as usual. There was some dimpling involved as well. The case for the torque tube bushing is same as Rib 1. 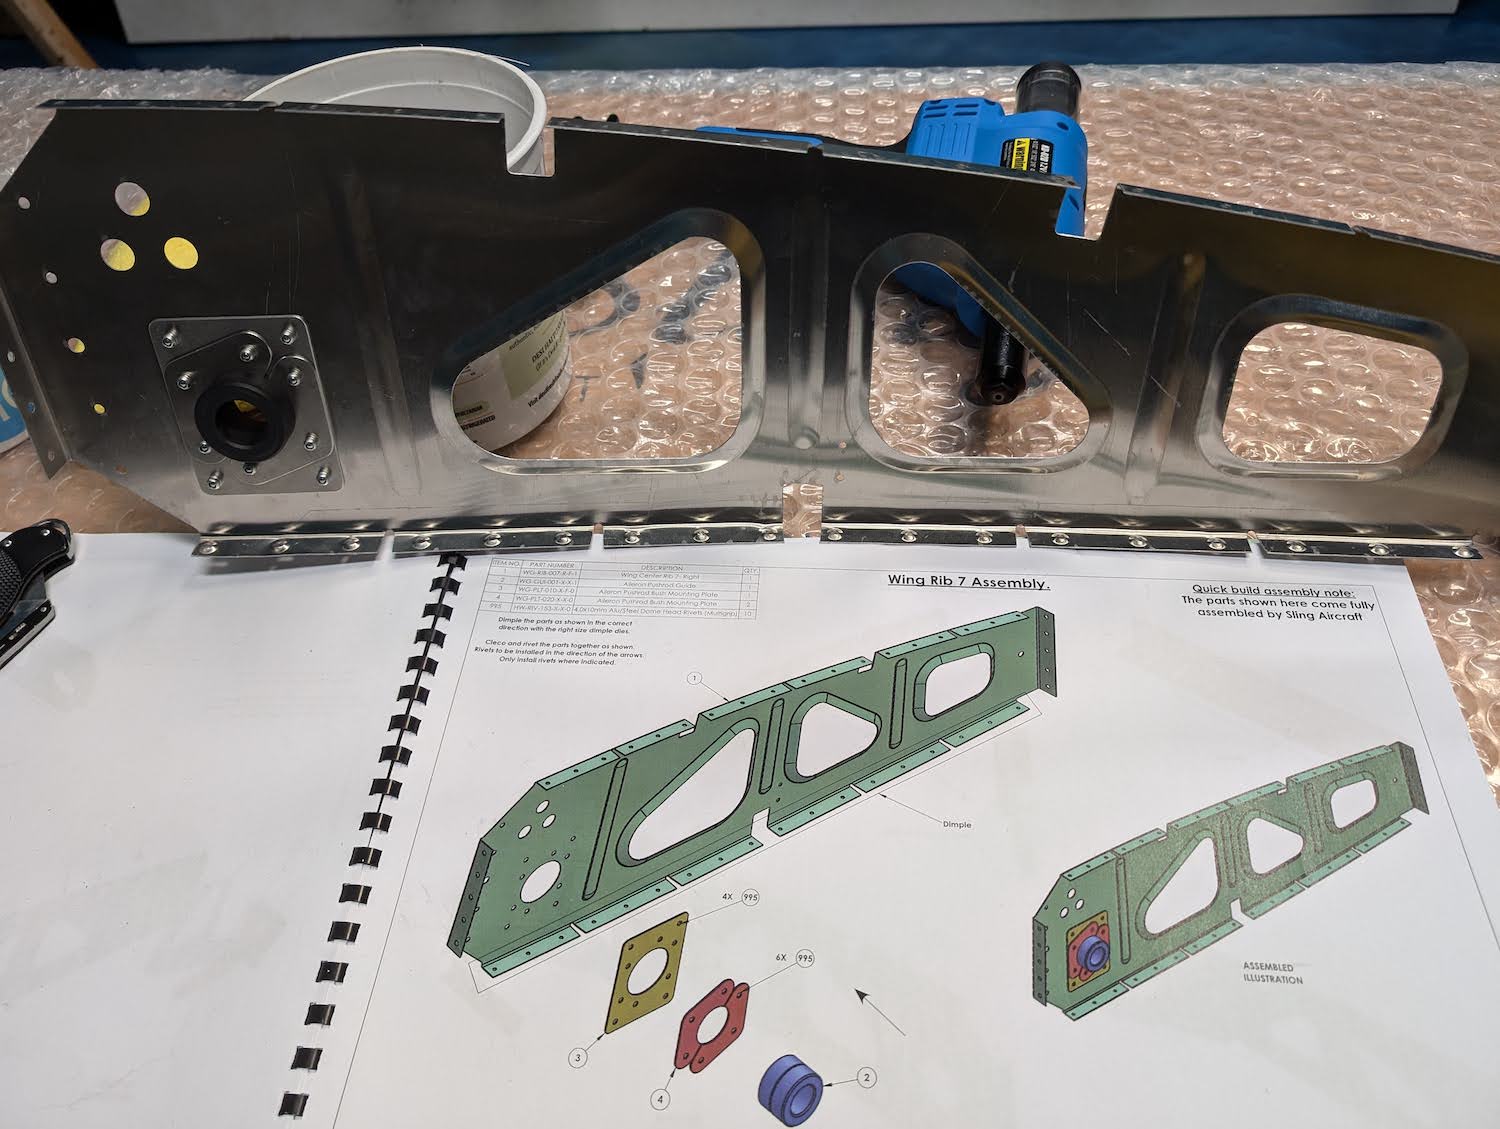 Rib leading edge assembly riveted, with the aileron torque tube bushing.
 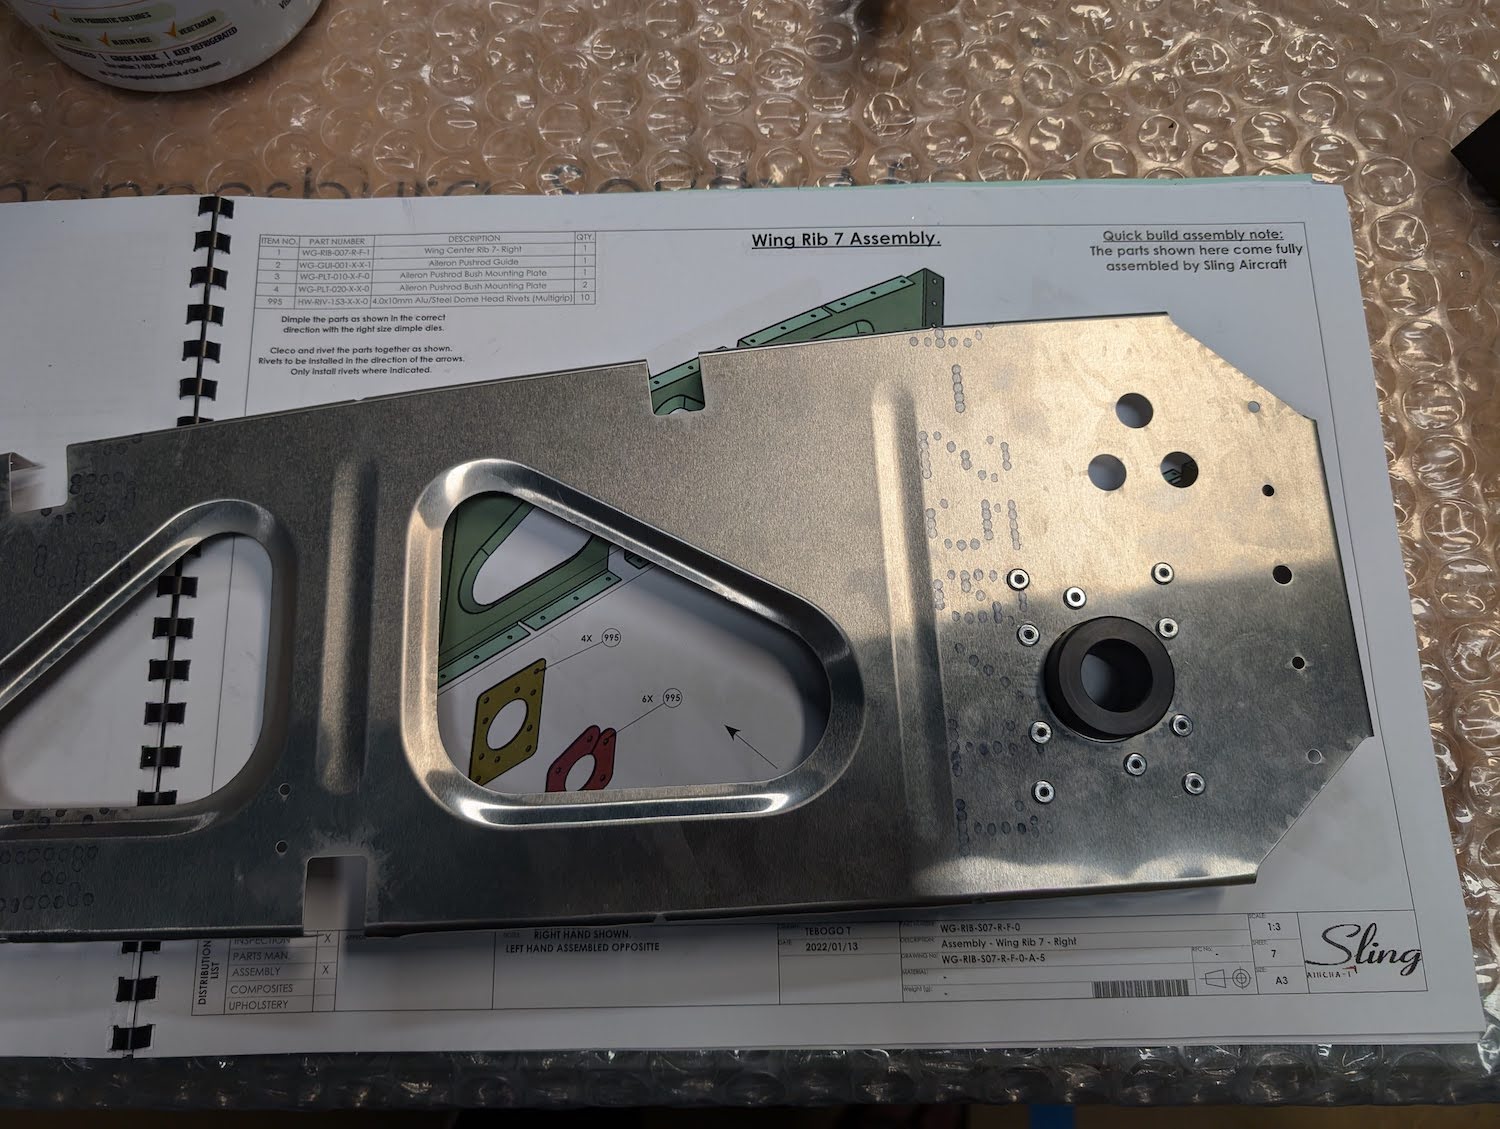 Rib leading edge assembly riveted, with the aileron torque tube bushing.
Rib 8 Assembly
Rib 8 sub-assembly was pretty straightforward, some holes required cleaning up as usual. There was some dimpling involved as well. The flap angle bracket for the Right side rib was bent in the wrong direction, so a request for replacement has been sent to the Torrance parts department. The left side is completely assembled, will finish the right side once the replacement arrives. 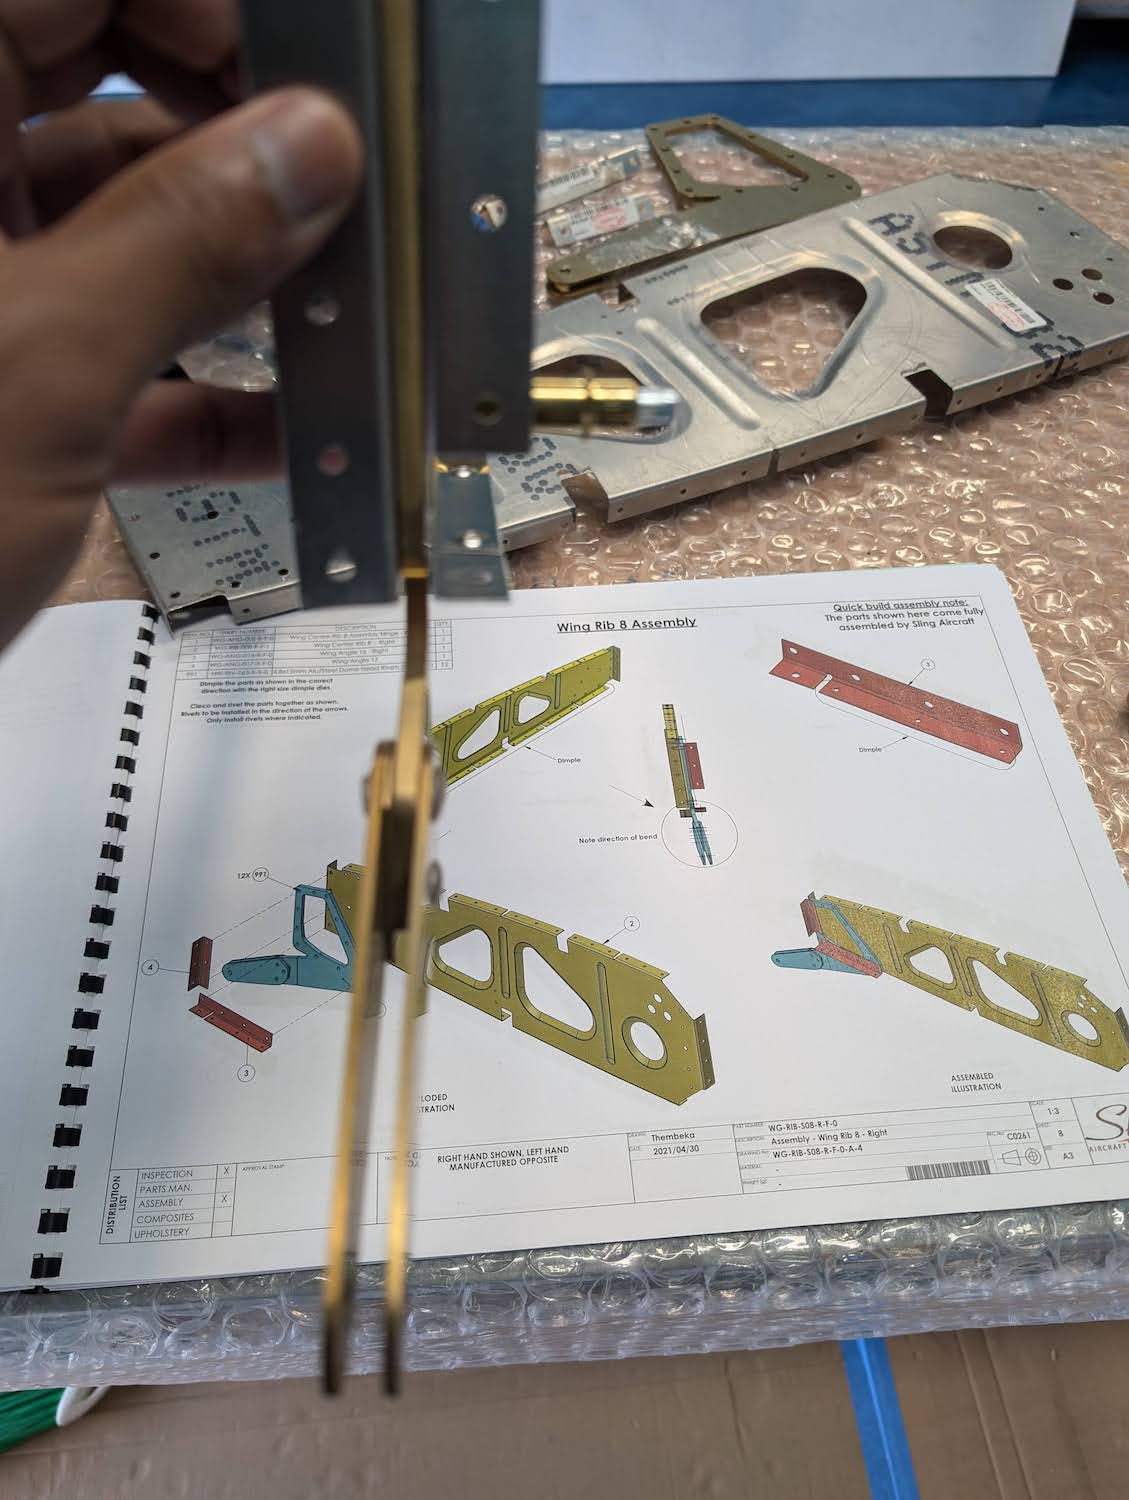 Flap angle bracket bent in the wrong direction.
 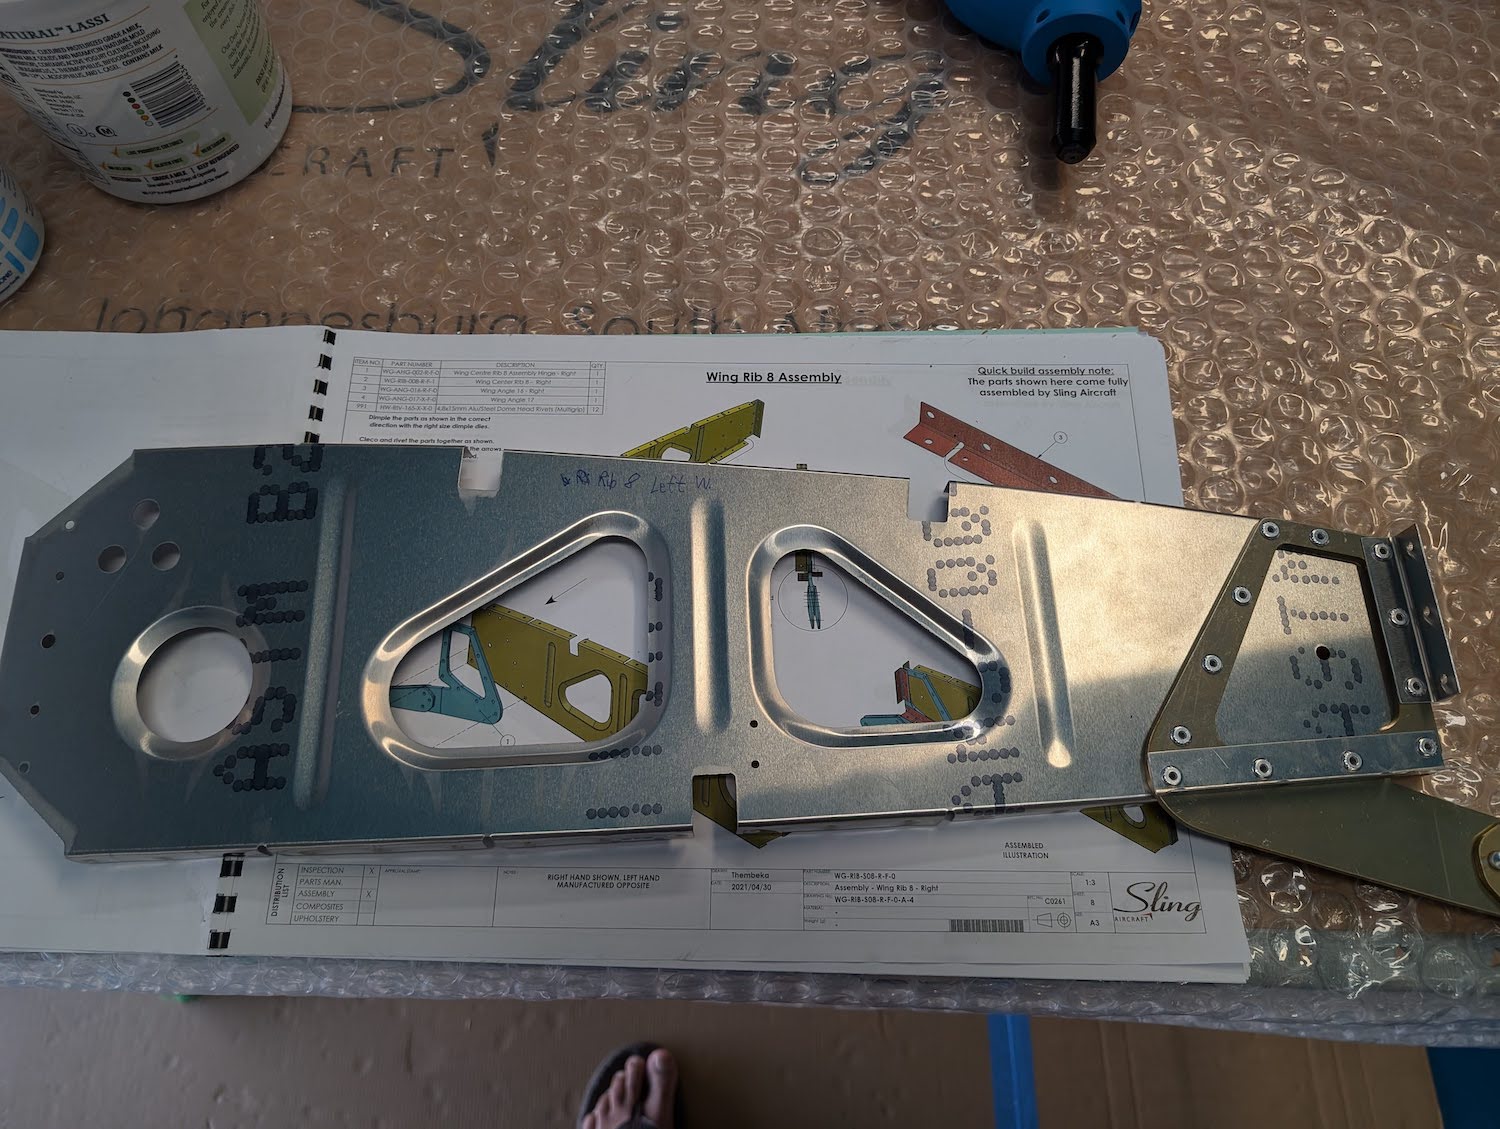 Rib trailing edge assembly riveted.
 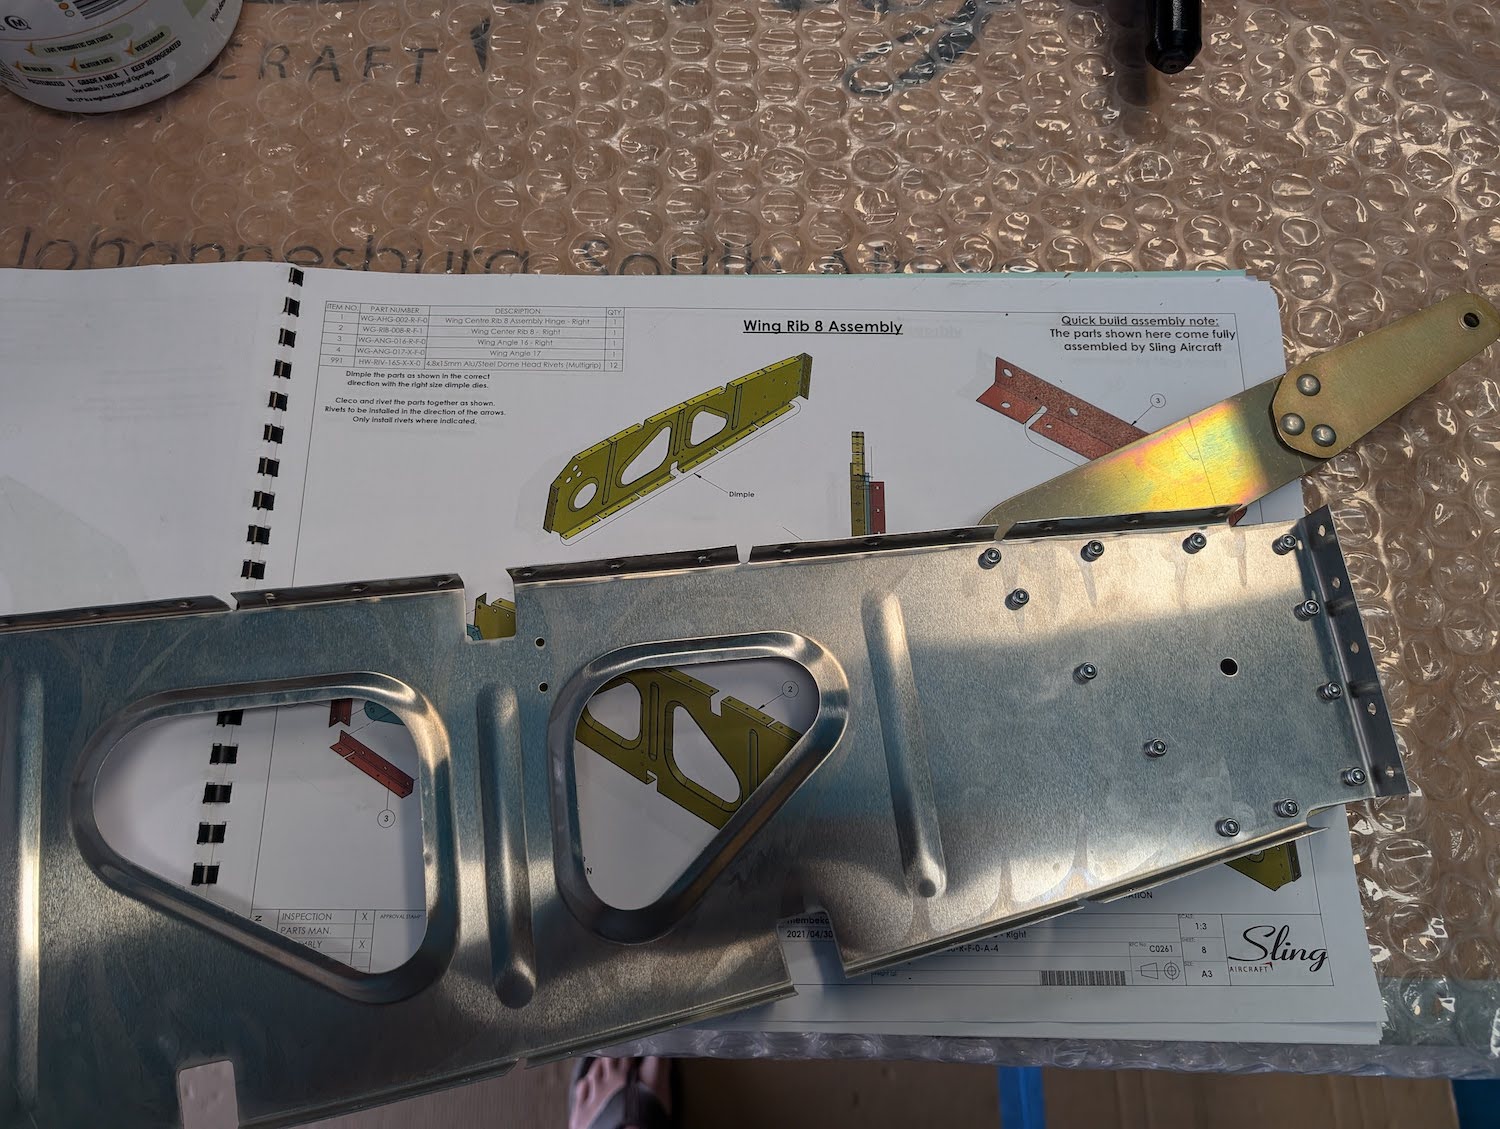 Rib trailing edge assembly riveted.
Rib 10 Assembly
Rib 10 sub-assembly was pretty straightforward, some holes required cleaning up as usual. There was some dimpling involved as well. 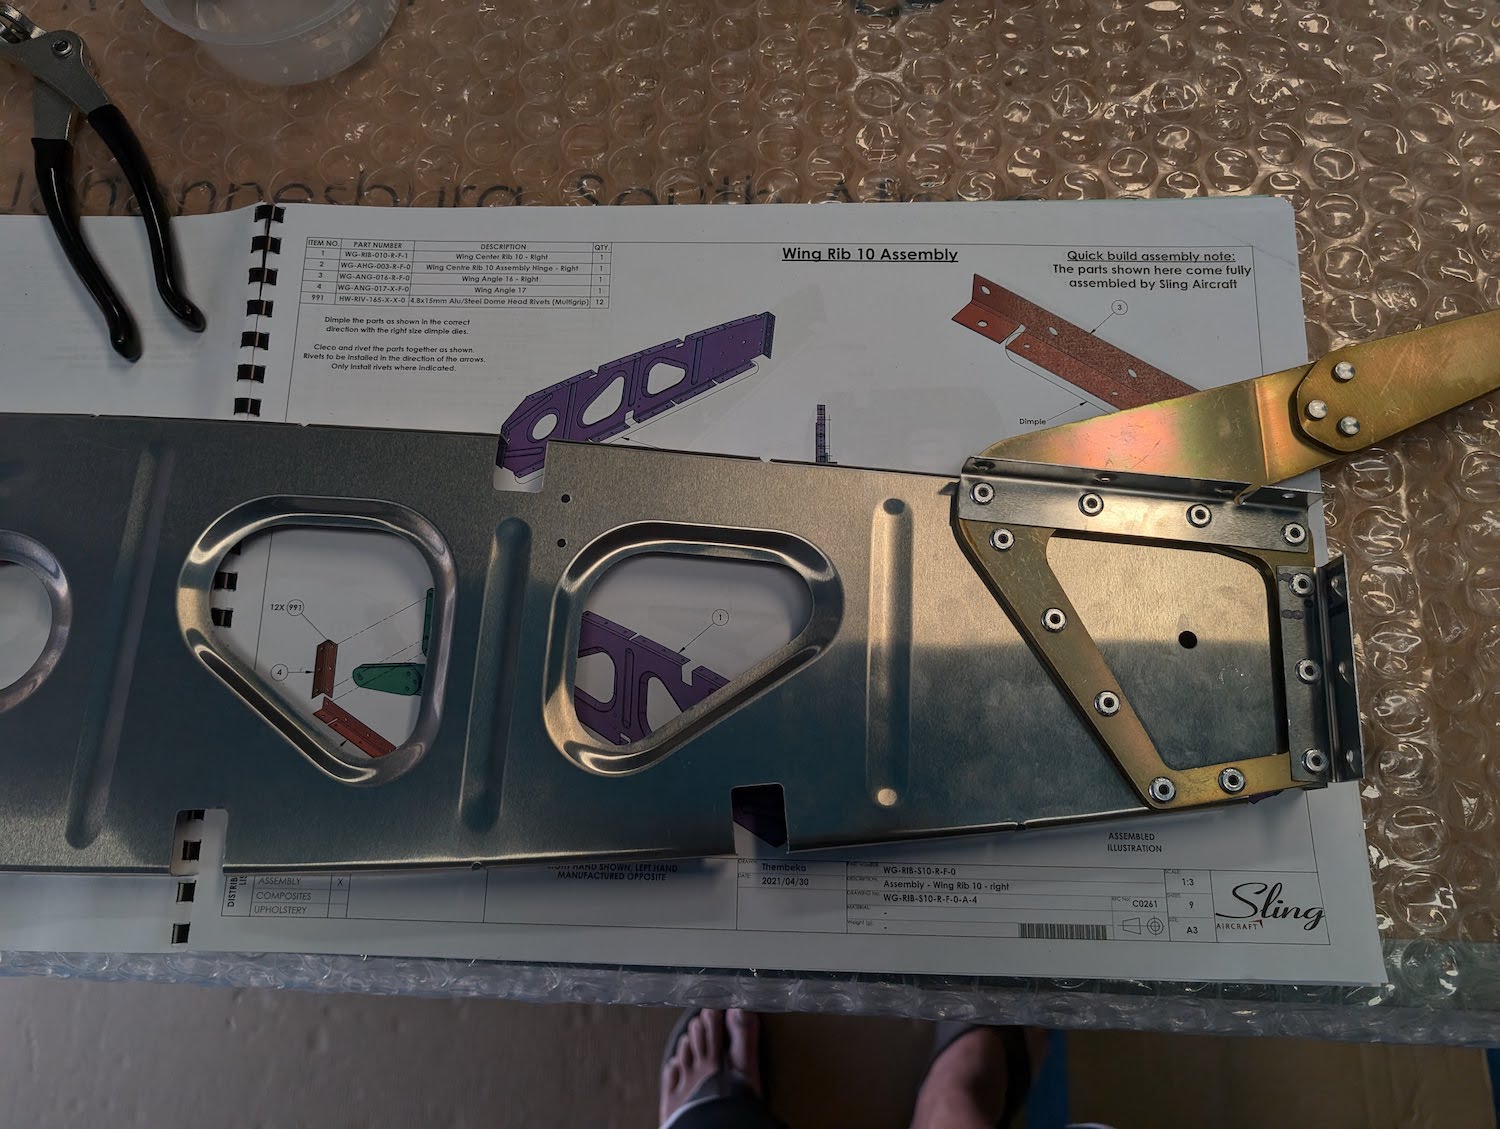 Rib trailing edge assembly riveted.
 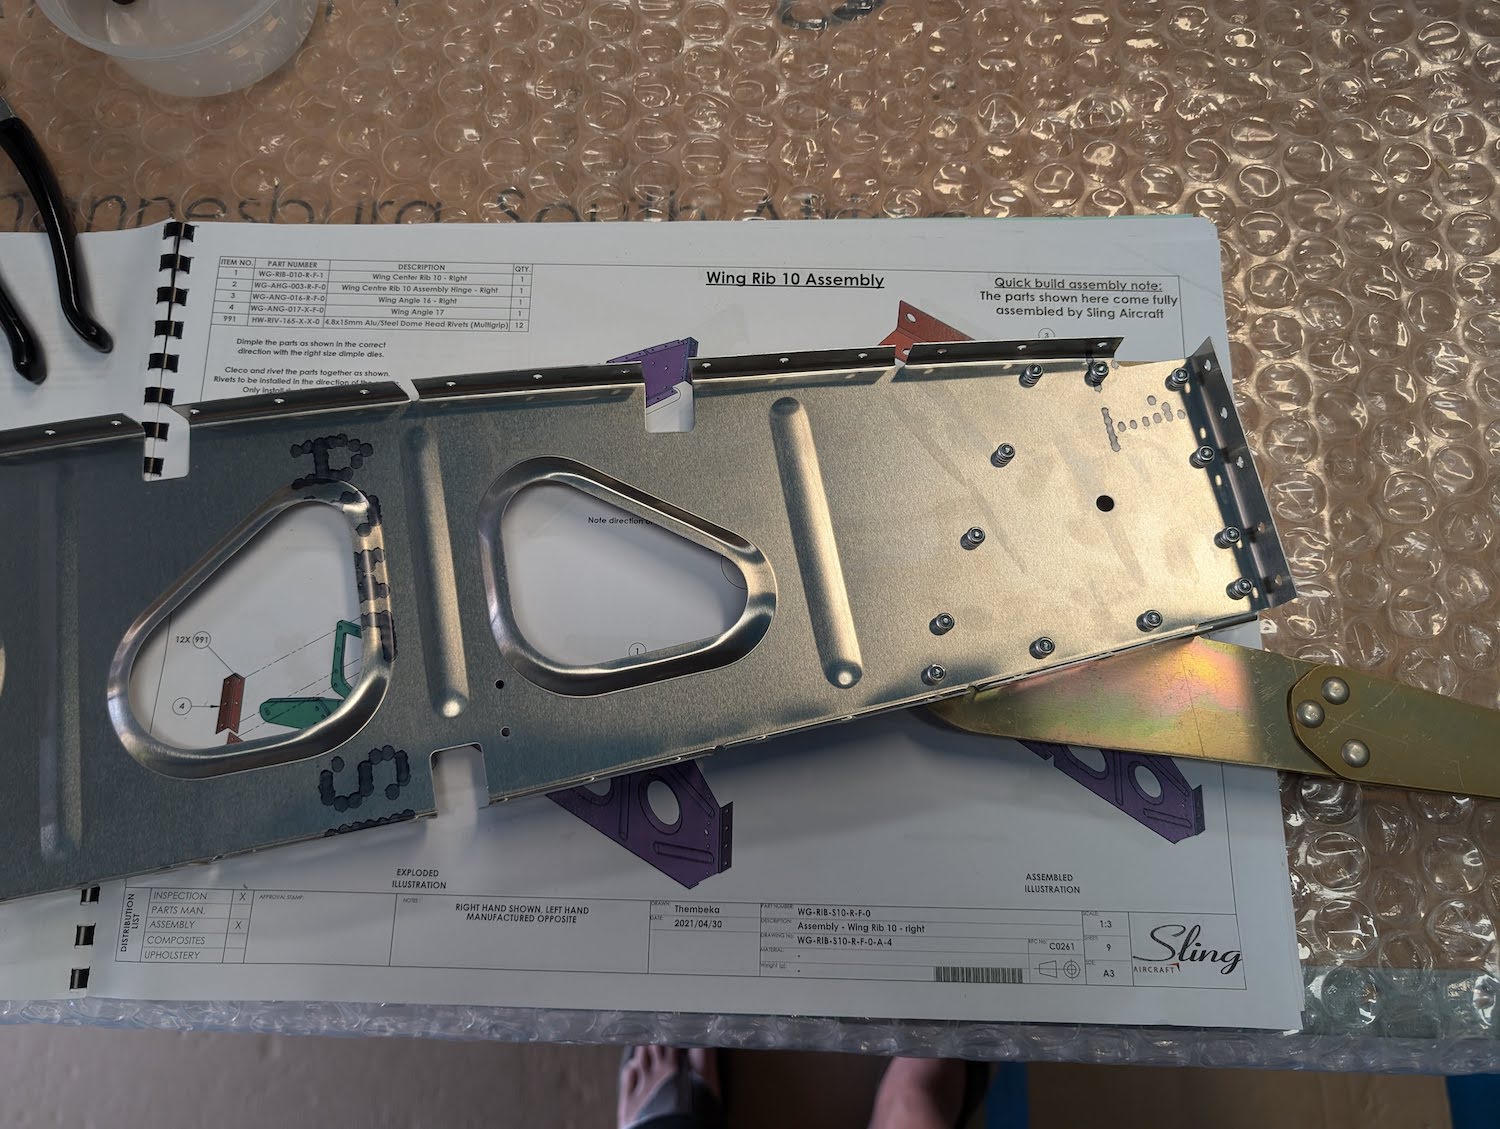 Rib trailing edge assembly riveted.
Rib 11 Assembly
Rib 11 sub-assembly was pretty straightforward, some holes required cleaning up as usual. There was some dimpling involved as well. Additionally, the bell crank assembly for the aileron torque tube was bolted to the proper torque settings. 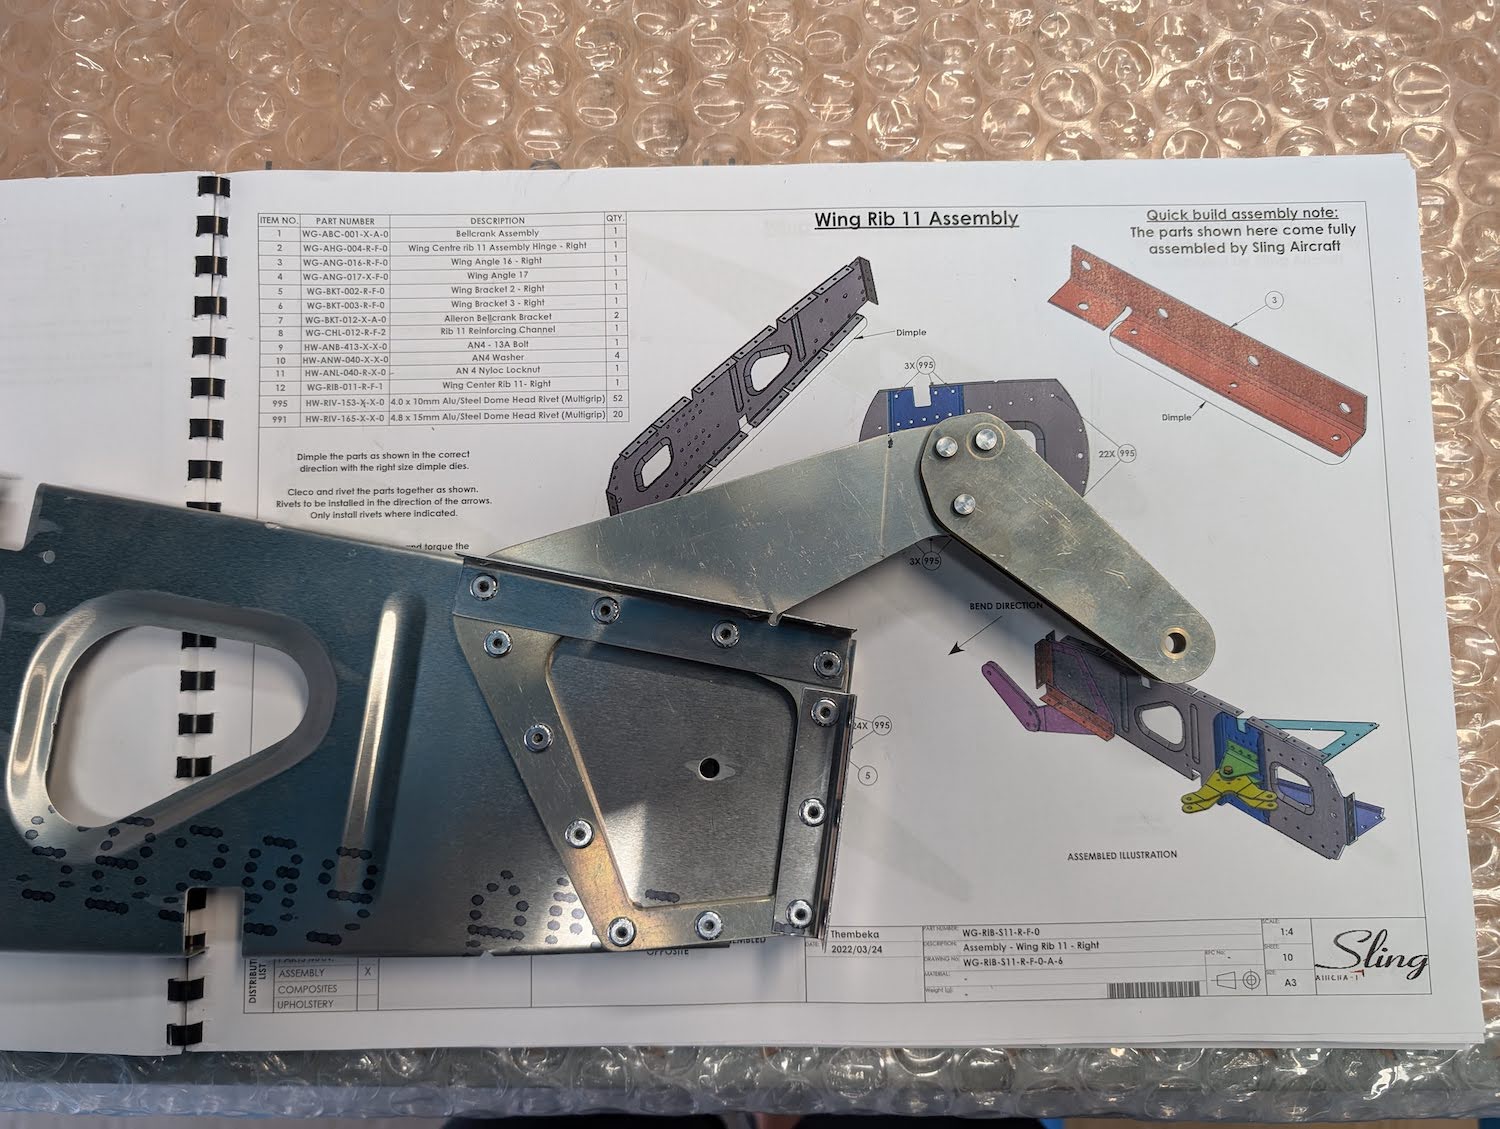 Rib trailing edge assembly riveted.
 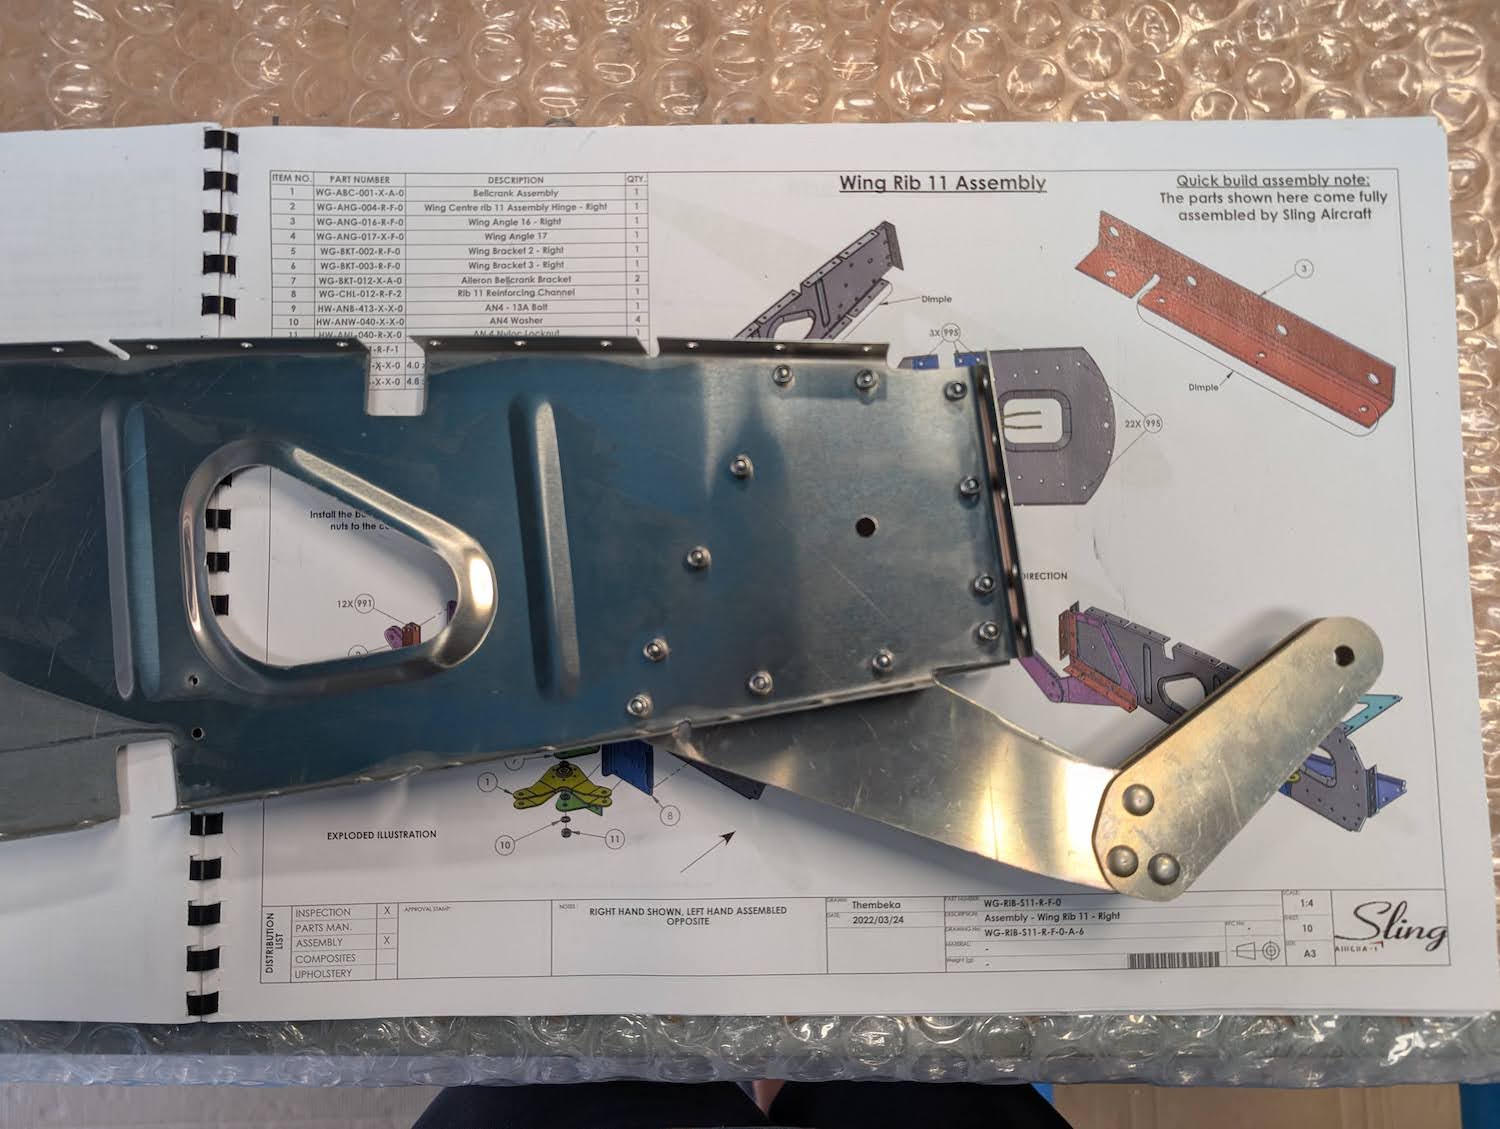 Rib trailing edge assembly riveted.
 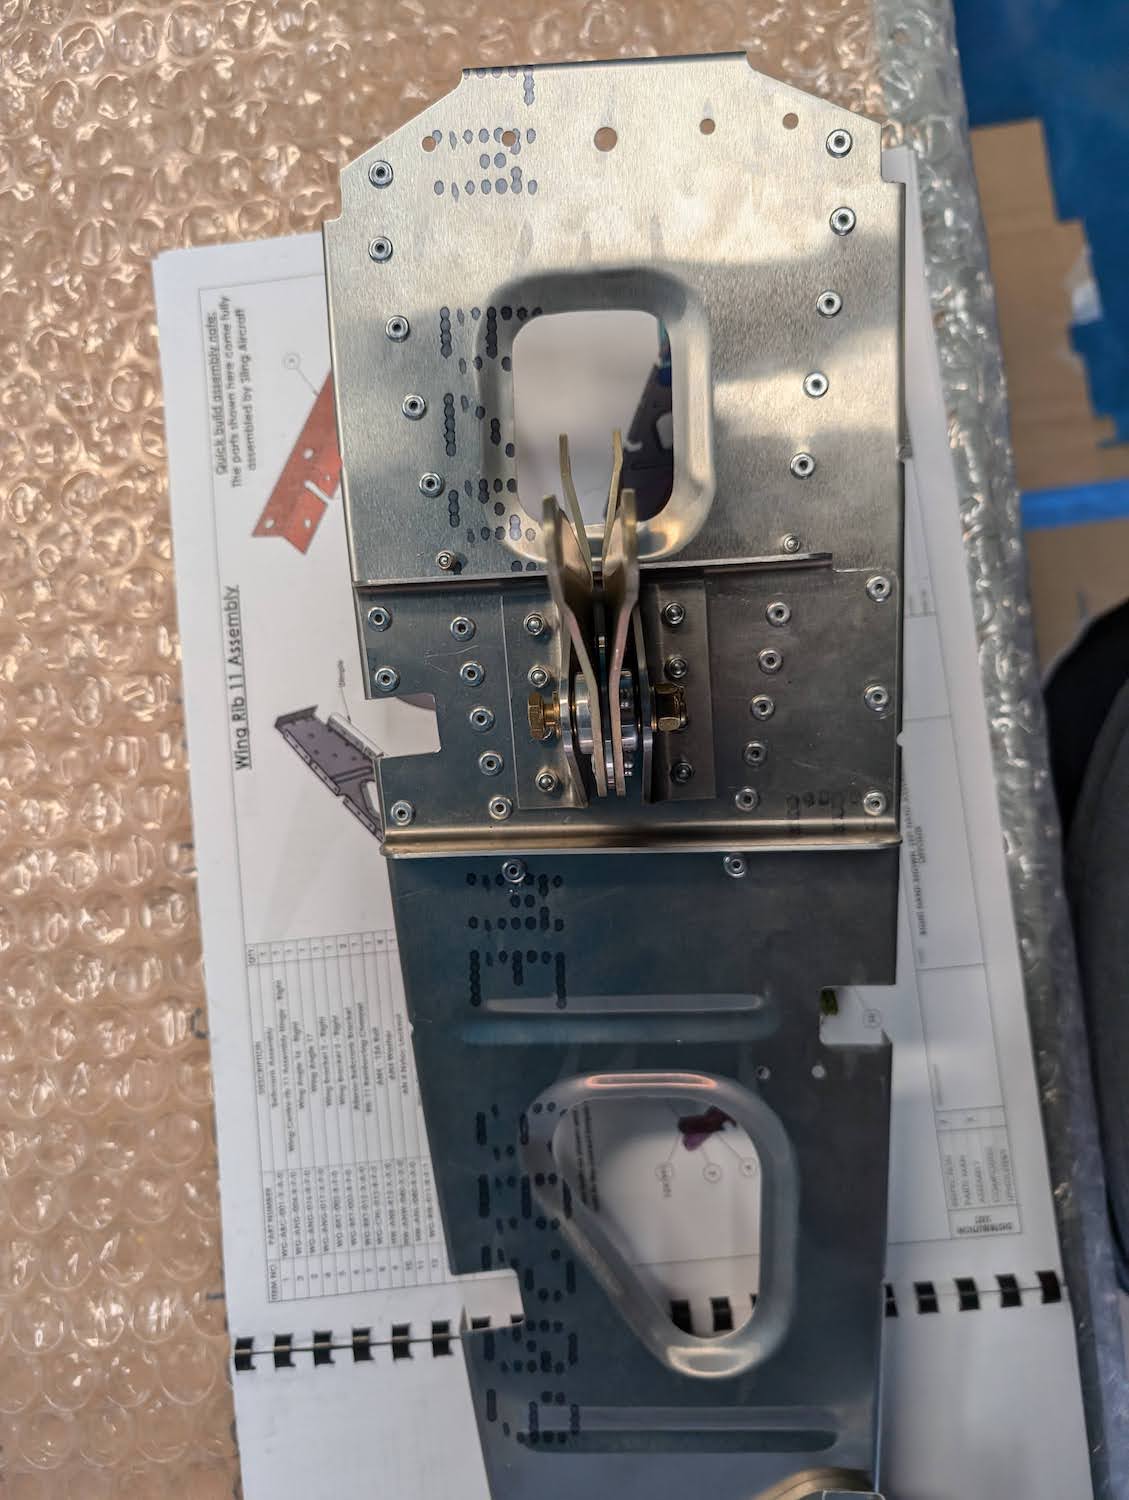 Rib leading edge assembly riveted.
 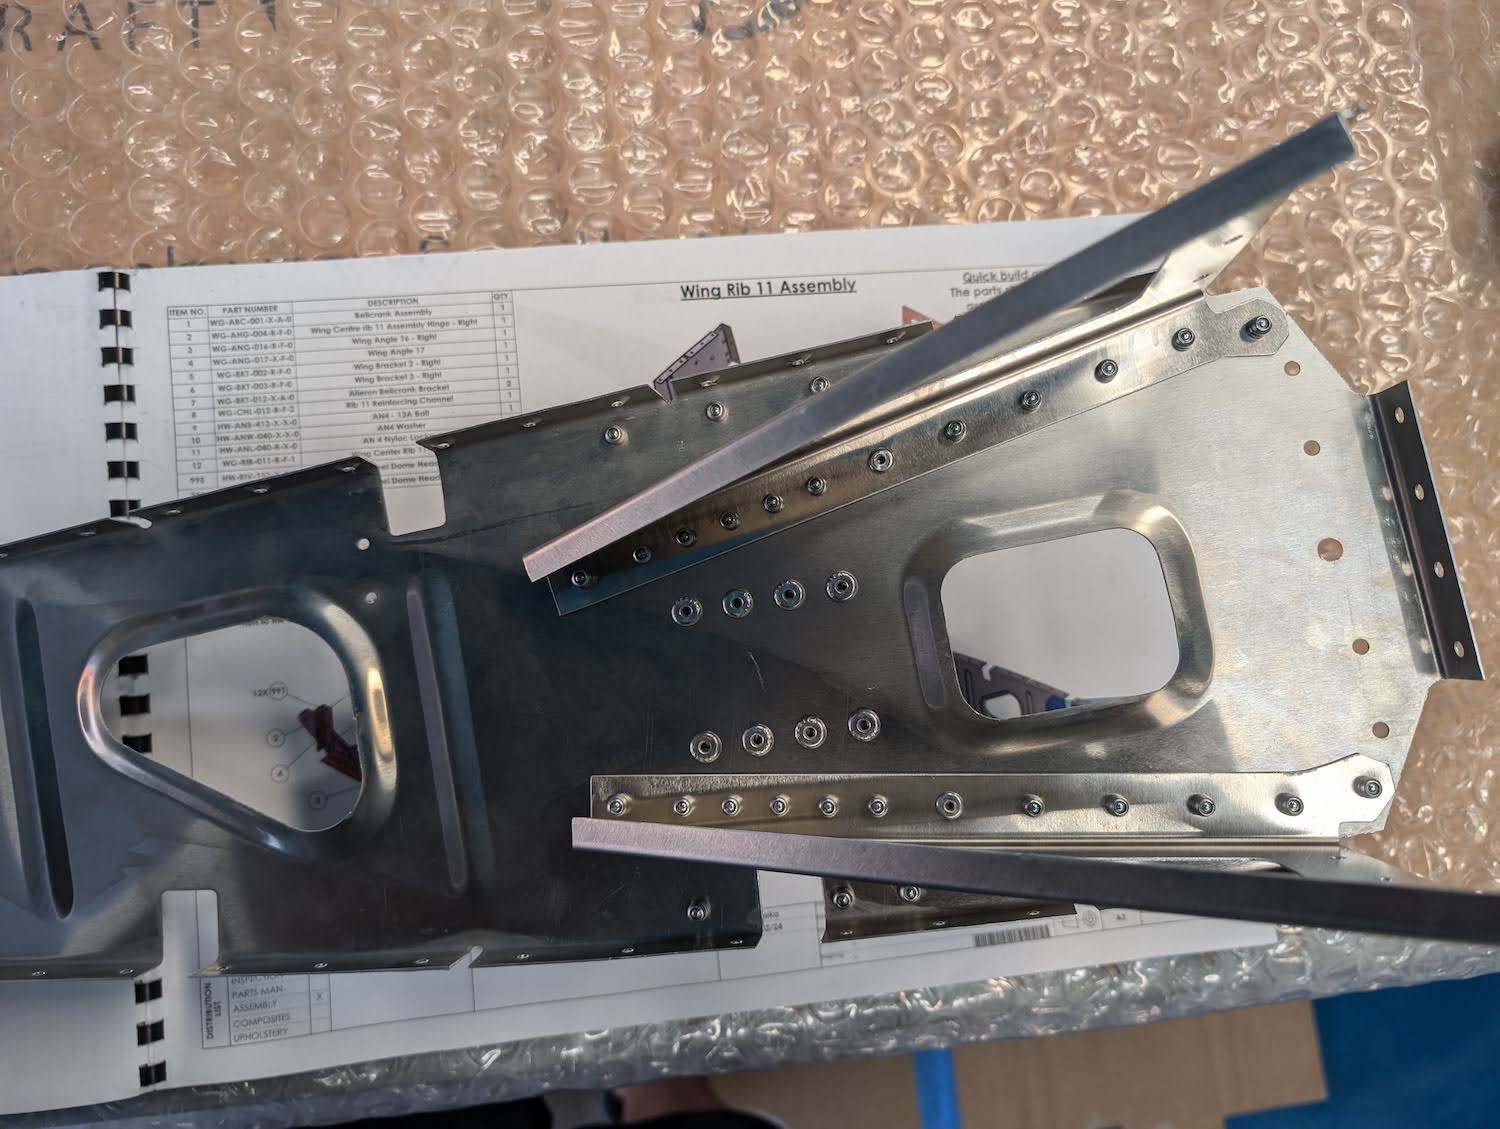 Rib leading edge assembly riveted.
 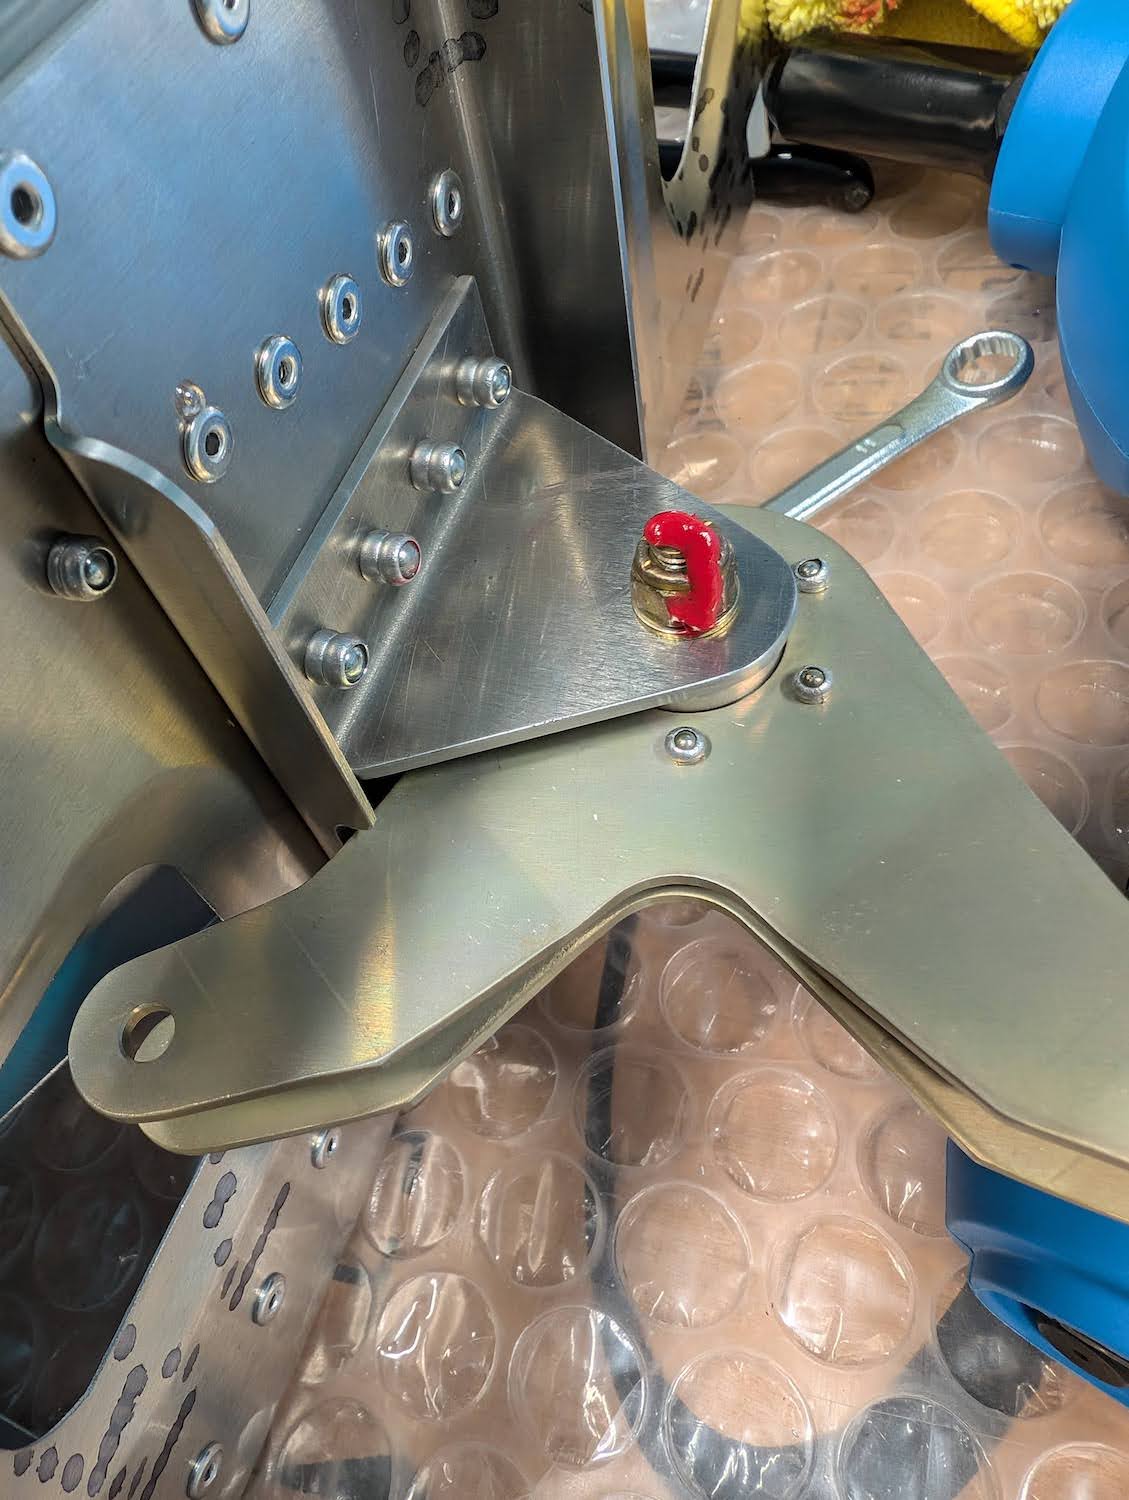 Aileron torque tube bell crank assembly torqued and marker applied.
Rib 14 Assembly
Rib 14 sub-assembly was pretty straightforward, some holes required cleaning up as usual. There was some dimpling involved as well. 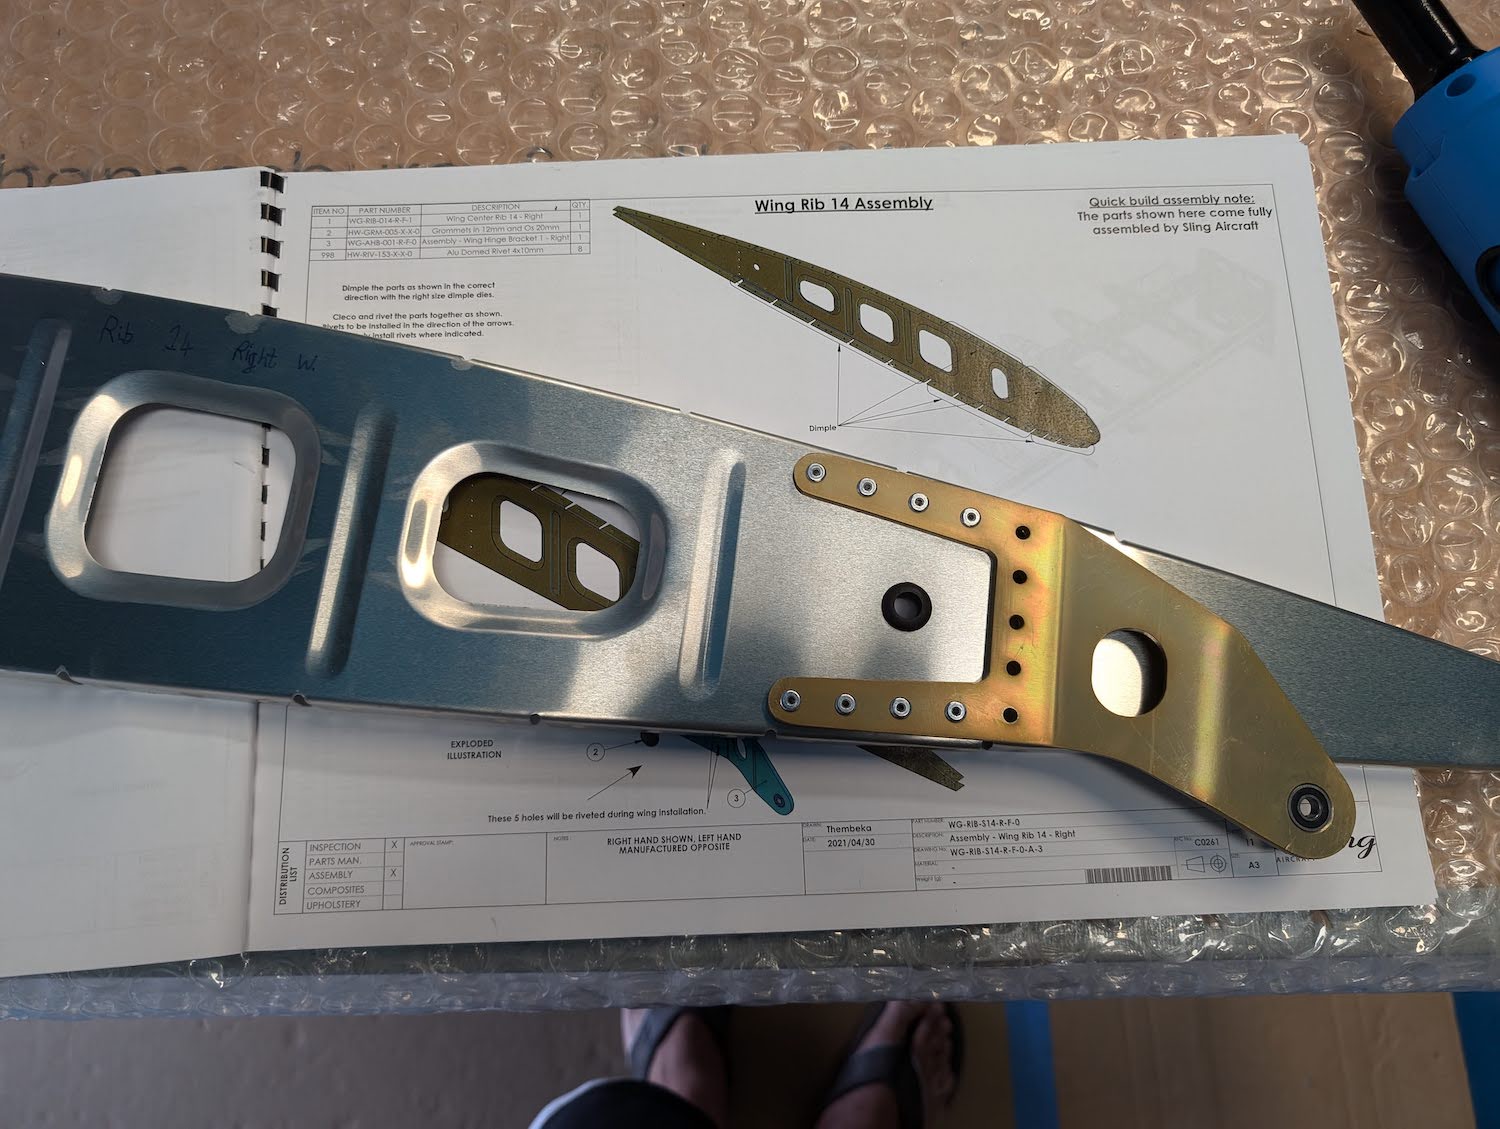 Rib trailing edge assembly riveted.
 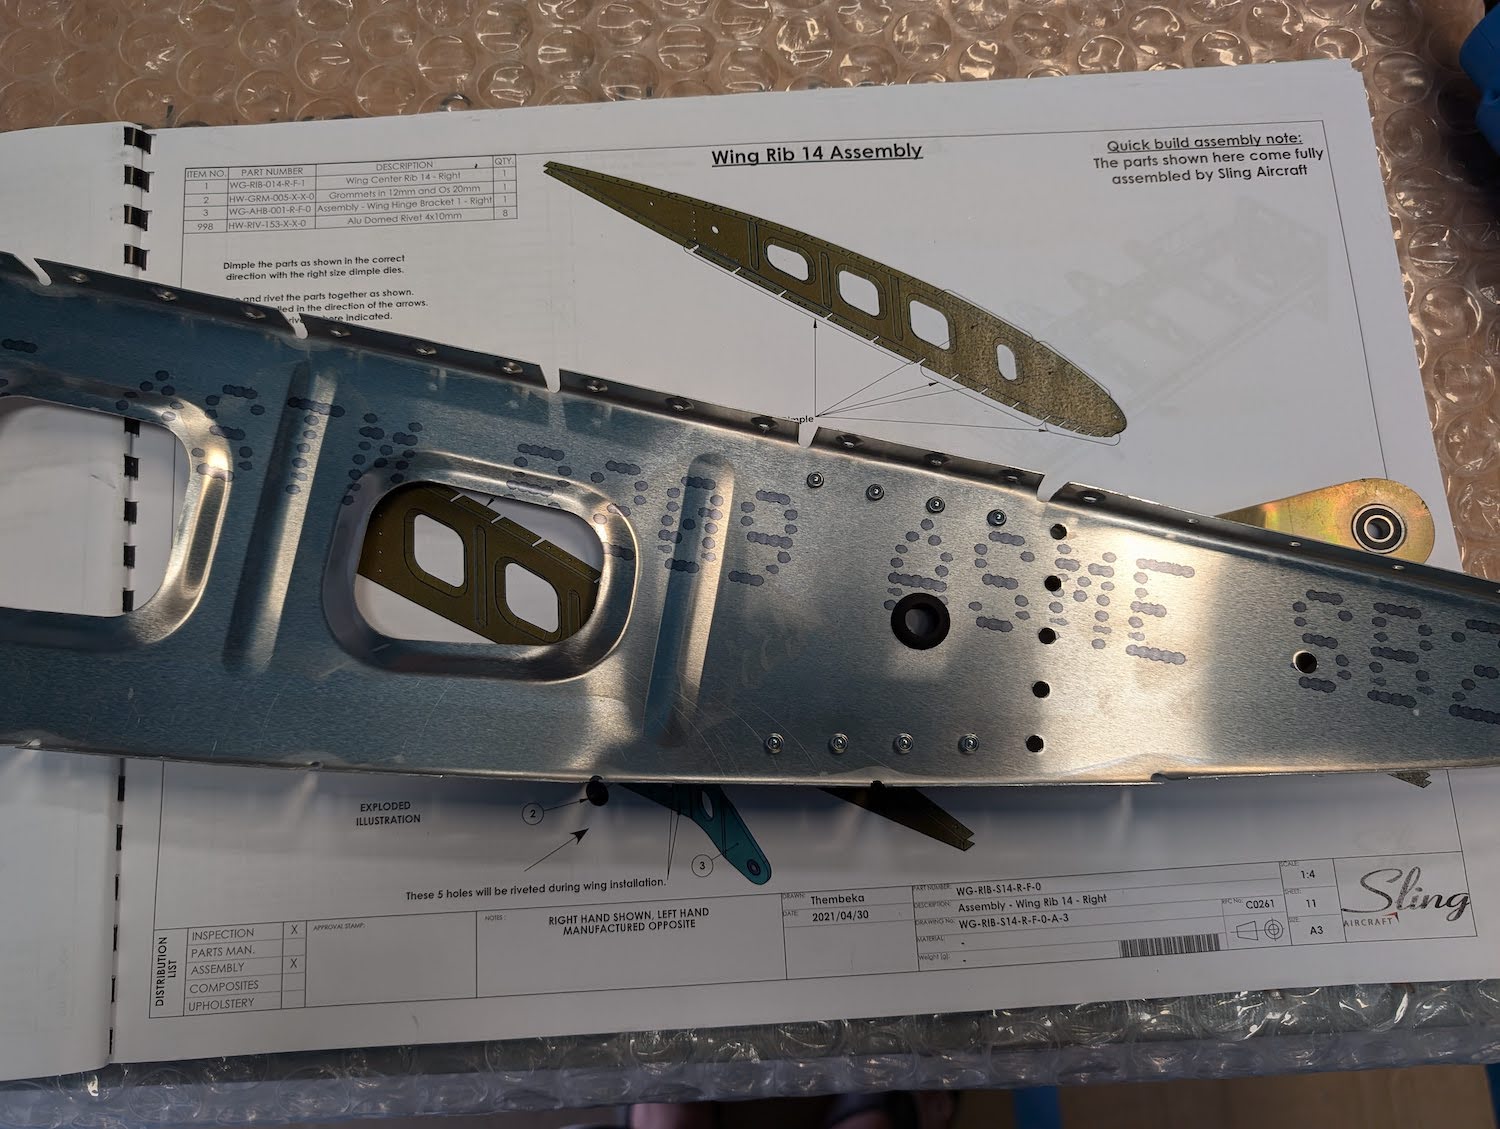 Rib trailing edge assembly riveted.
 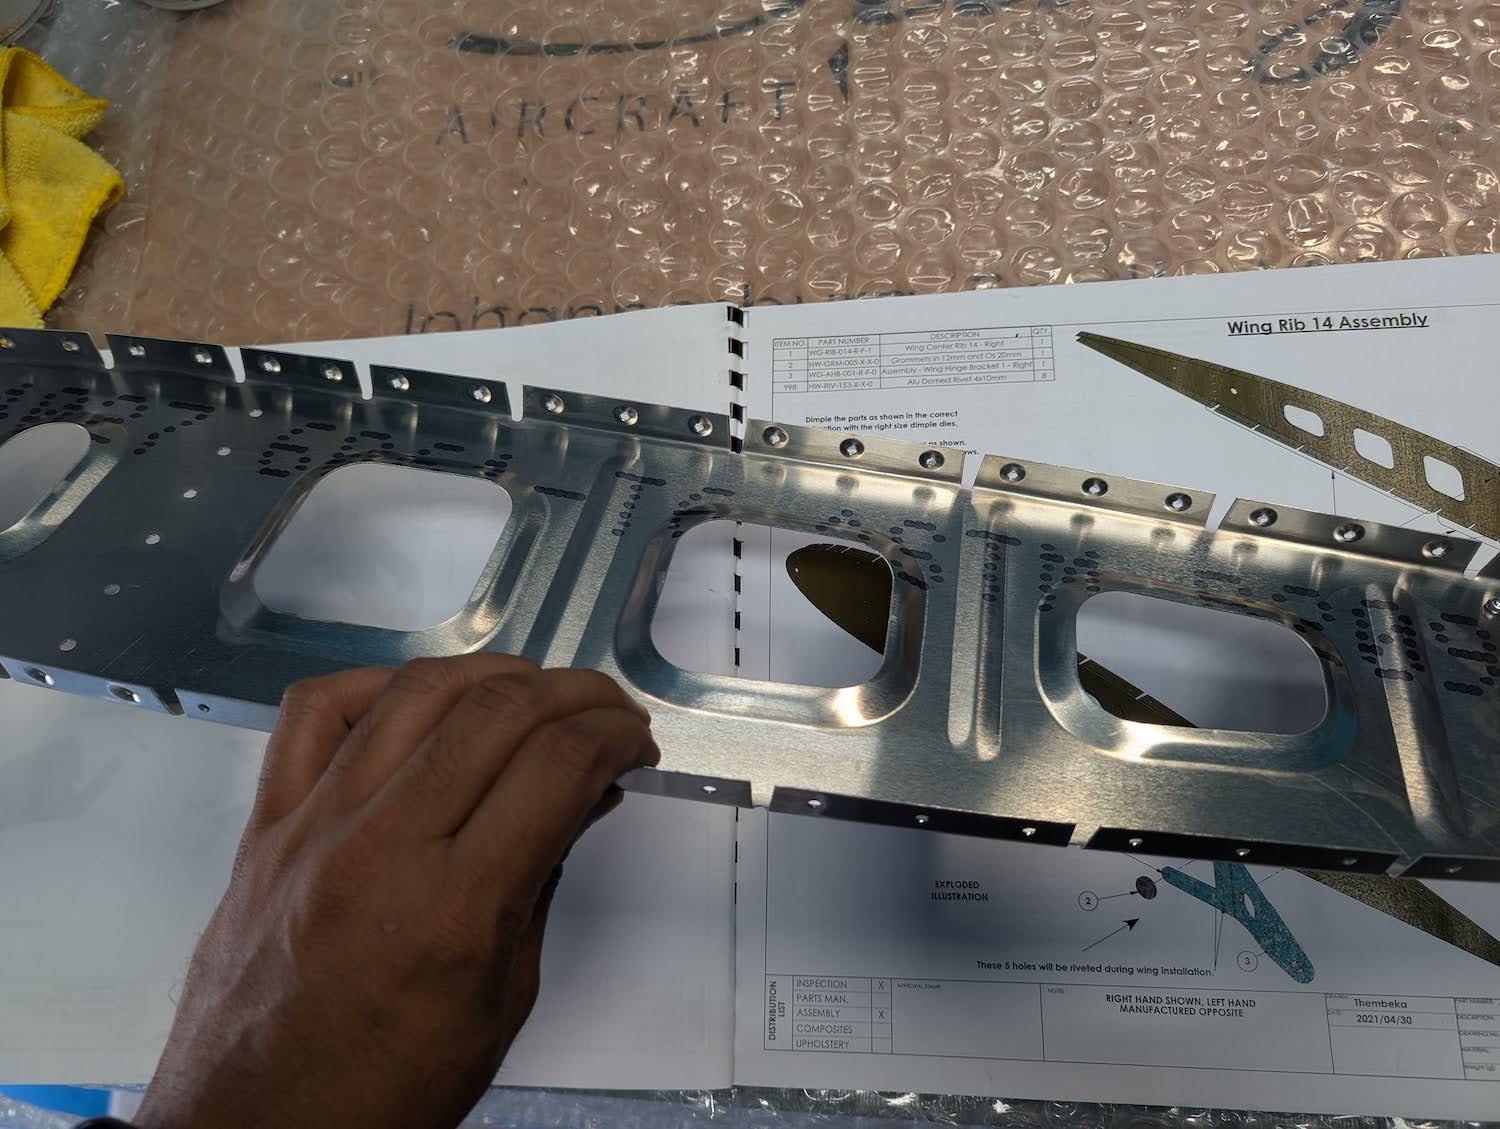 Rib bottom side dimpled.